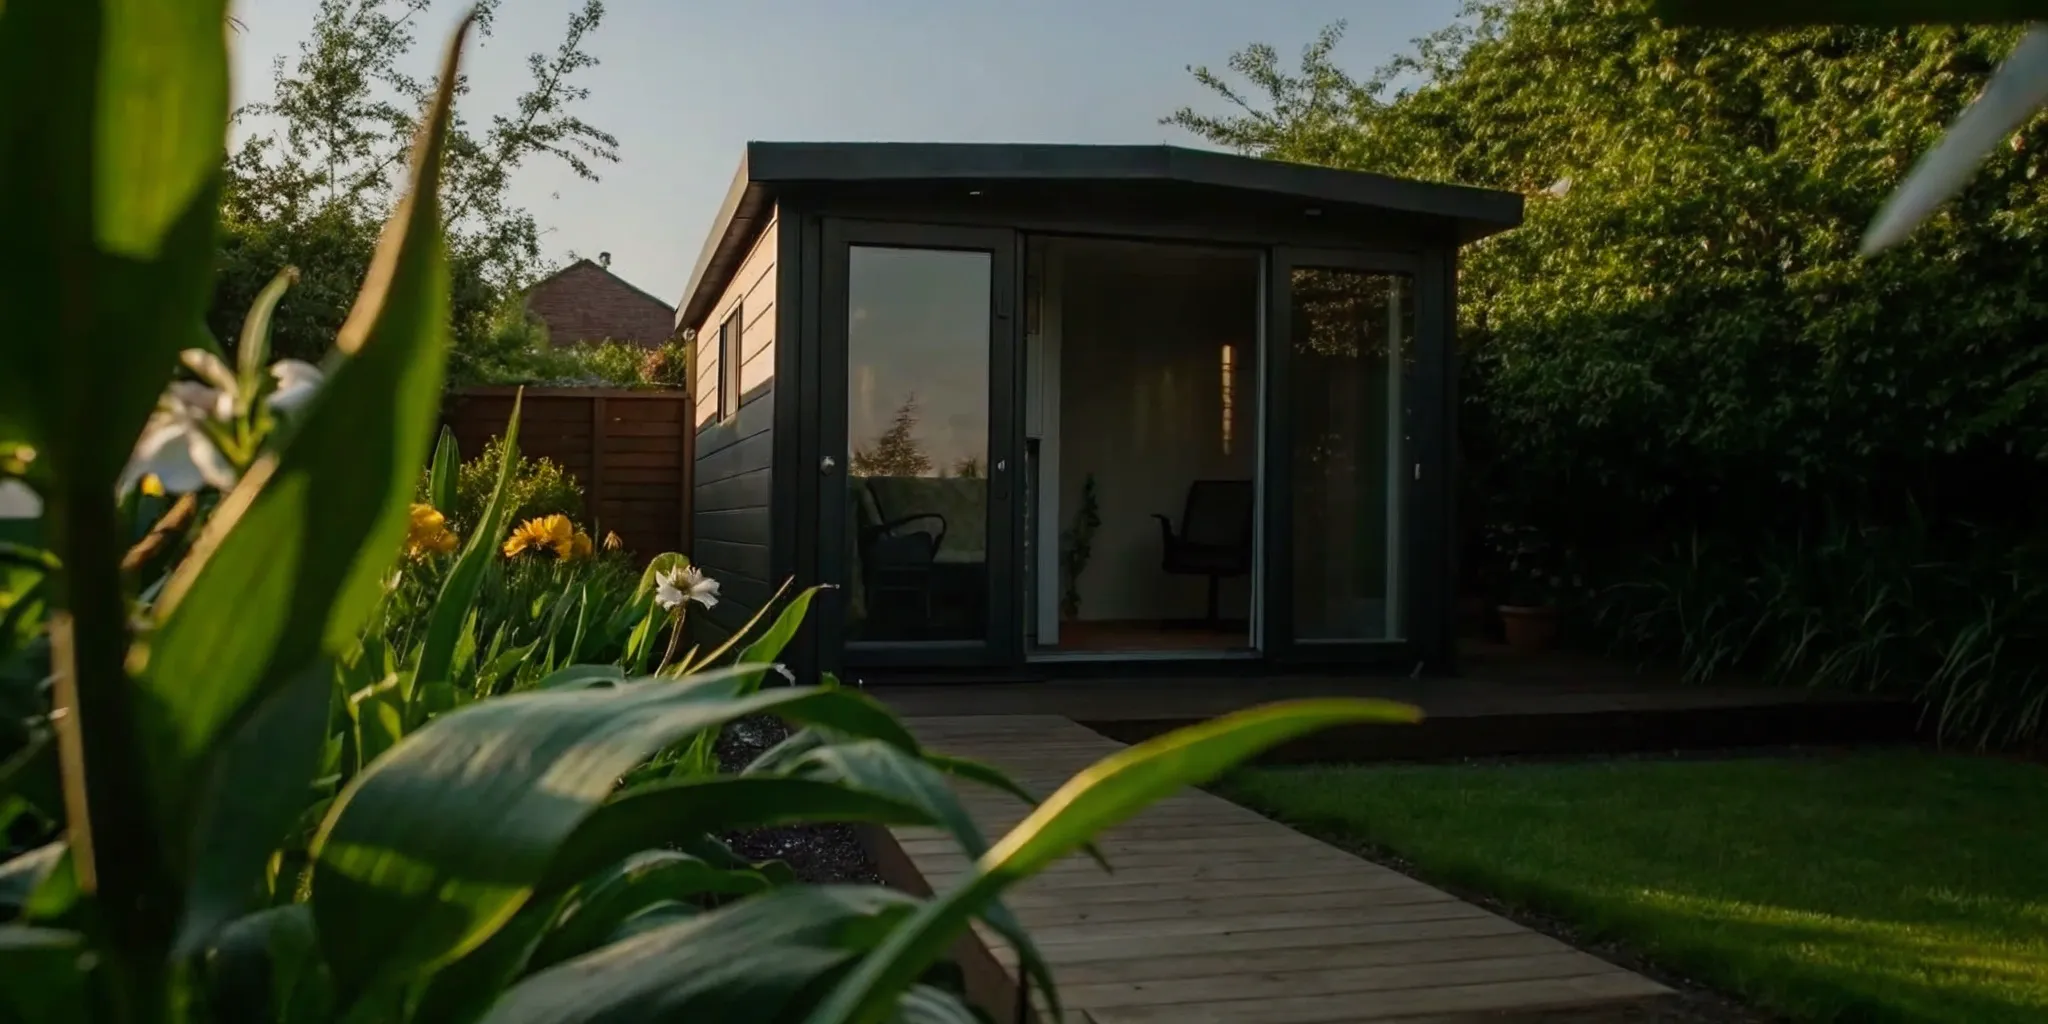
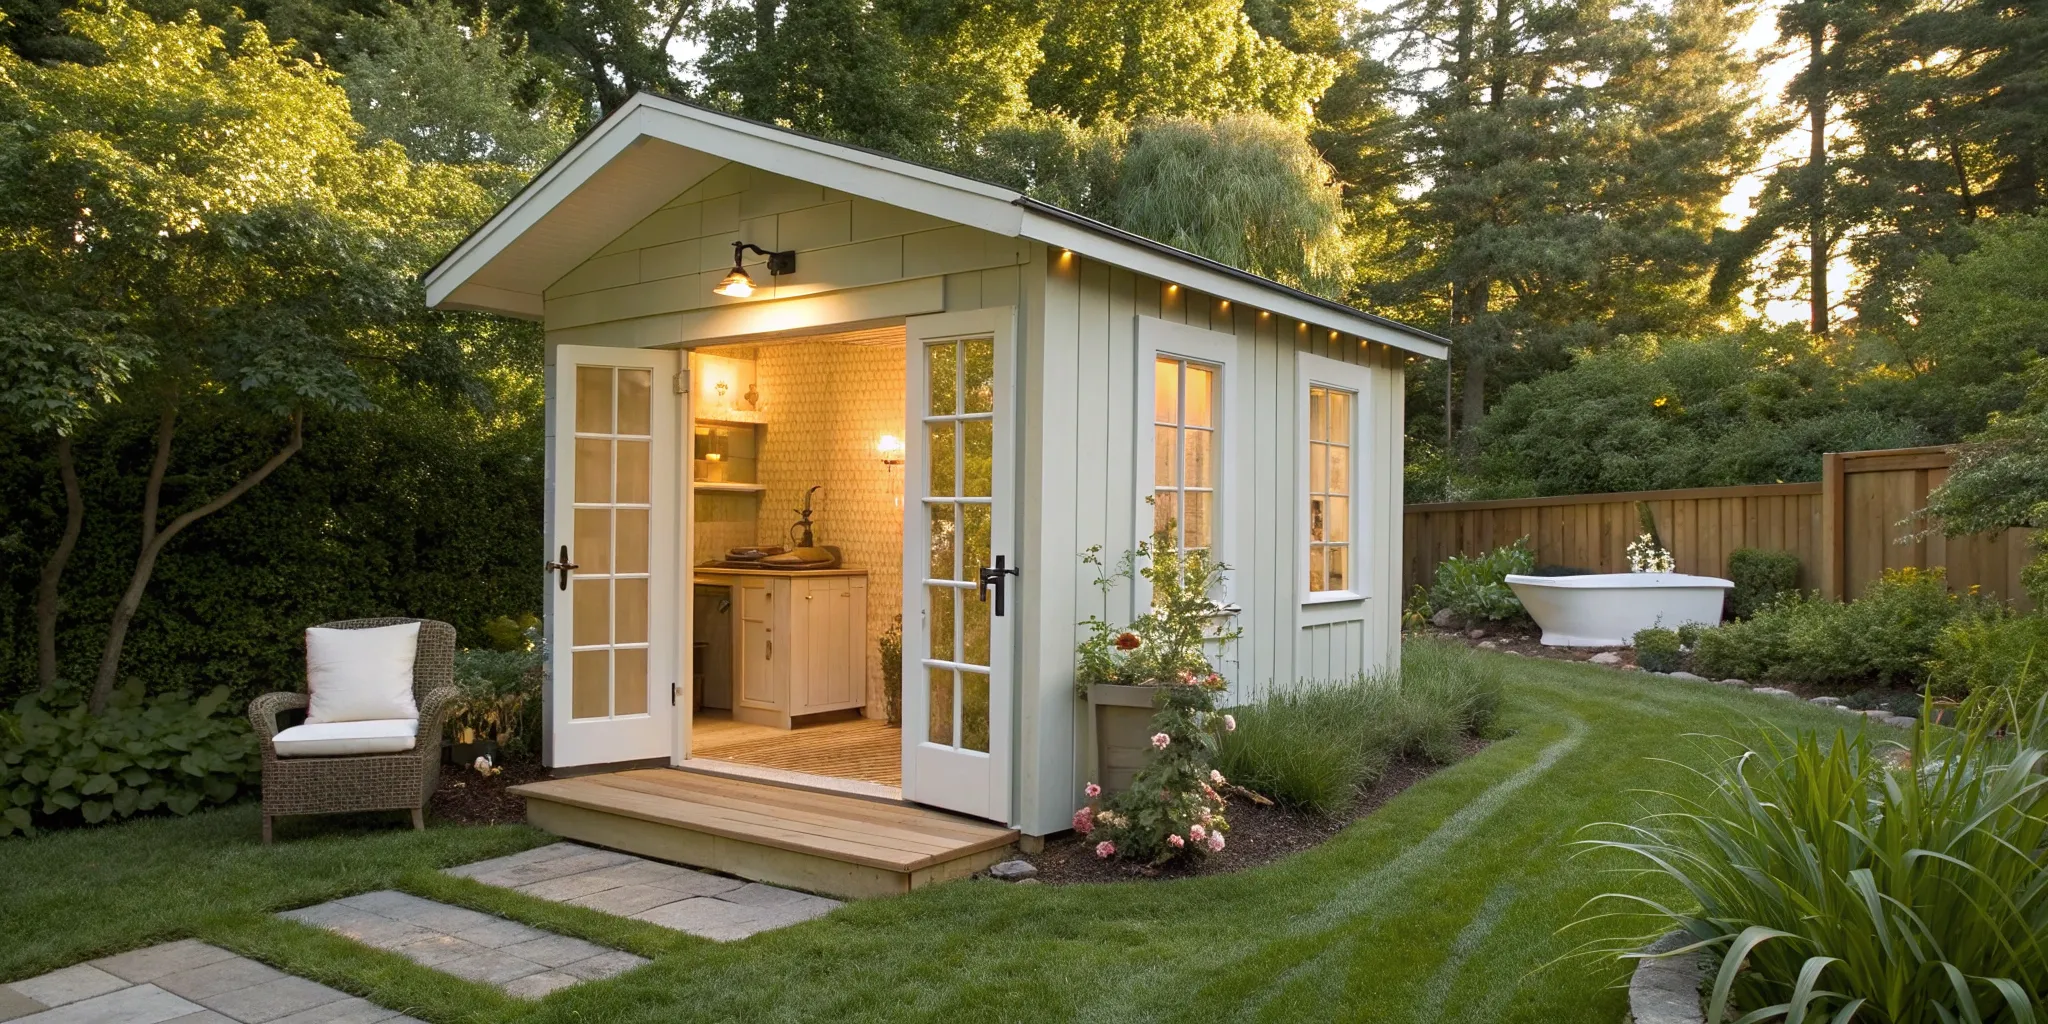
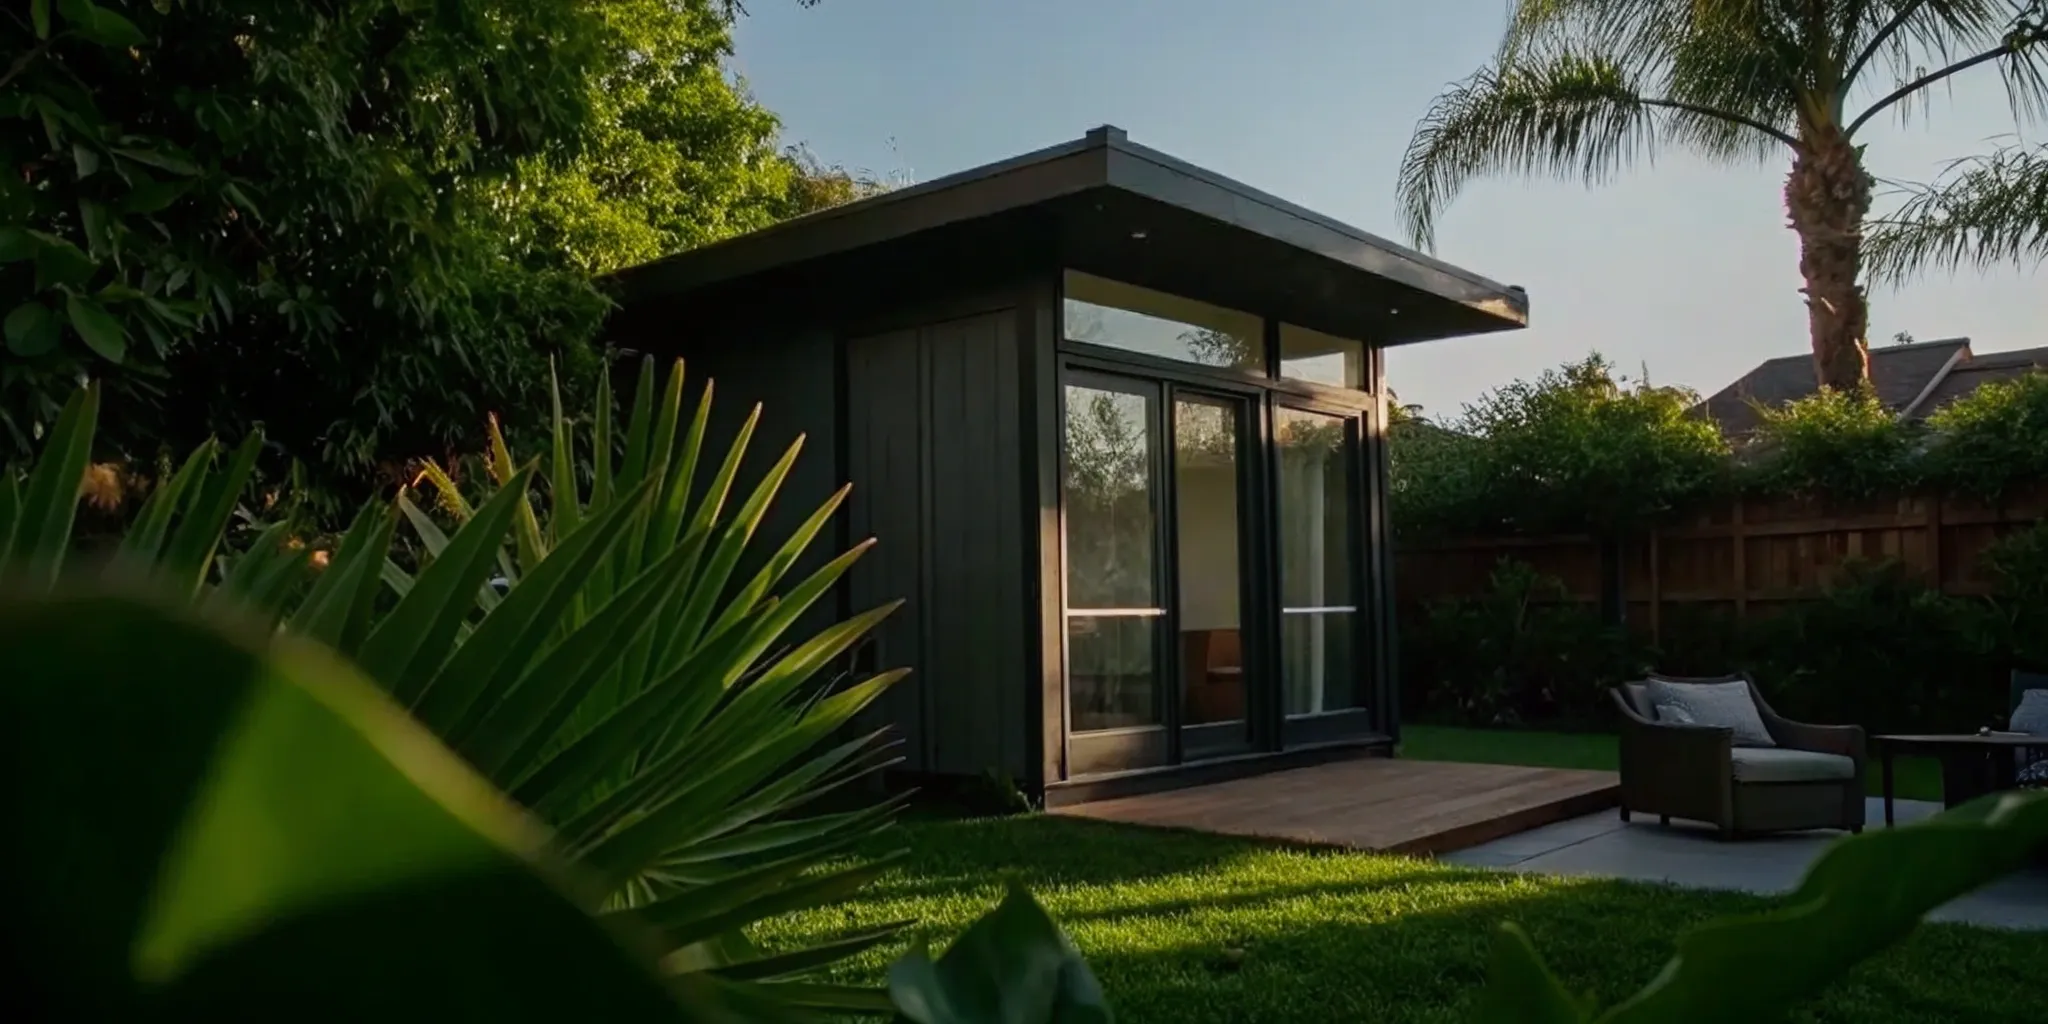
What's the Cost to Finish Attic for Storage?
Get a clear breakdown of the cost to finish attic for storage, including key factors, material choices, and tips to help you plan your attic project budget.
|
December 30, 2025
In this article:
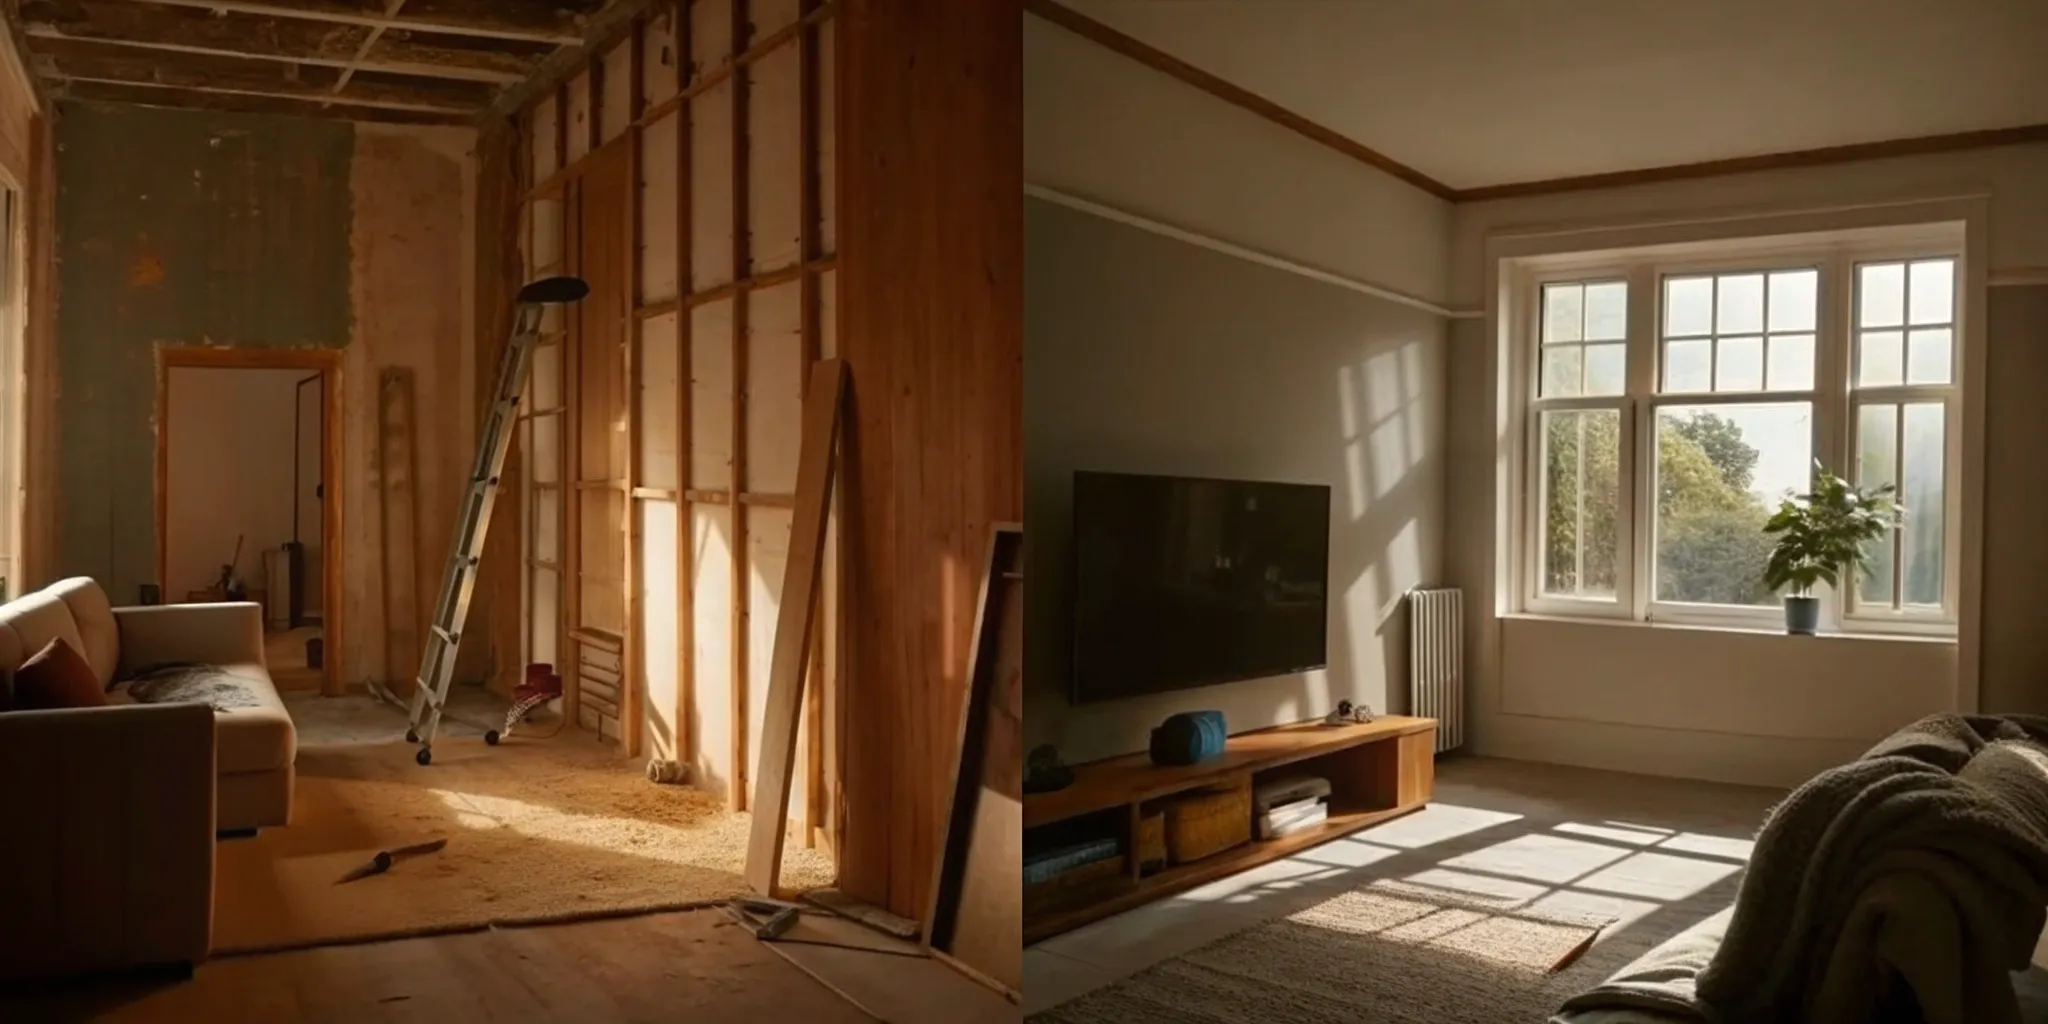
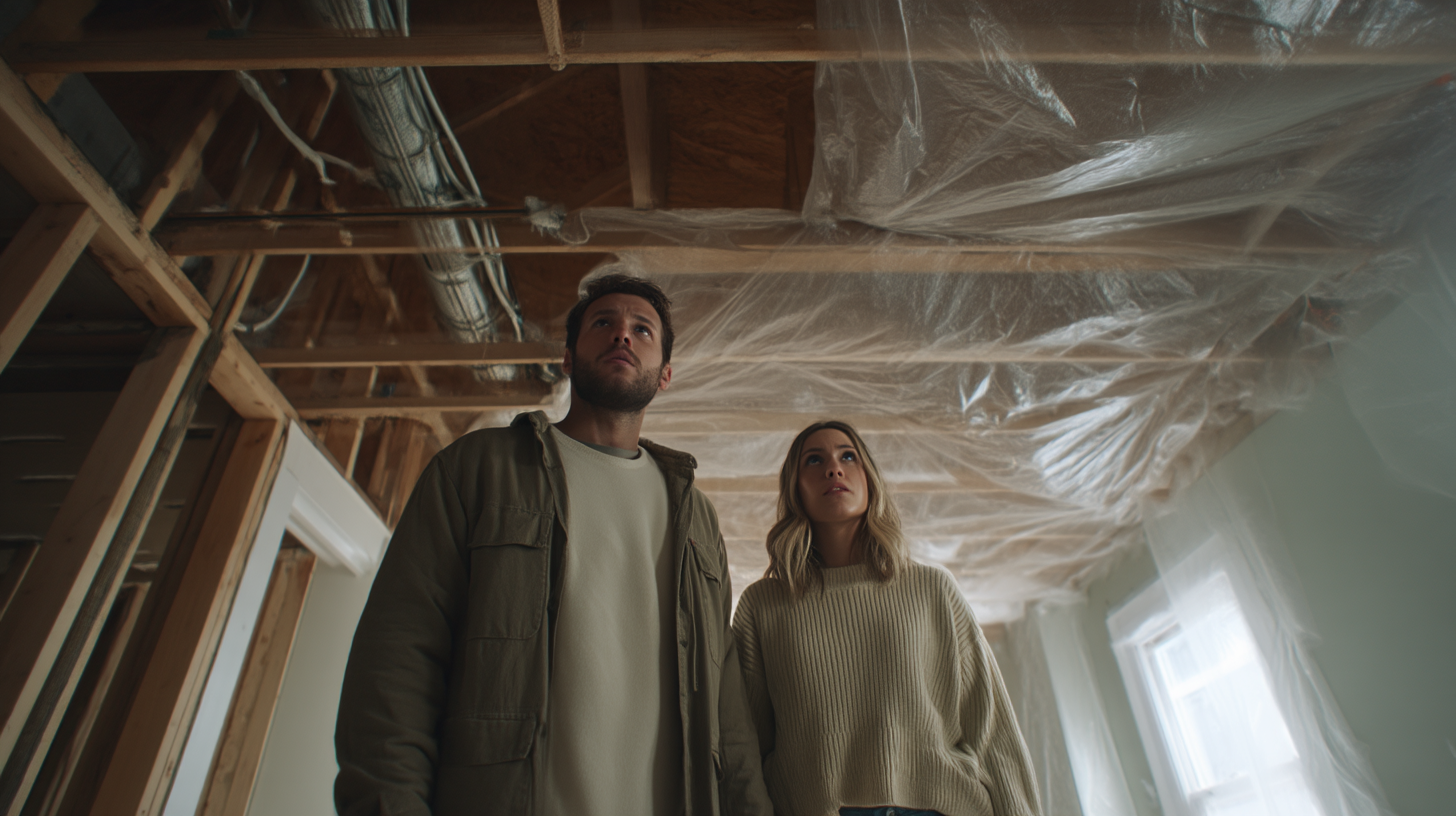
That unused space above your ceiling holds so much potential. Transforming it from a dusty, forgotten area into a functional storage room can feel like adding a whole new closet to your home. But turning that potential into reality starts with a practical plan and a clear budget. The cost to finish attic for storage depends heavily on the current condition of your space and the scope of your vision. A project that only requires a new subfloor and basic lighting will be far more affordable than one needing structural reinforcement and a proper staircase. This guide is designed to help you understand these differences and plan accordingly, ensuring you create a safe, durable space that meets your needs without breaking the bank.
Key Takeaways
- Your project's scope dictates the cost: A simple storage area is far less expensive than a finished living space because it doesn't require the same level of structural work, insulation, or adherence to strict building codes for habitable rooms.
- Focus on the non-negotiable foundations first: Before thinking about shelves, ensure your attic has reinforced floor joists to support the weight, proper insulation to protect your belongings from temperature extremes, and adequate ventilation to prevent mold.
- Smart planning prevents budget surprises: Avoid costly mistakes by confirming permit requirements for any structural or electrical work, creating a detailed plan to prevent scope creep, and deciding which tasks you can realistically DIY versus hiring a professional.
How Much Does It Cost to Finish an Attic for Storage?
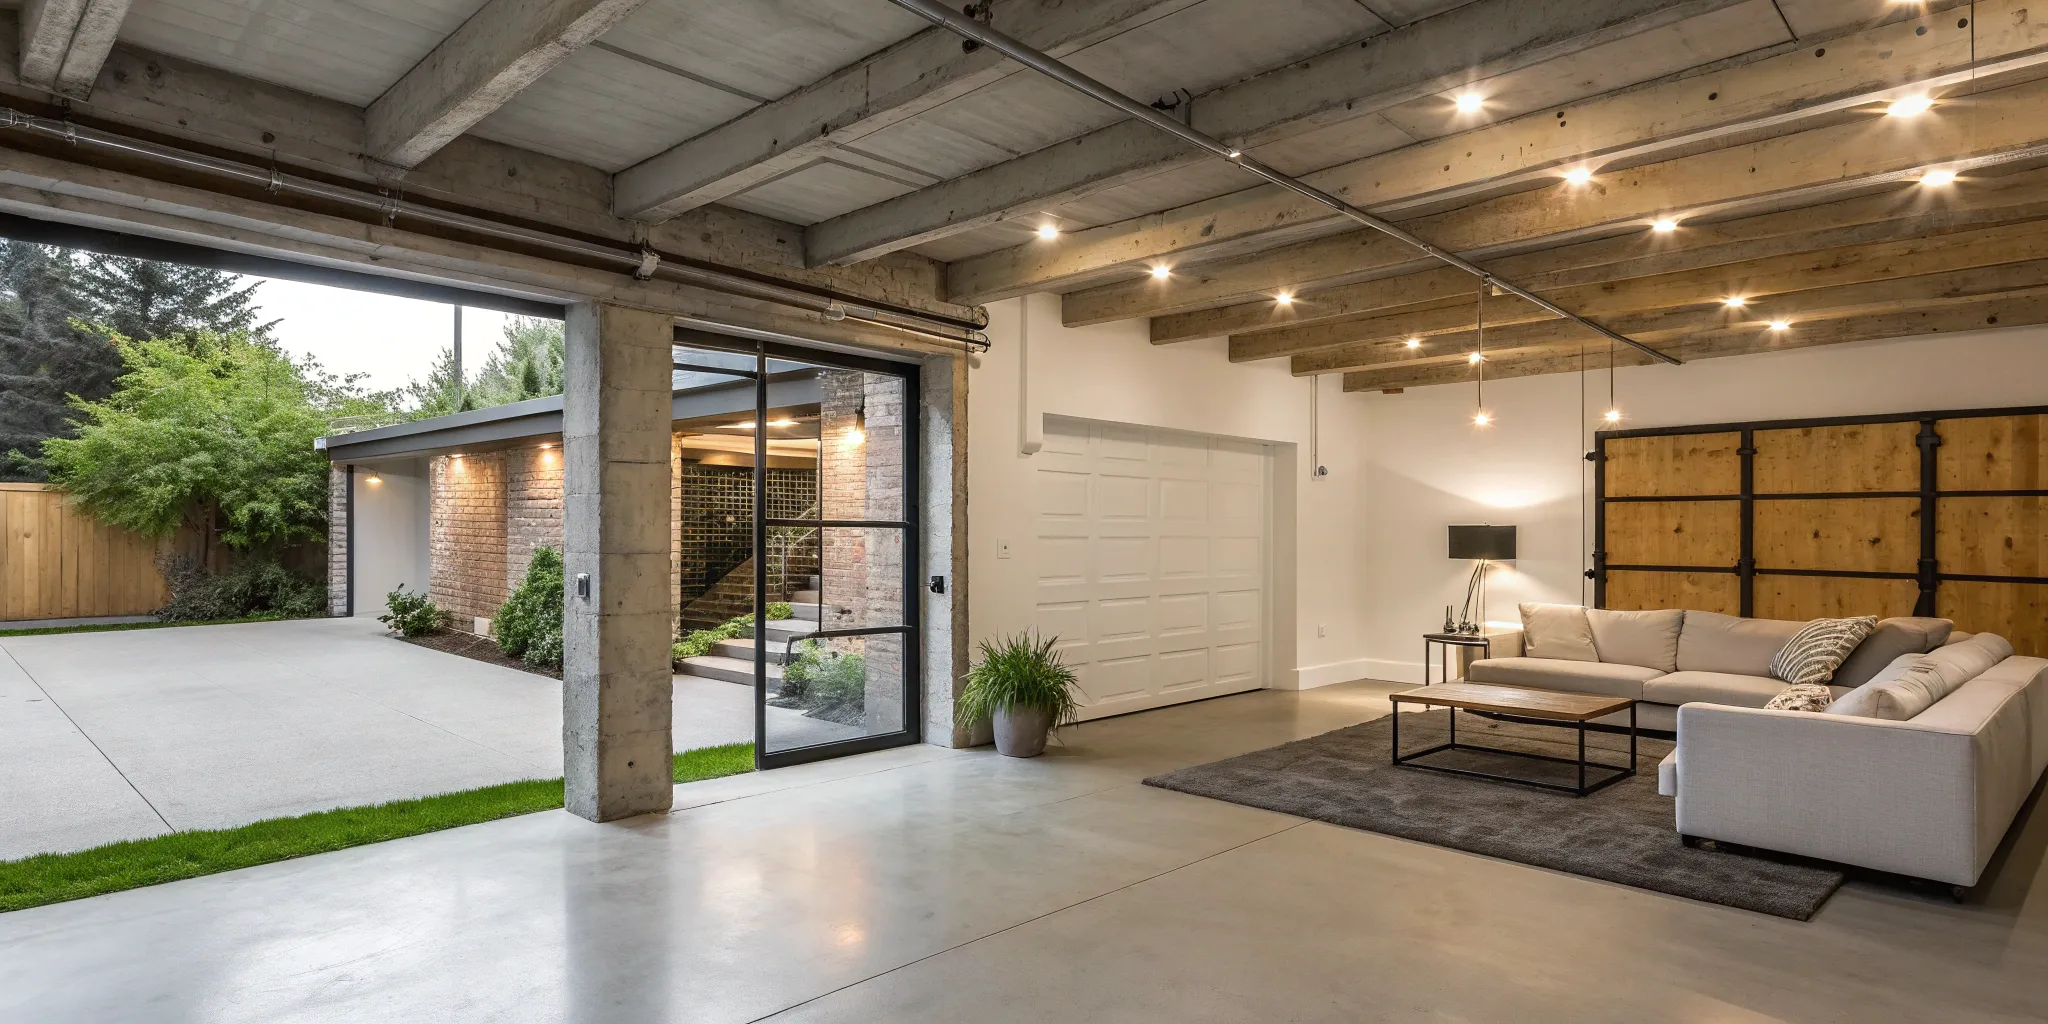
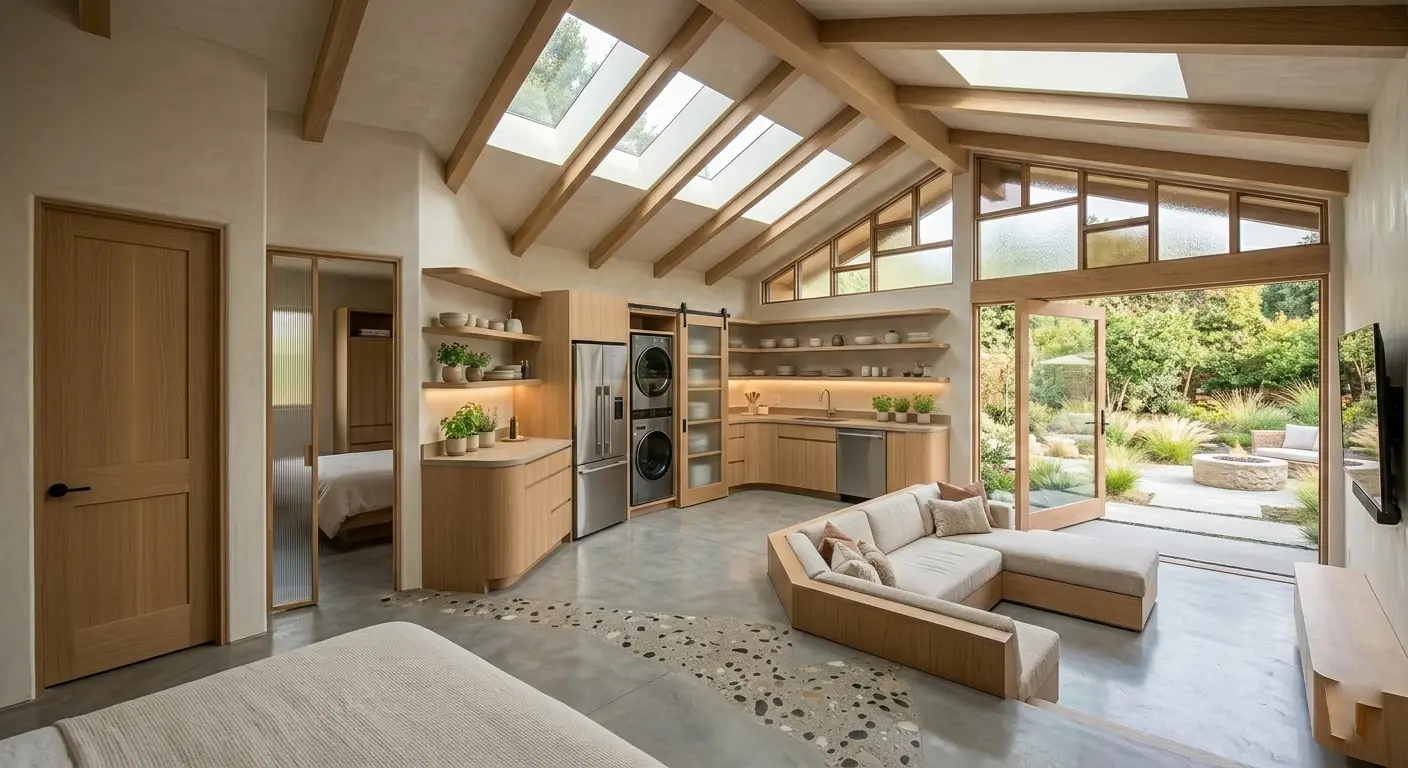
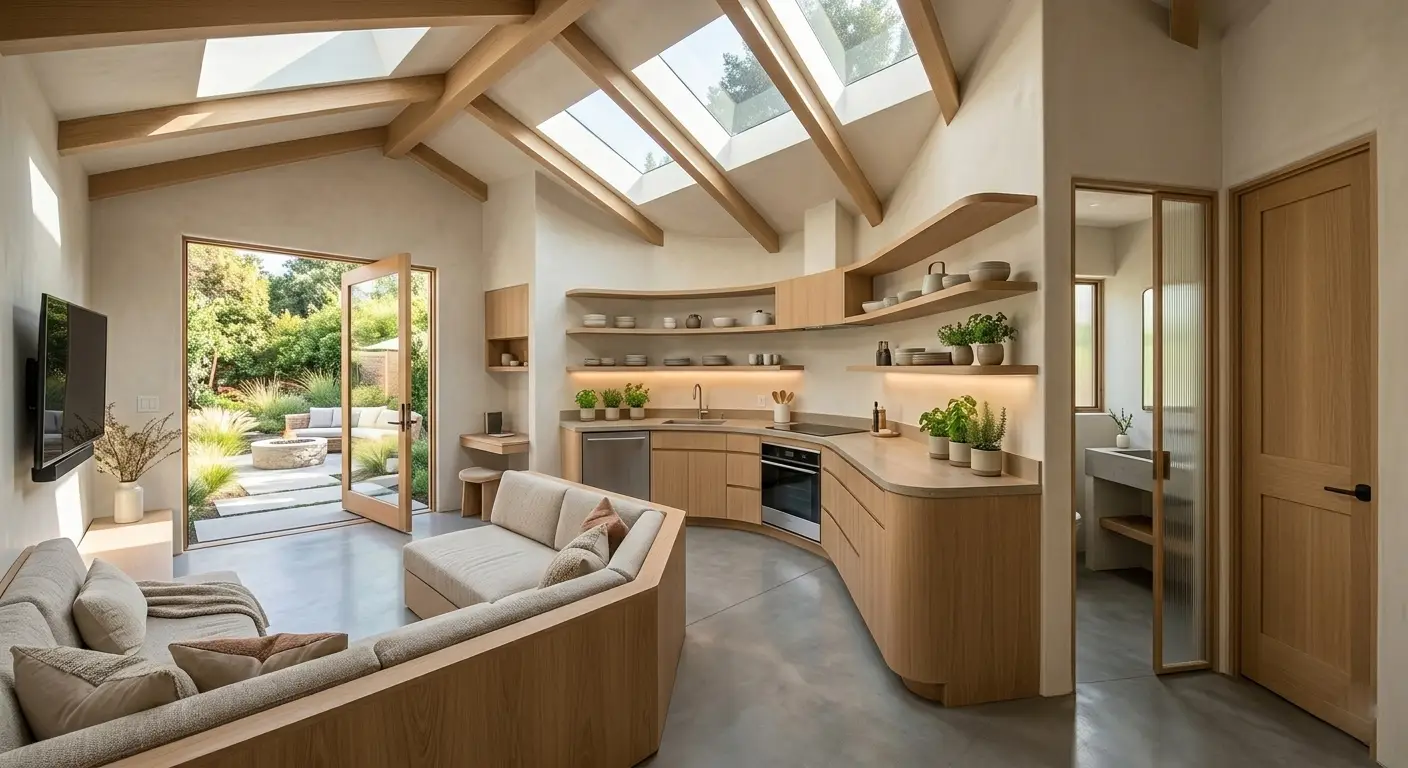
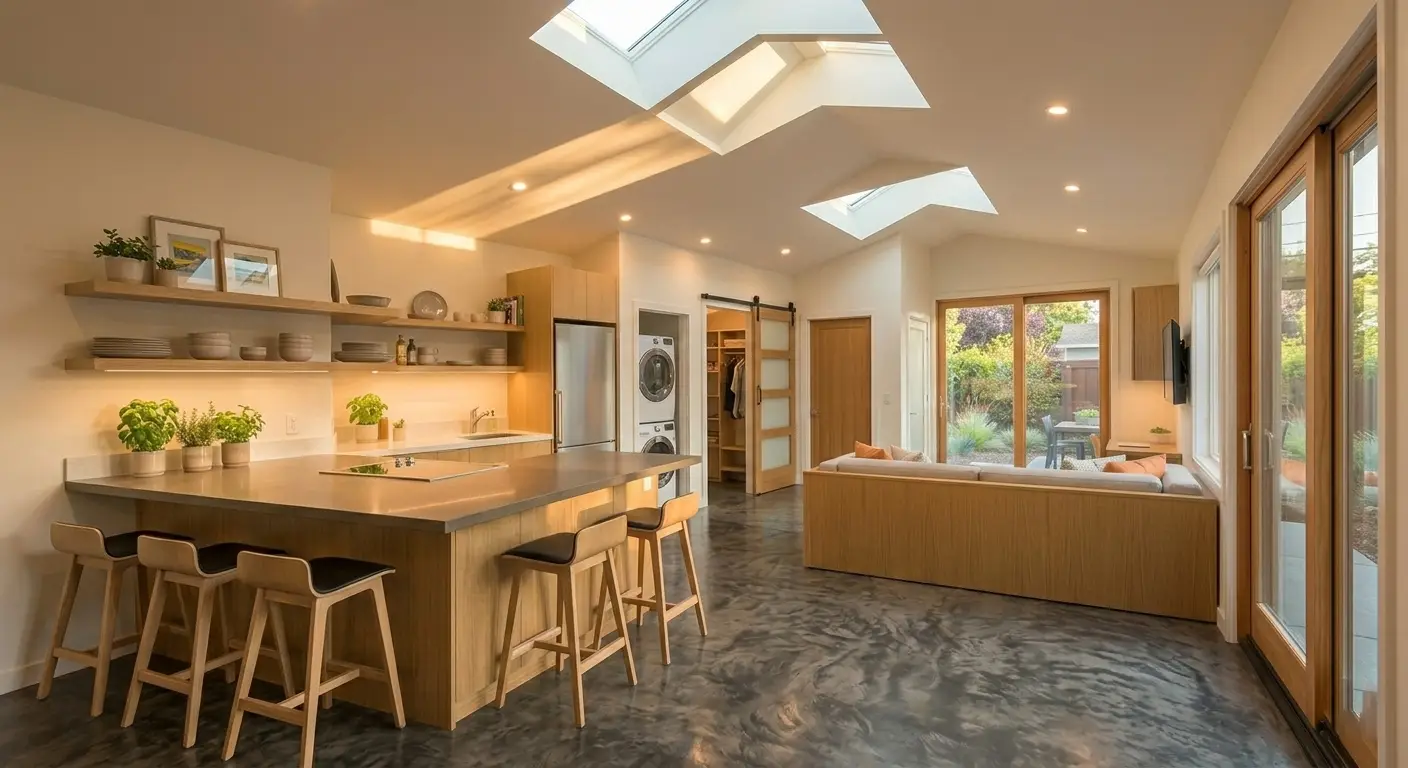
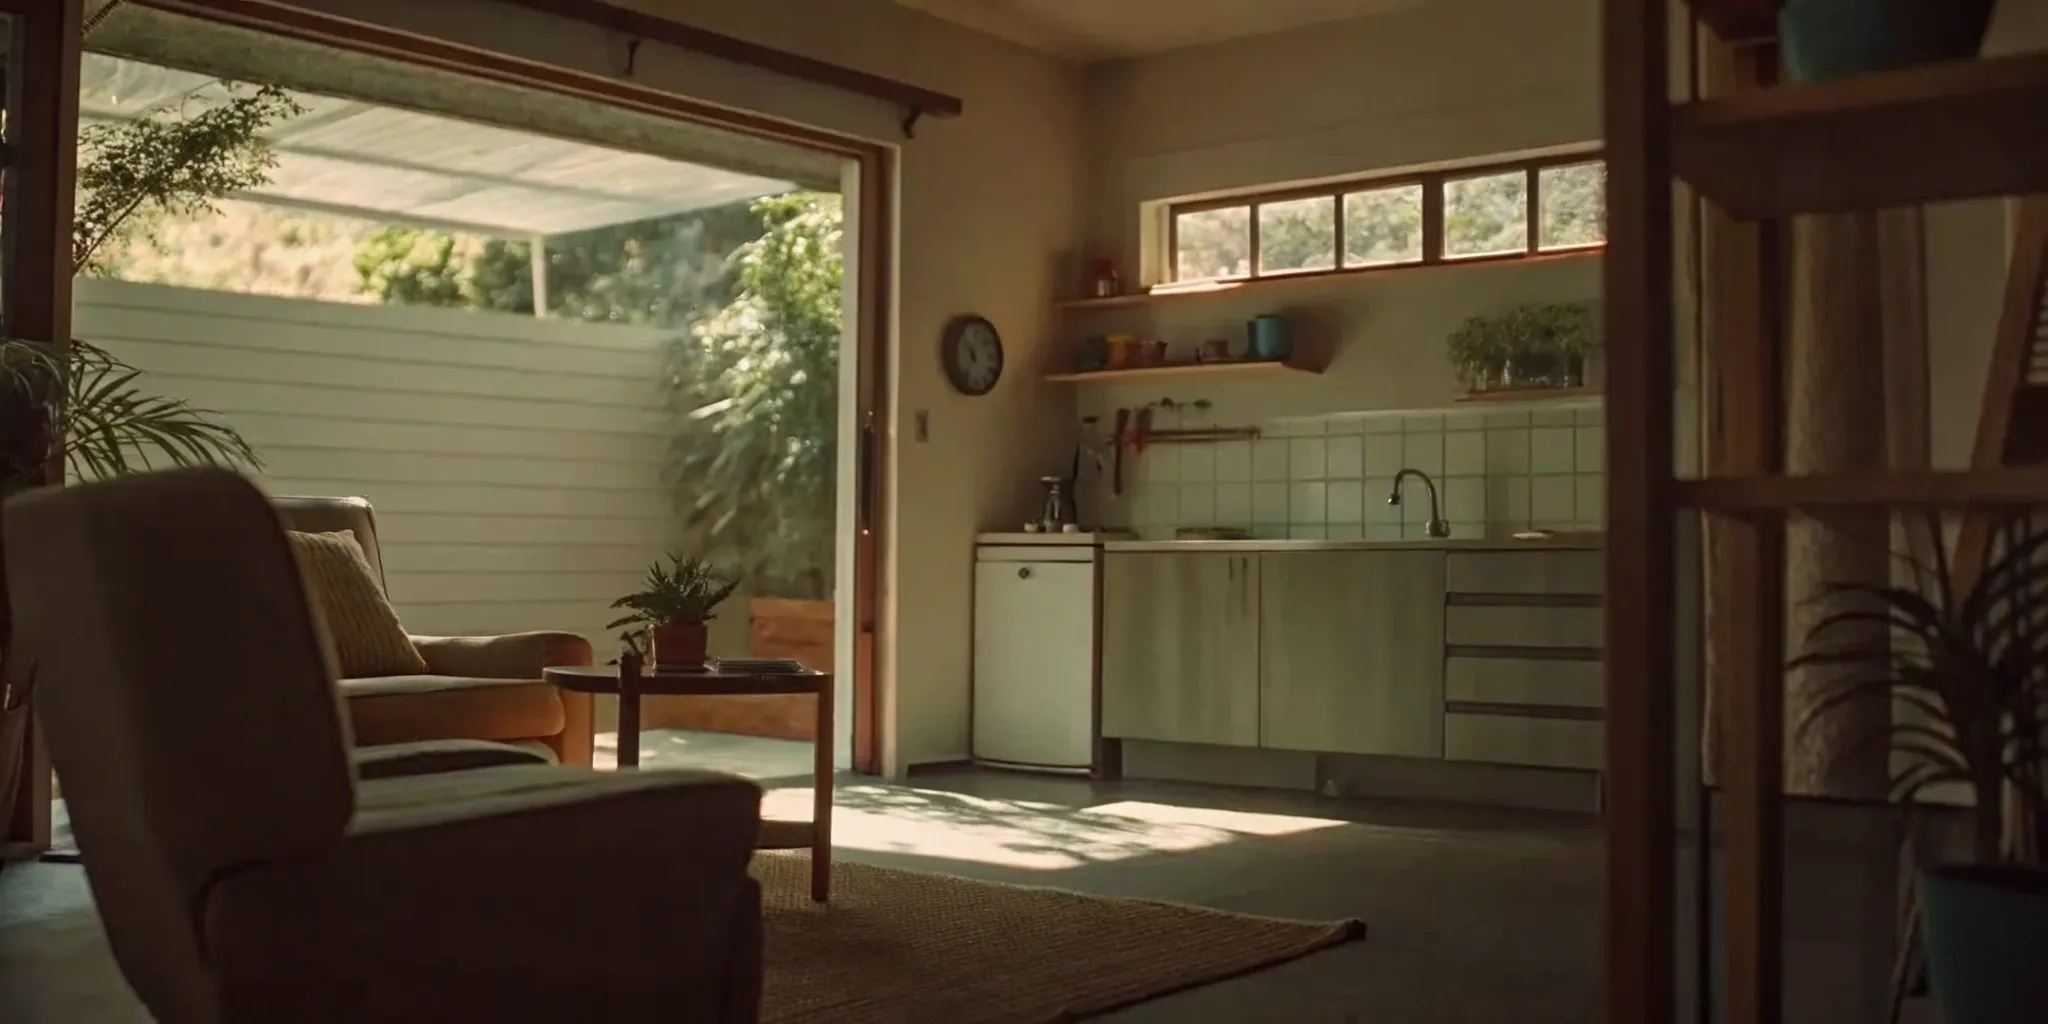
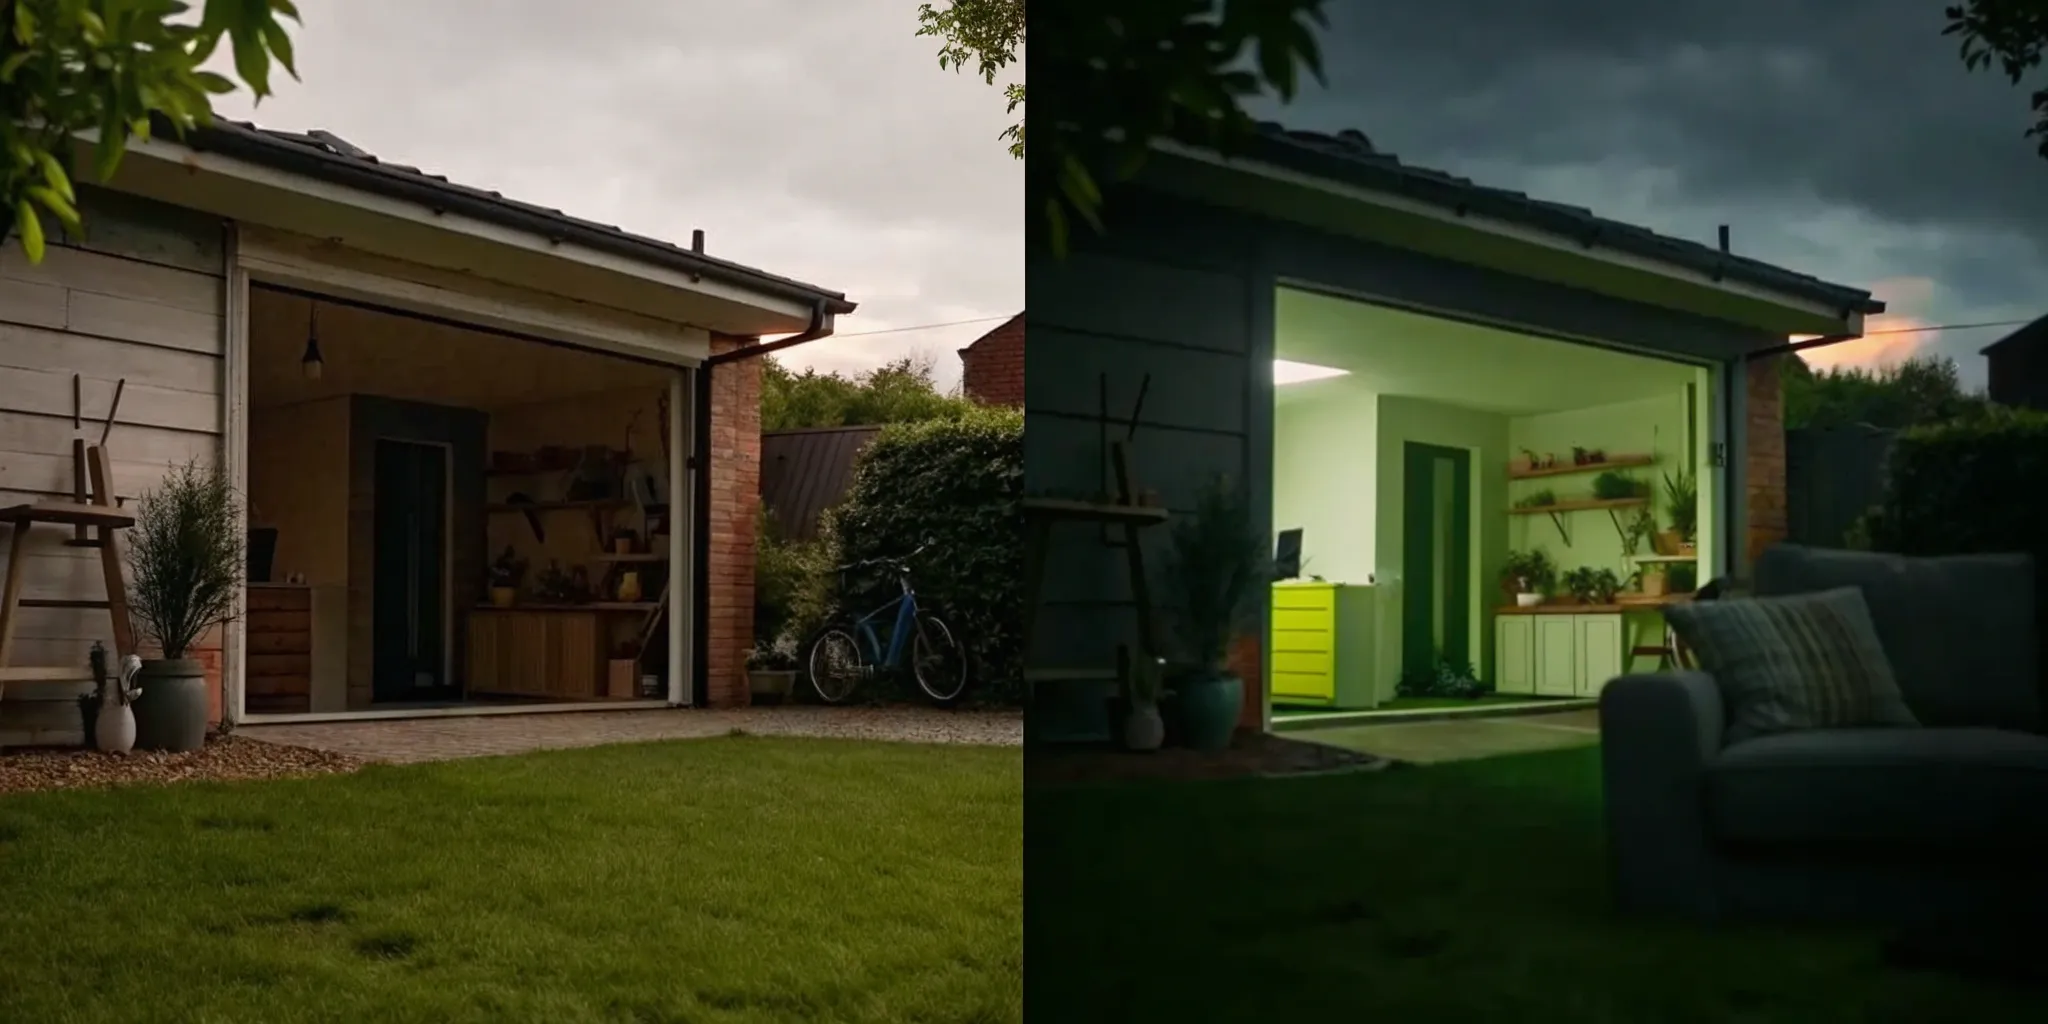
If you’re constantly searching for more storage, the solution might be right above your head. Finishing an attic is a fantastic way to create usable space for holiday decorations, seasonal clothes, and family keepsakes without building a full-on addition. But before you start planning, the big question is always about the budget. The cost to finish an attic can vary dramatically depending on your goals. Are you creating a simple, clean space to store boxes, or are you dreaming of a future bedroom or home office?
The scope of your project is the single biggest factor influencing the final price tag. A basic storage conversion is a much more straightforward and affordable project than a full living space remodel. It requires less structural work, fewer materials, and simpler finishes. On the other hand, converting an attic into a livable room involves meeting strict building codes, which adds complexity and cost. To get a clear picture of what your project might cost, it helps to break down the numbers based on how you plan to use the space. From there, you can work with a dedicated home advisor to get a detailed estimate tailored to your home’s specific needs and your local building codes.
Typical Costs for Different Project Sizes
When you’re just starting to budget, it’s helpful to think in terms of ranges. On average, finishing an attic for storage costs between $30 and $60 per square foot. For a full project, you can expect the total cost to land anywhere from $10,000 to $50,000. This is a wide range because no two attics are the same. The final price depends on the current condition of your space, the structural work required to support the new floor and storage, the type of insulation you choose, and how you plan to access the area. A simple pull-down ladder is much less expensive than building a permanent staircase.
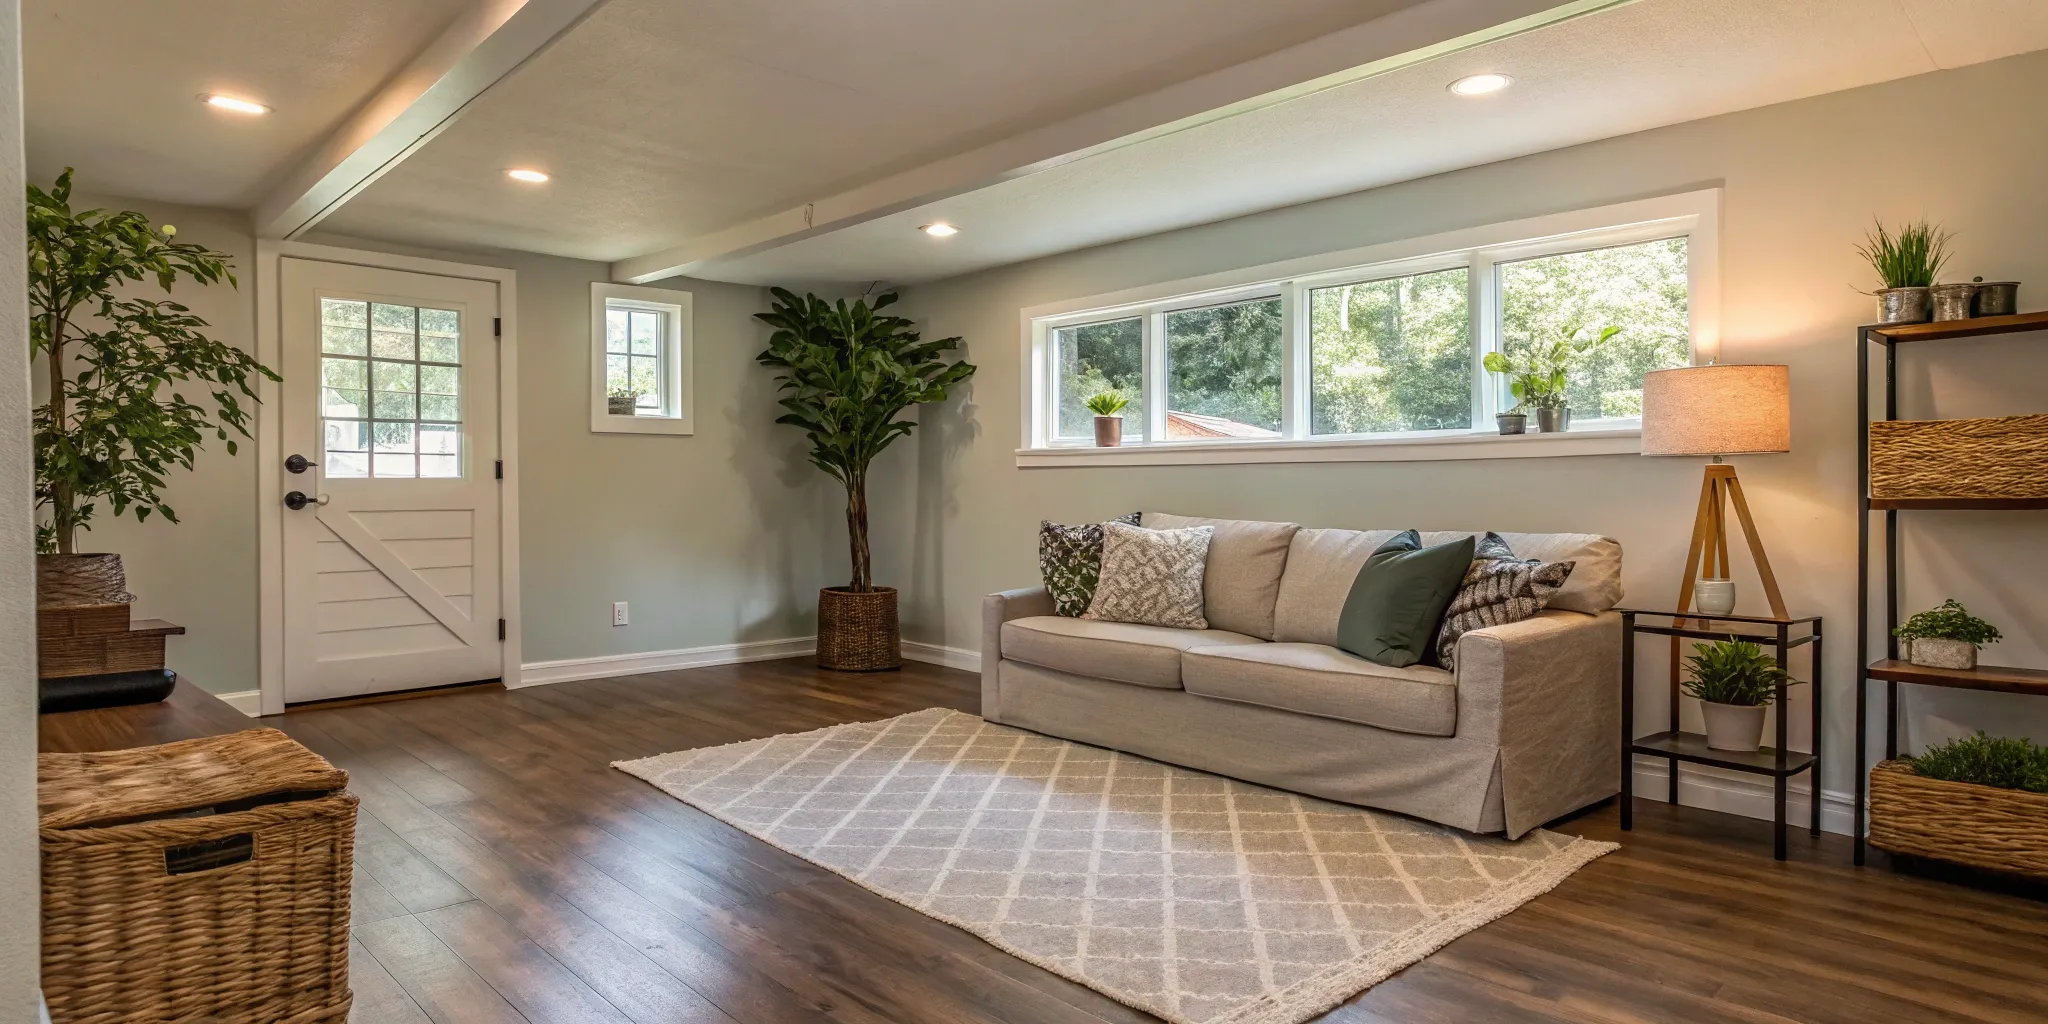
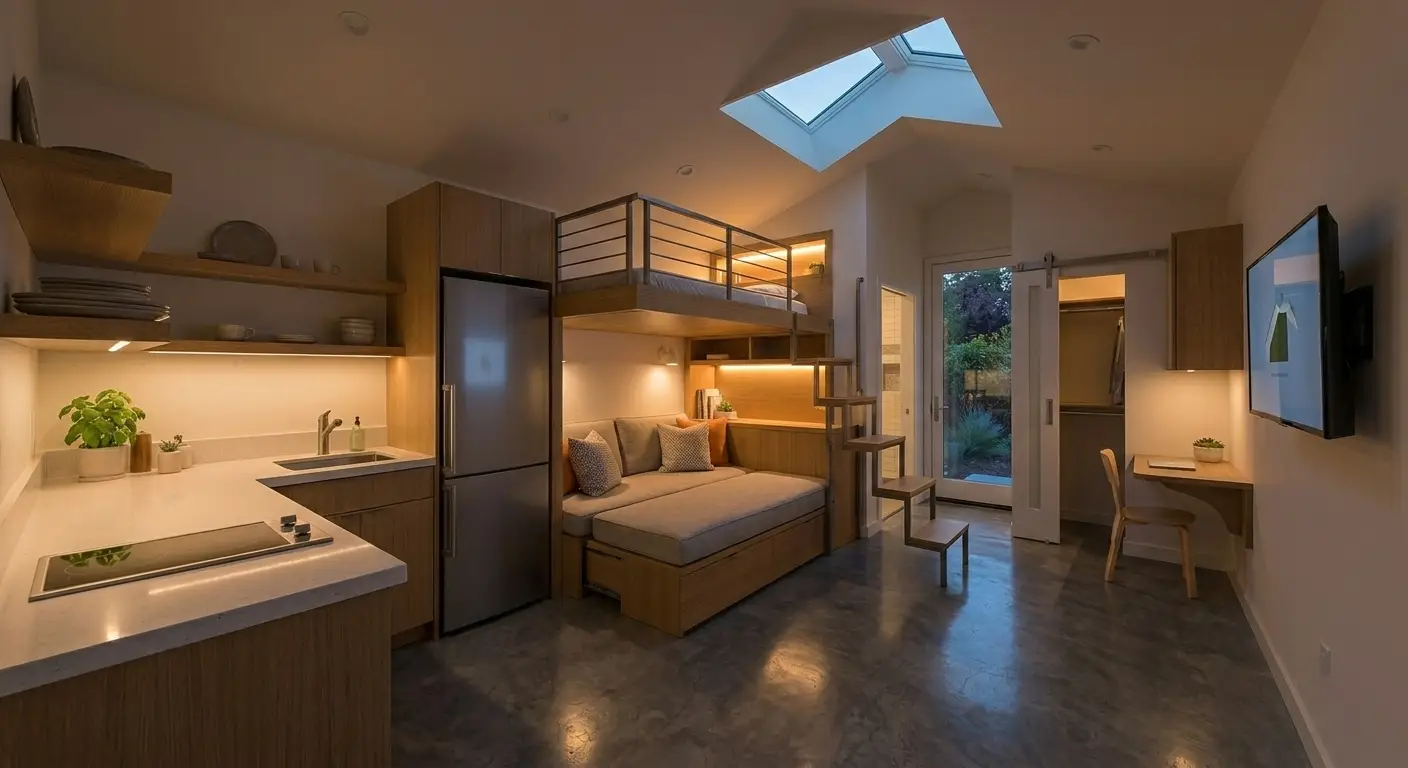
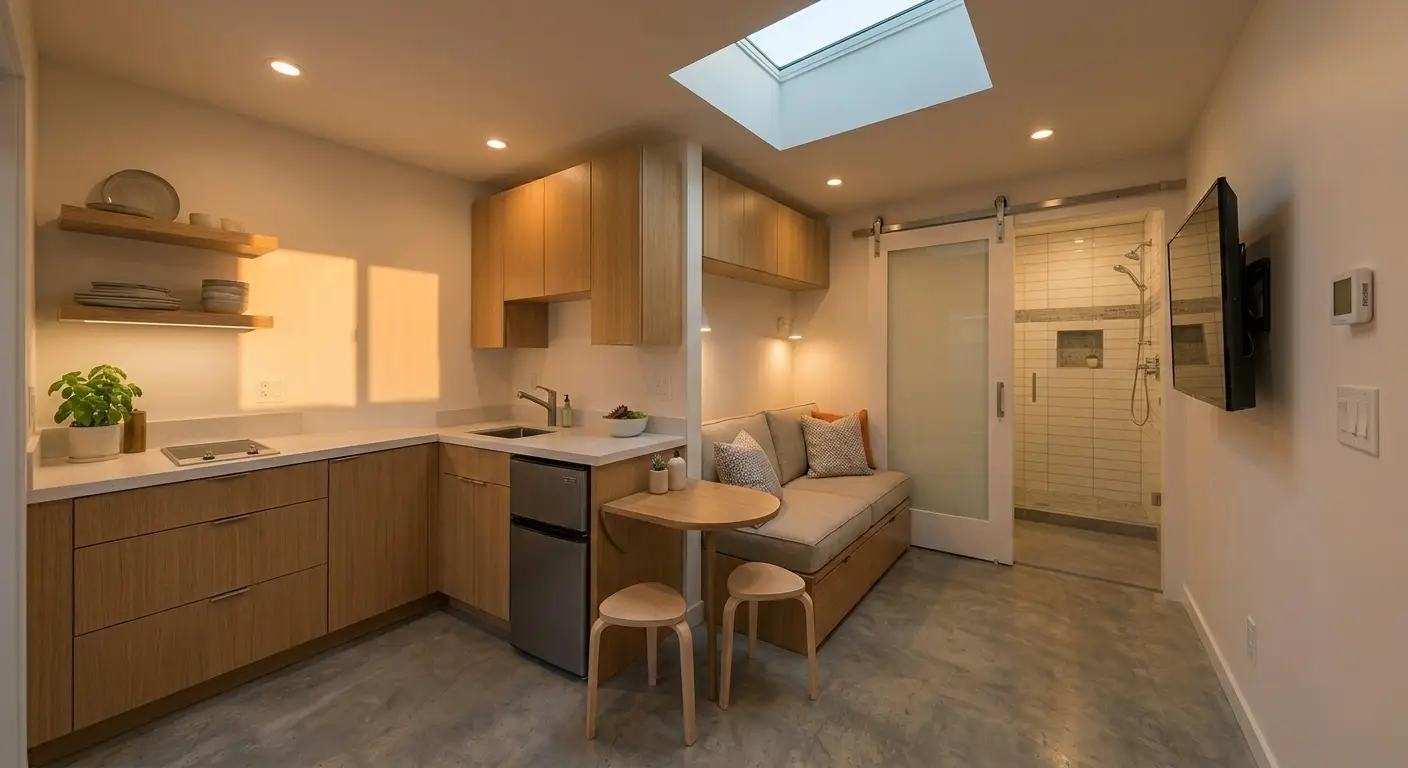
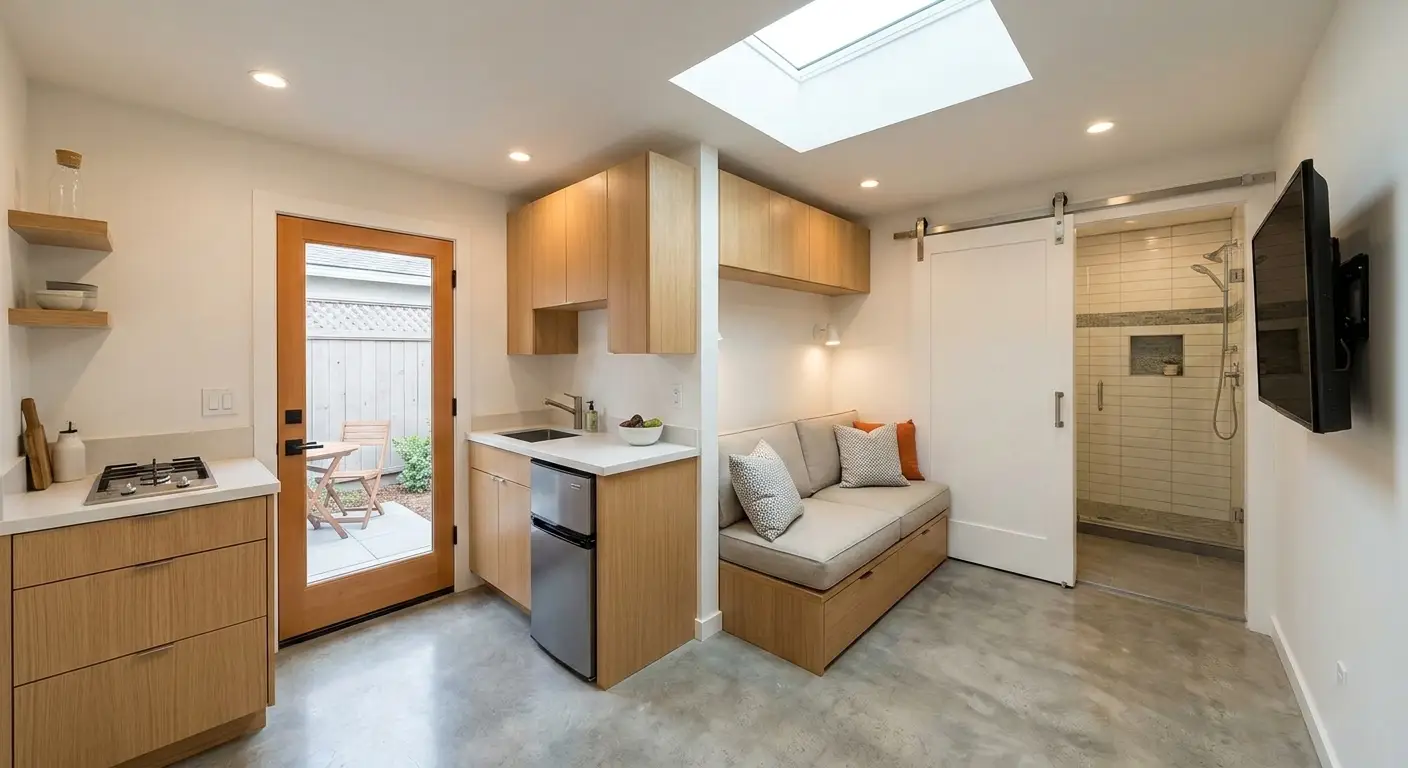
Storage vs. Living Space: What's the Cost Difference?
The difference in cost between creating a storage area and a habitable living space is significant. While a storage conversion might cost around $30 per square foot, turning that same attic into a bedroom or playroom could easily cost $200 per square foot or more. Why the huge jump? A living space has to meet strict building codes. This means reinforcing the floor joists to handle people and furniture, adding proper insulation and ventilation, installing drywall, running electrical for outlets and lighting, and often adding HVAC and an egress window for safety. A simple storage space just needs a safe floor, basic lighting, and proper ventilation to protect your belongings.
What Factors Drive Your Attic Finishing Budget?
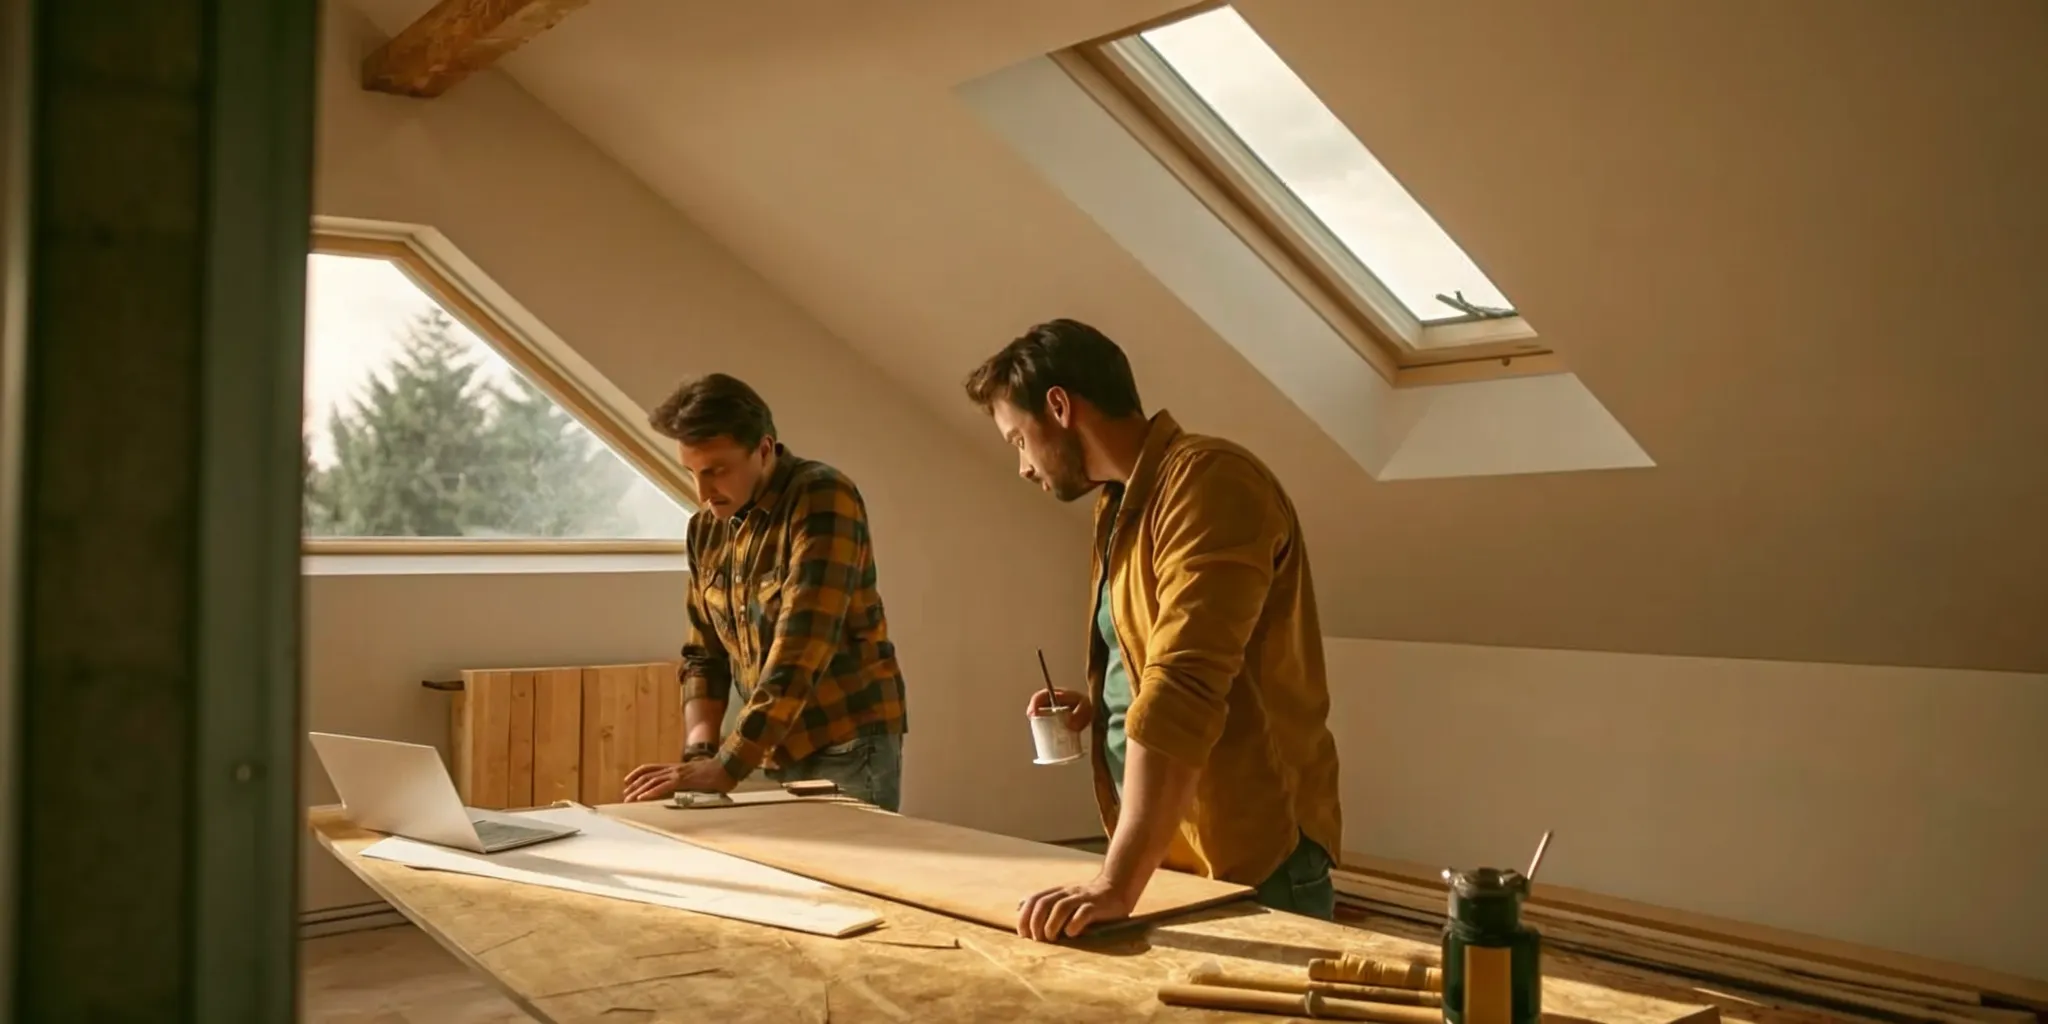
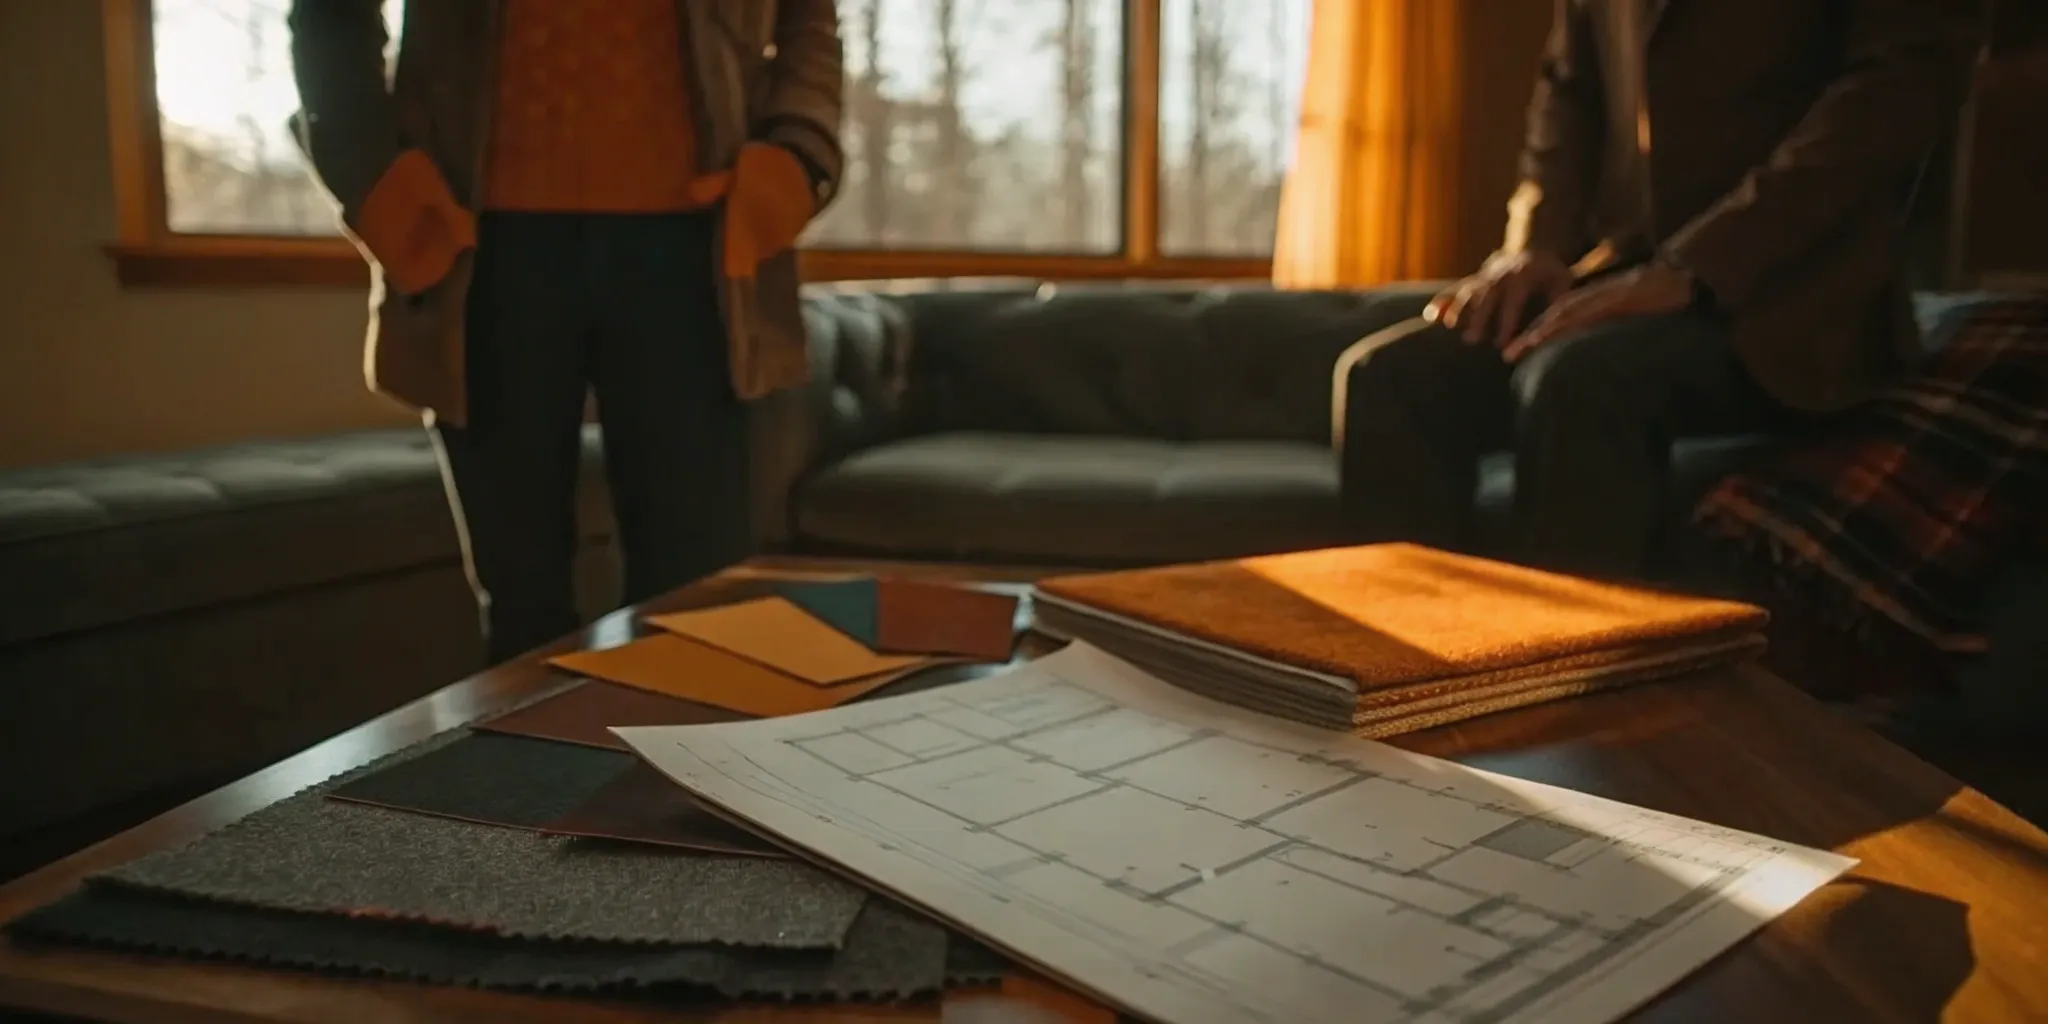
When you start thinking about finishing your attic for storage, the total cost can feel like a big question mark. The final price tag isn't just one number; it’s a sum of several key parts. Transforming that dusty, unused space into a functional storage area involves more than just laying down a few boards. The biggest drivers of your budget will be the structural changes needed to make the space safe, the materials you choose to protect it from the elements, how you plan to access it, and the local costs for labor and permits.
Think of it this way: a simple project that only requires adding a subfloor and basic lighting will land on the lower end of the cost spectrum. However, if your attic needs its floor joists reinforced to handle the weight, a proper staircase for easy access, and new insulation to protect your belongings from extreme temperatures, the costs will naturally climb. Each decision, from the type of flooring you install to whether you need to hire an electrician, plays a role. Understanding these factors from the start helps you create a realistic budget and prioritize what’s most important for your new storage space. With a clear plan, you can work with your dedicated Realm advisor to make smart choices that fit your needs and wallet.
Structural Support and Flooring
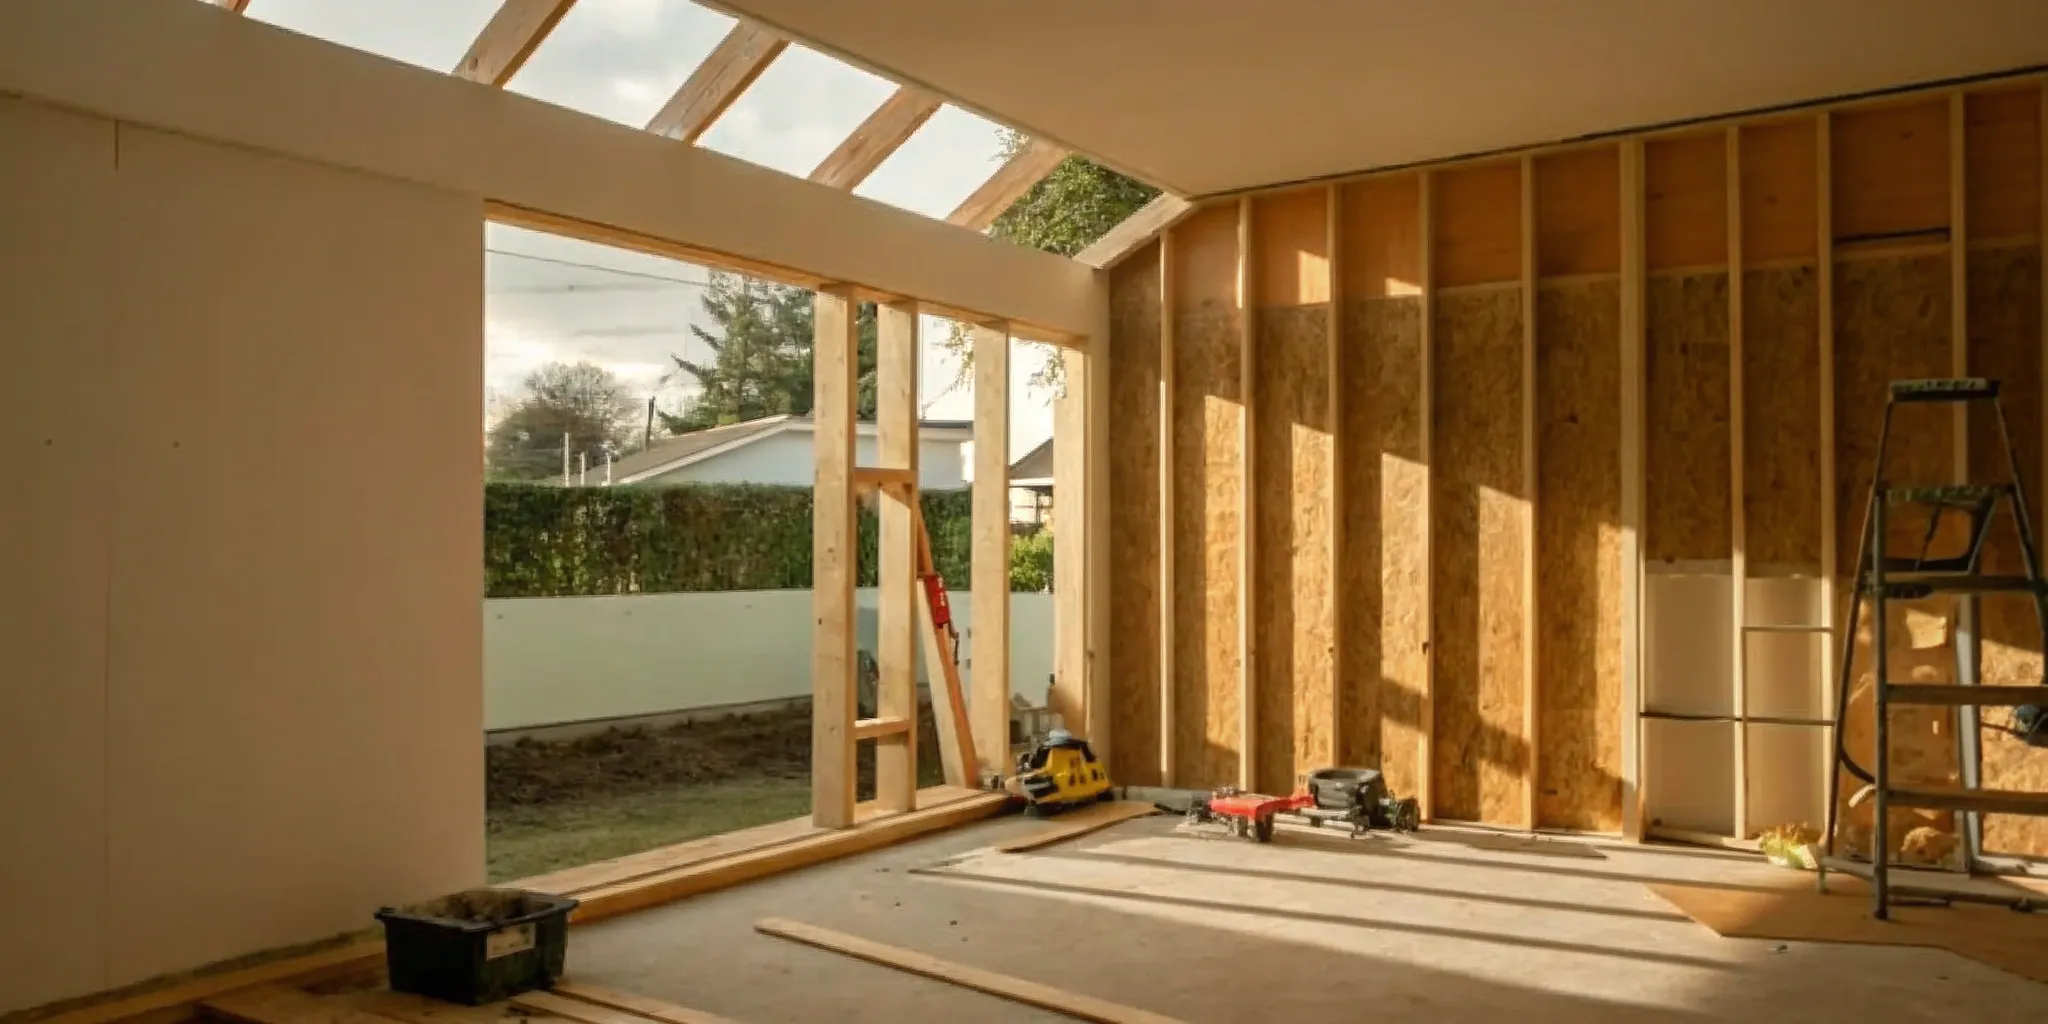
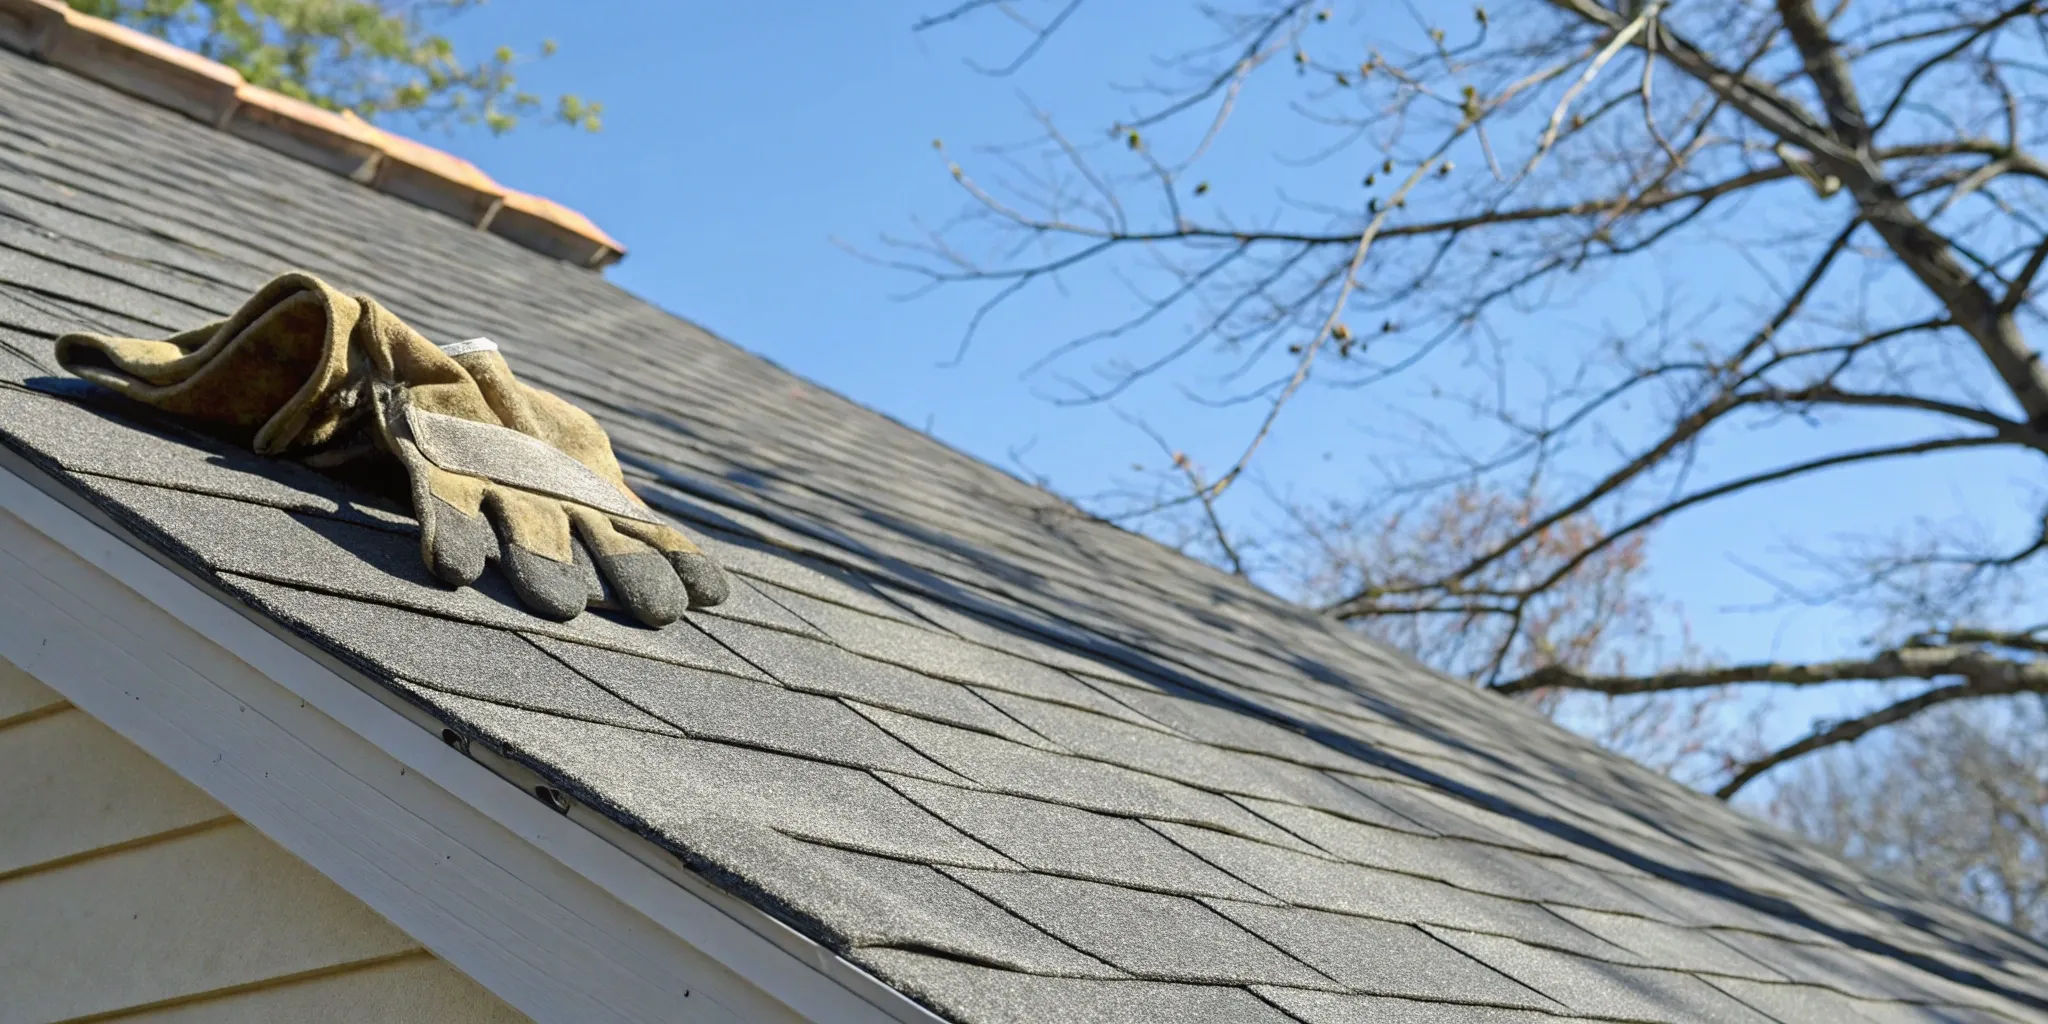
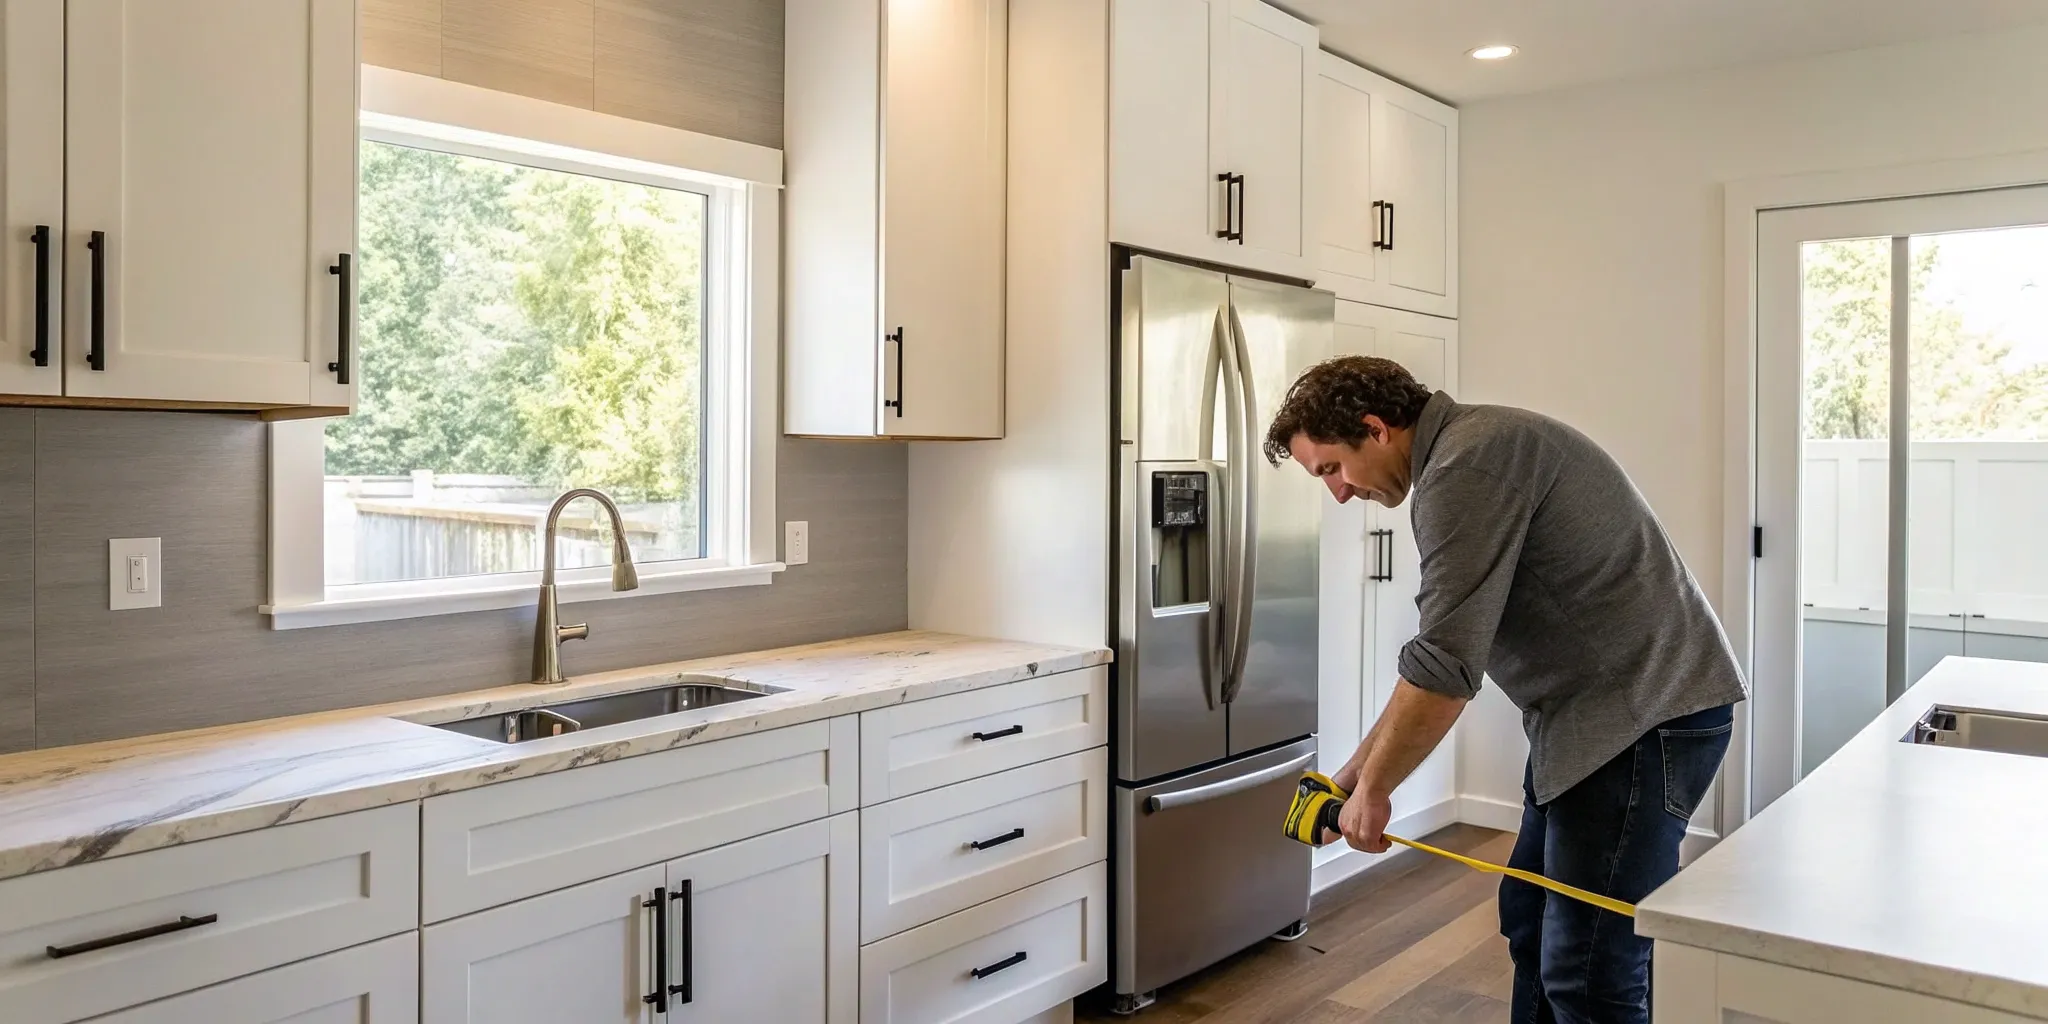
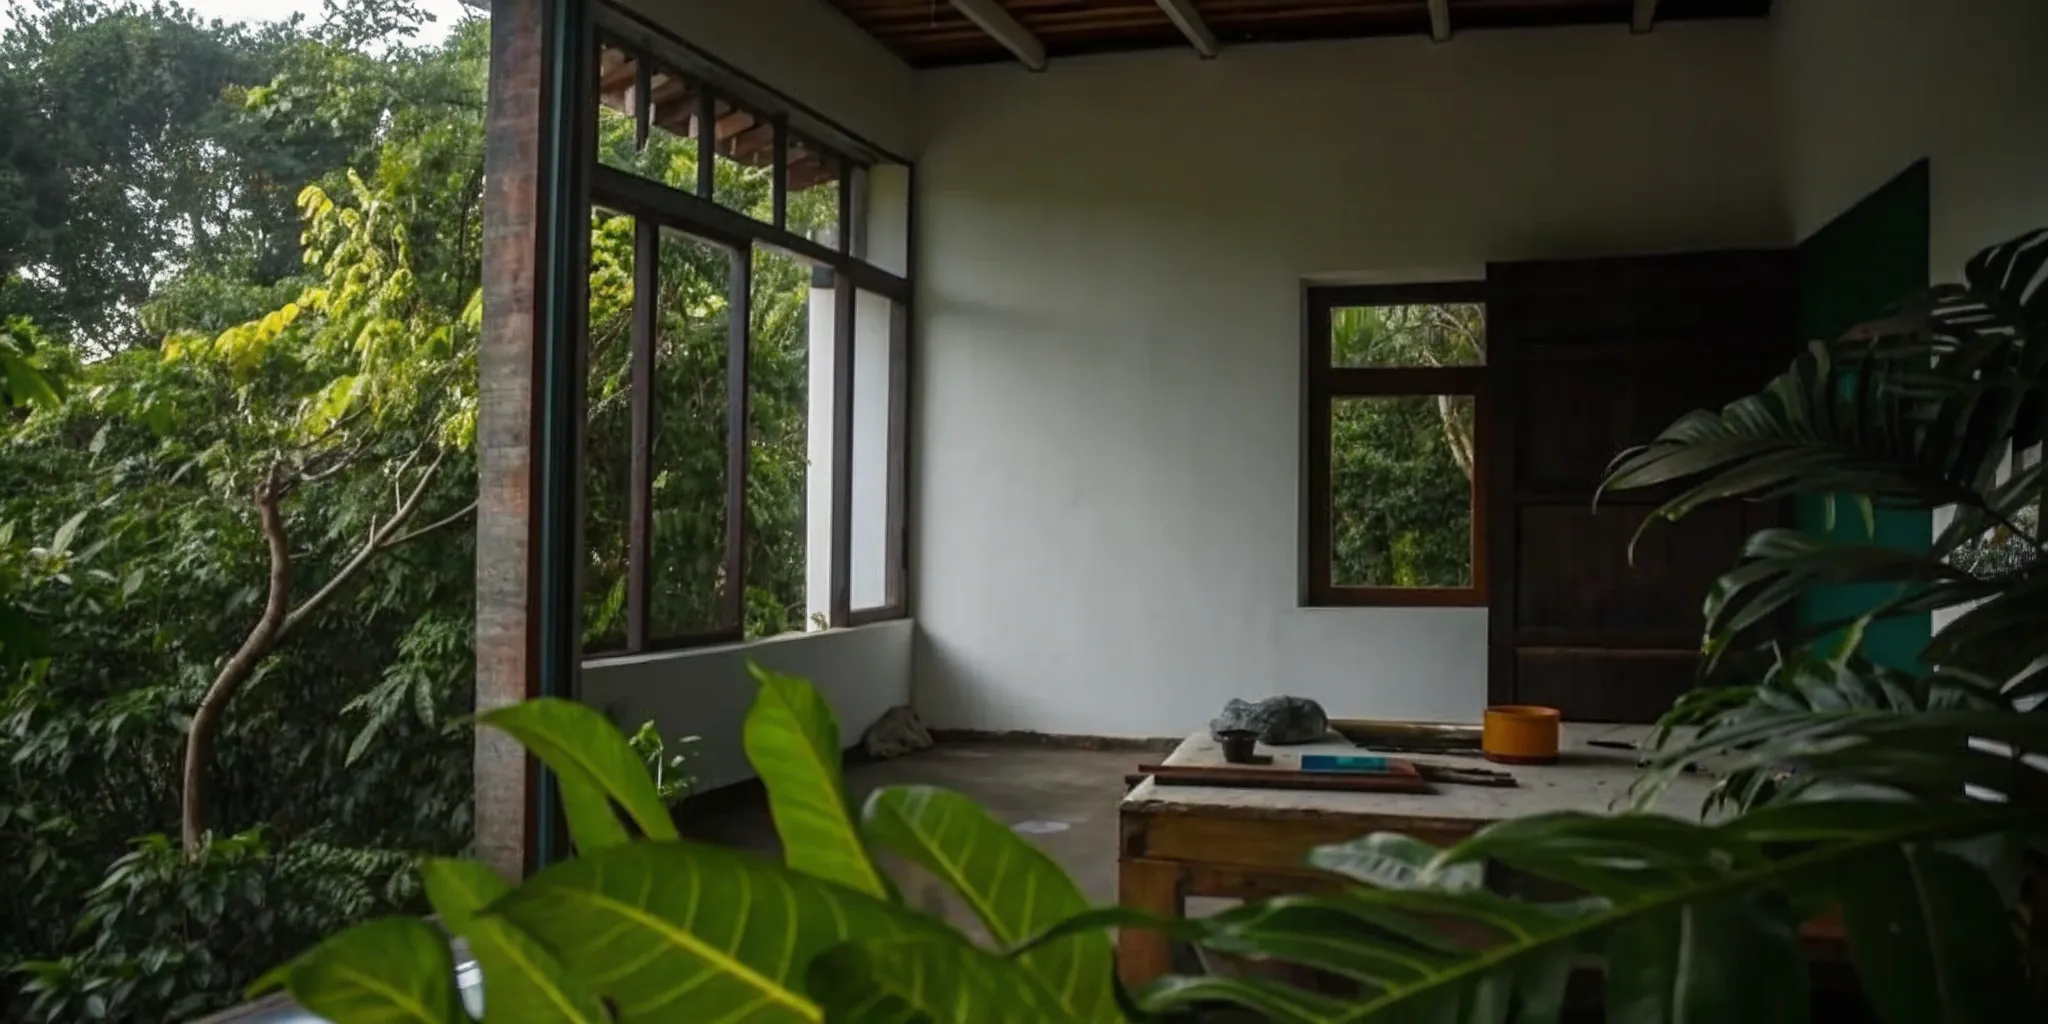
Before you can start loading boxes into your attic, you need to be sure it can handle the weight. The existing ceiling joists were likely designed to hold up drywall, not your heavy holiday decorations and family heirlooms. A crucial first step is having a professional assess whether the joists need to be reinforced, which is a primary factor in your project's cost. Once the structure is sound, you’ll need to install a subfloor. This creates a safe, solid surface to walk on and store your items. Plywood or oriented strand board (OSB) are common choices that provide the stability you need. This foundational work is essential for a safe and durable storage space.
Insulation and Ventilation
Proper insulation and ventilation might not be the most exciting parts of the project, but they’re critical for protecting whatever you plan to store. Without them, your attic can experience extreme temperature swings, turning it into an oven in the summer and a freezer in the winter. This can damage sensitive items like photos, wood furniture, and electronics. Adding insulation, which can cost between $800 and $3,500, helps regulate the temperature and improves your home's overall energy efficiency. Good ventilation prevents moisture buildup and mold growth, ensuring your belongings stay safe and dry for years to come.
Adding Stairs and Improving Access
How will you get your things in and out of the attic? Your current access, which might just be a small hatch in the ceiling, will likely need an upgrade. The most budget-friendly option is typically installing a set of pull-down attic stairs. This provides convenient access without the major construction and cost associated with building a permanent staircase. If your project is more ambitious or you need to move large items frequently, a fixed staircase might be necessary, but be prepared for this to significantly increase your budget. The choice you make here will have a big impact on both the final cost and the everyday usability of your new storage area.
Local Labor and Permit Fees
Where you live plays a big role in your total project cost. Labor rates for skilled contractors can vary significantly between cities like the SF Bay Area and Sacramento. This is why getting quotes from vetted local professionals is so important for an accurate budget. Additionally, you may need to pull a permit for your project, especially if you’re making structural changes or doing significant electrical work. Permit fees can range from a couple hundred to over a thousand dollars, depending on your municipality's requirements. Factoring in these local costs from the beginning helps prevent unexpected expenses down the road.
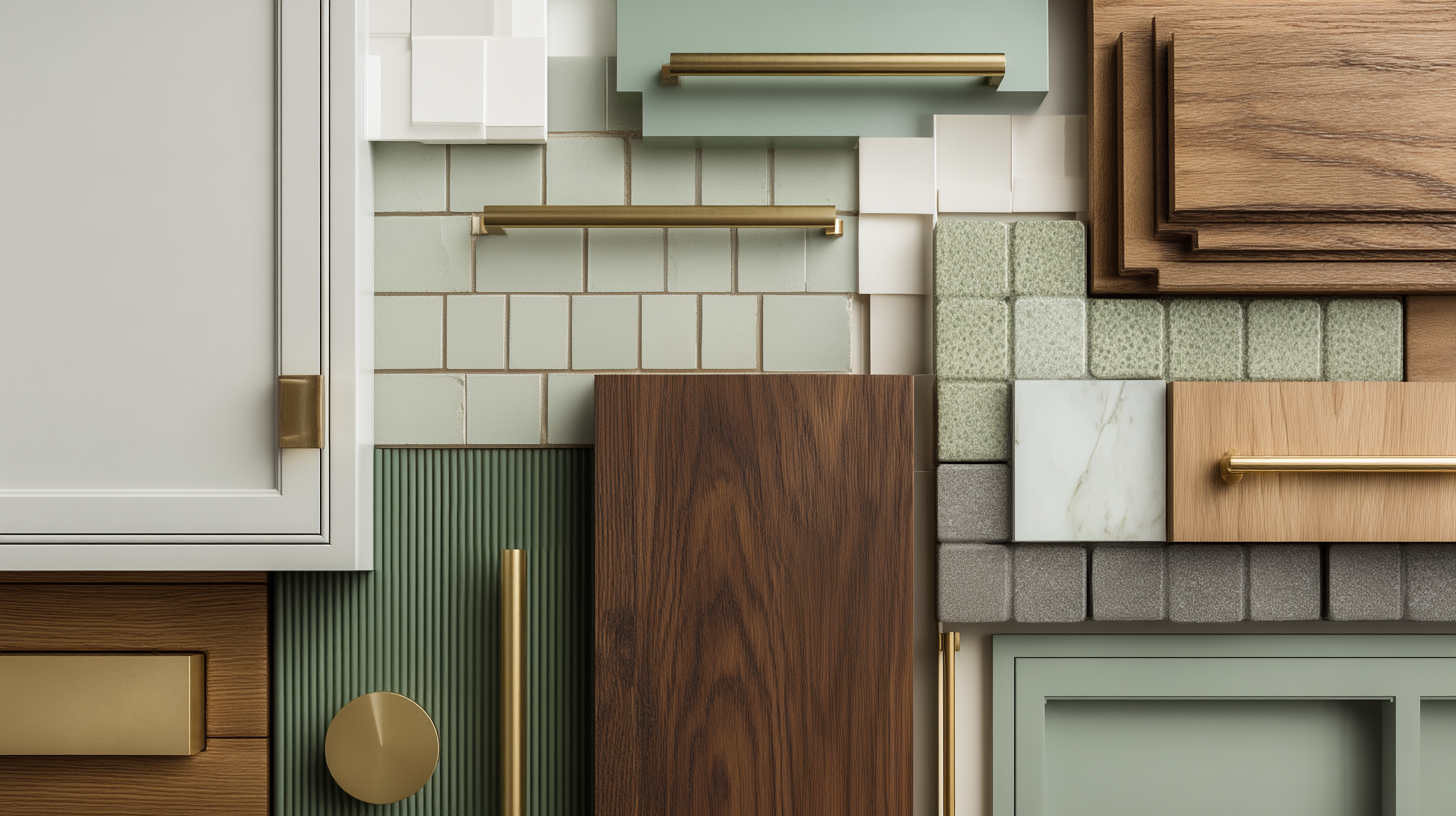
What Materials Will You Need for Attic Storage?
Once you’ve confirmed your attic can handle the extra weight, it’s time to think about materials. Choosing the right supplies is key to creating a storage space that’s not just functional but also safe and durable. You’re not just throwing down a few planks of wood; you’re building a proper extension of your home’s usable space. The main components you’ll need to consider are the subfloor, insulation, lighting, and shelving.
Each of these elements plays a critical role. The subfloor provides a stable surface to walk on and place your belongings. Insulation protects your stored items from extreme temperatures and helps with your home's overall energy efficiency. Proper lighting makes the space safe and easy to use, while a good shelving system keeps everything organized and accessible. Selecting quality materials from the start will save you headaches and potential replacement costs down the road. Your Realm advisor can help you source materials and find the right professionals for the job, ensuring everything is up to code and built to last.
Choosing Your Subfloor: Plywood vs. OSB
The first step in making your attic floor usable is laying down a subfloor. This creates a solid, flat surface over the joists. Your two main options are plywood and OSB (Oriented Strand Board). Plywood is known for its strength and superior moisture resistance, making it a great choice if your attic is prone to humidity. It’s a bit more expensive, but its durability often makes it worth the investment.
On the other hand, OSB is a more budget-friendly material that still provides a solid foundation for storage. It’s made from compressed wood strands and is perfectly suitable for most dry attic environments. When deciding, think about what you’ll be storing. For heavy boxes or in an area with temperature fluctuations, plywood might be the safer bet. For lighter holiday decorations in a well-ventilated space, OSB will get the job done without stretching your budget.
Picking the Right Insulation
Proper insulation is a non-negotiable for a functional attic storage space. It does more than just keep the area from getting scorching hot or freezing cold; it also protects your stored belongings from damage and improves your home’s overall energy efficiency. The most common insulation materials include fiberglass batts, spray foam, and cellulose.
Fiberglass batts are the fluffy pink or yellow rolls you’re probably familiar with—they are cost-effective and relatively easy for a pro to install between joists and rafters. Spray foam provides an excellent air seal, which is great for preventing drafts and moisture, but it comes at a higher price point. Cellulose, often made from recycled paper, is a loose-fill option that’s great for filling in awkward spaces. The right choice depends on your budget, climate, and existing attic setup.
Lighting and Electrical Essentials
A dark attic is a recipe for trips, falls, and frustration. To make your new storage area safe and functional, you’ll need to install adequate lighting. This could be as simple as a few strategically placed pull-chain fixtures or a more comprehensive system with wall switches. Think about how you’ll use the space to determine how much light you need.
Beyond lighting, you might want to add an electrical outlet or two for convenience. This makes it easier to plug in a vacuum for cleaning or a work light for projects. All electrical work should be handled by a licensed electrician to ensure it meets local building codes and is done safely. Faulty wiring is a serious fire hazard, so this is one area where you definitely don’t want to cut corners. A professional will make sure everything is installed correctly, giving you peace of mind.
Shelving and Organization for Your New Space
Once the floor and lights are in, the final step is creating a system to keep your belongings organized. An effective shelving solution will maximize your storage capacity and make it easy to find what you need. You have a few options here, from simple DIY shelves to more complex systems.
Modular shelving units are a popular choice because they are affordable, easy to assemble, and can be reconfigured as your needs change. For a more permanent and streamlined look, you could opt for built-in cabinets or shelving. This approach makes the most of every inch of space, especially in attics with sloped ceilings or awkward corners. Before you buy, take inventory of what you plan to store. This will help you choose a storage solution that can handle the weight and size of your items.
What's the Price Per Square Foot for an Attic Conversion?
Thinking about your attic conversion budget in terms of square footage is a smart way to estimate costs. But that number can change dramatically based on one key decision: are you creating a simple storage space or a new living area? A basic storage conversion is a much more straightforward project than building a new bedroom or home office, and the budget reflects that.
A simple storage project focuses on the essentials, like reinforcing the floor joists and laying down a subfloor. A living space, however, requires everything from insulation and drywall to electrical wiring, proper stairs, and finished flooring. Each of these additions adds to the complexity and the per-square-foot price. We'll break down how the purpose of your new space impacts the cost so you can plan accordingly.
A Look at Per-Square-Foot Costs
The purpose of your attic conversion is the single biggest driver of your per-square-foot cost. If you just need a clean, accessible spot for storage, you’ll be on the lower end of the price range. For example, some estimates put a basic storage conversion around $30 per square foot. But if you’re dreaming of a new bedroom or office, that number can easily climb to $200 per square foot or more. Other sources suggest a general range of $30 to $60 per square foot for a finished attic, which shows how quickly costs rise as you add features for a truly habitable room.
How Location Impacts Your Final Price
Your zip code has a major say in your final renovation bill. Labor rates and material prices vary significantly from one city to the next, especially in markets like the SF Bay Area or Los Angeles. This is why you’ll see such a wide range in project estimates, with some full attic renovations costing anywhere from $10,000 to over $50,000. It’s also important to think long-term. If you plan to sell your home down the road, your finished attic must meet specific requirements to be counted as official living space. Things like ceiling height and proper staircase access are critical, and finishing your attic to code will influence your total project cost.
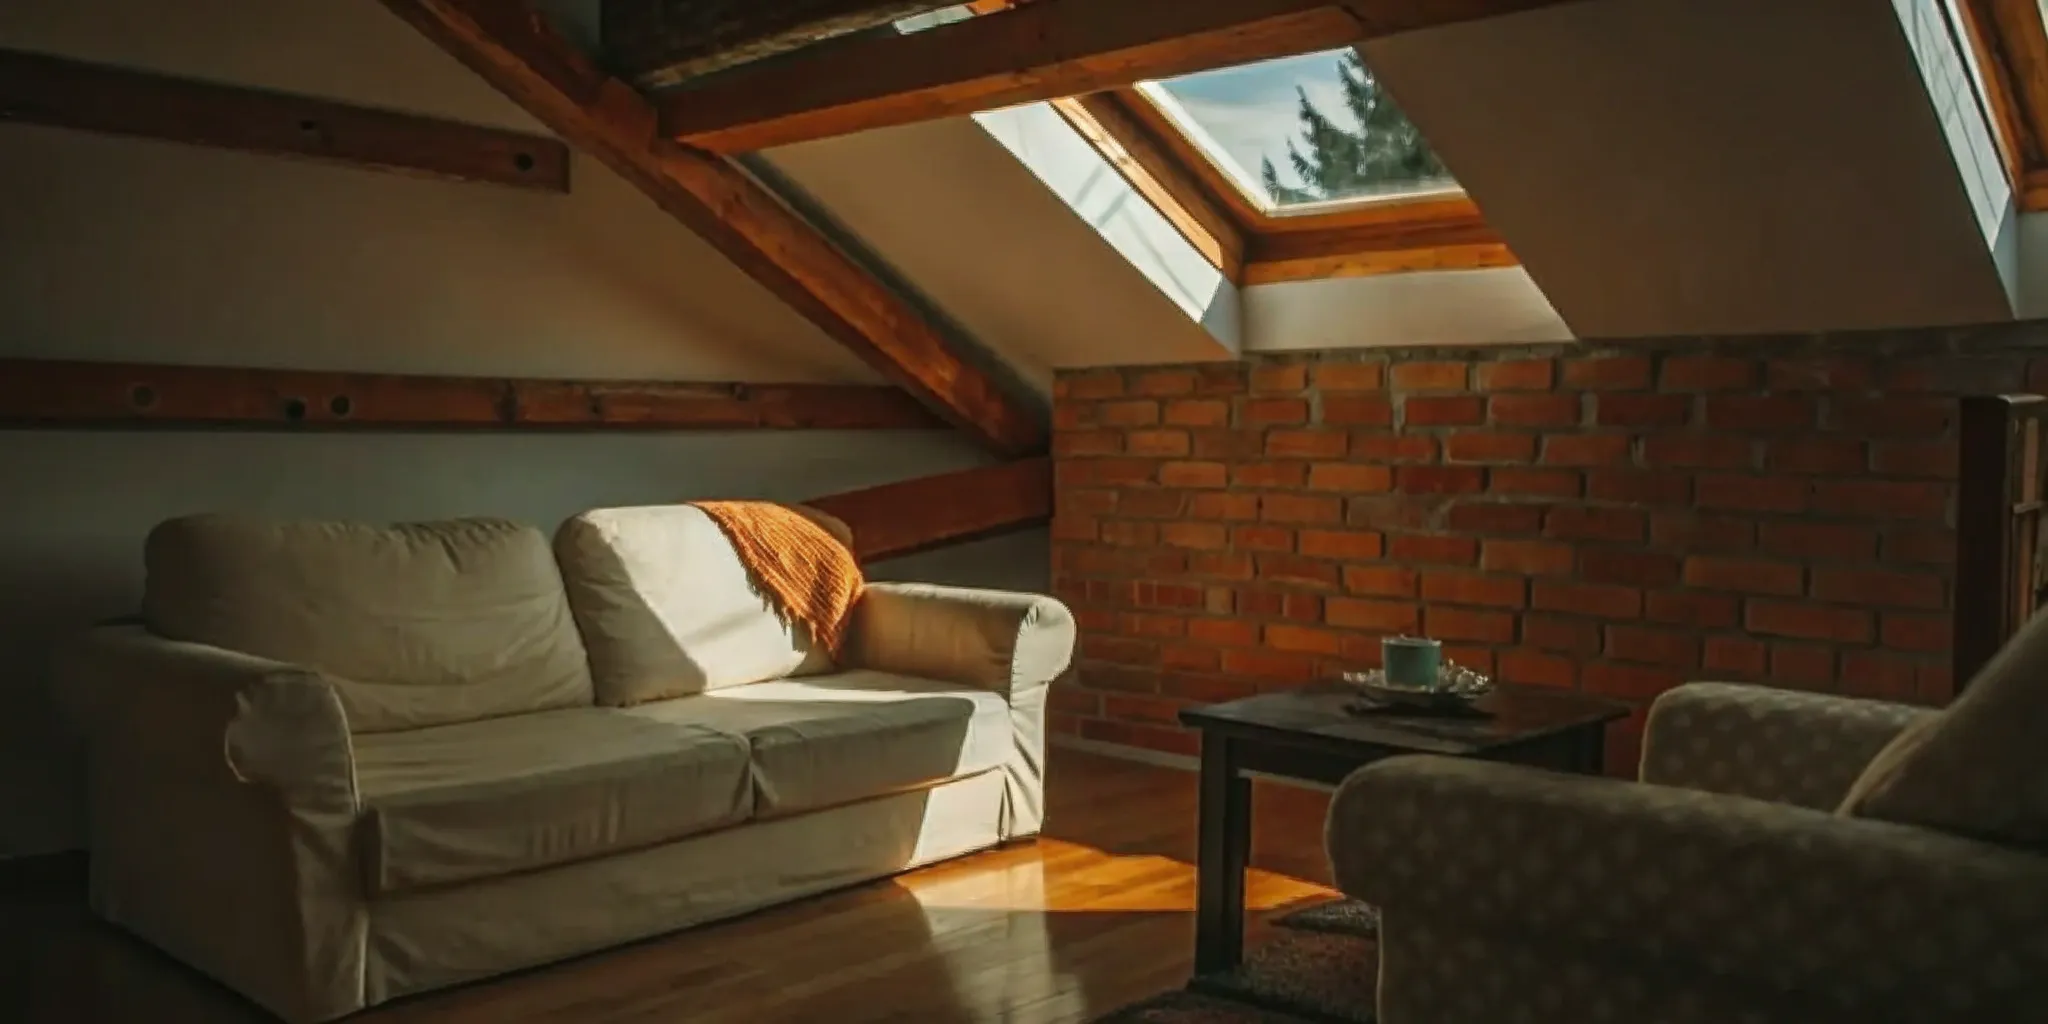
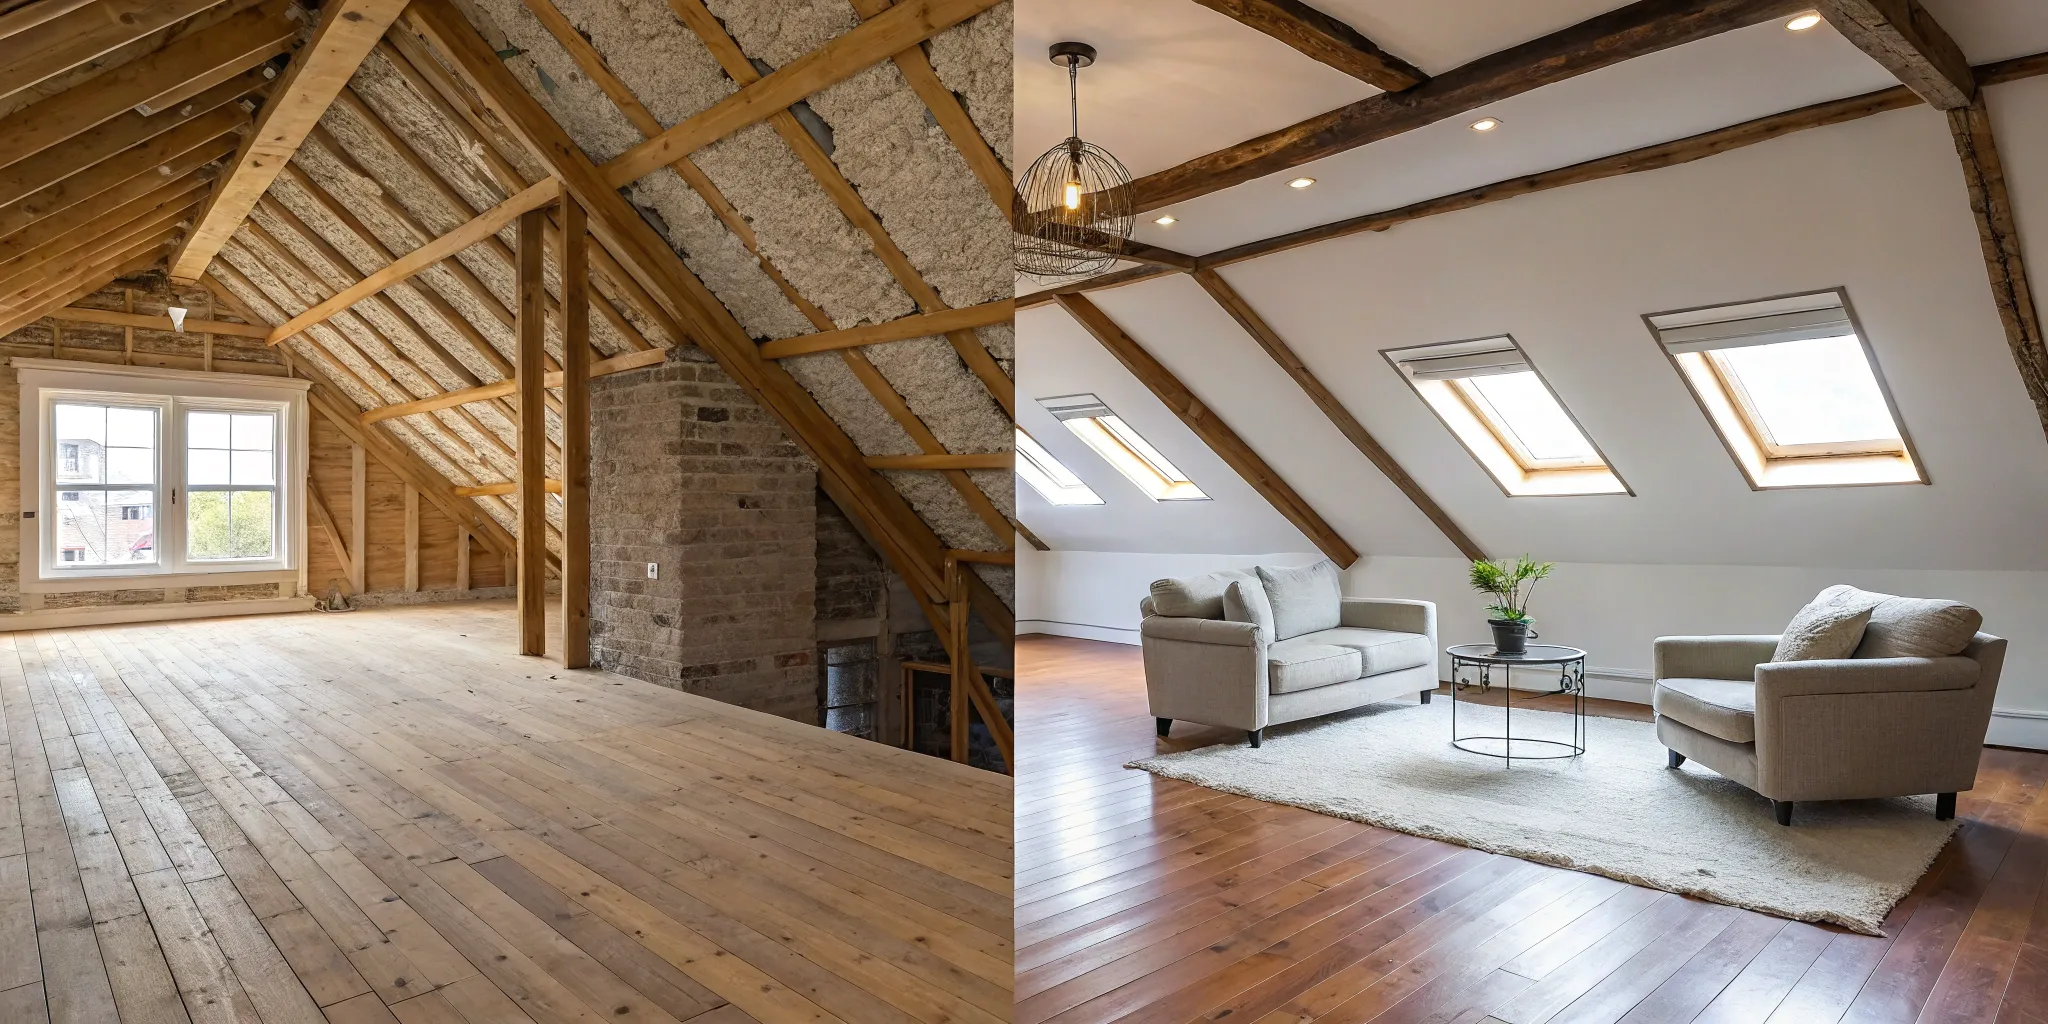
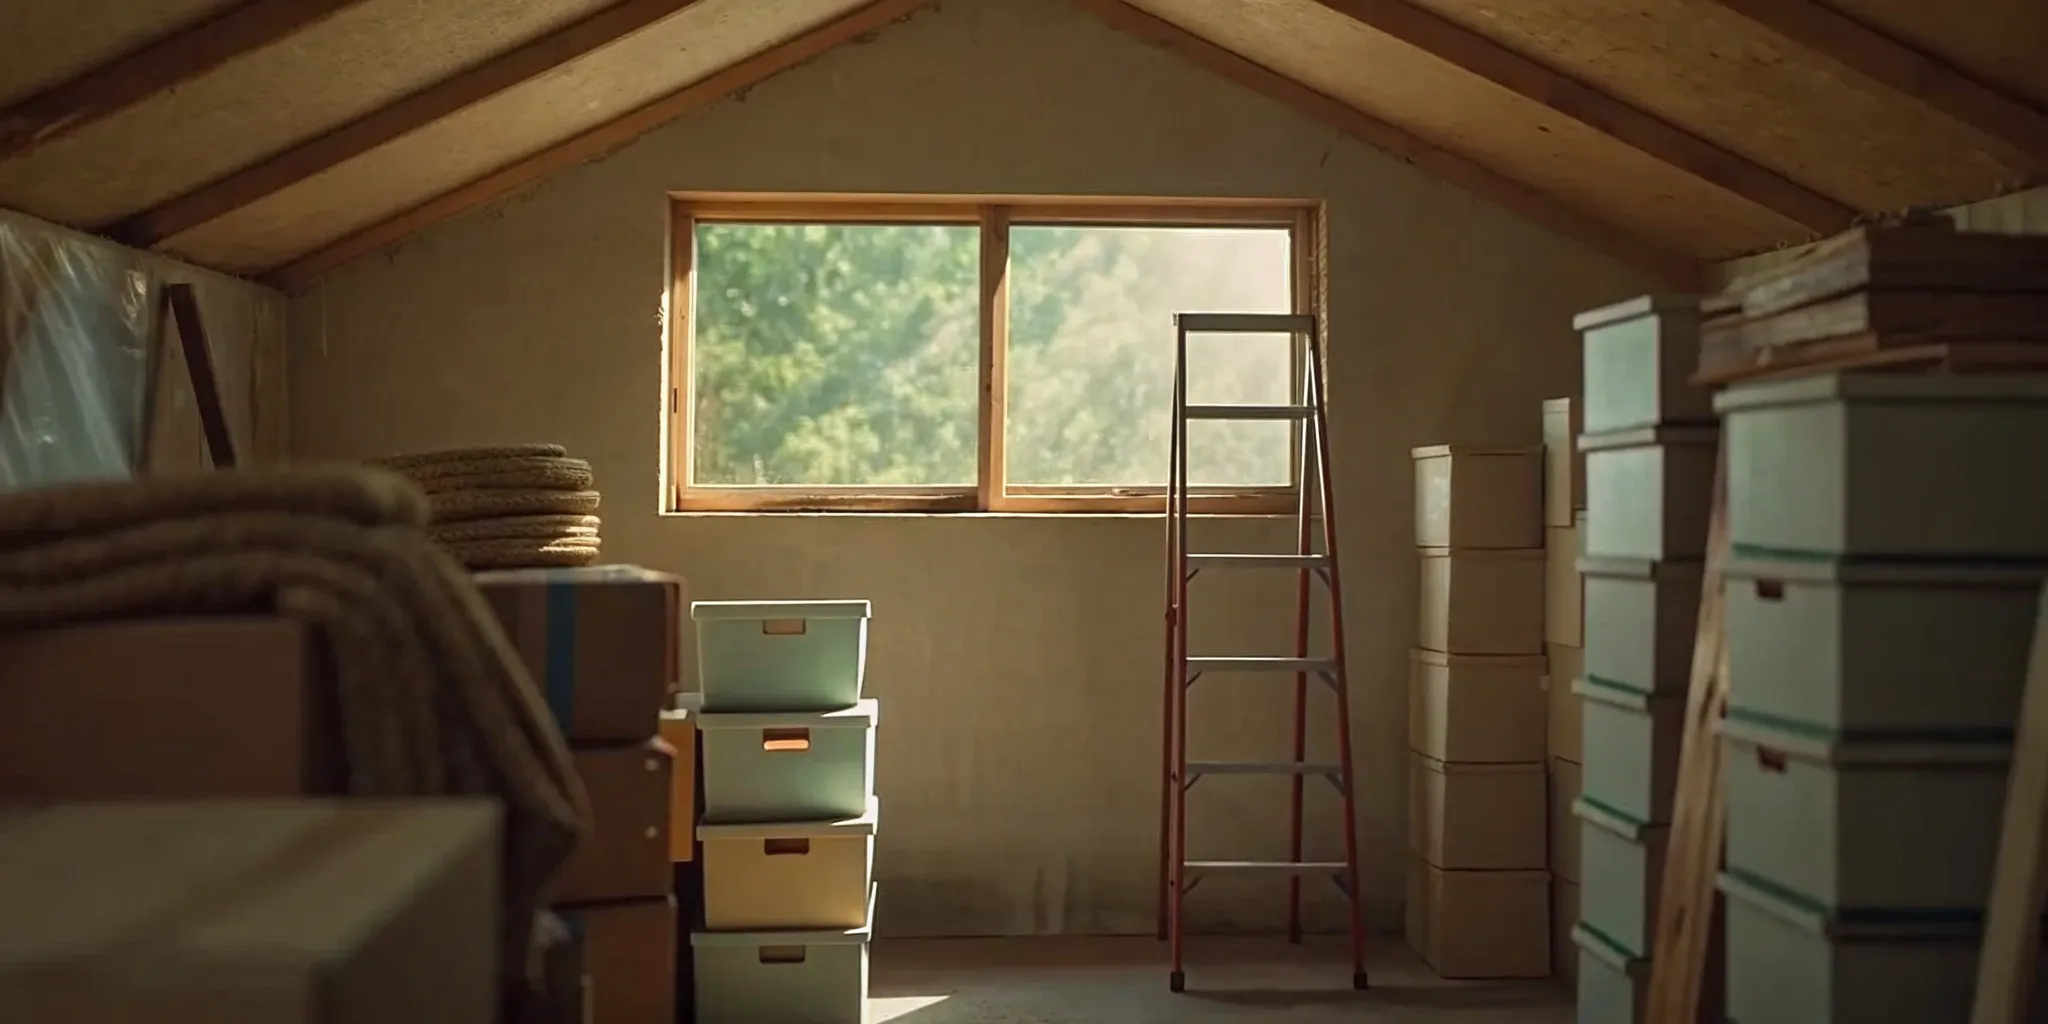
Is Your Attic Ready for a Storage Conversion?
Tapping into your attic for storage feels like discovering a hidden room in your own home. It’s an exciting prospect, but before you start planning where everything will go, it’s important to do a little detective work. Not all attics are created equal, and a few key checks can tell you if your space is a good candidate for a conversion. Taking the time to assess the structure, airflow, and local rules will save you from costly surprises down the road and ensure your new storage space is both safe and effective.
Checking Ceiling Height and Structural Strength
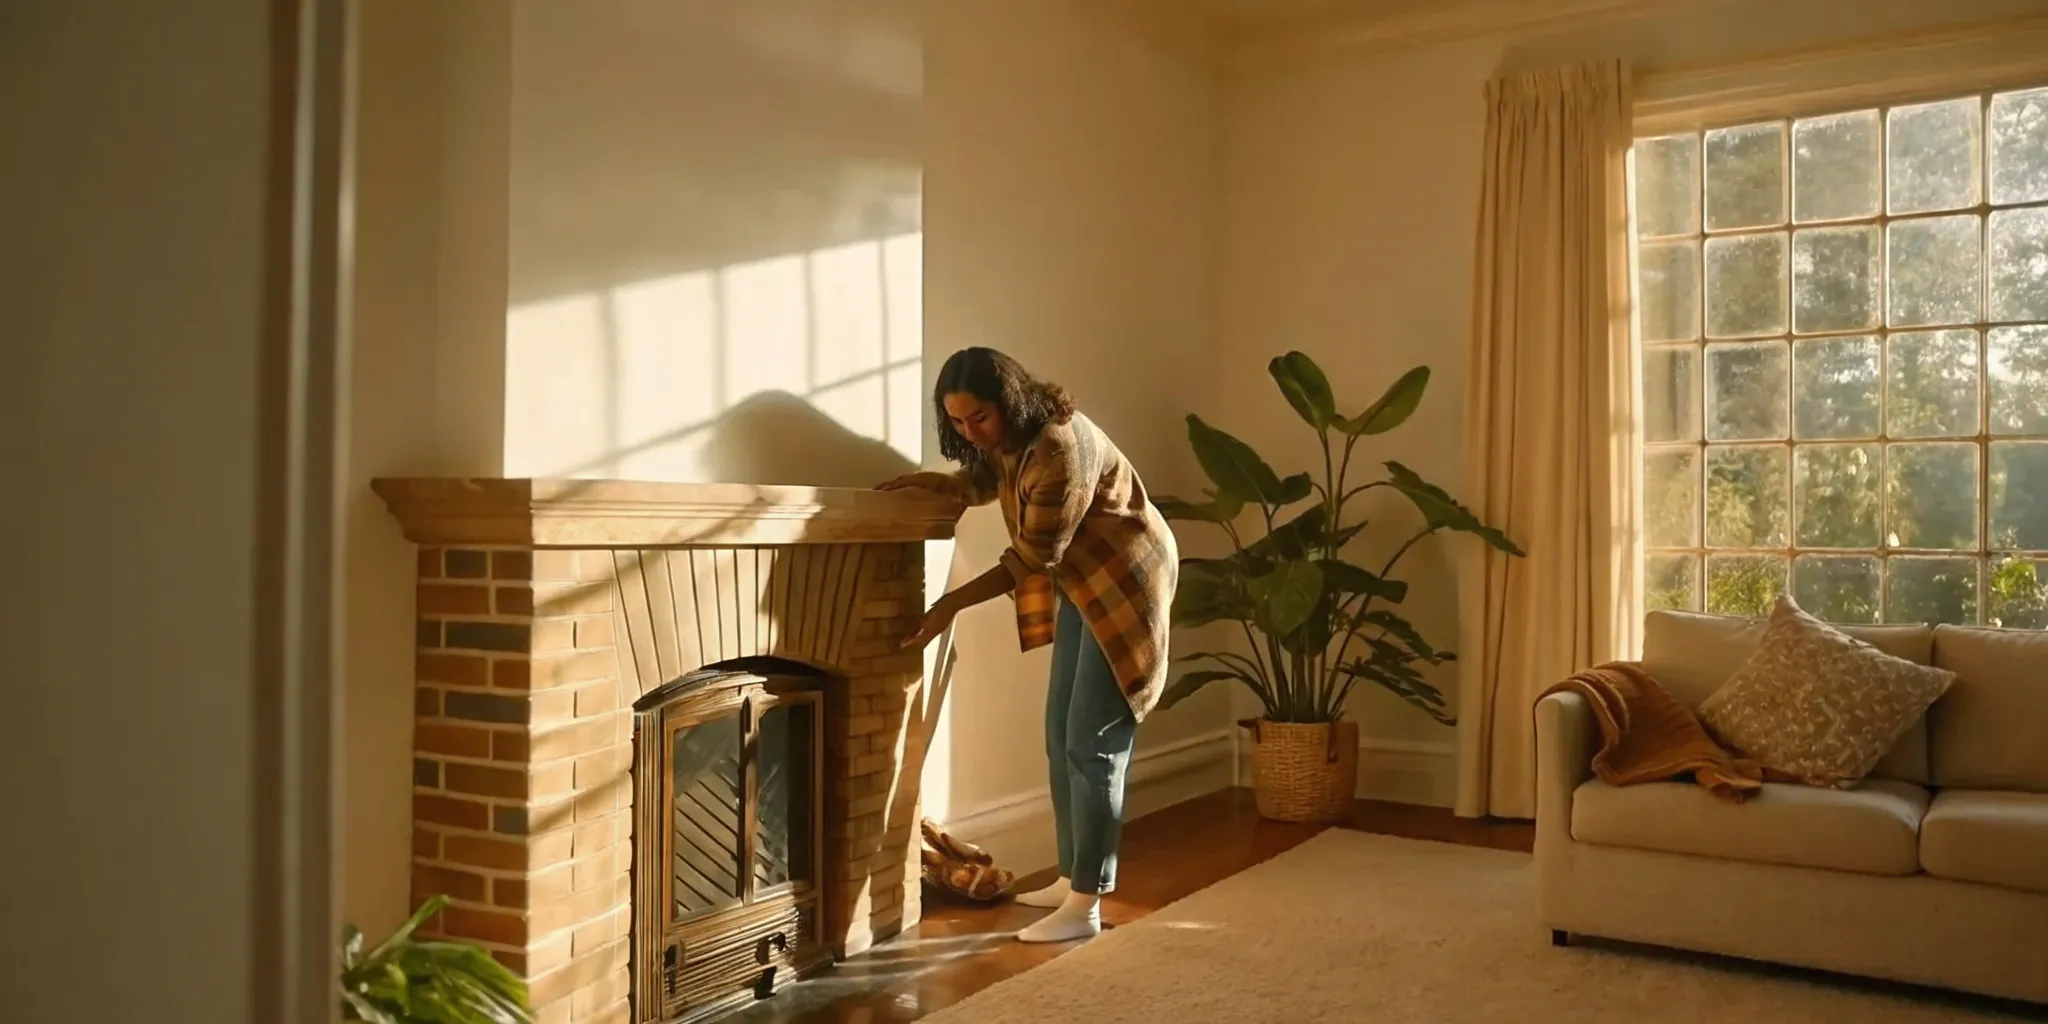
First things first: can your attic handle the weight? Most attics were designed simply to hold up the ceiling below them, not to support floors, heavy boxes, and foot traffic. The wooden beams you see, called joists, might not be strong enough on their own. Before you move forward, it’s a good idea to have a structural engineer assess the space. They can tell you if the existing structure is sufficient or if you’ll need to reinforce the joists to safely support the extra load. This is a critical step for safety and protecting the integrity of your home.
Managing Ventilation and Moisture
Proper airflow is essential for a healthy attic and for keeping your stored items in good condition. Attics can trap a lot of heat and humidity, creating the perfect environment for mold and mildew to grow. This moisture can damage your belongings and even compromise your home’s roof structure over time. Make sure your attic has a good ventilation system, which typically includes vents at the eaves (soffits) and the peak of the roof (ridge). This allows air to circulate freely, keeping the space dry and preventing moisture buildup year-round.
What Do Local Building Codes Say?
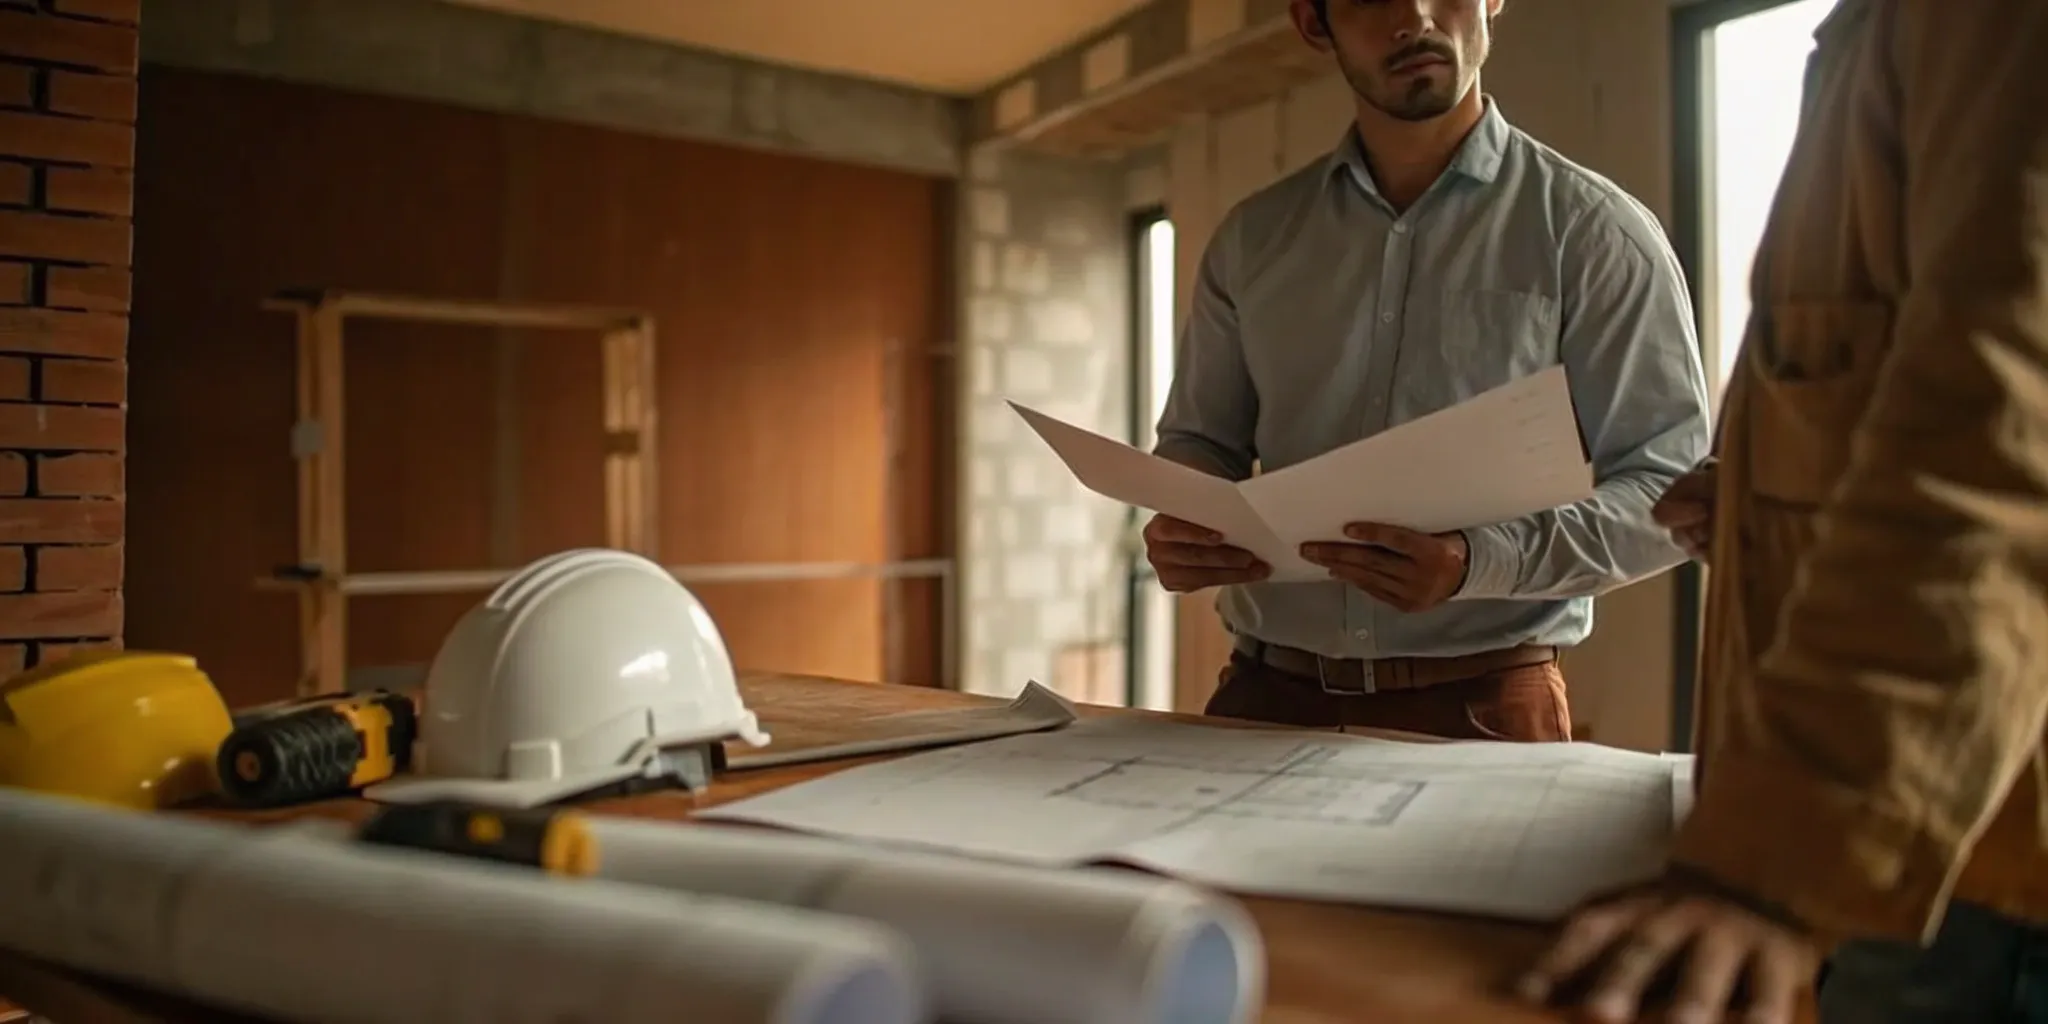
Even if you’re not creating a full-blown living area, you’ll still need to follow local building codes. These regulations are in place to ensure safety and can dictate everything from minimum floor space to fire safety measures like the type of access required. For example, many codes specify that any structural, electrical, or ventilation changes will require a permit. Since these rules can vary quite a bit depending on where you live, it’s always best to check with your local building department. Working with a Realm advisor can simplify this process, as they can help you understand the specific requirements for your project.
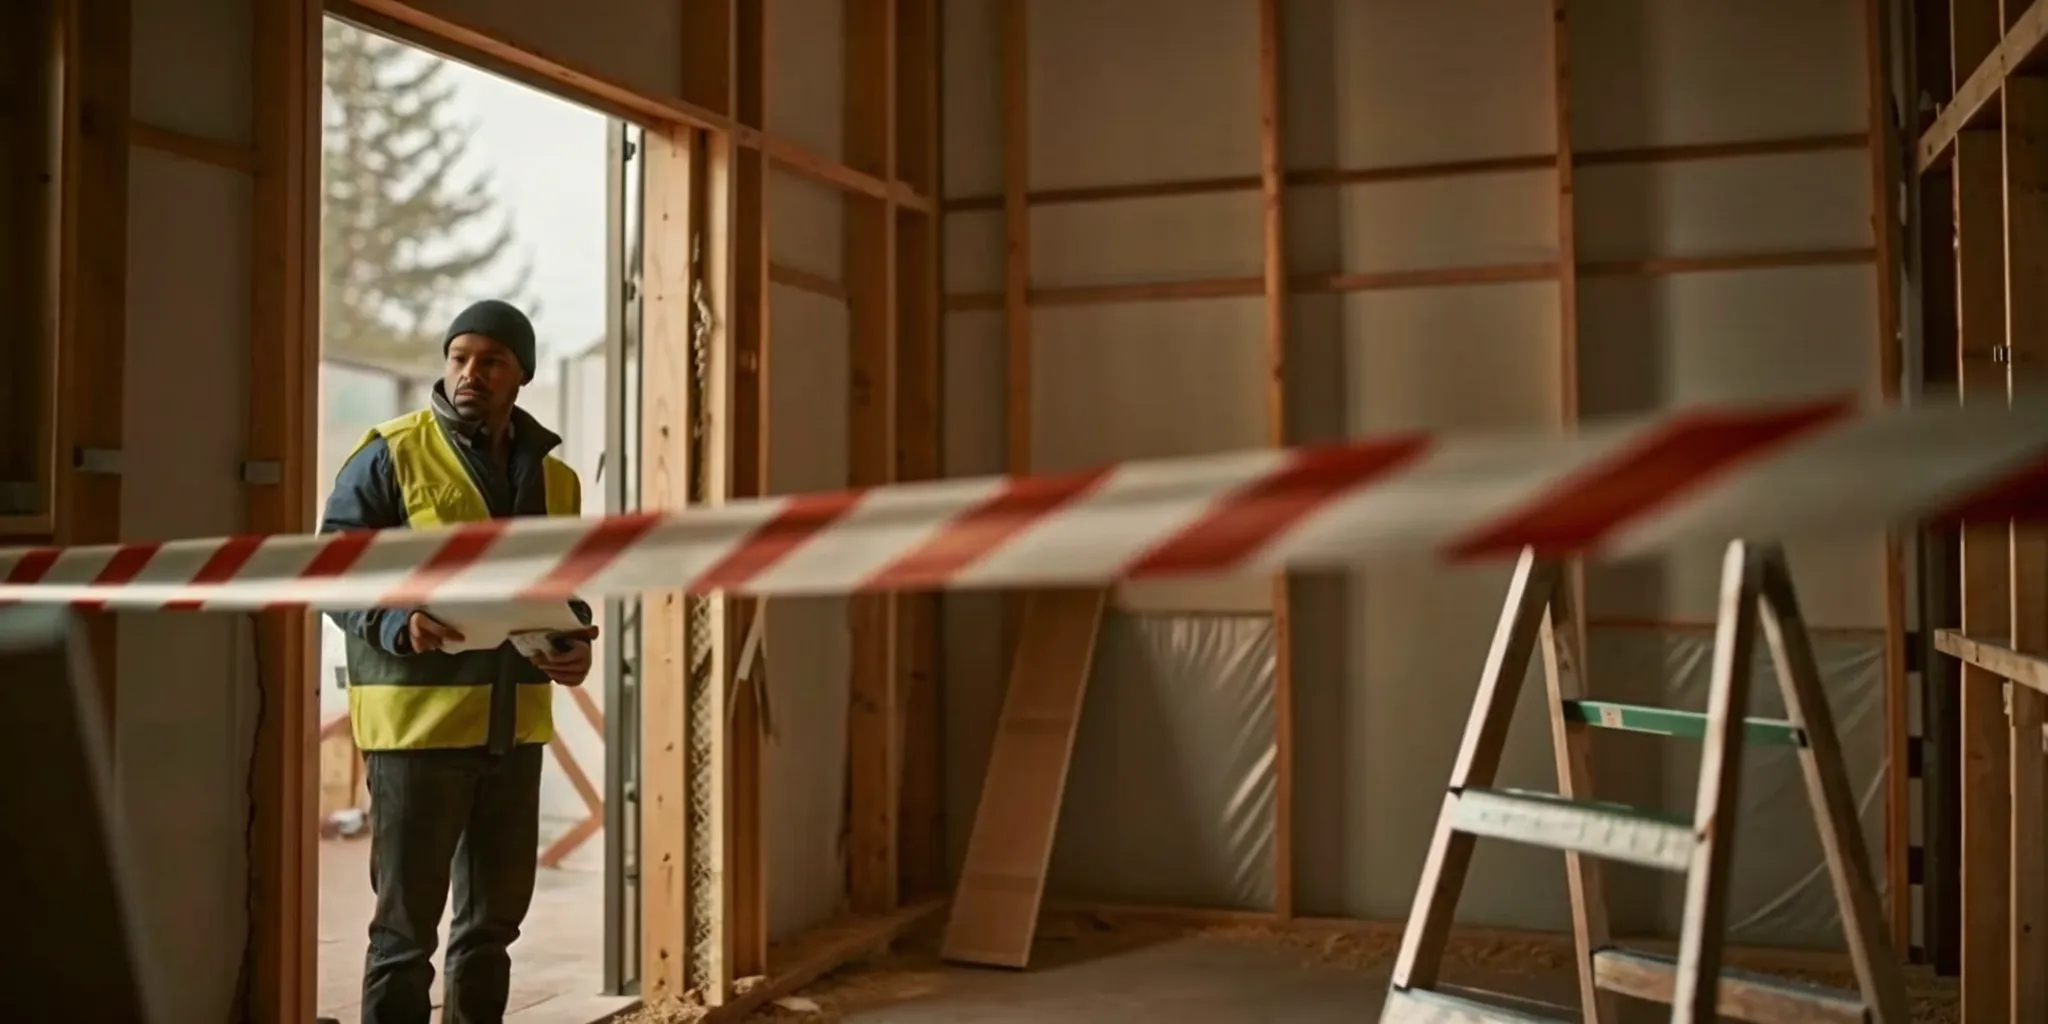
Do You Need a Permit to Finish Your Attic for Storage?
The word “permit” can make any homeowner’s heart sink a little, but it doesn’t have to be a complicated part of your project. Whether you need one for your attic storage project really comes down to the scope of your plans. If you’re simply laying down some plywood to create a flat surface for holiday decorations, you can probably skip the paperwork. However, the moment your project involves more significant changes, you’ll need to get your local building department involved.
Think of it this way: if you’re altering the structure, adding new electrical wiring for lights and outlets, or installing ventilation like a fan, you’re crossing into permit territory. These rules are in place for your safety—to ensure the work is done correctly and won’t cause issues down the line. Failing to get the right permits can lead to failed inspections, which can delay your project and even create problems if you decide to sell your home later. While it might seem like an extra step, securing the right permits protects your home’s value and gives you peace of mind that your new storage space is sound and secure.
When to Pull a Permit
As a general rule, you will need a building permit if you’re making any structural, electrical, or mechanical changes to your attic. This includes projects like installing permanent stairs, adding new windows, or running electrical wiring for lighting. If your vision for the attic goes beyond basic storage and starts to resemble a more finished, usable space, it’s almost certain a permit is required. Your best first step is always to check the specific local building codes in your area, as requirements can vary from one city to another. A quick call or visit to your city’s website can save you a lot of headaches later.
Understanding Permit Costs and Timelines
Permit costs can vary widely depending on your location and how complex your project is, but for most attic renovations, you can expect to pay between $150 and $500. This fee covers the administrative review and the necessary inspections to ensure the work is up to code. It’s also important to factor the permitting timeline into your project plan, as it can take several weeks to get approval. This is where it pays to work closely with your contractor, as an experienced professional will know exactly how to handle the paperwork and schedule inspections efficiently, keeping your project on track and avoiding costly delays.
DIY vs. Hiring a Pro: What Are the Cost Differences?
One of the biggest questions in any home project is deciding what to do yourself versus what to hire out. The temptation to DIY everything to save on labor costs is real, but it’s a balancing act. Taking on too much can lead to costly mistakes, project delays, and a lot of frustration. On the other hand, hiring a pro for simple tasks you could easily handle might stretch your budget unnecessarily. The smartest approach is to find a middle ground.
Think of your project in two parts: the foundational, technical work and the finishing touches. The foundational work—like structural changes, electrical wiring, or plumbing—is almost always best left to a licensed professional. These jobs carry significant risks if done incorrectly and are often regulated by local building codes. The finishing touches, however, are where you can roll up your sleeves and save some serious cash. By strategically choosing which tasks to tackle yourself, you can lower your overall labor bill and free up more of your budget for the high-impact elements of your attic conversion. It’s all about knowing your limits and making smart, informed decisions about where your time and money are best spent.
DIY-Friendly Tasks to Save Money
If you’re looking to cut down on labor costs, the finishing stages of your attic project are the perfect place to start. Tasks like installing drywall, painting, putting in flooring, or even wallpapering are great for a handy homeowner. These jobs don't typically involve the same safety risks or code requirements as structural or systems work. With some basic tools, a few online tutorials, and a little patience, you can achieve a professional-looking result while saving a significant amount on your final bill. Plus, handling the cleanup yourself is a simple way to avoid extra charges from your contractor.
When to Call in a Professional
While DIY can be a great money-saver, some jobs are strictly for the pros. Anything involving your home’s electrical or plumbing systems should be handled by a licensed and insured contractor. These tasks are not only dangerous for an amateur to attempt, but they also require special permits and inspections to ensure they’re up to code. Getting this work done correctly is crucial for your family’s safety and your home’s future value. A trusted professional will ensure everything is installed safely and legally, preventing expensive fixes or issues when it’s time to sell.
What Common Mistakes Drive Up Attic Finishing Costs?
An attic renovation is an exciting project, but it’s also one where costs can quickly spiral if you’re not careful. The biggest budget-breakers often aren’t the fancy finishes or high-end materials; they’re the avoidable mistakes made during the planning and construction phases. A little foresight can save you a significant amount of money and frustration down the road.
Knowing what to watch out for is the best way to keep your project on track and within your budget. From structural details that are easy to miss to simple planning errors, let’s walk through the most common pitfalls. By understanding these potential issues ahead of time, you can ensure your attic conversion is a smooth, cost-effective process that adds real value to your home.
Avoiding Costly Structural Oversights
It’s easy to get caught up in the vision for your new space and overlook the foundational work, but this is where some of the most expensive mistakes happen. First on the list is failing to get the right permits. It might feel like a bureaucratic hassle, but skipping this step can lead to hefty fines and orders to tear out completed work if it doesn’t meet local building codes. Always check with your city or county office before you begin.
Another common oversight is forgetting about heating and cooling. Attics experience extreme temperature swings, and without proper climate control, your stored items could be damaged. More importantly, an improperly conditioned attic can make your entire home less energy-efficient. Addressing HVAC needs from the start is far cheaper than trying to retrofit a solution later, which is one of the most common renovation mistakes homeowners make.
Steering Clear of Budget-Busting Planning Errors
Jumping into an attic project without a detailed plan is a recipe for unexpected expenses. When you don’t have a clear roadmap, it’s easy for "scope creep" to set in, where small additions and changes slowly inflate the final bill. Before a single hammer swings, you should have a defined layout, a list of materials, and a clear vision for how you’ll use the space.
This is why it’s so important to have a plan for what you want. Are you creating a simple space for holiday decorations, or do you need a climate-controlled area for sensitive items like photos and documents? Defining the purpose helps you prioritize spending. Without a clear goal, you might overspend on features you don’t need. A solid plan acts as your guide, preventing impulsive decisions and ensuring every dollar is spent effectively.
Common Insulation and Ventilation Pitfalls
Proper insulation and ventilation are the unsung heroes of a functional attic. One of the most critical errors is blocking off ventilation points to gain more floor or wall space. Your attic needs to breathe. Proper attic ventilation allows hot, moist air to escape, preventing moisture buildup that can lead to mold, rot, and structural damage. Sealing it up can trap this moisture and create serious problems for your home’s roof and framing.
Likewise, skimping on insulation is a mistake that will cost you more in the long run. An under-insulated attic is a major source of energy loss, leading to higher heating and cooling bills year-round. Investing in quality insulation from the start will not only protect your stored belongings from extreme temperatures but will also make your entire home more comfortable and efficient.
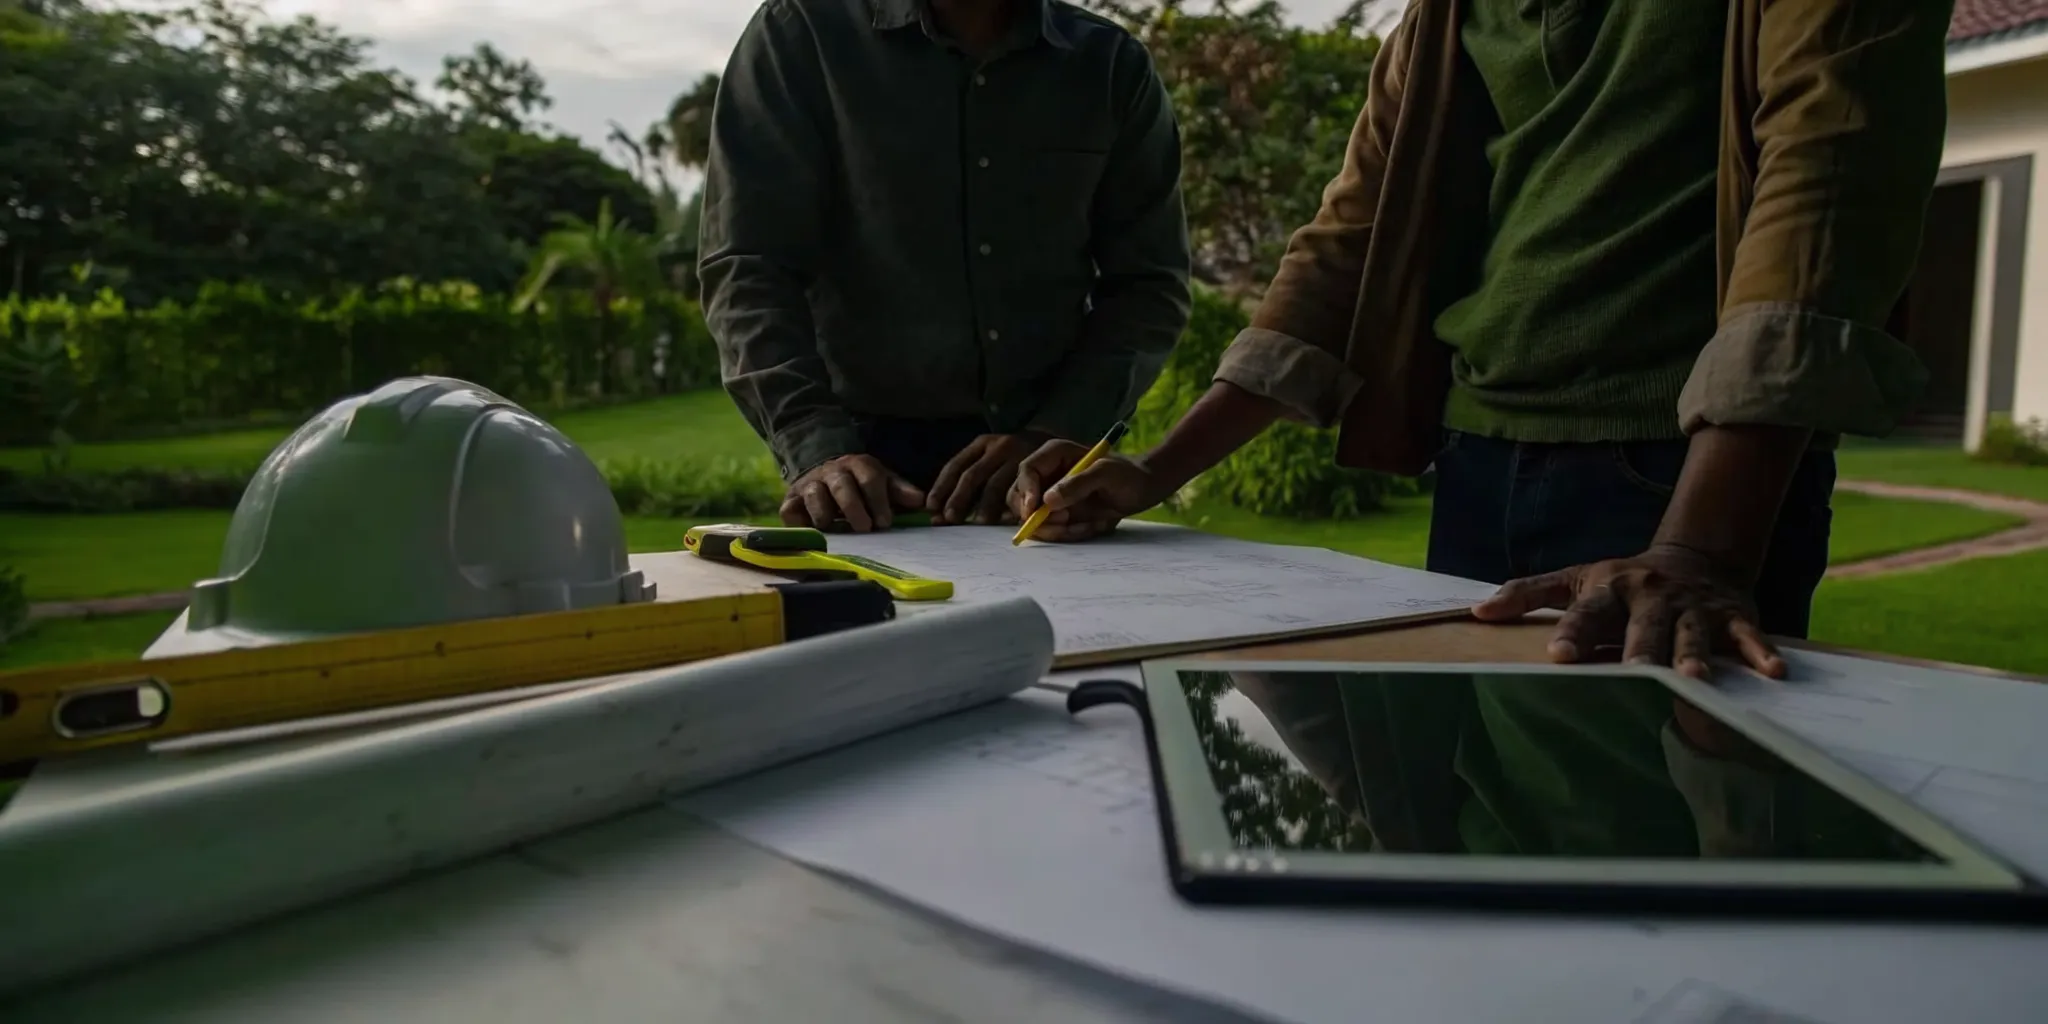
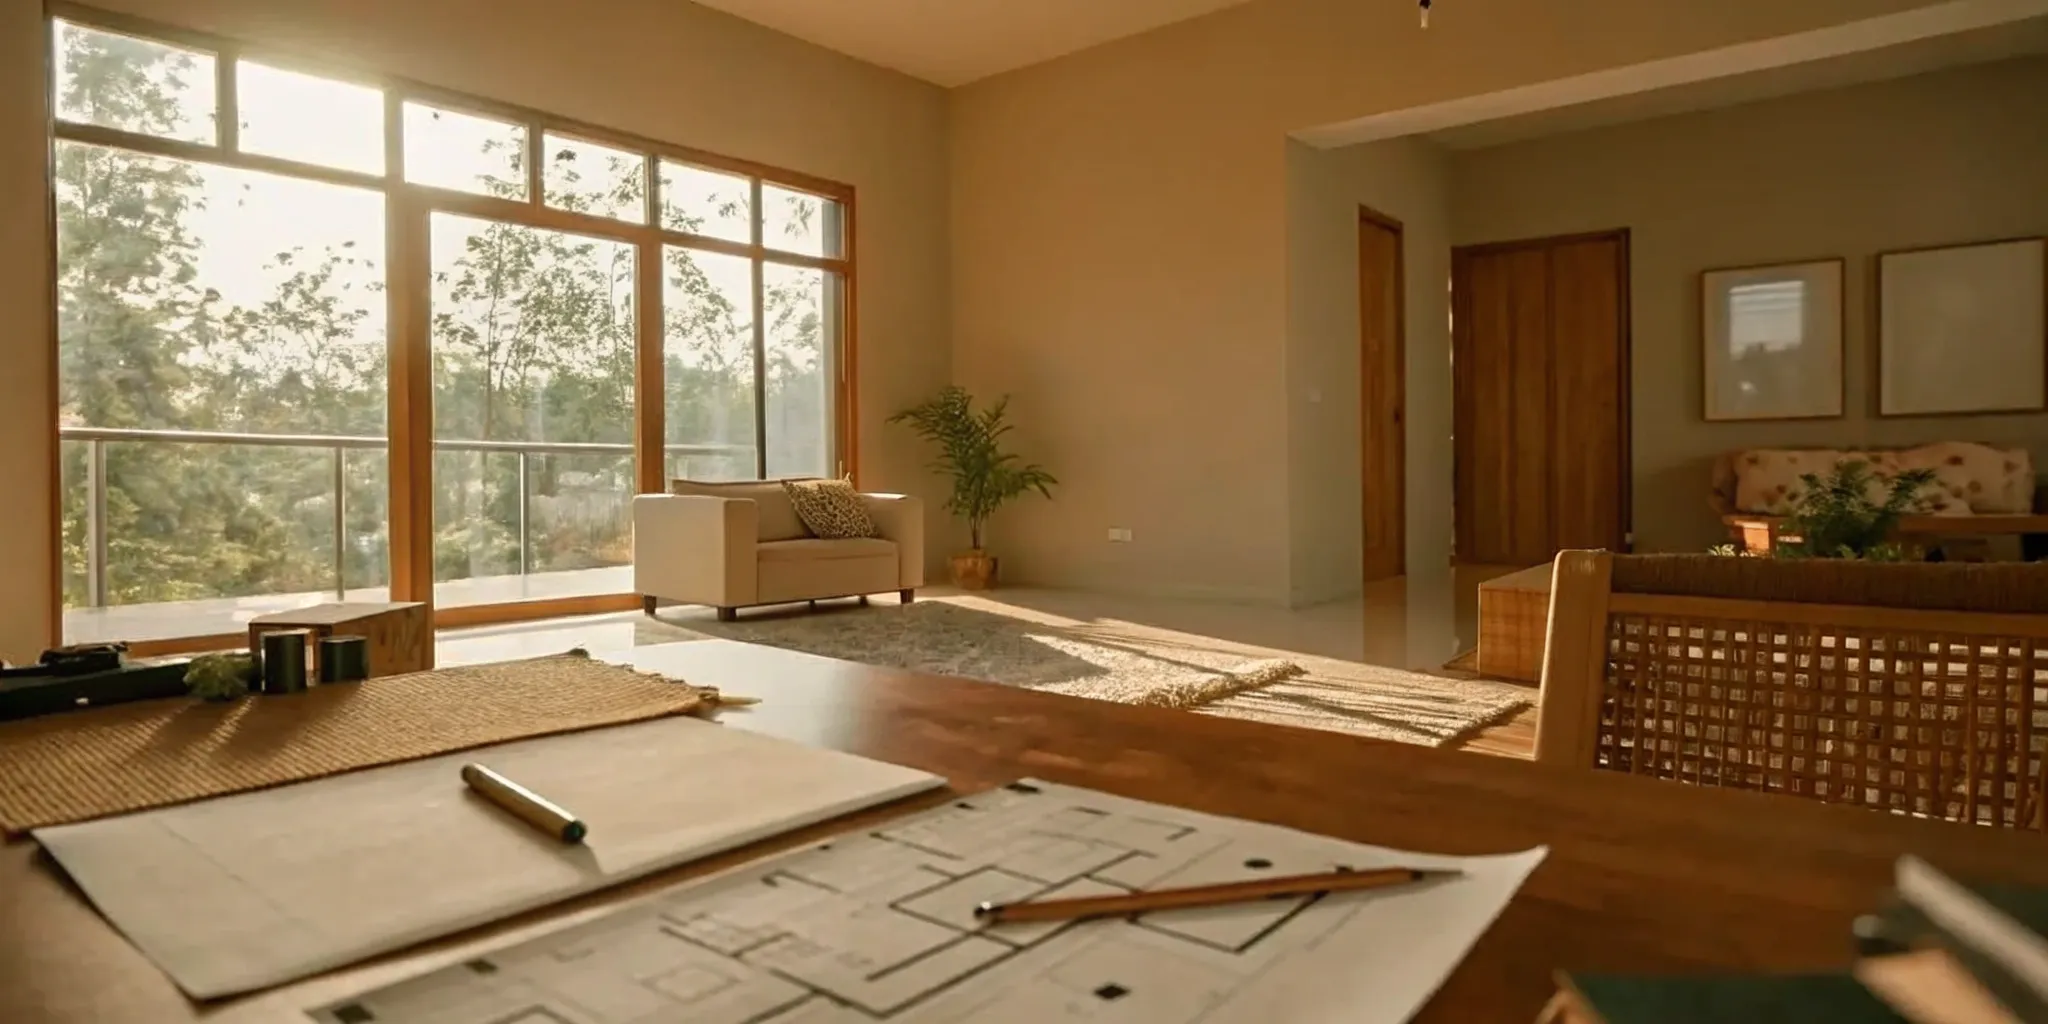
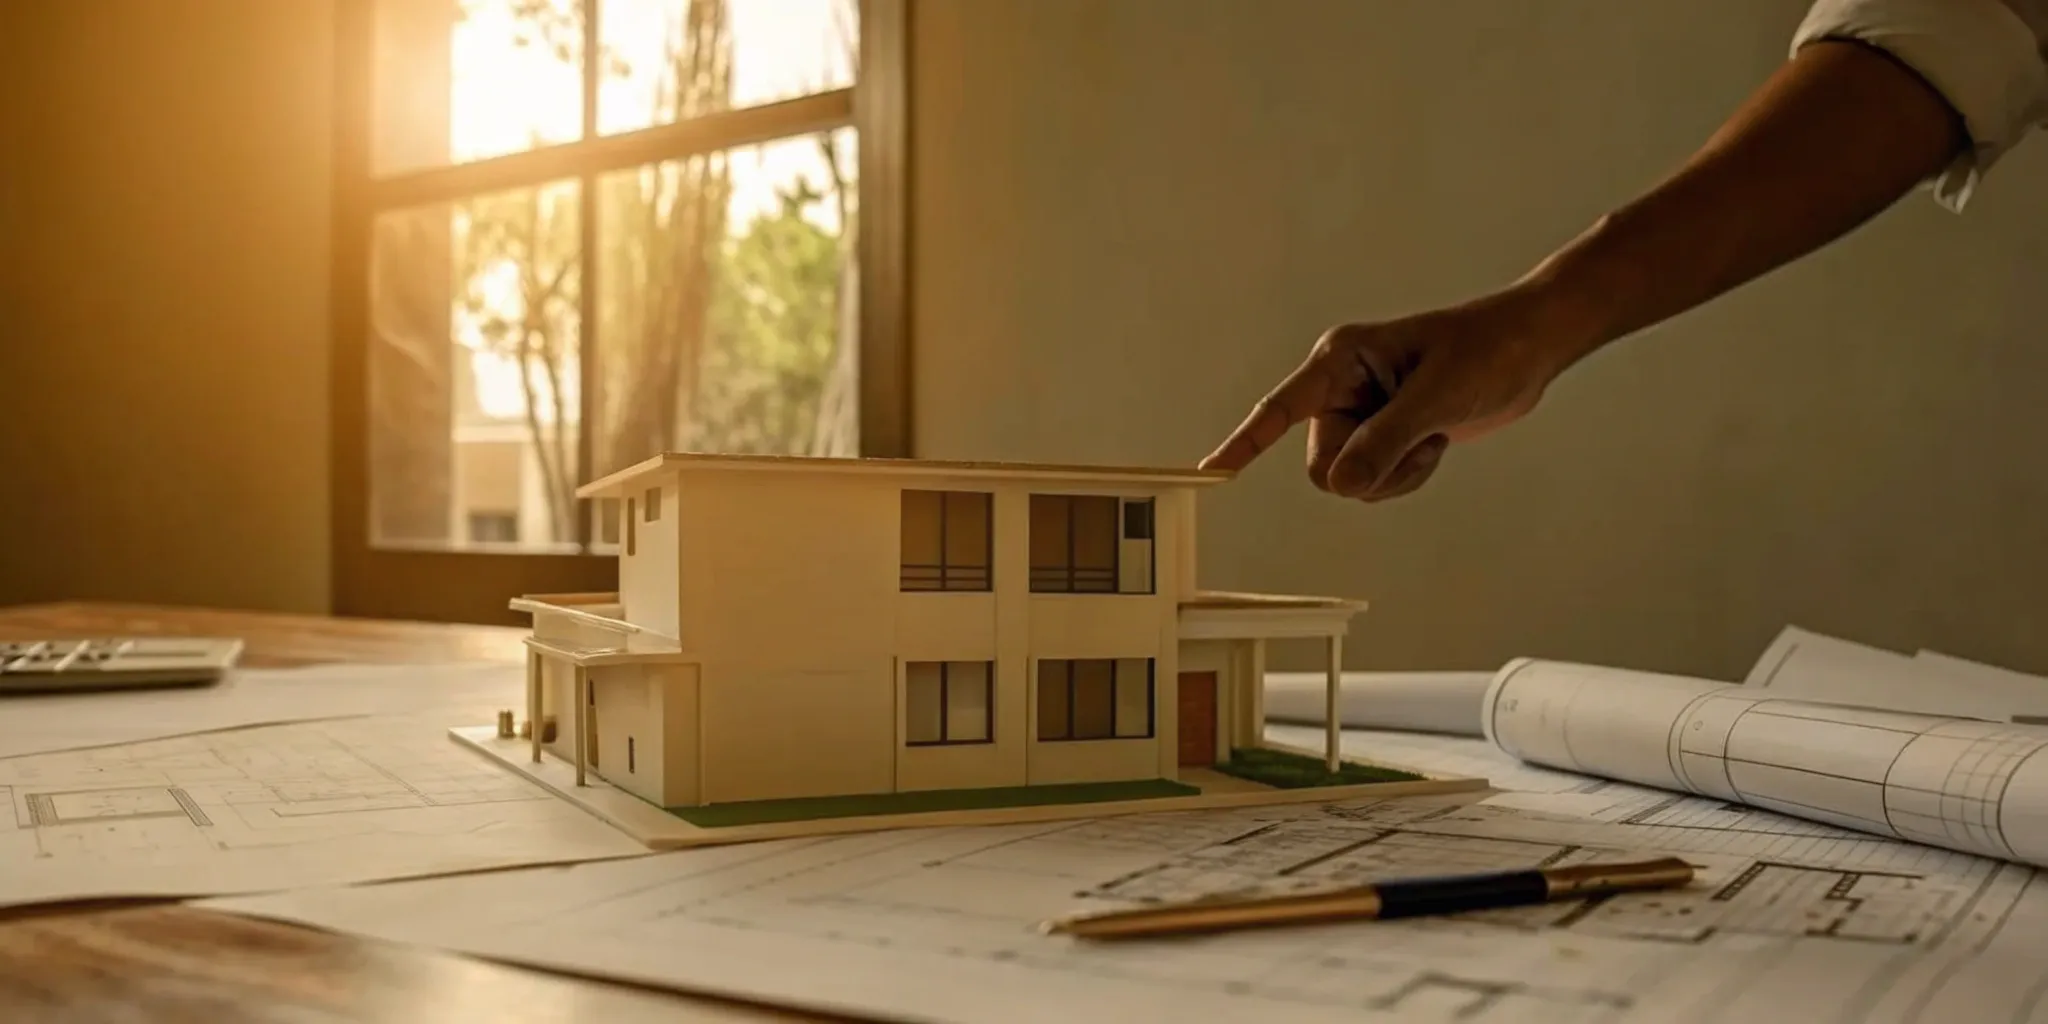
How Can You Plan and Budget for Your Attic Project?
A solid plan is your best friend in any renovation. When you know what to expect—both in terms of cost and time—you can make smart decisions that keep your project on track and your stress levels low. Let's break down how to approach your attic storage project with a clear budget and a realistic schedule.
Smart Ways to Lower Your Project Costs
If you're aiming for a budget-friendly project, the key is to prioritize function over finishes. Since this space is for storage, you can keep costs low by focusing on the essentials: a sturdy subfloor, proper insulation, simple lighting, and safe, easy access. You can skip the more complex and expensive features required for a living space, like HVAC systems, finished drywall, or a full staircase. This approach makes a huge difference in the final price tag. A dedicated storage attic can cost significantly less than a full living area conversion, with many projects falling into a more manageable range.
Setting a Realistic Project Timeline
Patience is a virtue, especially during a renovation. Finishing an attic can take anywhere from a few weeks to several months, depending on the scope of your project, so be prepared for some noise and disruption while the work is underway. To help things run smoothly, gather key information for your contractor before they start. You'll want to provide your attic's dimensions, ceiling height, and details about its access points. This is also the perfect time to ask about local building codes and whether your project will require any permits. Having these details ready will help your contractor give you a more accurate timeline and estimate, which is a core part of how Realm’s project planning process sets you up for success.
Related Articles
Frequently Asked Questions
Can I just lay down some plywood in my attic and start storing things? It’s a tempting shortcut, but it’s not a safe one. The wooden beams you see in your attic are likely ceiling joists, which are only meant to hold up the drywall below. They weren’t designed to support the weight of a floor, heavy boxes, and you walking around. Before you do anything, it’s essential to have a professional check if the structure needs to be reinforced to safely handle the extra load.
What makes a livable attic room so much more expensive than a storage space? The price jump comes down to building codes and comfort. A living space has strict requirements to be considered safe and habitable. This means adding things like a permanent staircase, an egress window for fire escape, finished drywall, extensive electrical work, and an HVAC connection to control the temperature. A storage space only needs the basics: a strong floor, safe access, and good ventilation to protect your belongings.
Do I really need a permit just to create a storage area? You might not if you’re only laying down a subfloor. However, the moment your project involves changing your home’s structure, running new electrical wires for lights, or installing a permanent staircase, you will almost certainly need a permit. These rules are in place for your safety, ensuring that all the work is done correctly and won’t cause problems for you down the line.
If my budget is tight, what are the most important things to spend money on? For a storage-only attic, focus your budget on two critical areas: structural support and proper insulation. Ensuring the floor can safely hold the weight is a non-negotiable first step. After that, good insulation and ventilation will protect your belongings from extreme heat and moisture damage, which also helps with your home's overall energy efficiency. These foundational elements are worth the investment.
What’s the best way to save money on this project without compromising on safety? The smartest way to save is by taking on the finishing tasks yourself. Leave the structural work, electrical wiring, and anything requiring a permit to a licensed professional. Once that foundational work is done, you can save a lot on labor by handling the painting, assembling and installing shelving units, and doing the final cleanup. This lets you control costs while ensuring the most critical parts of the job are done right.


.png)


.png)