Studio Sheds with Bathroom & Kitchen: Costs & ROI Guide
Turn your backyard into a livable space. Learn the costs, permit requirements, and ROI of building a studio shed with a kitchen and bath. Read more.
|
January 23, 2026
In this article:
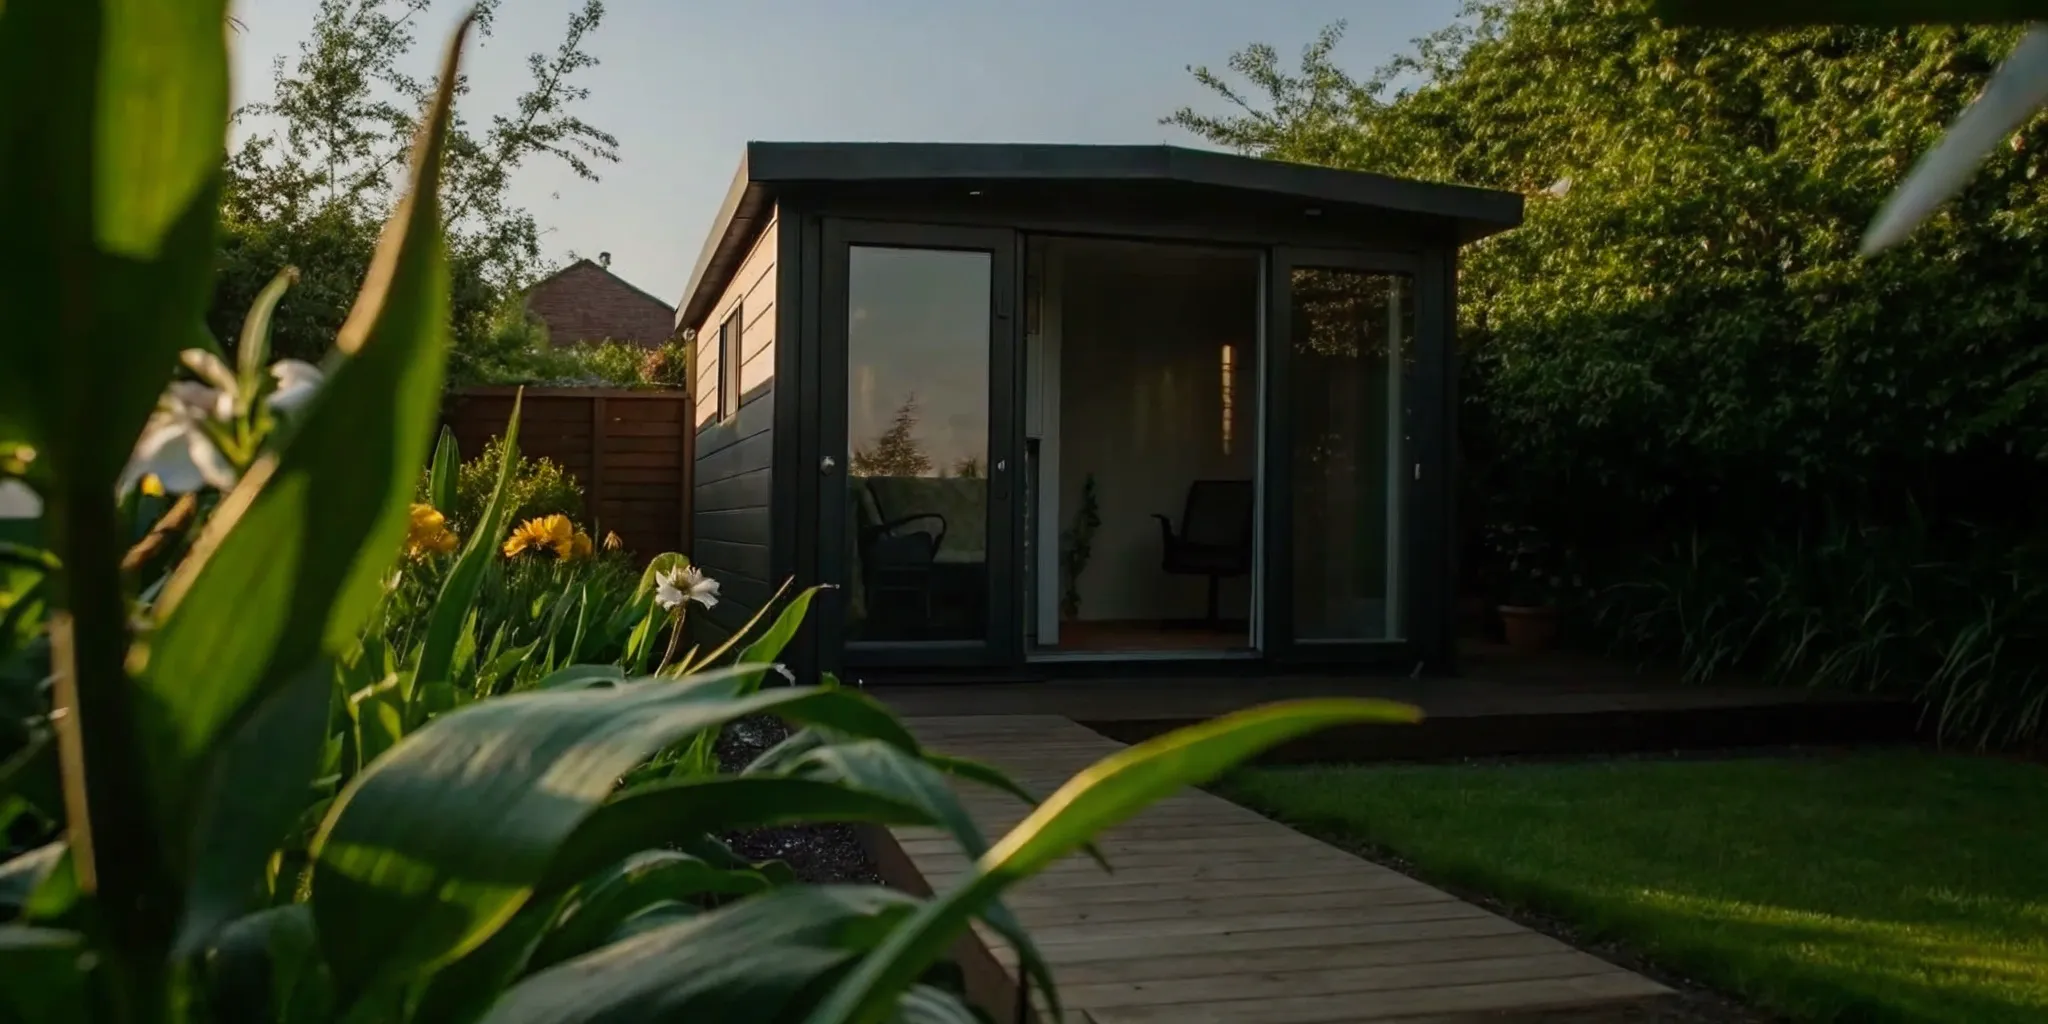
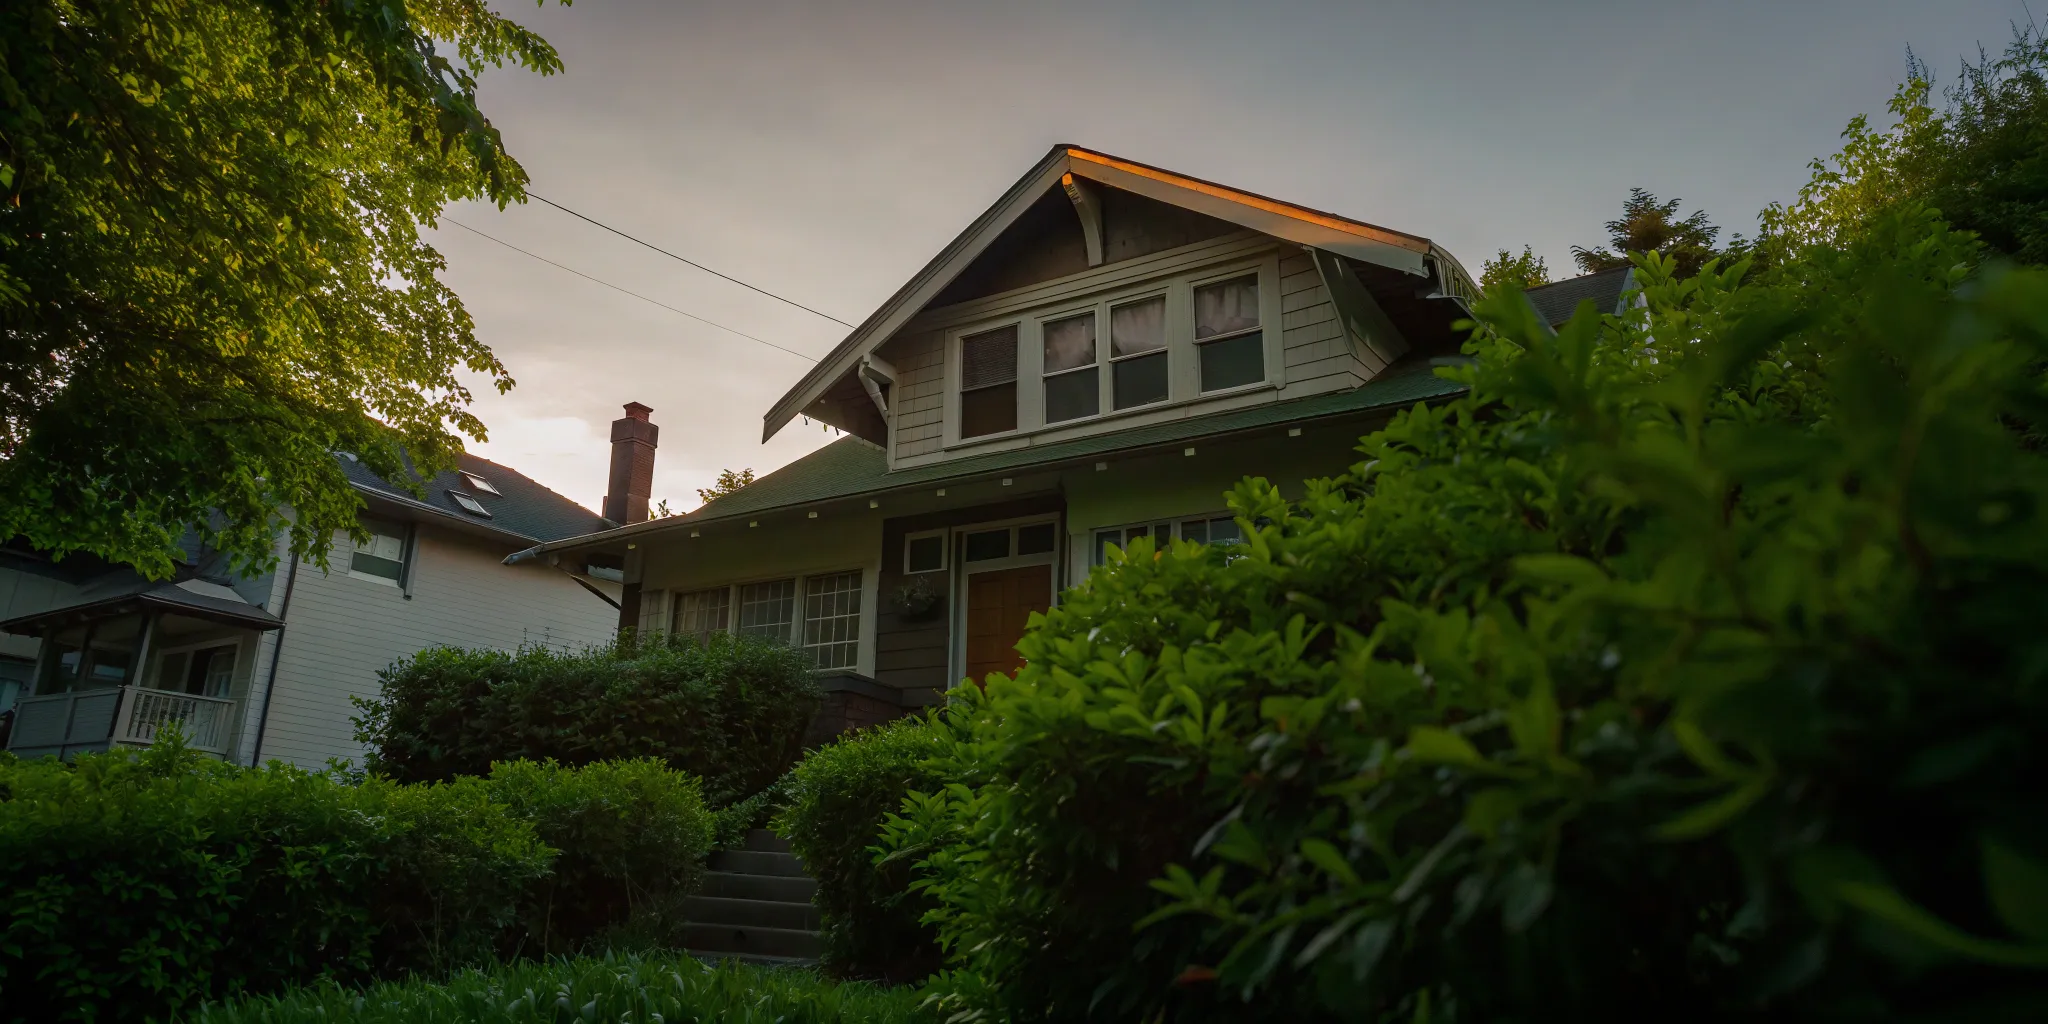
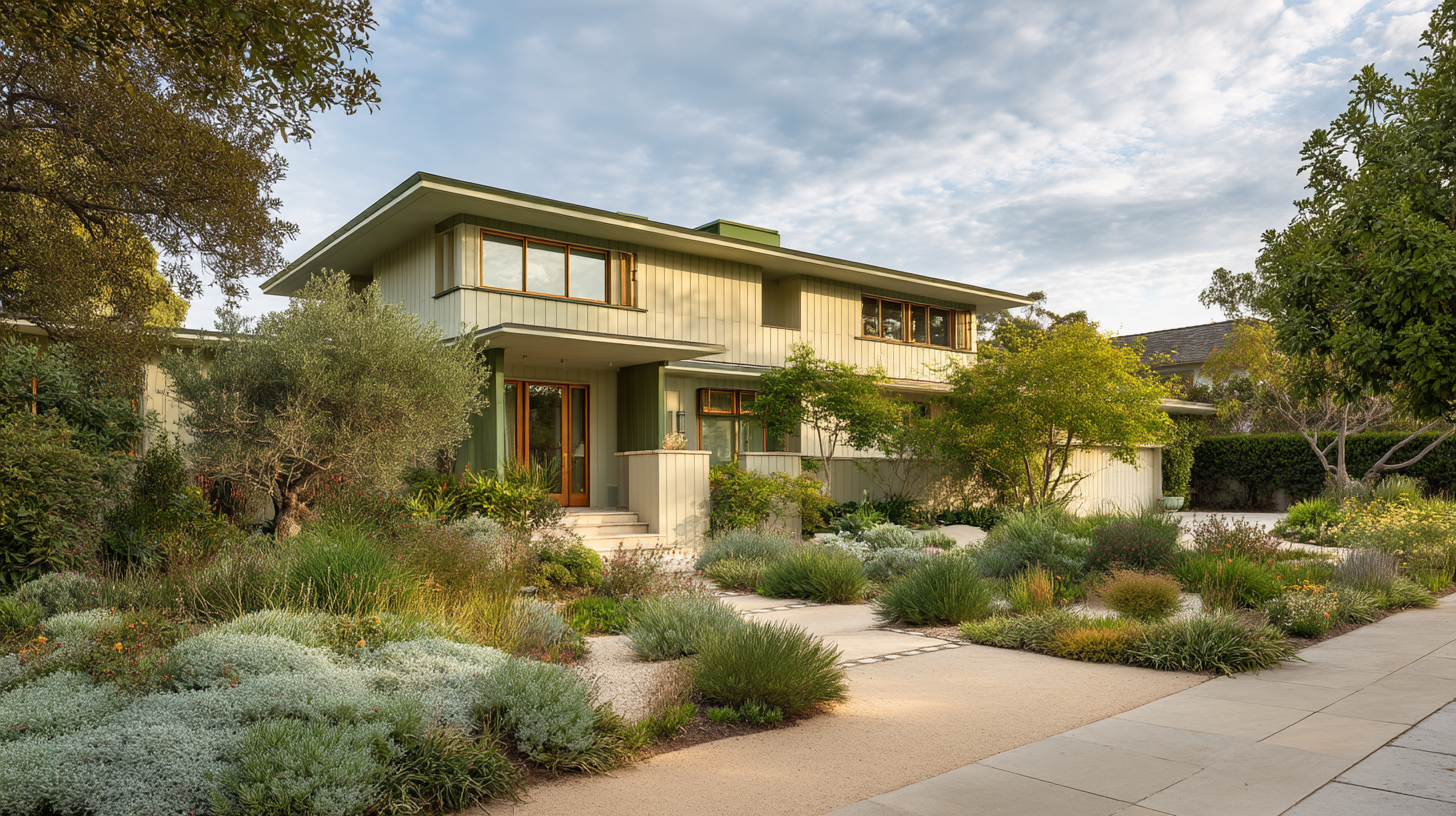
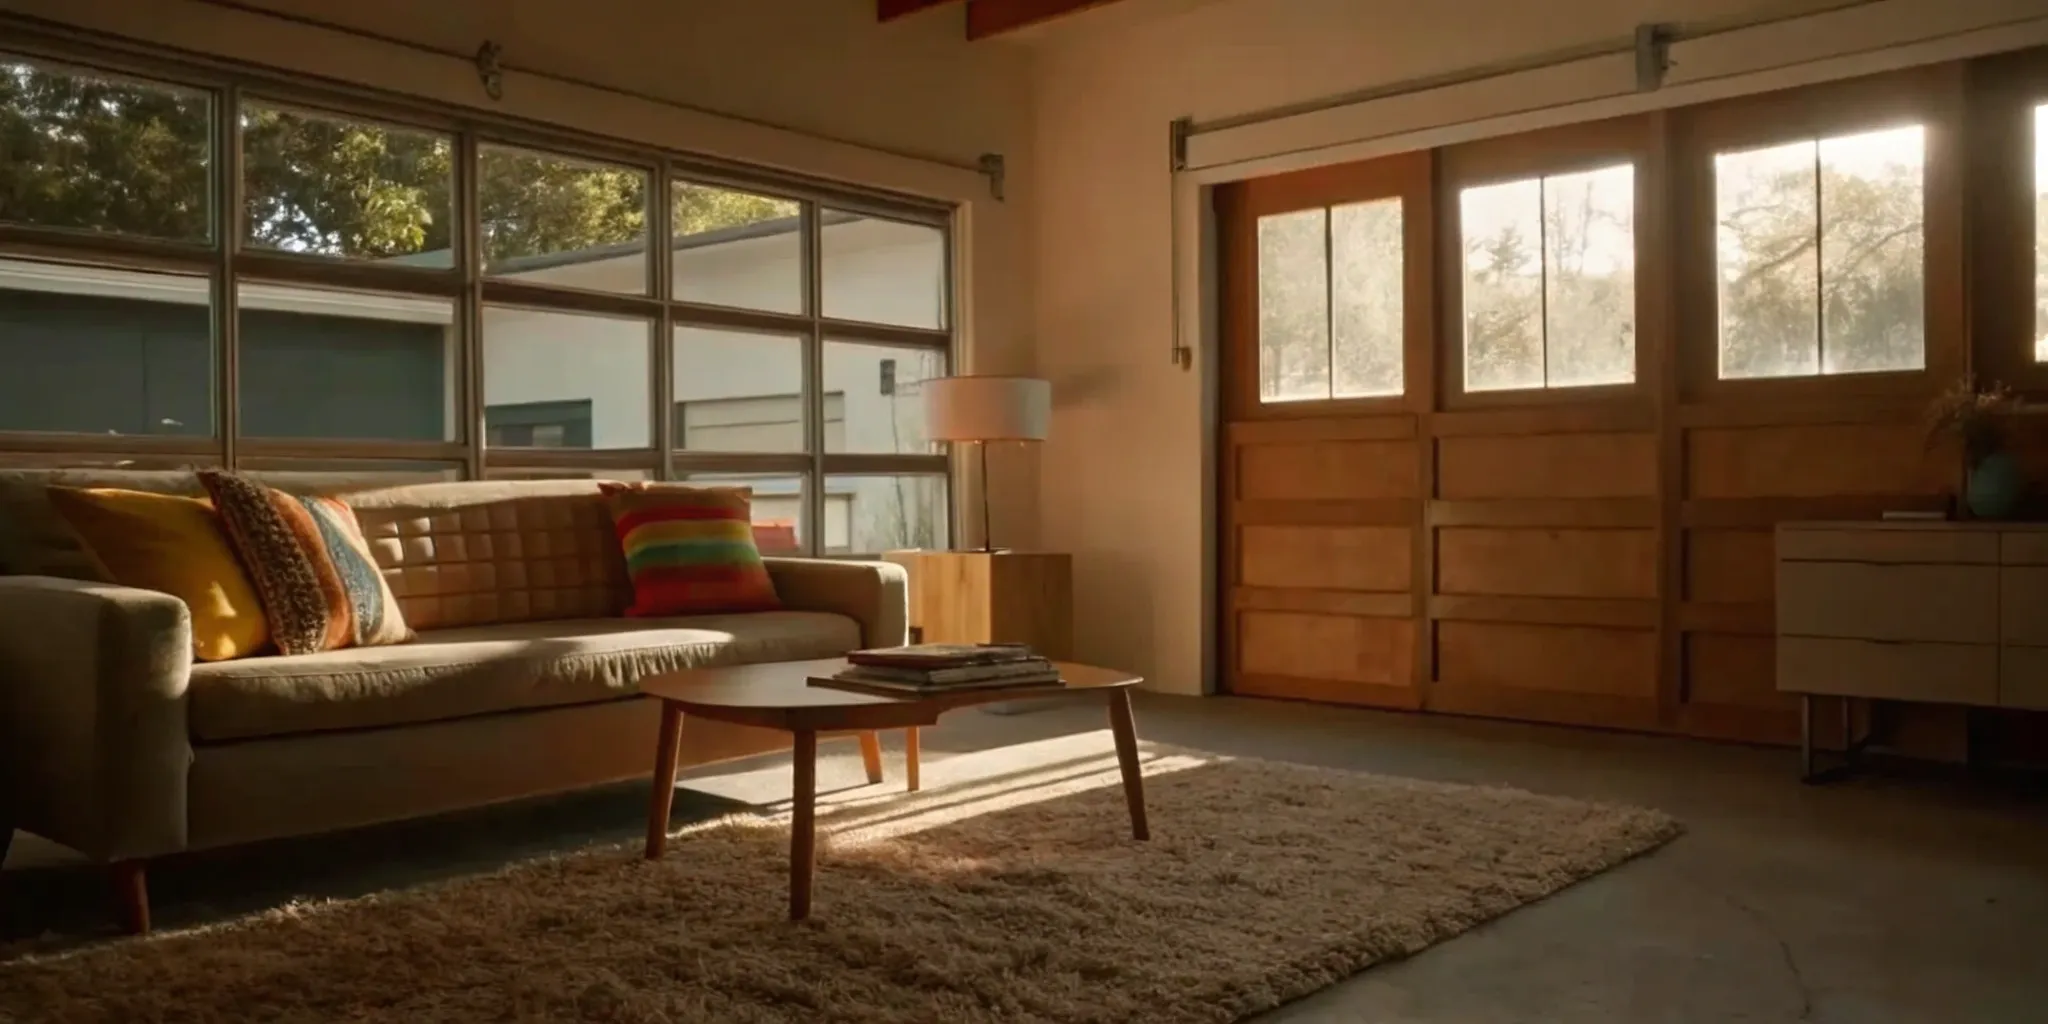
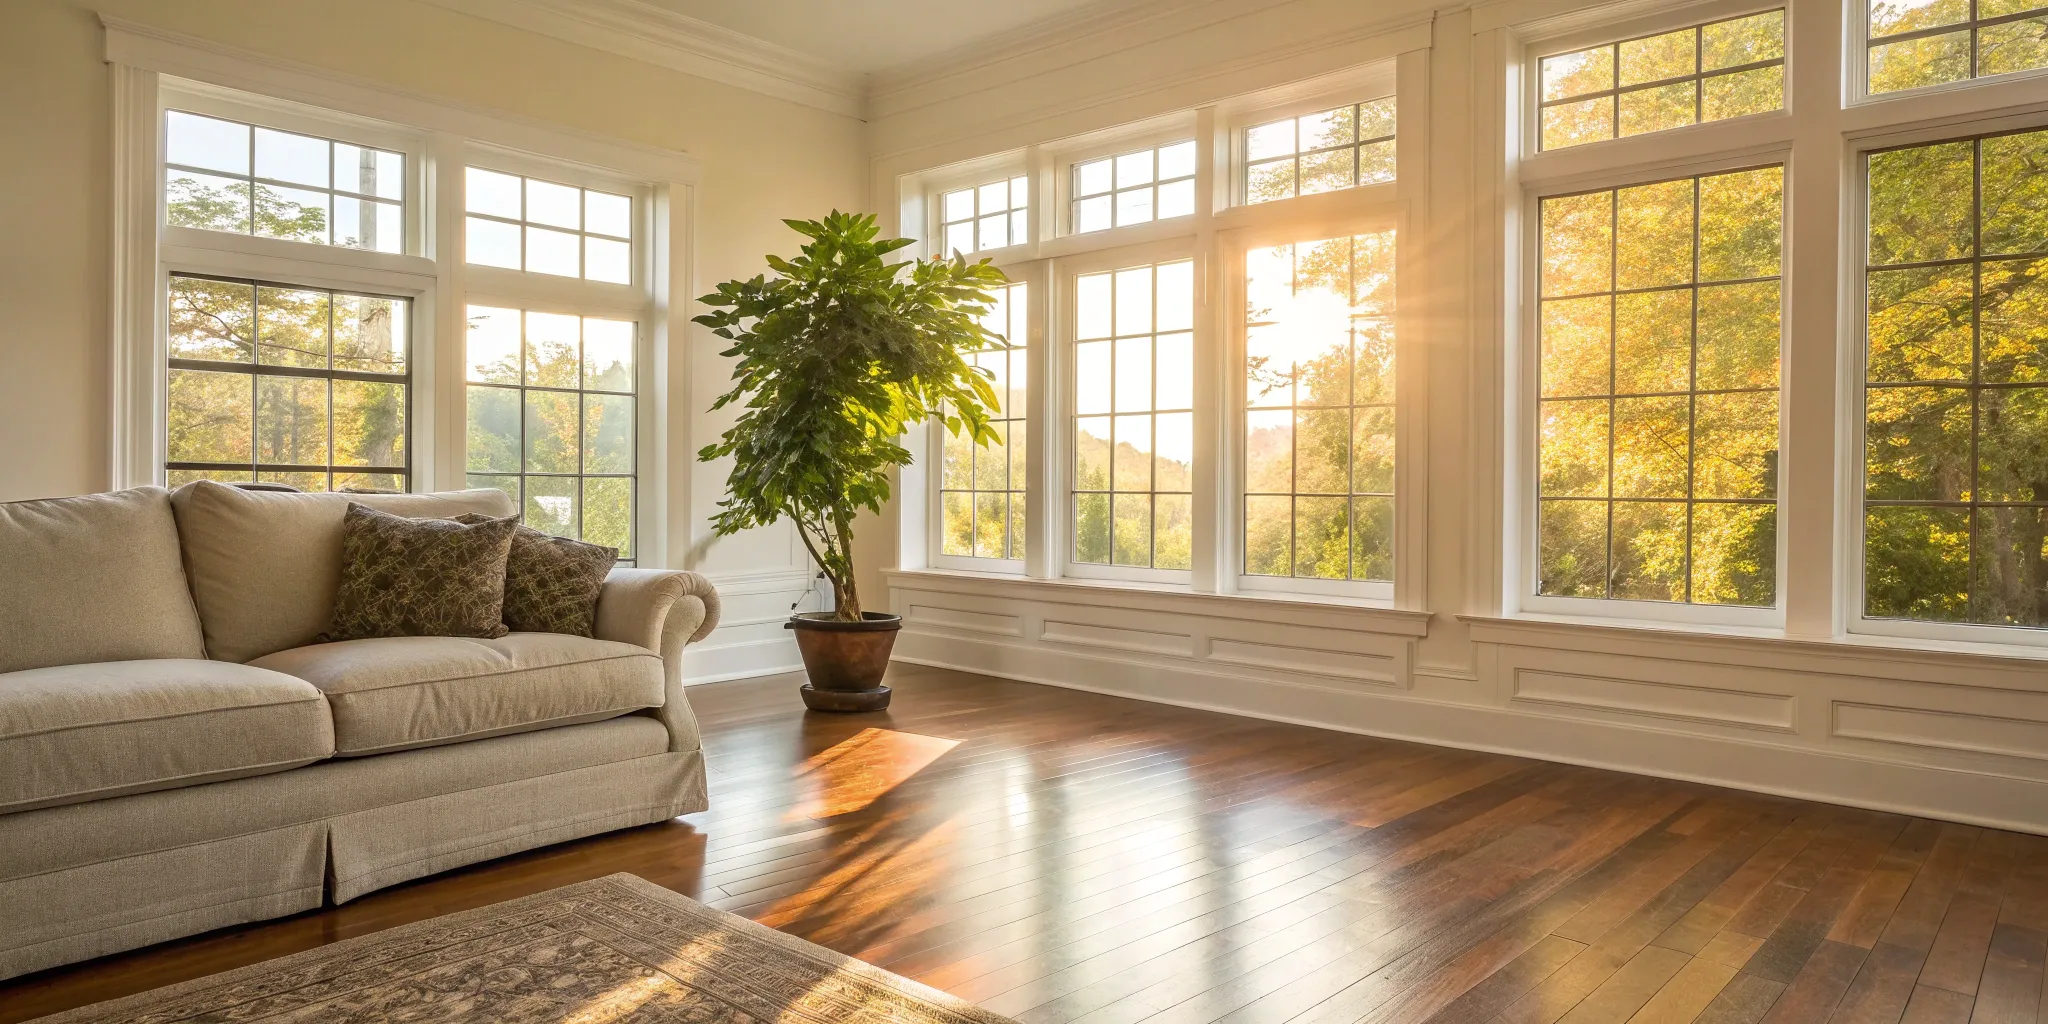
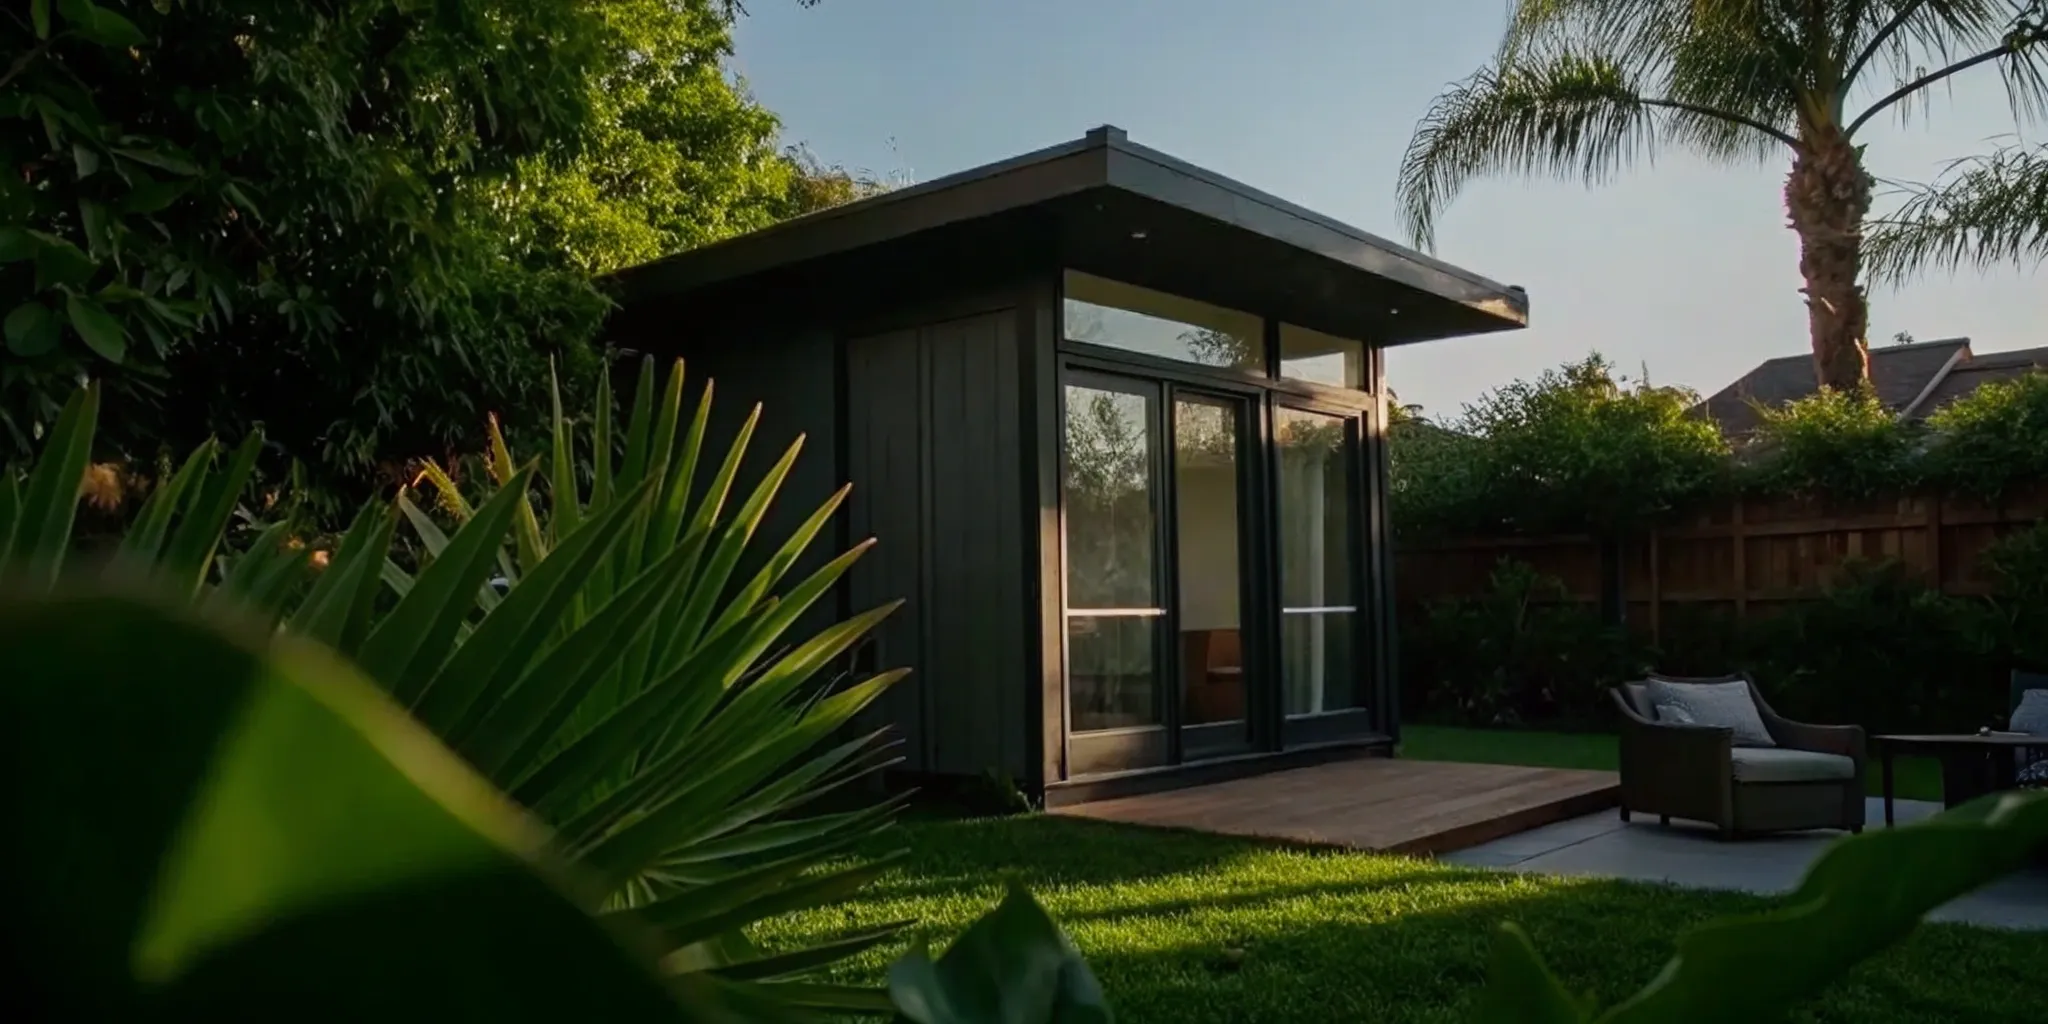
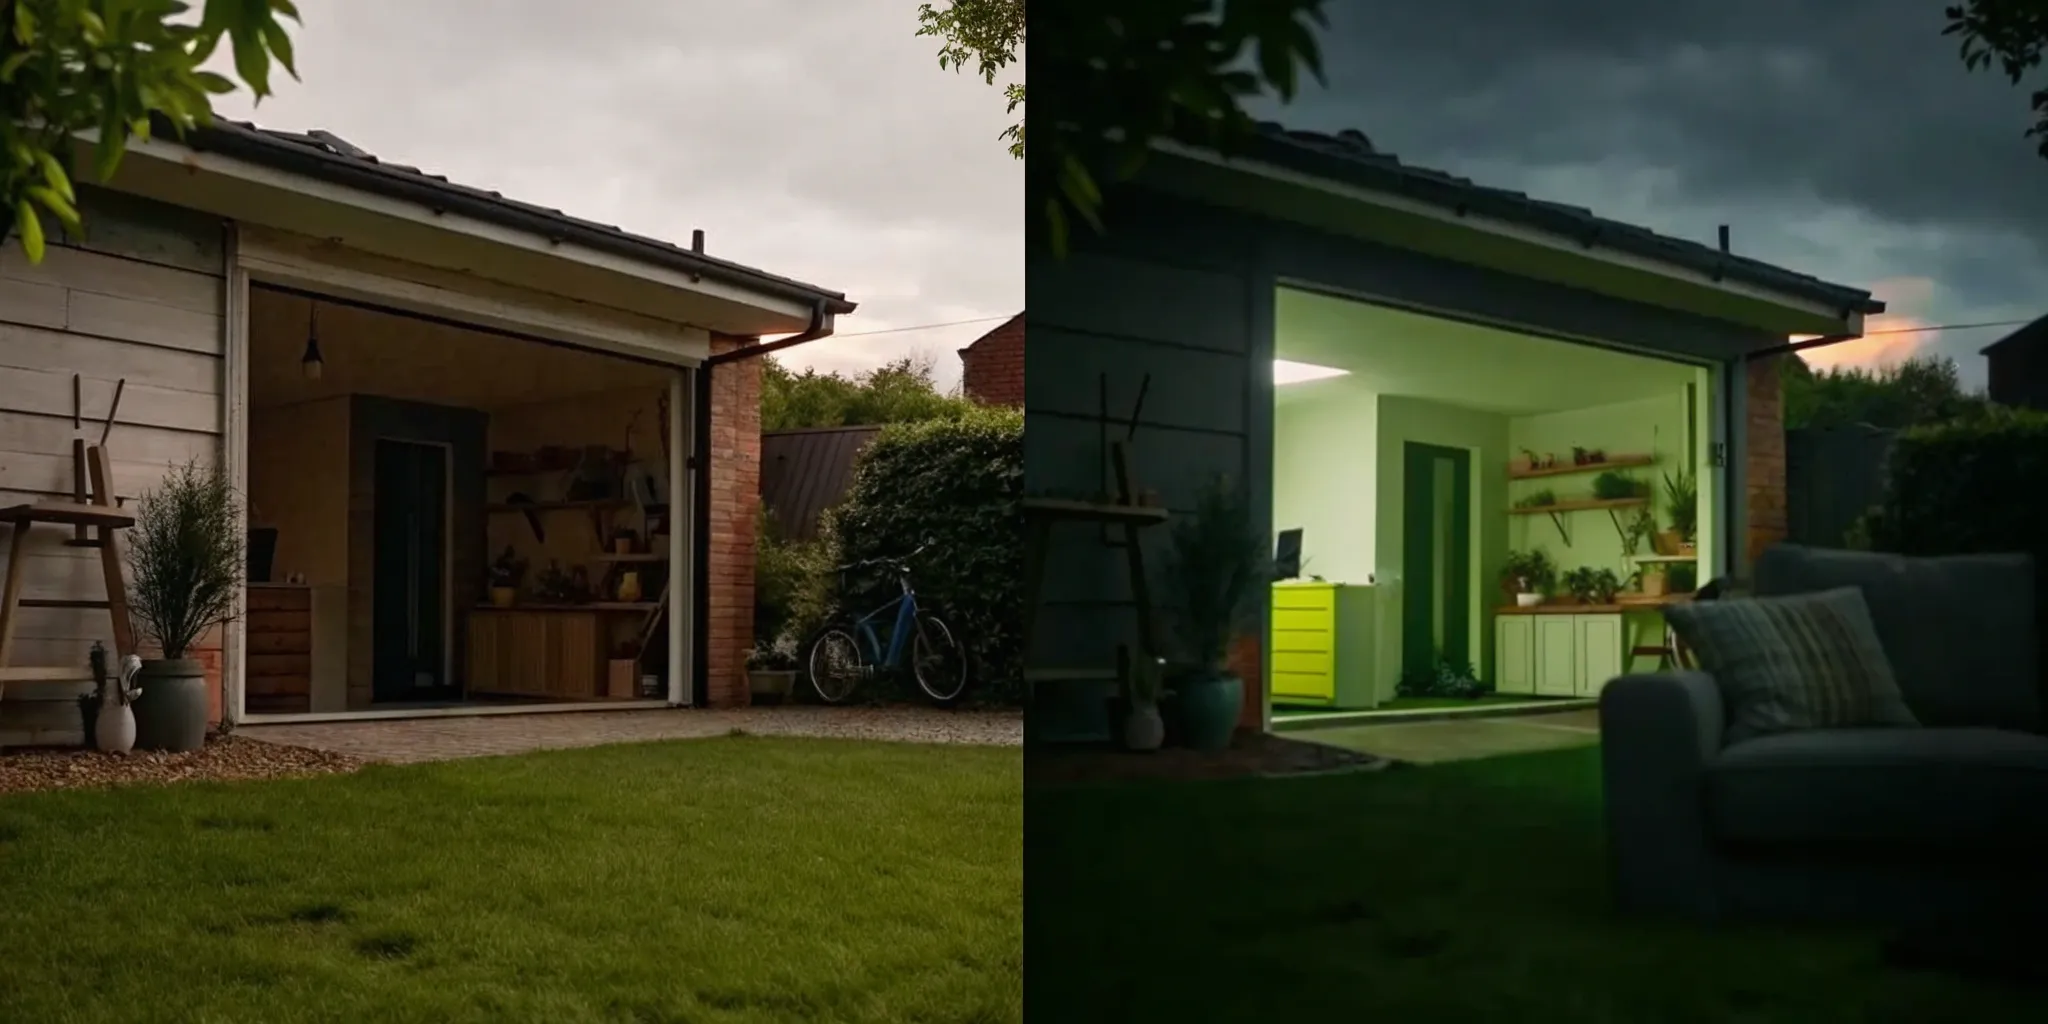
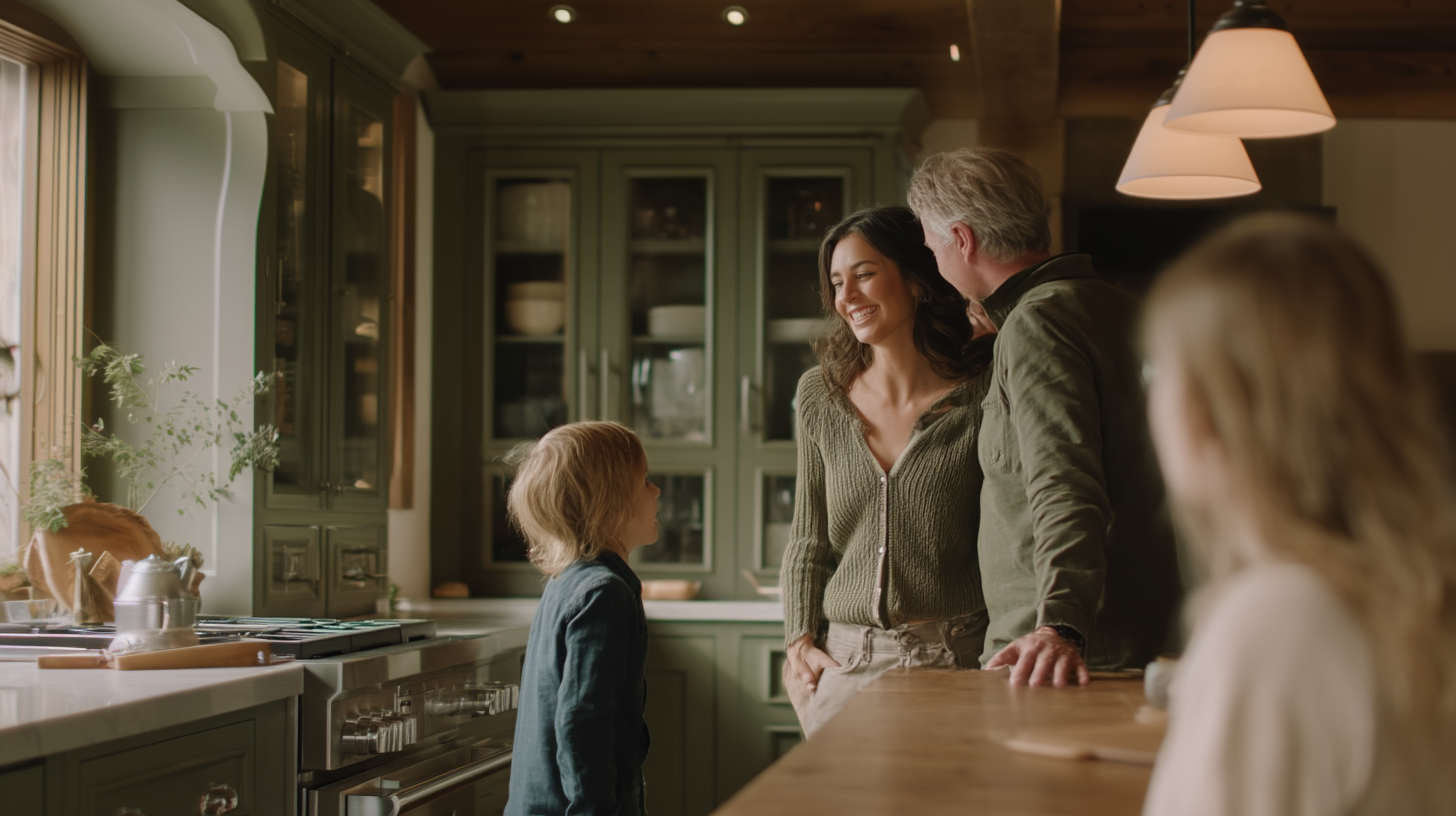
When you hear the word "shed," you probably picture a small wooden box for storing lawnmowers and rusty tools. It's time to update that image. A modern studio shed with a bathroom and kitchen is a fully functional, self-contained living space. Think of it as a stylish, compact guesthouse or a detached extension of your home, complete with all the essential comforts. These aren't flimsy DIY kits; they are thoughtfully designed, high-quality structures built for living. In this guide, we'll clear up the common myths and show you what's truly possible with today's versatile backyard studios.
Key Takeaways
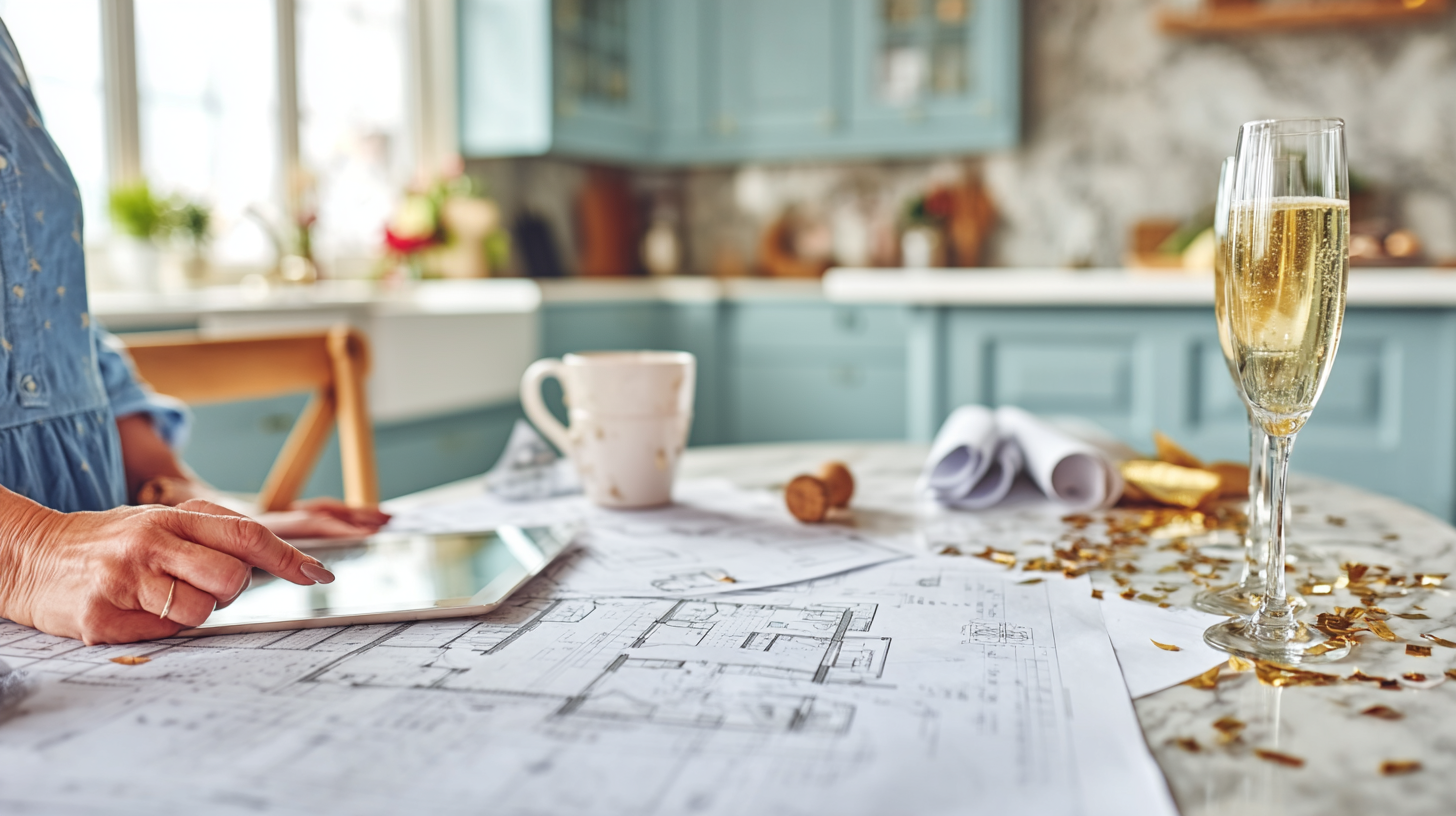
- The sticker price is just the start: A fully functional studio shed is a mini-construction project, so be sure to budget for essentials like a foundation, professional utility hookups, and local permits to get a true cost estimate.
- Confirm your local rules and utility plan first: Before falling in love with a design, your first step is to understand your city's zoning laws and how you'll connect water and power, as these factors determine what's possible on your property.
- Choose a shed for separation and speed: A studio shed offers a key advantage over a home addition by creating a detached space. It's a faster way to get a private home office or guest suite without the prolonged disruption of renovating your main house.
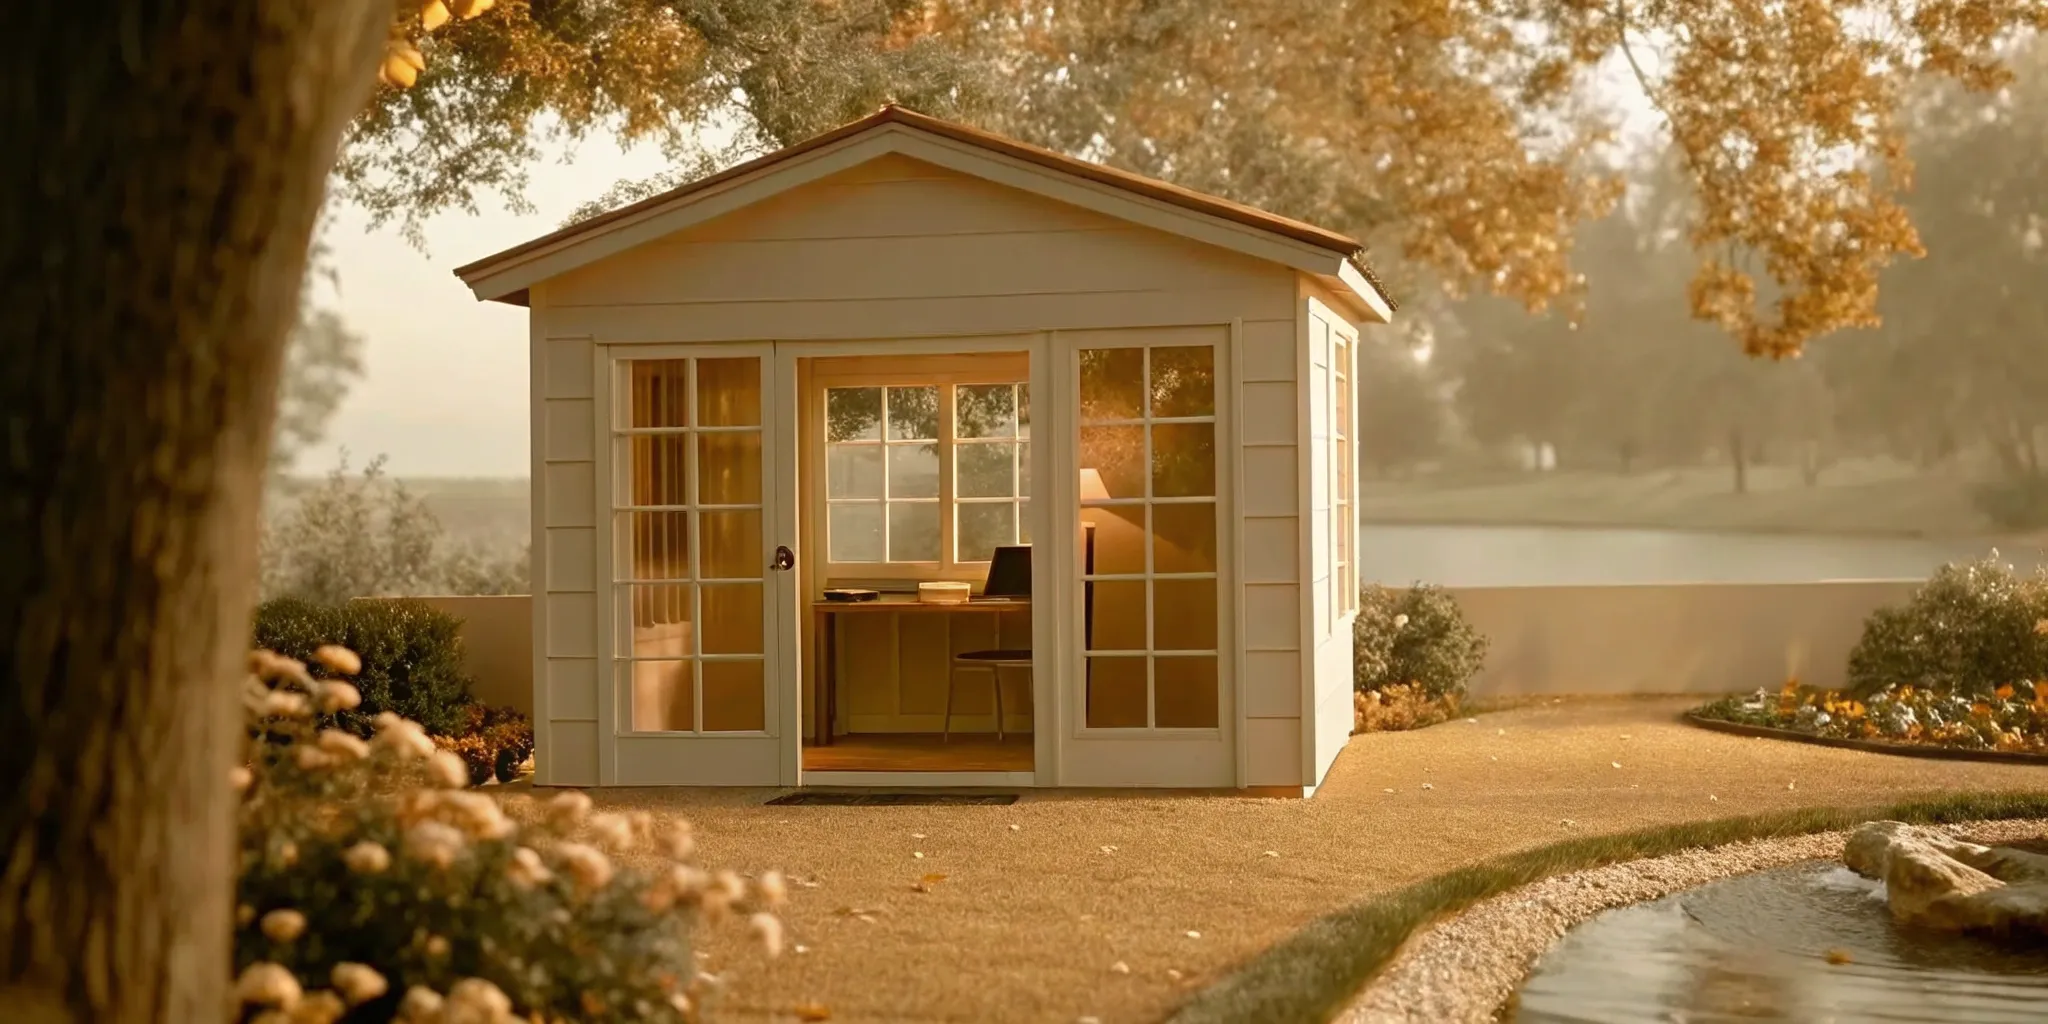
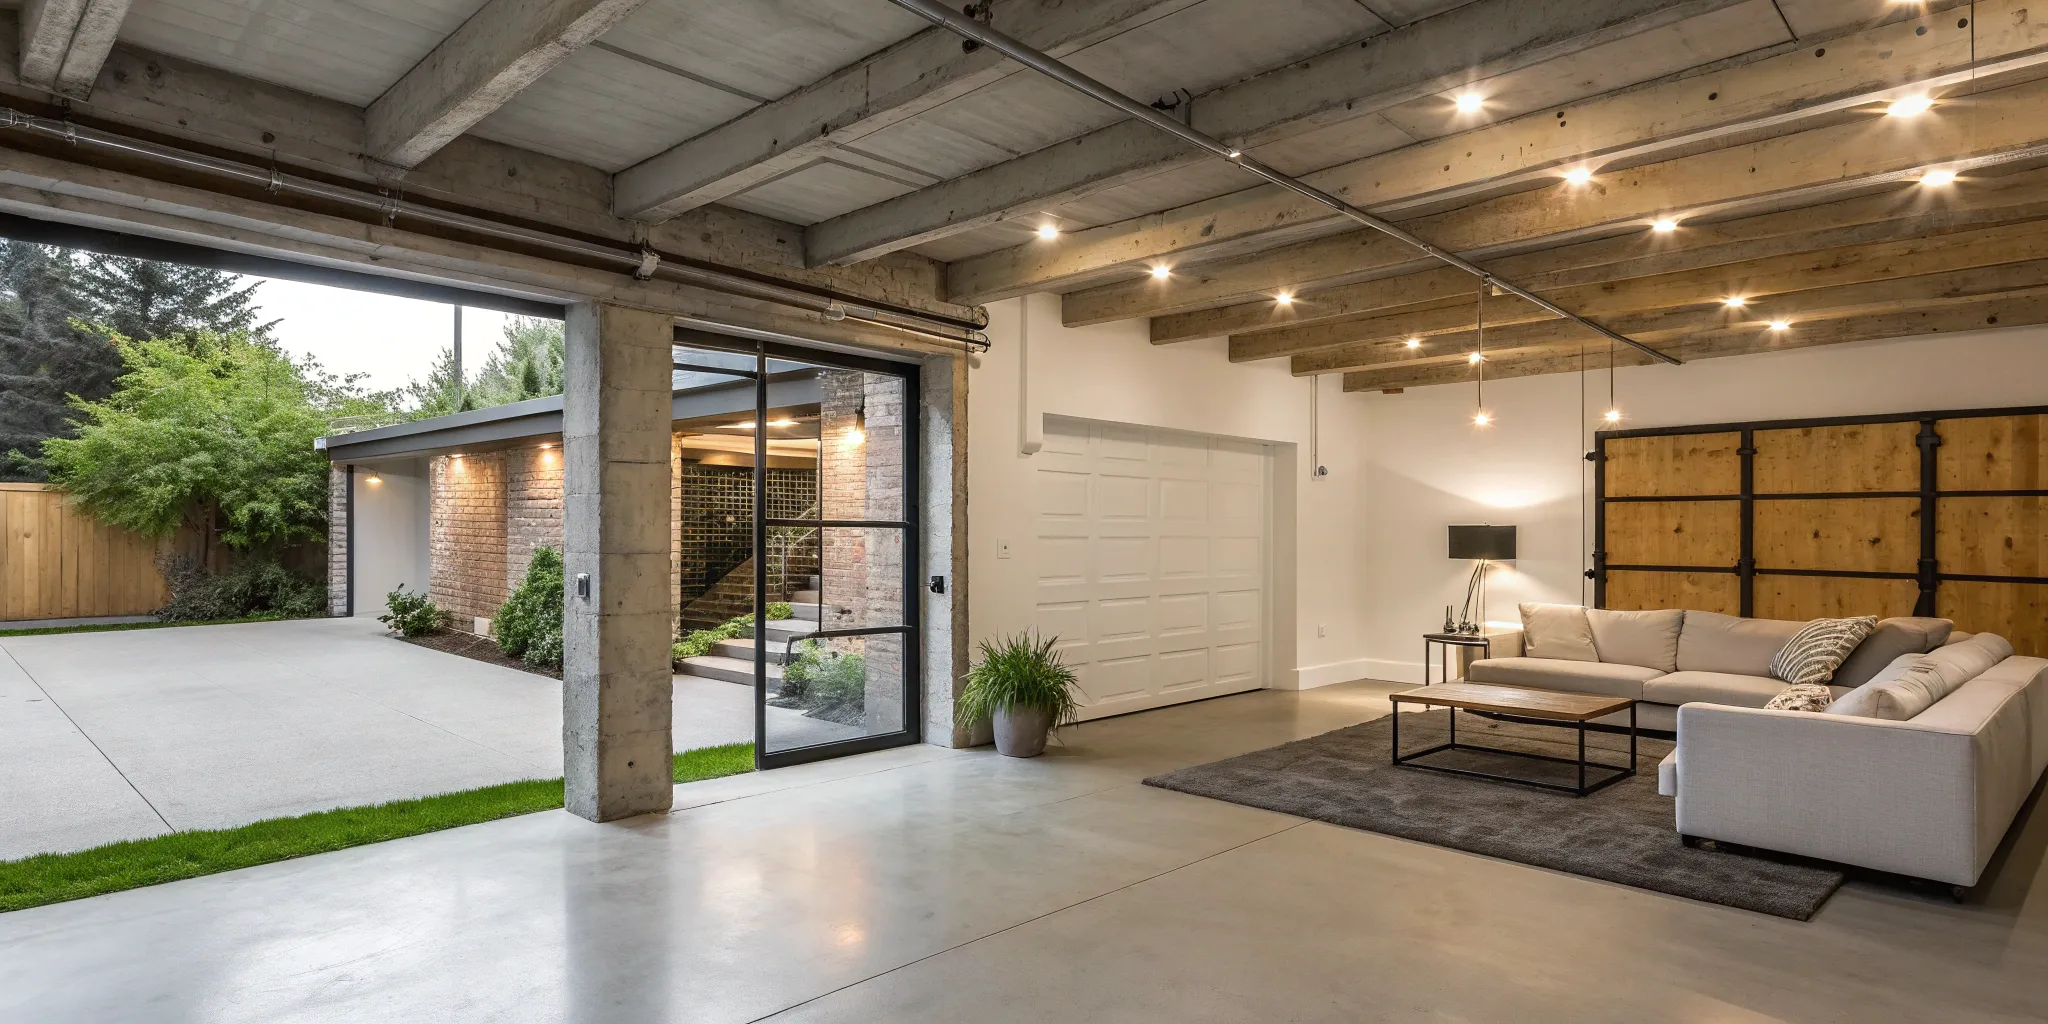
So, What Exactly Is a Studio Shed with a Kitchen and Bathroom?
How Much Does a Studio Shed with a Bathroom and Kitchen Cost? In 2026, a fully functional studio shed with a bathroom and kitchen typically costs between $45,000 and $95,000. While a basic shed shell might only cost $15,000, the addition of "wet" utilities (plumbing and sewer), electrical sub-panels, and interior finishes transforms the project into a small-scale ADU (Accessory Dwelling Unit).
These aren't your average DIY kits from a big-box store. They are thoughtfully designed, prefabricated structures built for living. From the foundation up, they are constructed with high-quality materials and can be customized to match your home's aesthetic and your specific needs. Whether you need a private home office, a guest suite for family, or a potential rental unit, these versatile structures offer a streamlined solution for adding more livable square footage to your property.
What Features and Amenities to Expect
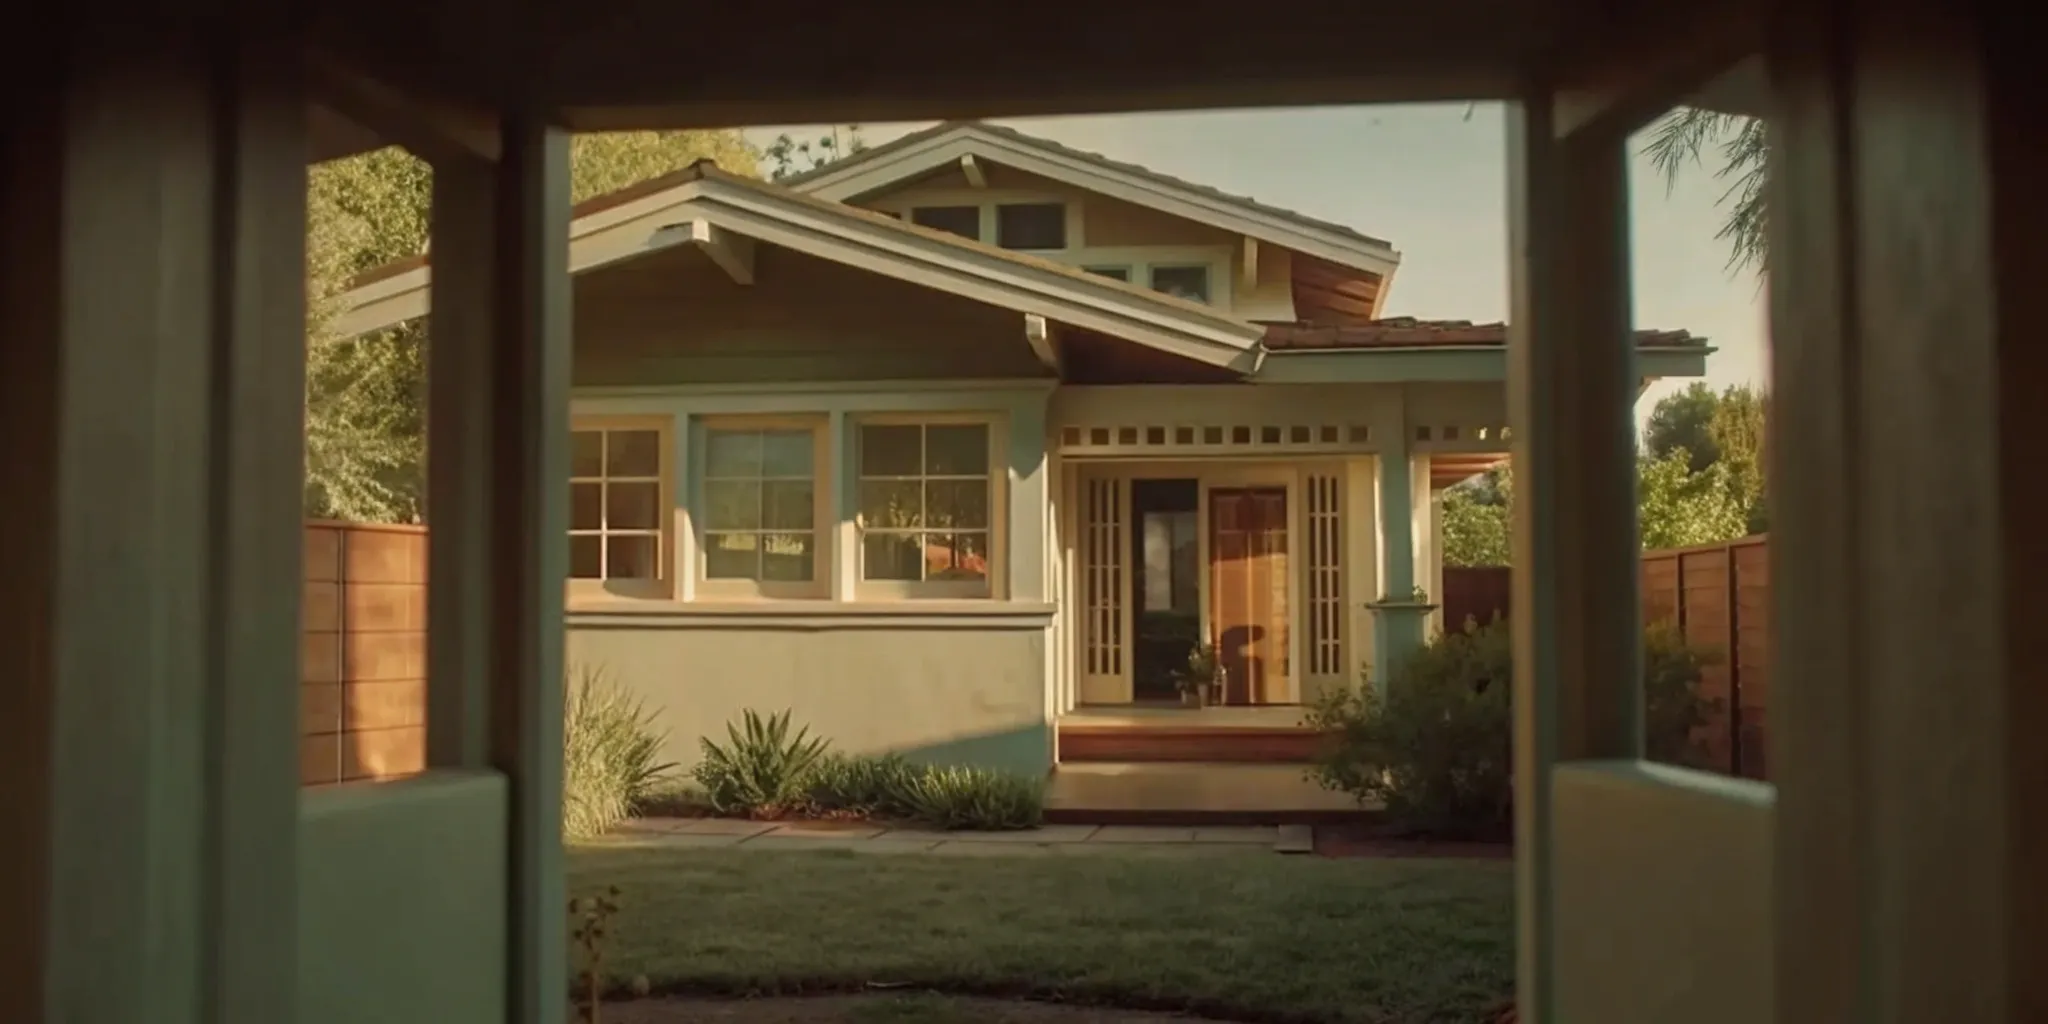
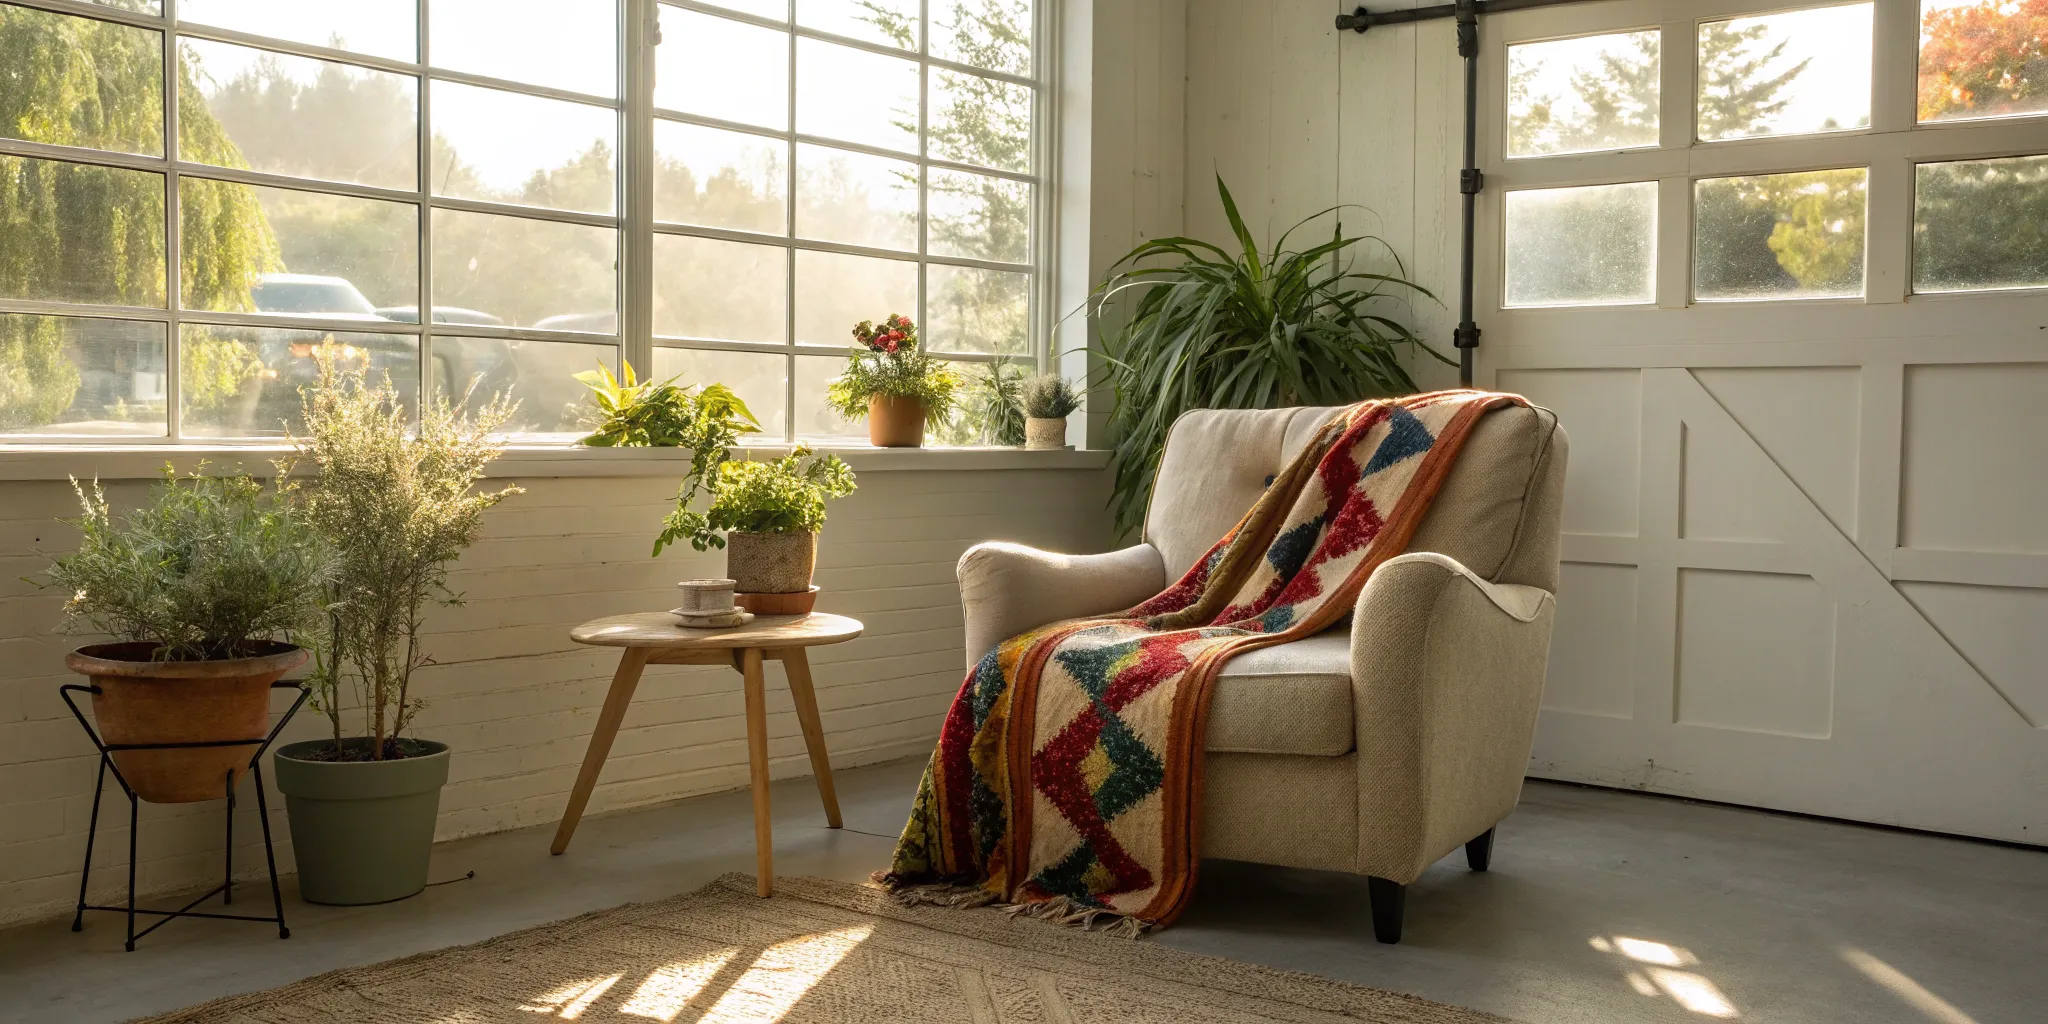
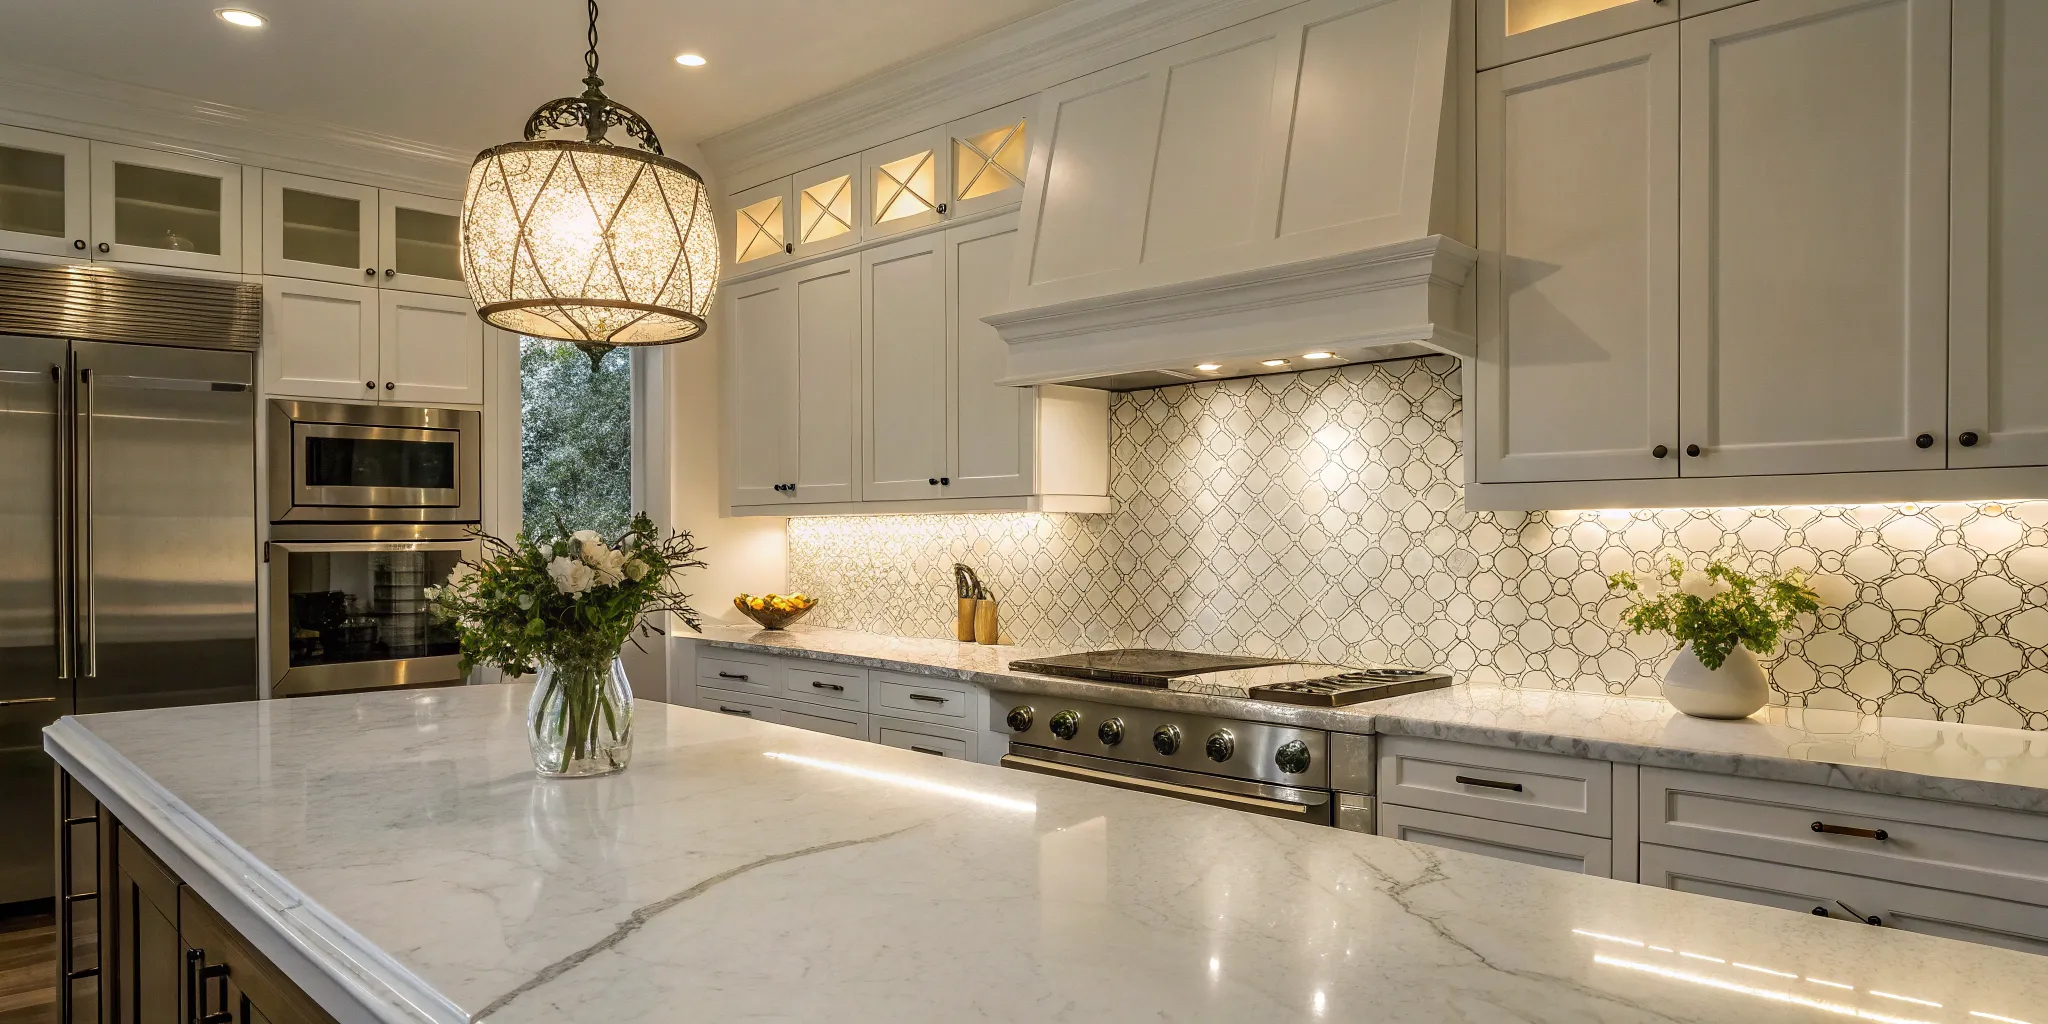
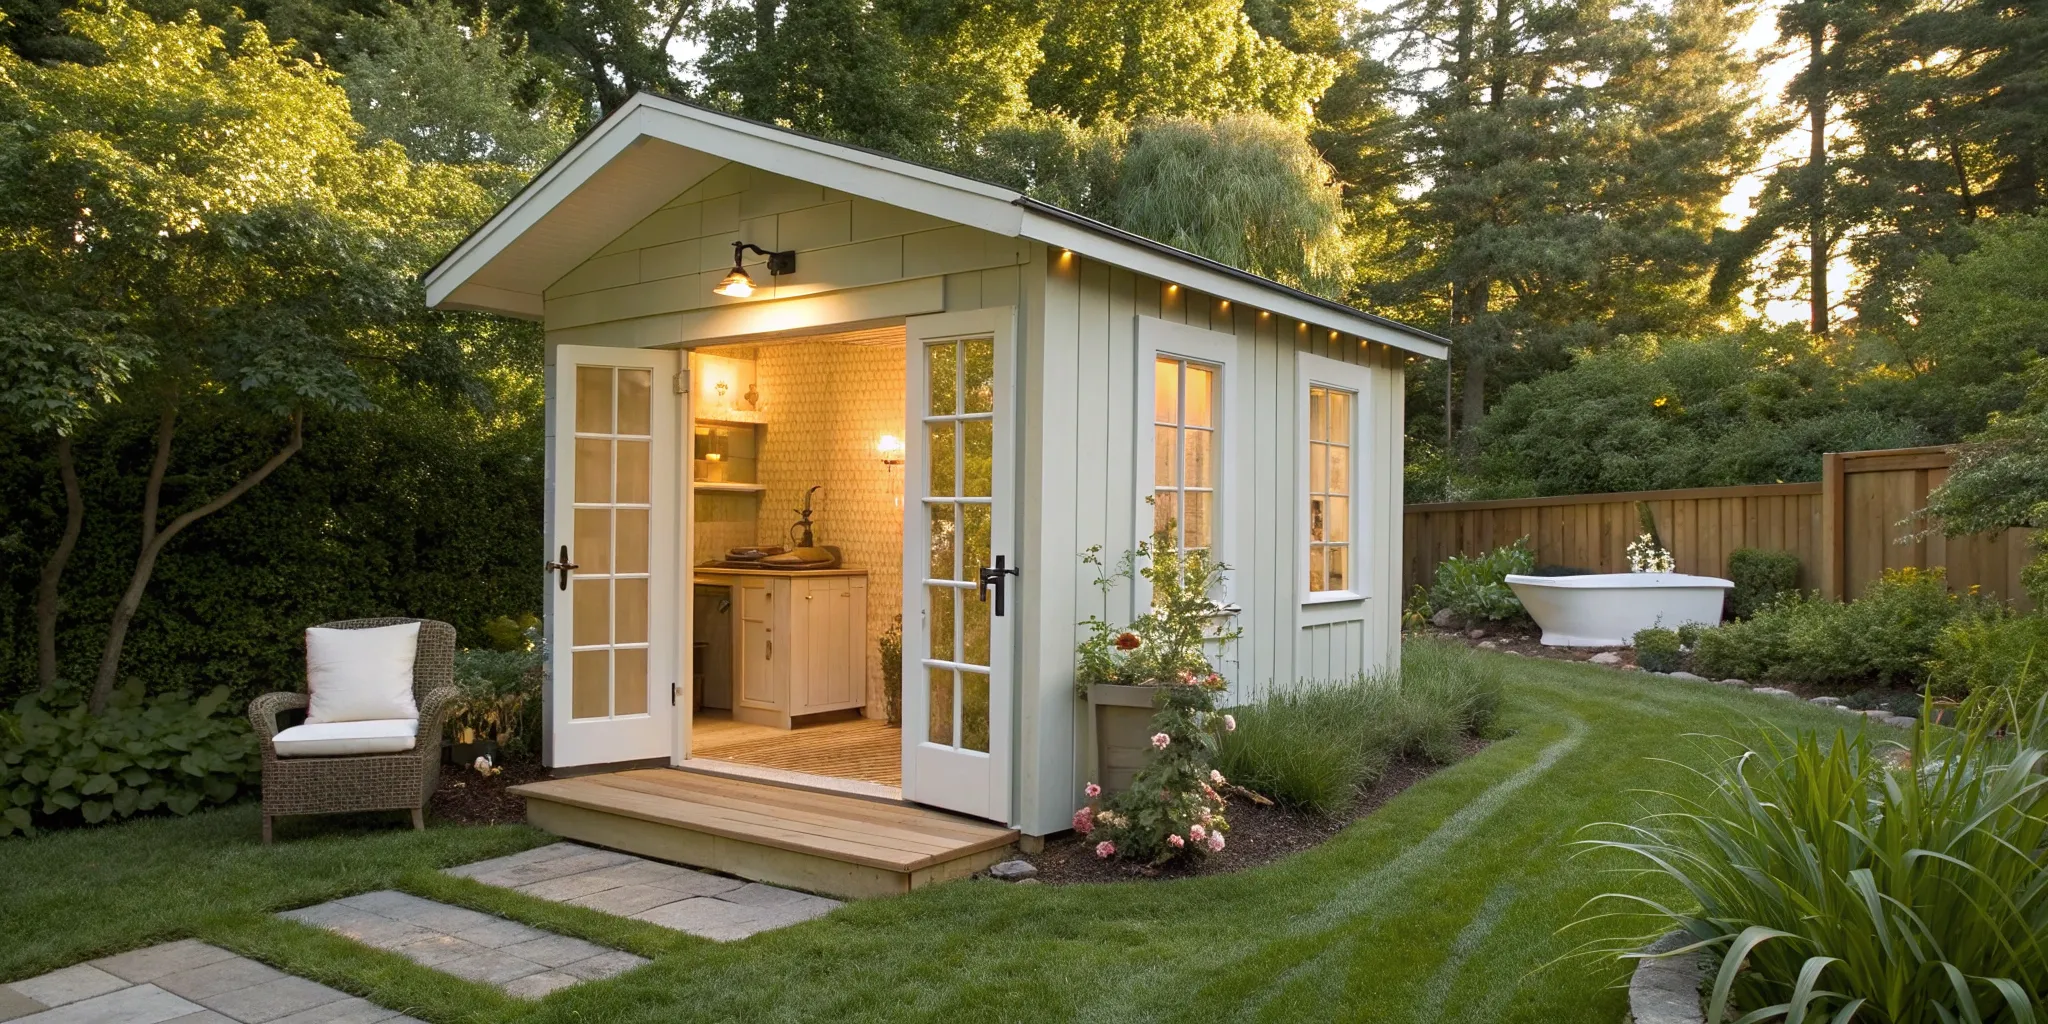
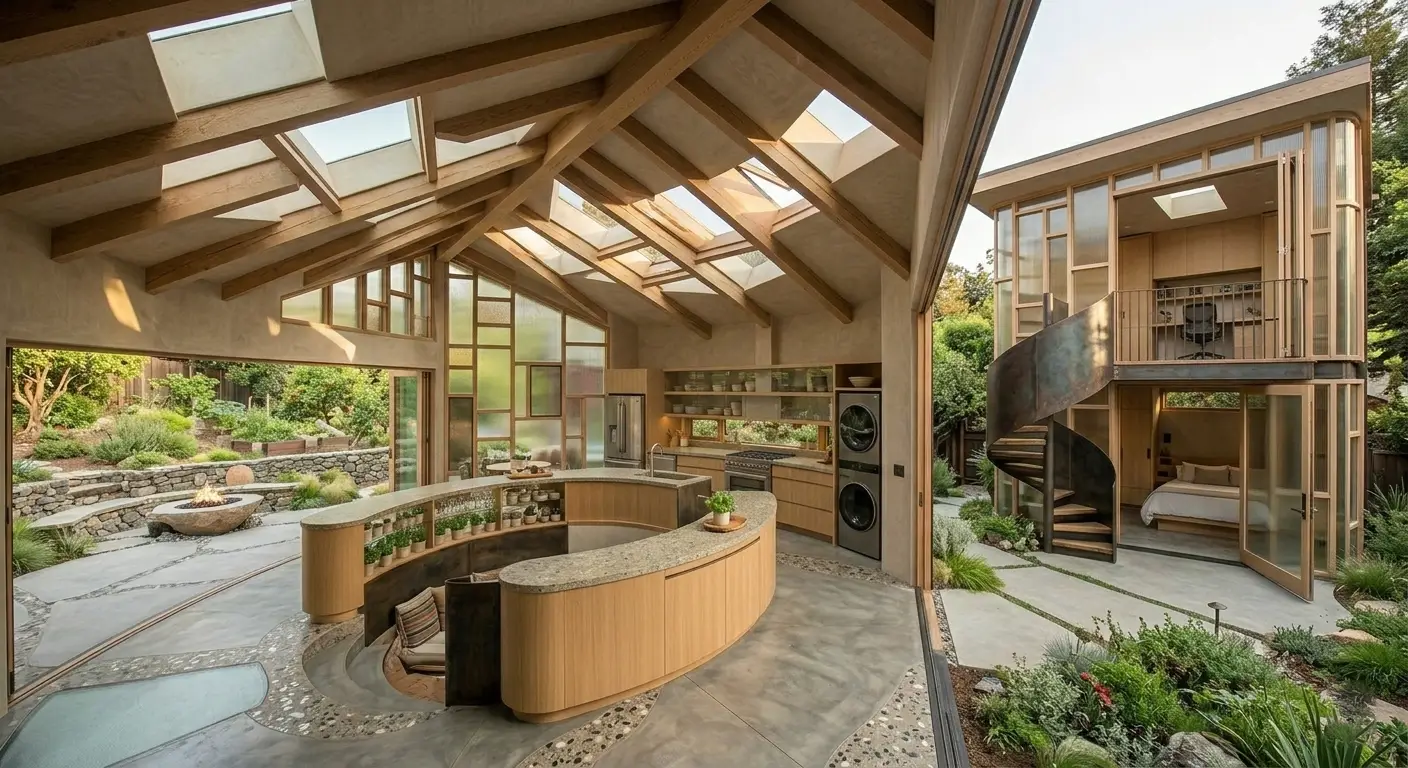
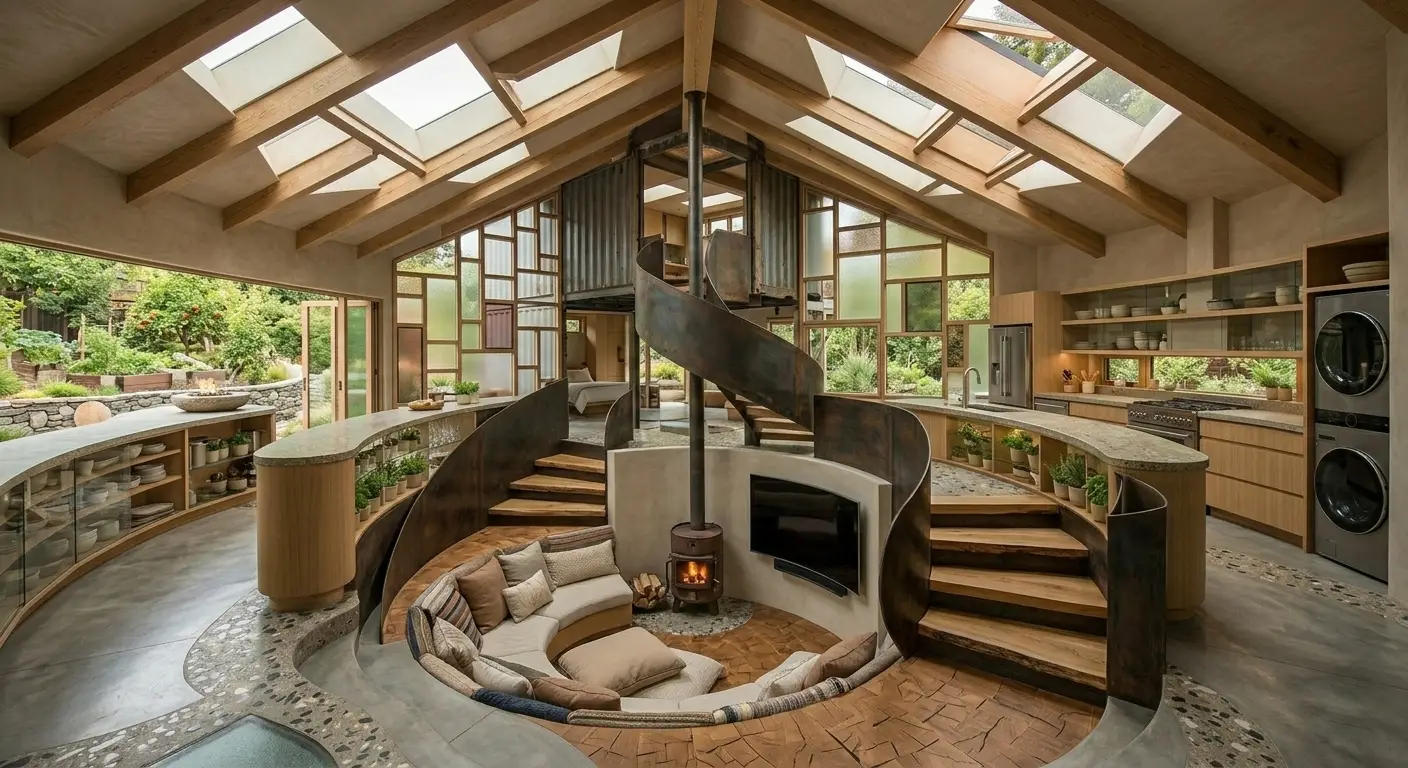
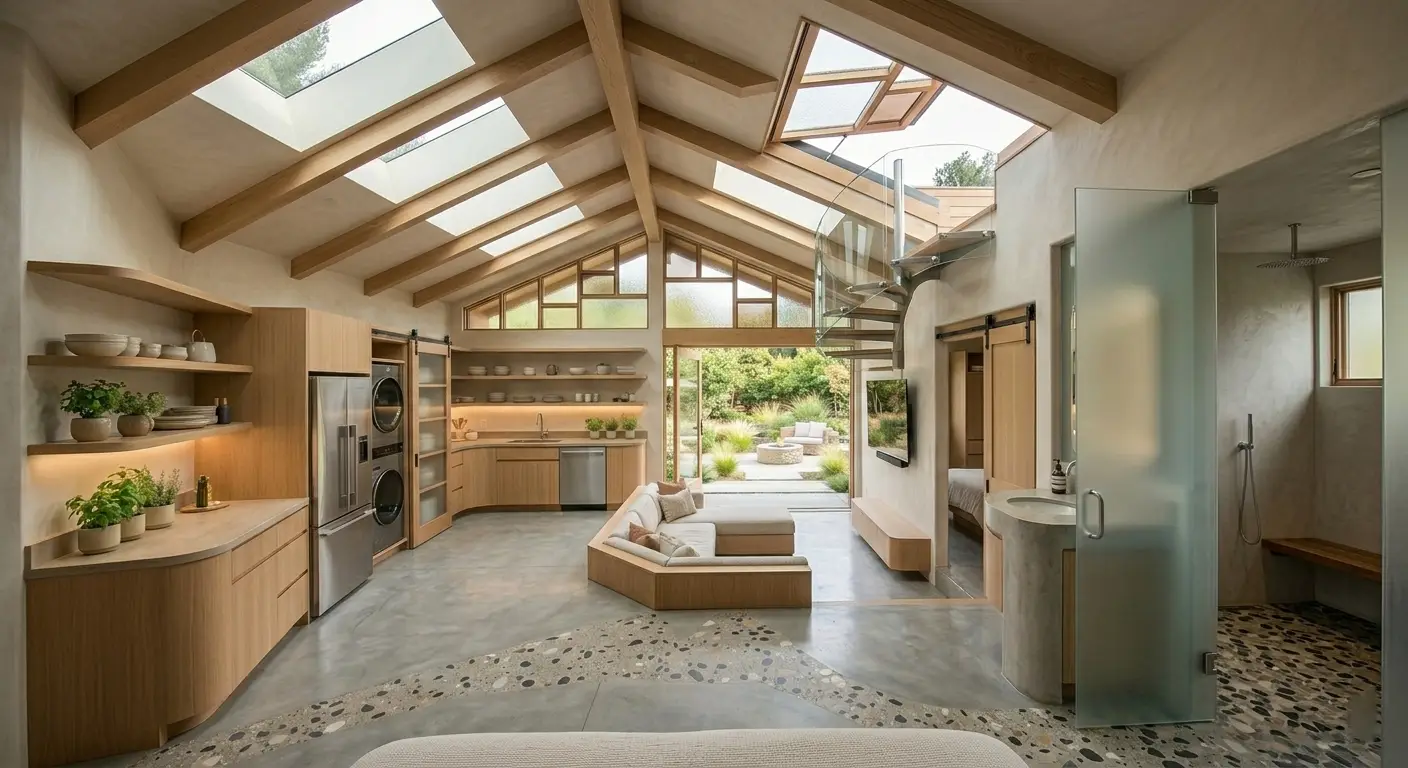
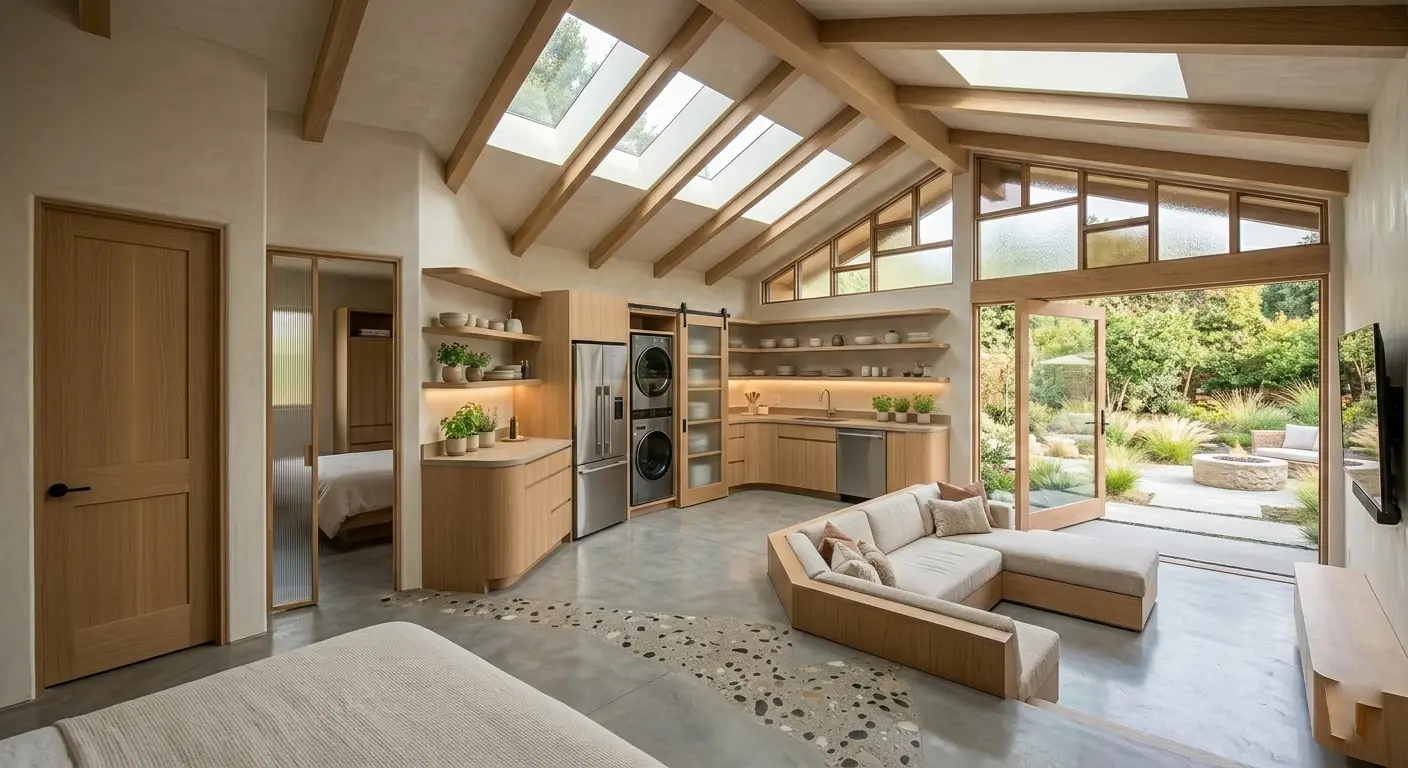
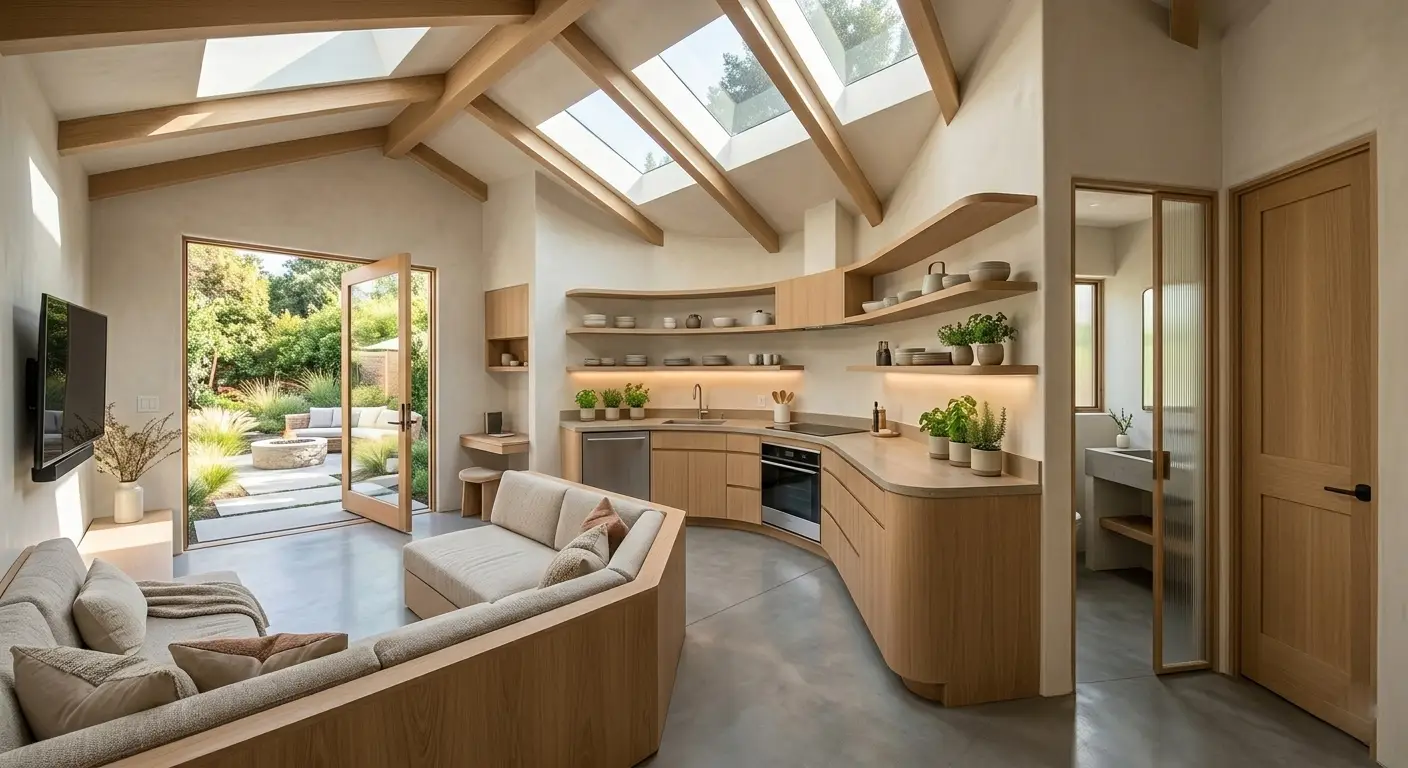
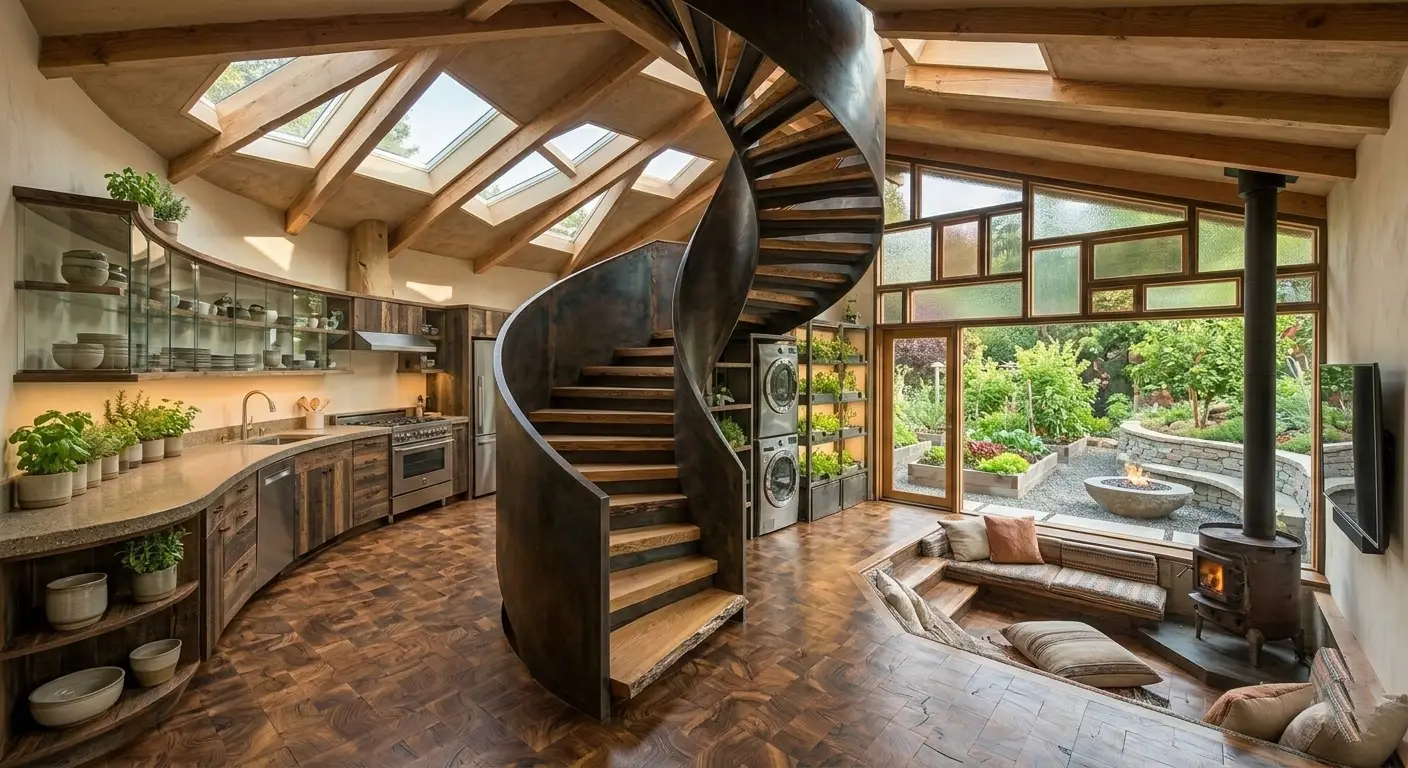
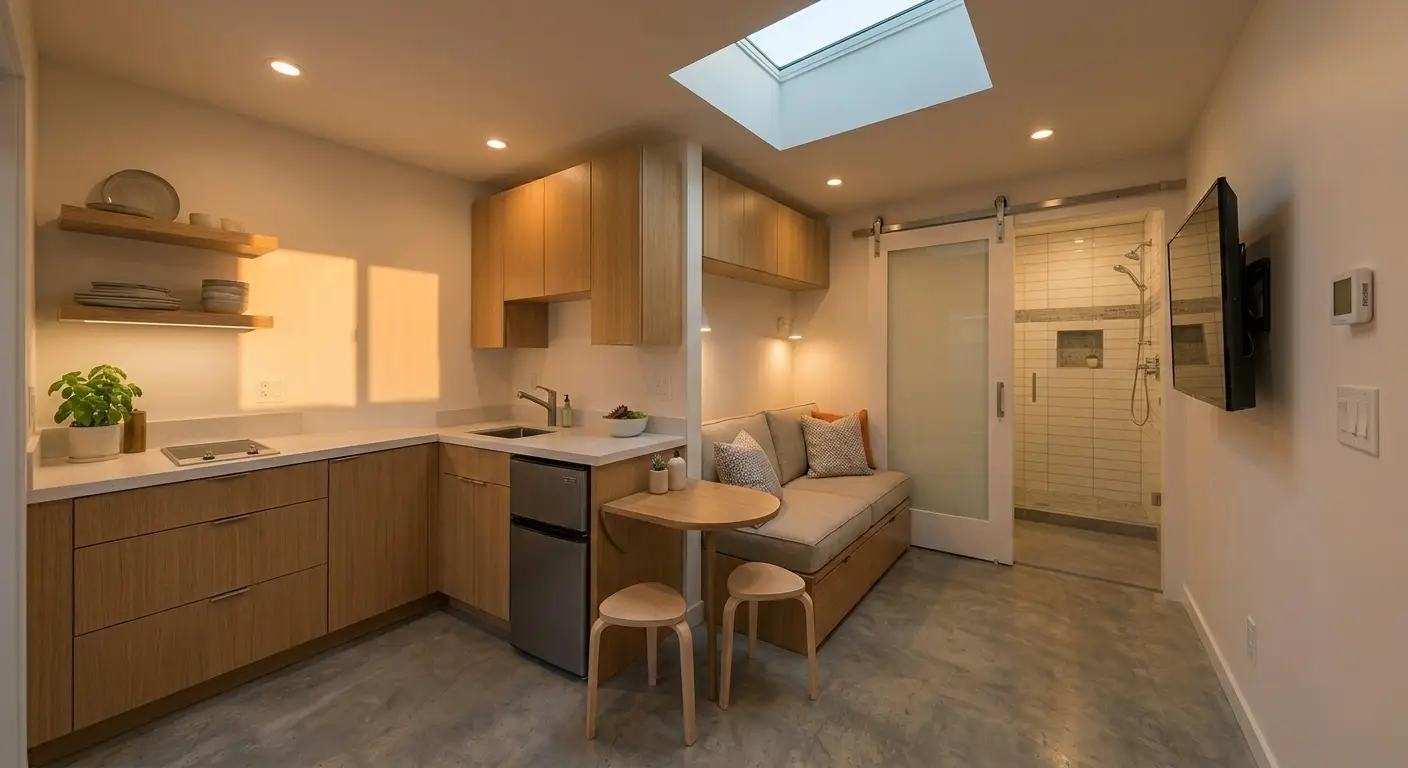
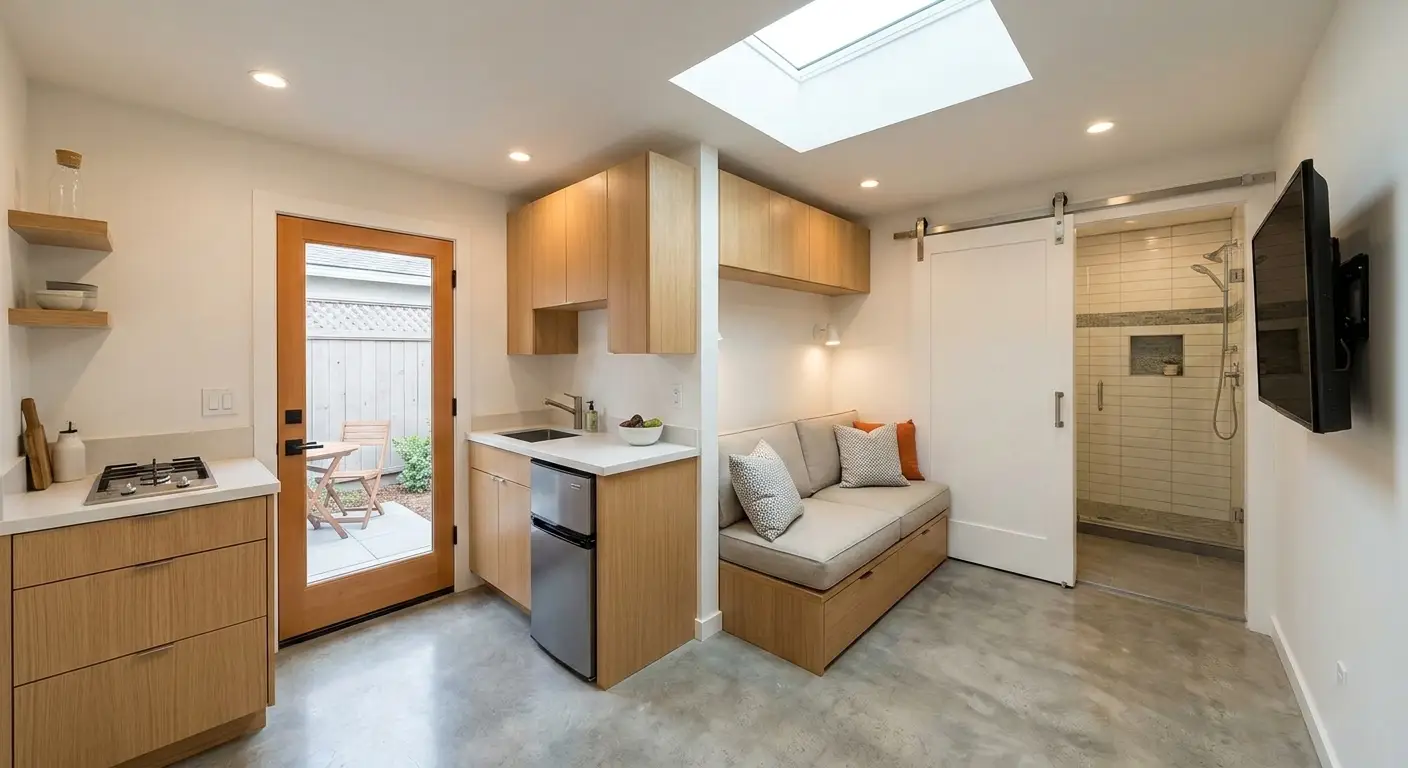
A true studio shed is much more than four walls and a roof. These are essentially tiny homes, designed to be comfortable and completely self-sufficient. You can expect to find a compact but full kitchen, often with a mini-fridge, sink, cooktop, and cabinetry. They also include a complete bathroom with a toilet, sink, and shower. Companies like Studio Shed offer models that come fully equipped, so it’s ready for living from day one.
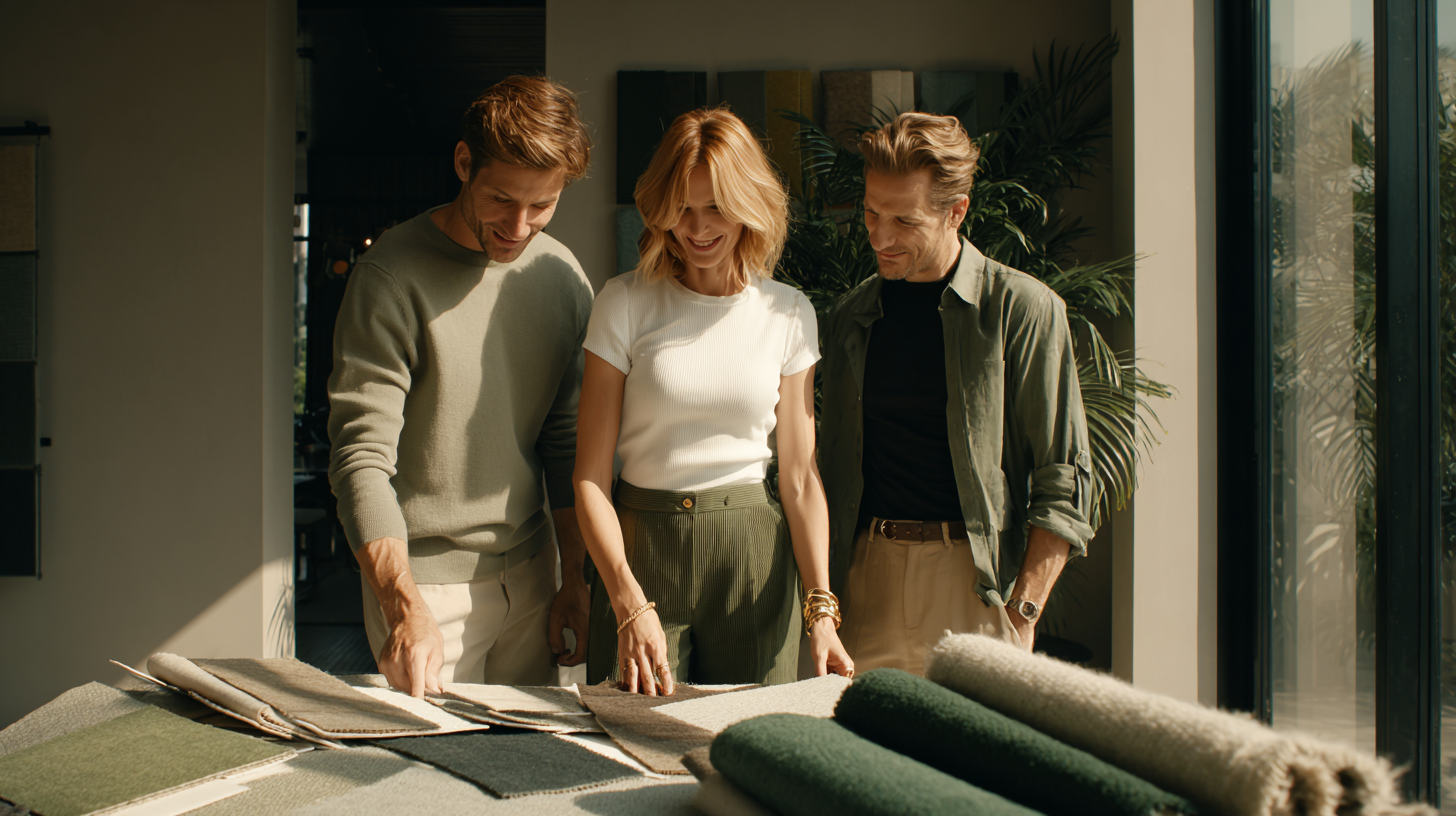
Beyond the basics, customization is a huge part of the appeal. You get to act as the designer, choosing from various sizes, layouts, and finishes. You can decide where the doors and windows go to maximize natural light, select the exterior siding and colors to match your main house, and pick interior finishes that reflect your personal style.
Let's Clear Up Some Common Myths
The biggest myth about sheds is that they’re only good for storage. While that’s where they got their start, today’s studio sheds are built to be high-quality livable spaces. They are properly insulated, wired for electricity, and connected to plumbing, just like a traditional home. They are designed to meet local building codes for accessory dwelling units (ADUs), ensuring they are safe, durable, and comfortable for year-round use.
Another common misconception is that they lack the features of a real home. The reality is that modern sheds can be equipped with everything you need, including heating and air conditioning, internet connectivity, and high-end finishes. They aren't flimsy, temporary structures; they are permanent, valuable additions to your property.
How People Are Using These Versatile Spaces
The beauty of a studio shed lies in its flexibility. Homeowners are using these spaces in all sorts of creative ways to fit their changing lifestyles. One of the most popular uses is as a guesthouse, offering a private and comfortable spot for visiting friends and family. It’s also an ideal solution for a dedicated home office, creating a quiet workspace that’s separate from the main house—perfect for focused work and a better work-life balance.
Others transform them into personal retreats, like an art studio, a yoga room, or a music space. For families with adult children or aging parents, a studio shed can provide a degree of independence while keeping loved ones close. And in many areas, they can be used as a long-term rental unit, generating passive income and increasing your property's value.
Must-Have Features for Your Studio Shed
Transforming a shed from a simple storage space into a fully functional studio requires careful planning. It’s not just about adding a desk and a chair; it’s about creating a comfortable, self-sufficient environment. The right features can make your studio shed feel like a true extension of your home, whether you’re using it as a guest suite, a home office, or a creative retreat. Think about what you truly need for the space to work for you day in and day out. This means going beyond the basics and considering the elements that provide comfort, convenience, and long-term value. From a well-equipped kitchen to reliable heating and cooling, these are the features that will make your shed a place you genuinely want to spend time in, year-round.
Planning Your Perfect Kitchen
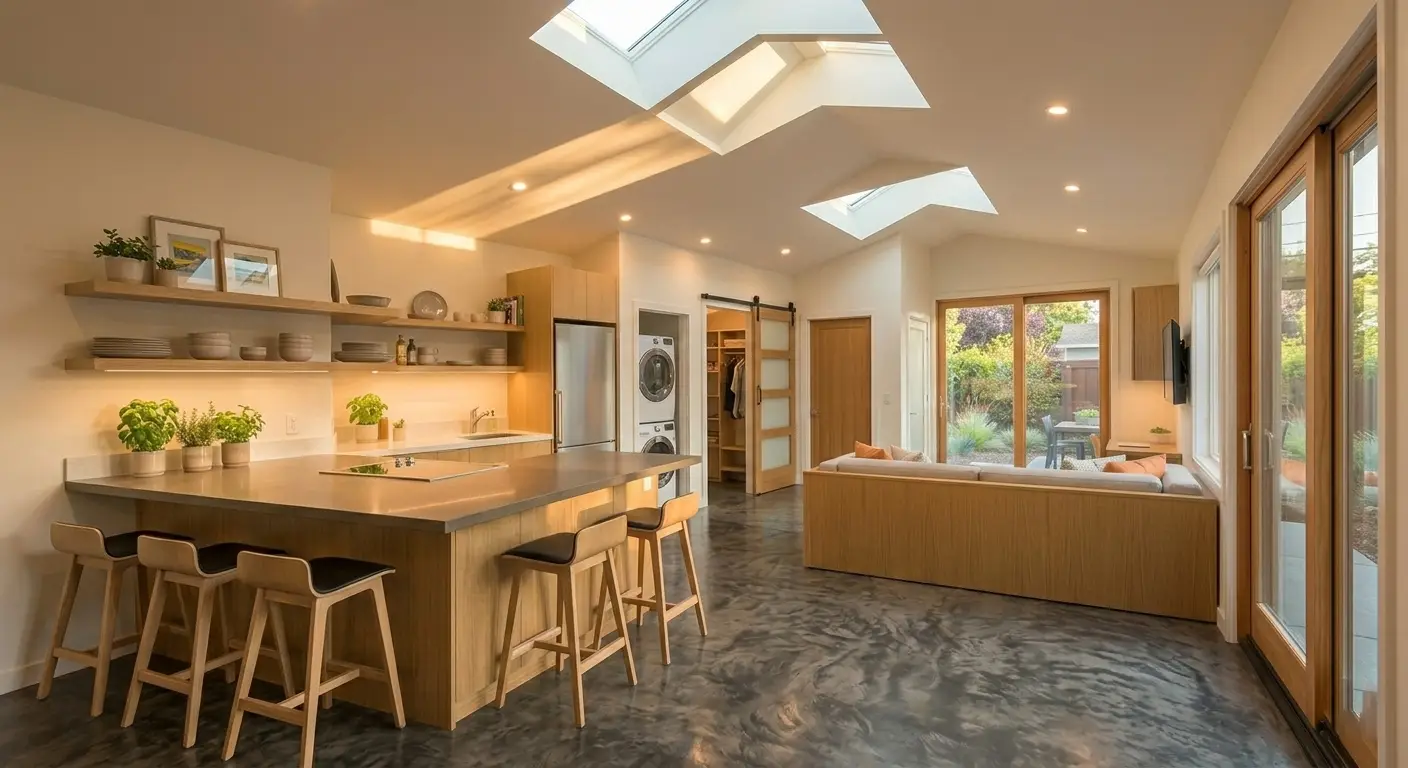
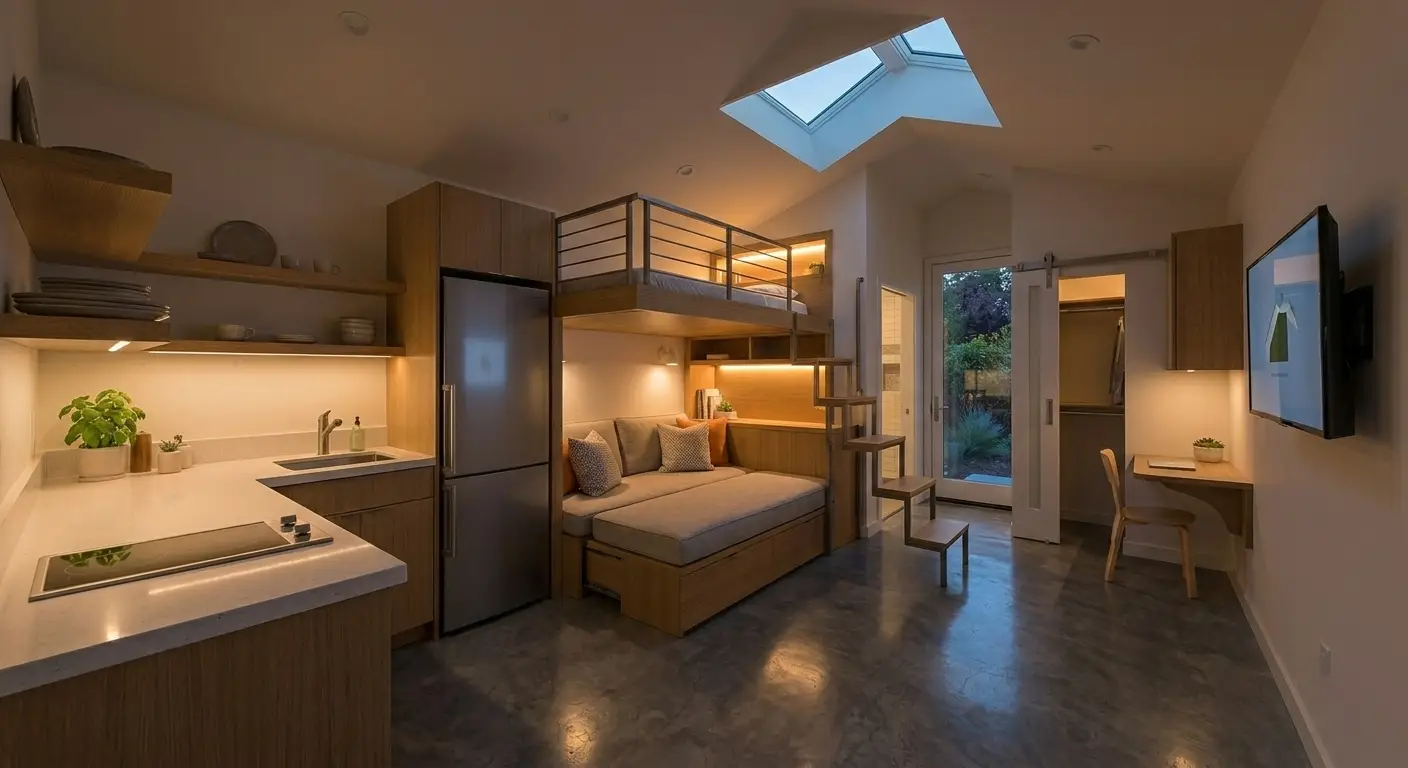
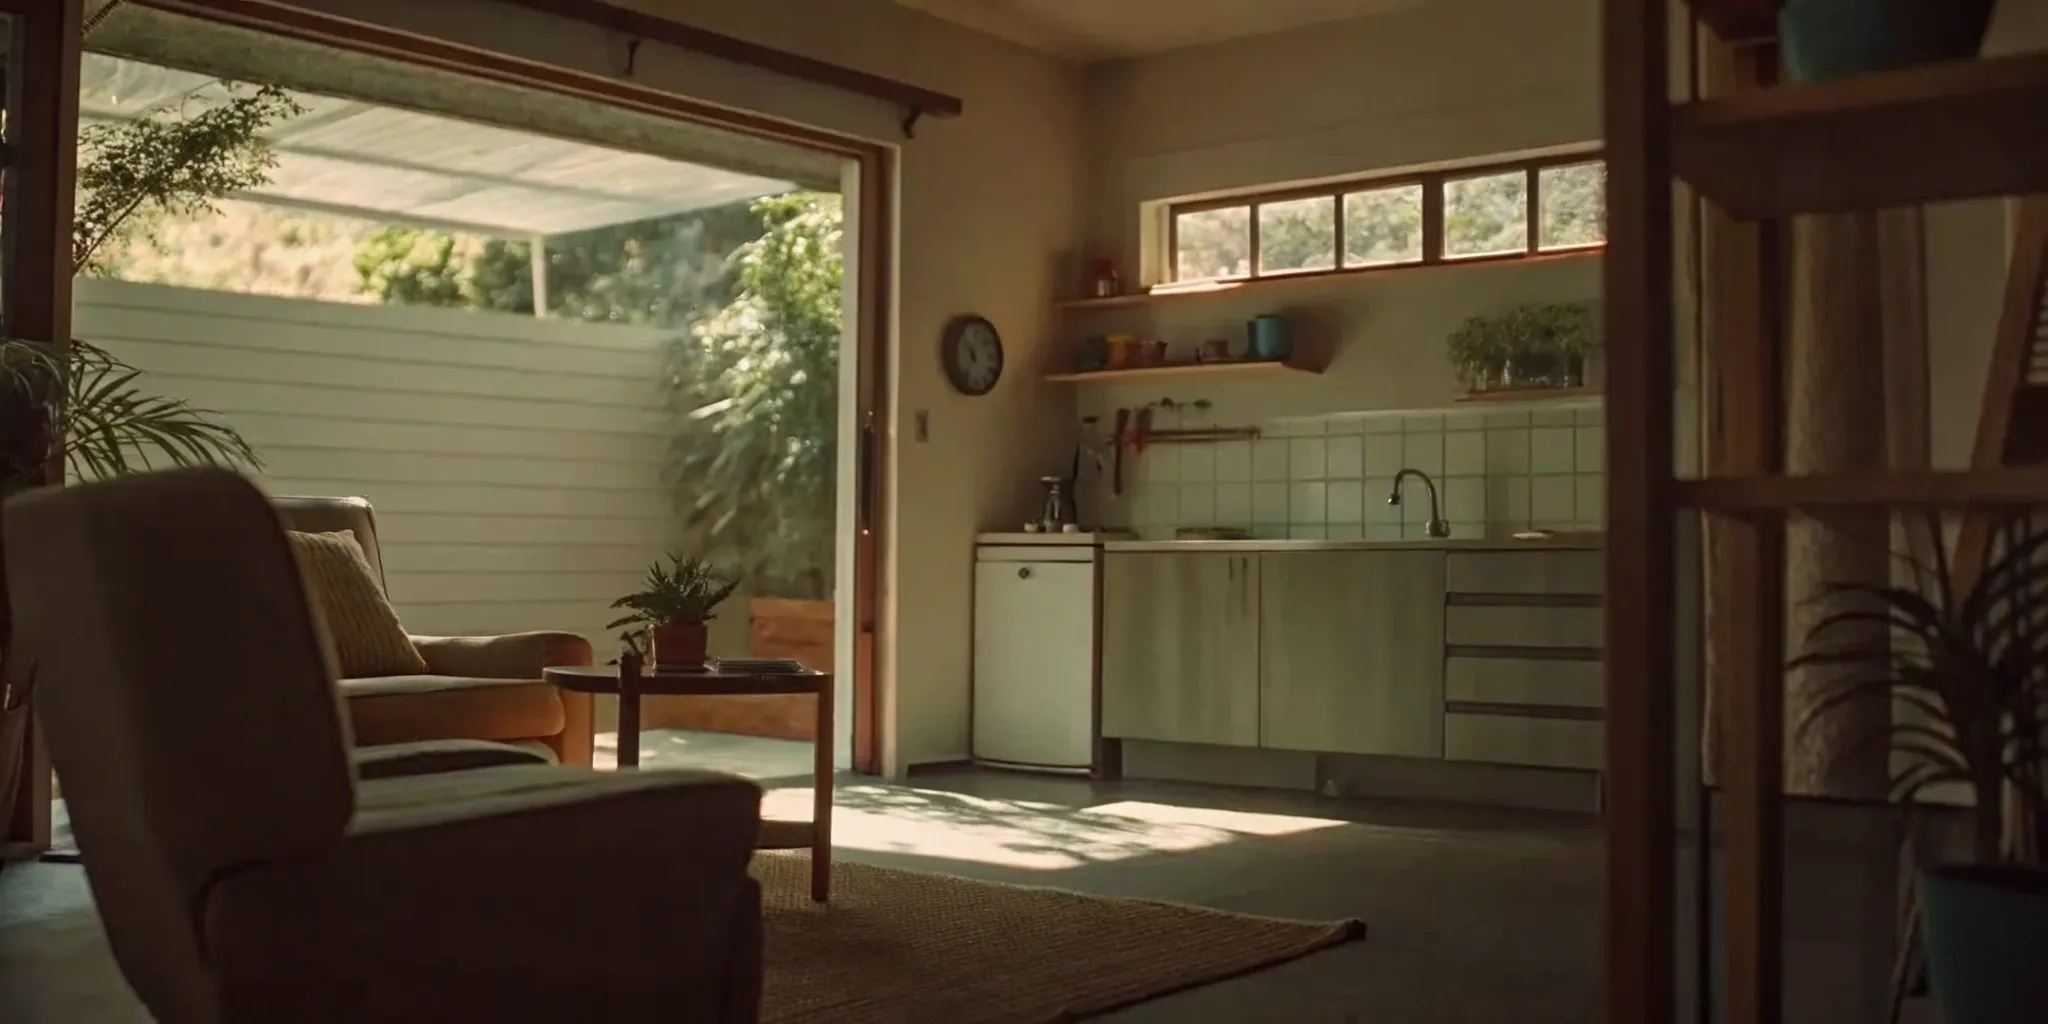
A functional kitchen is the heart of any living space, and your studio shed is no exception. You don’t need a massive area to create something great. The key is smart design. Think about compact appliances like under-counter refrigerators, two-burner induction cooktops, and combination microwave-convection ovens. Some high-end prefab models, like the Studio Shed Summit series, come with a full kitchen, showing just what’s possible. When planning your layout, prioritize counter space for prep work and consider vertical storage to make the most of every inch. A well-designed kitchenette ensures you can prepare meals comfortably without feeling cramped.
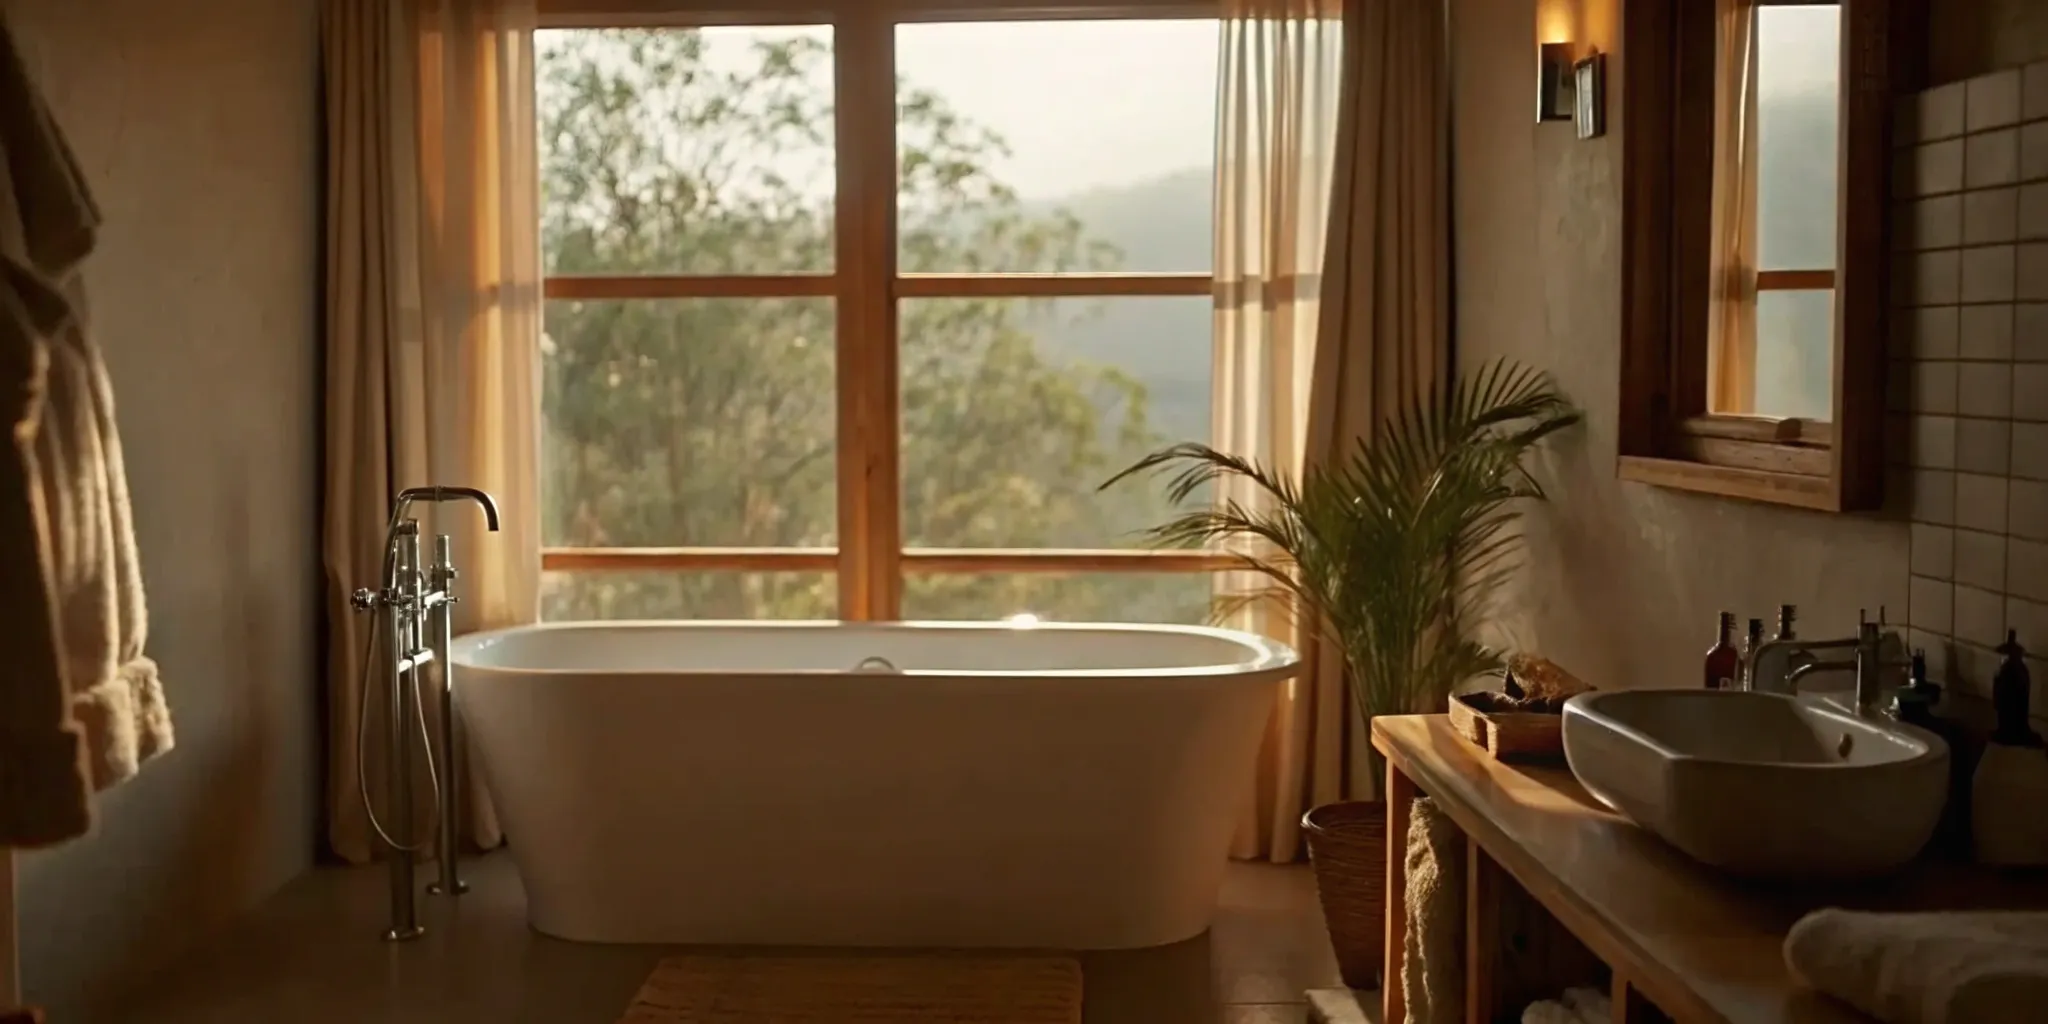
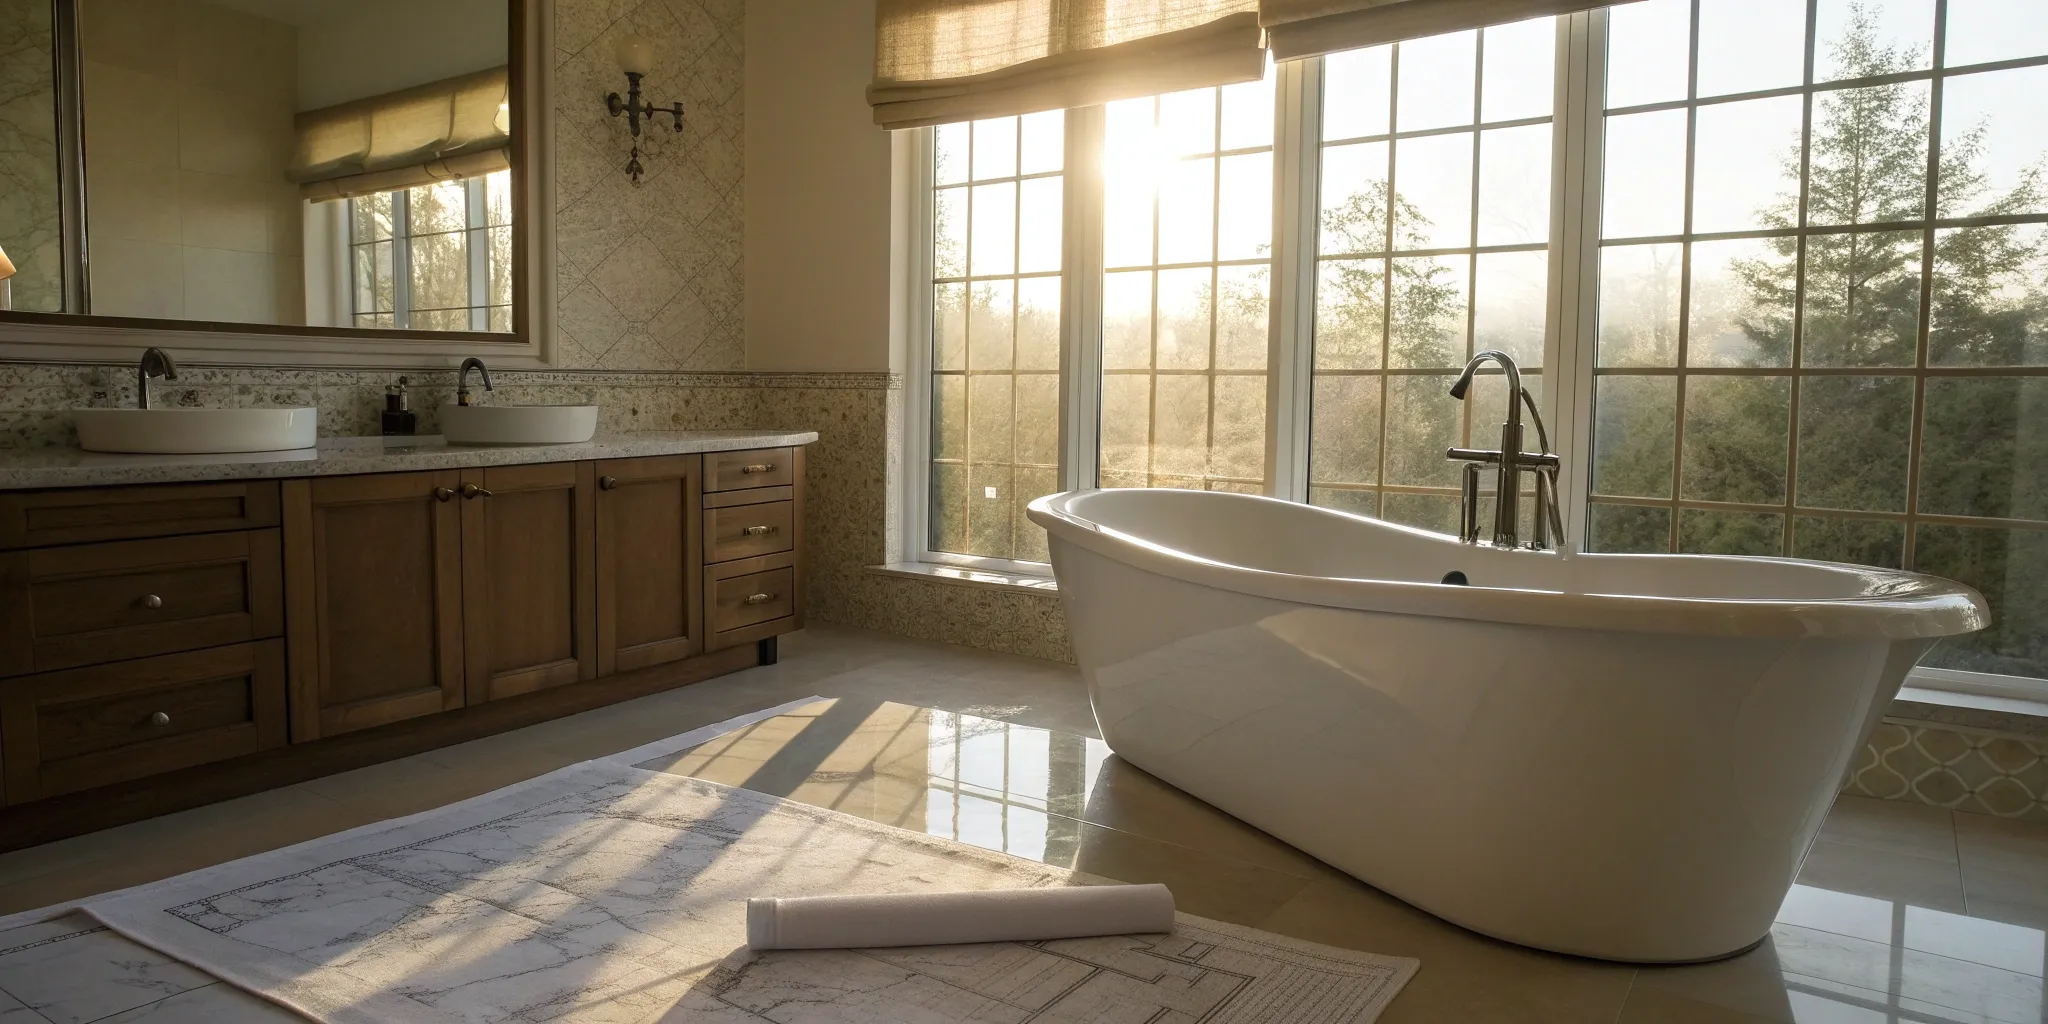
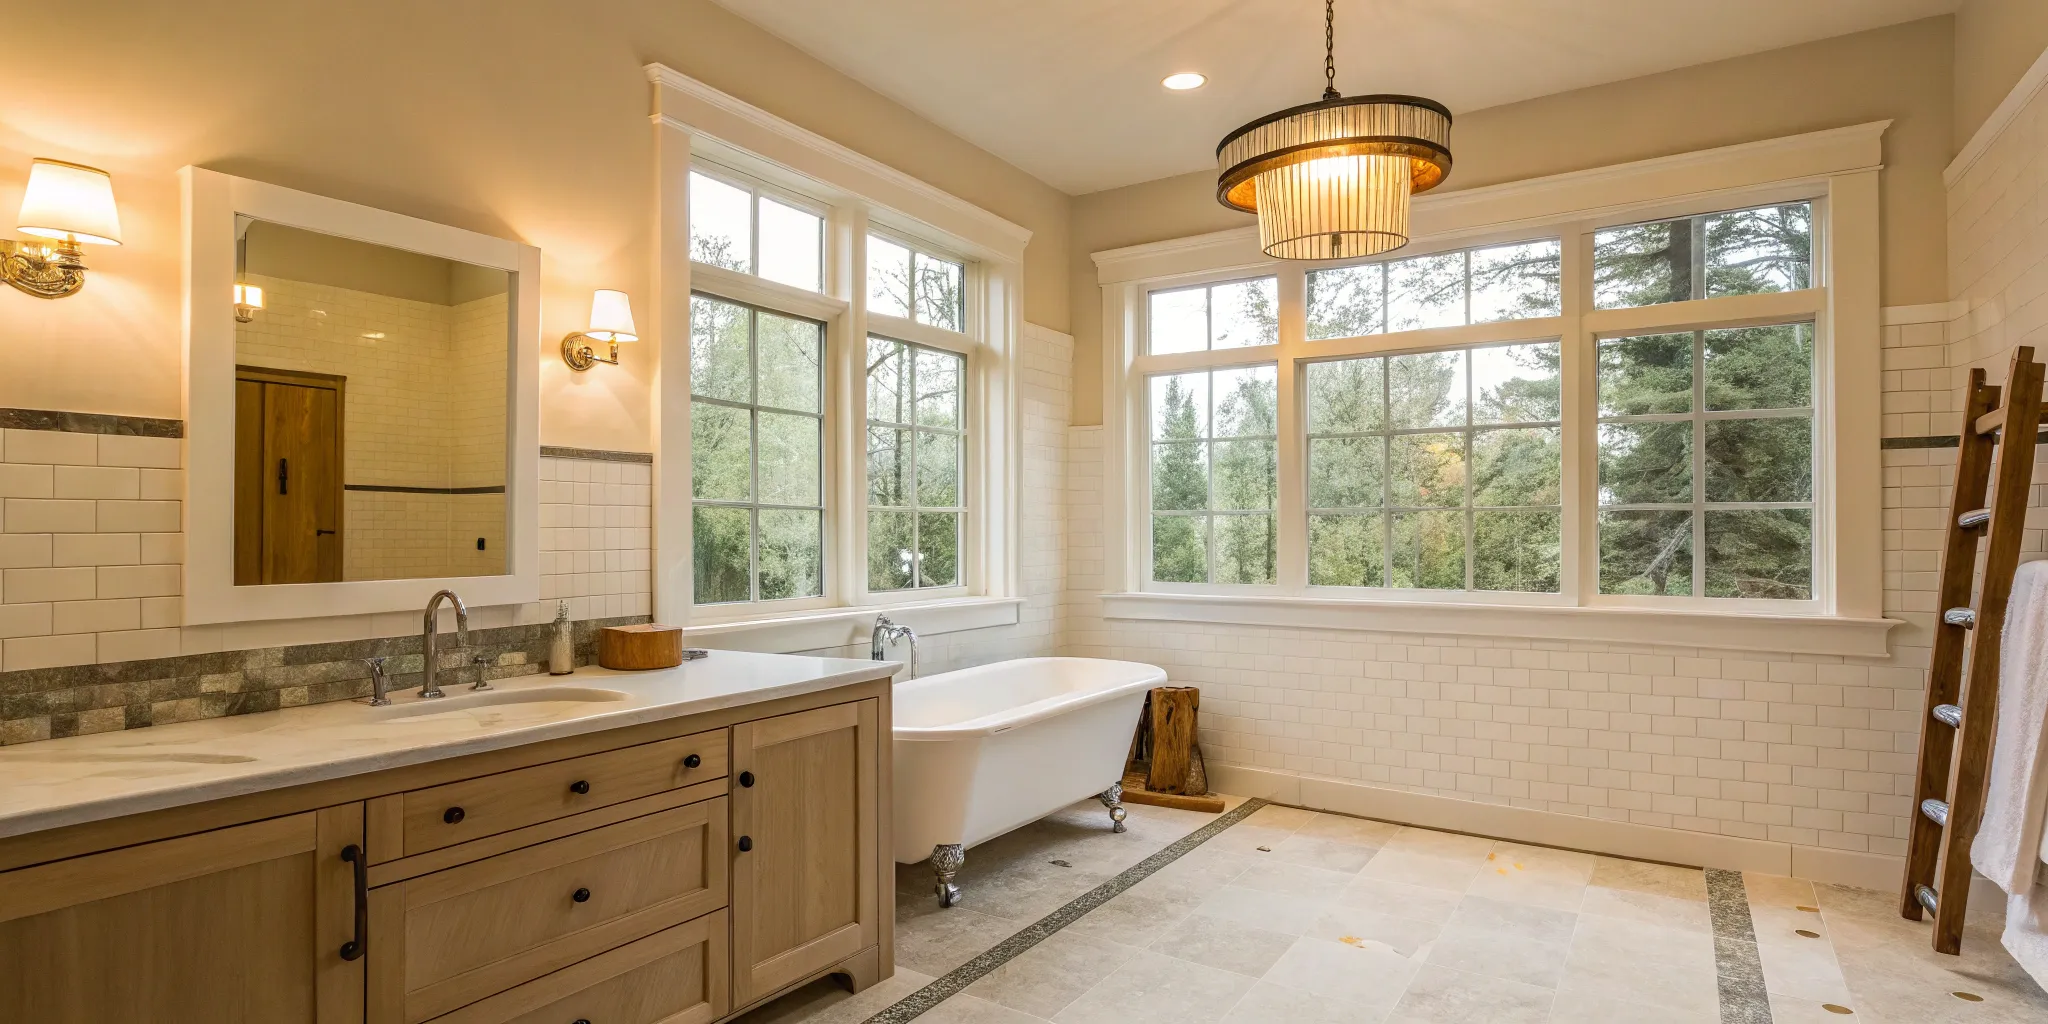
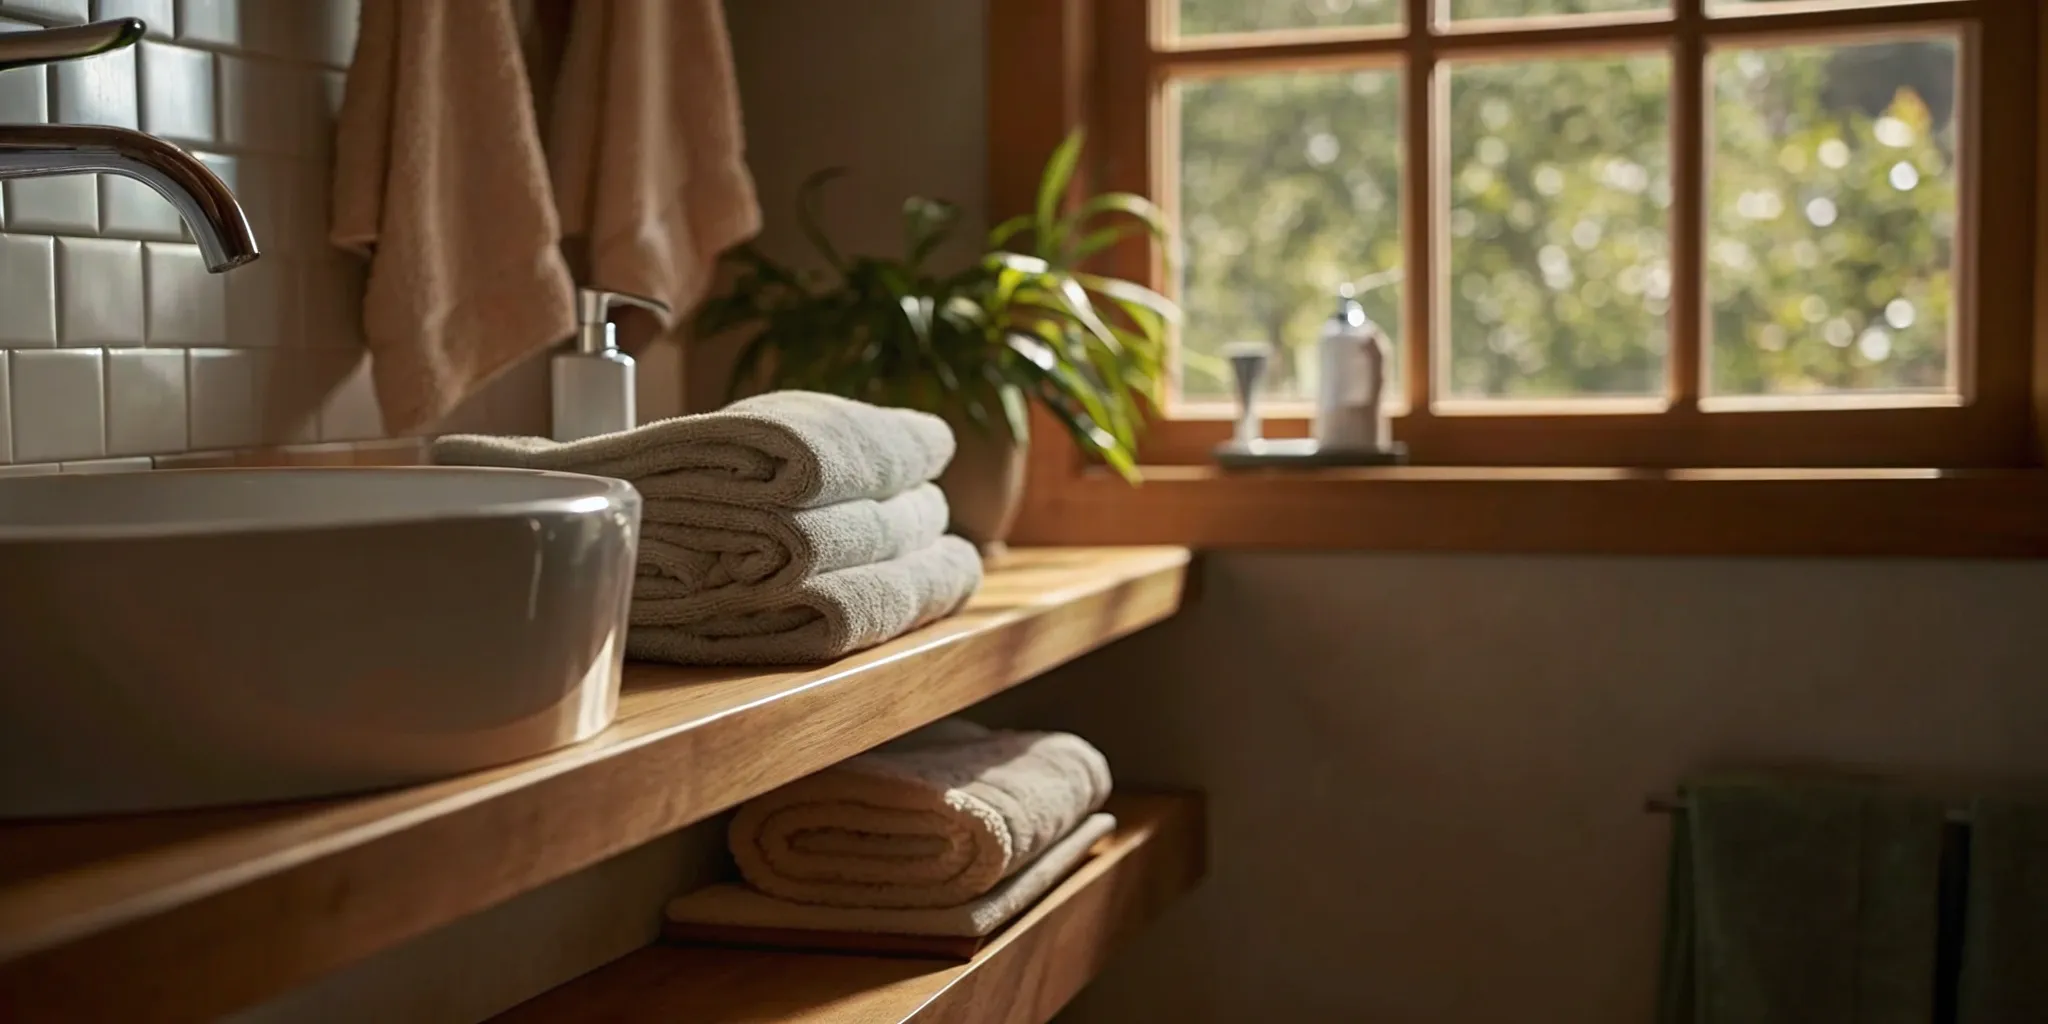
Designing a Functional Bathroom
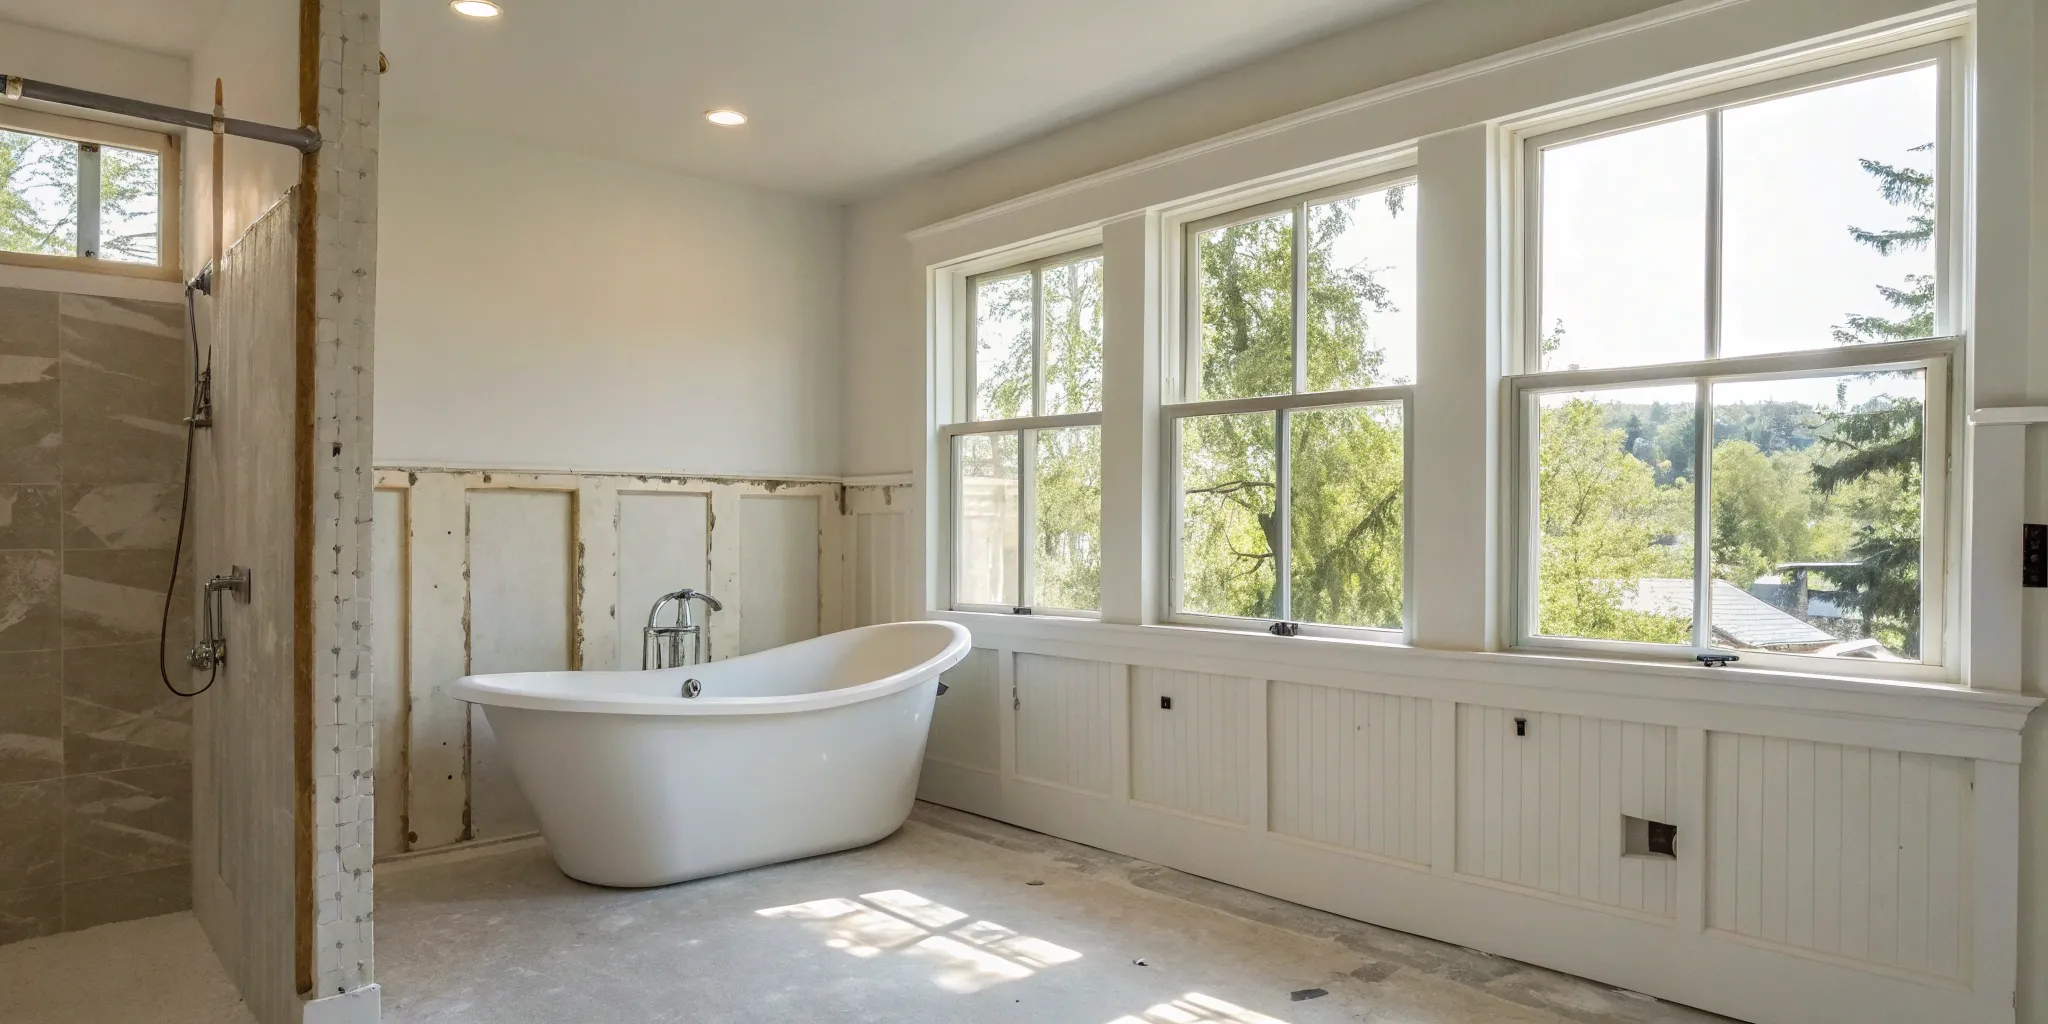
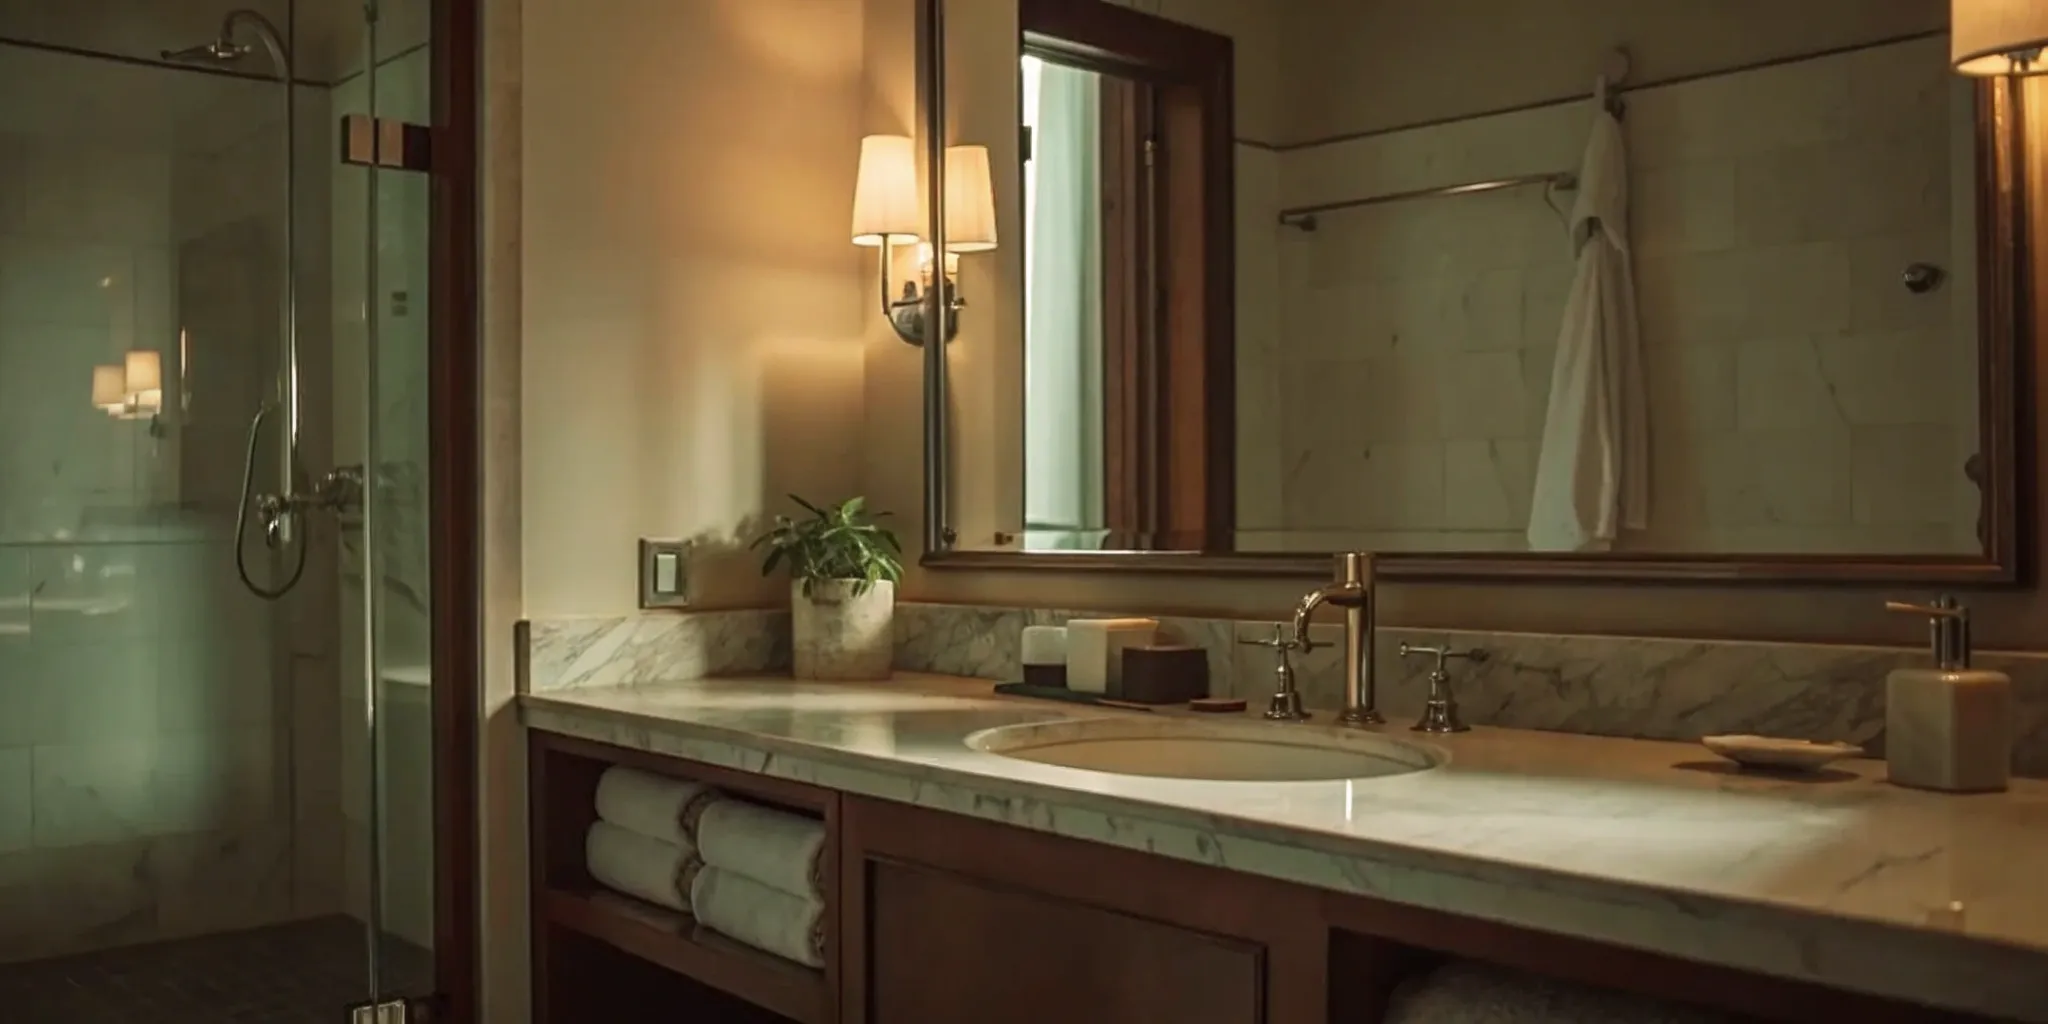
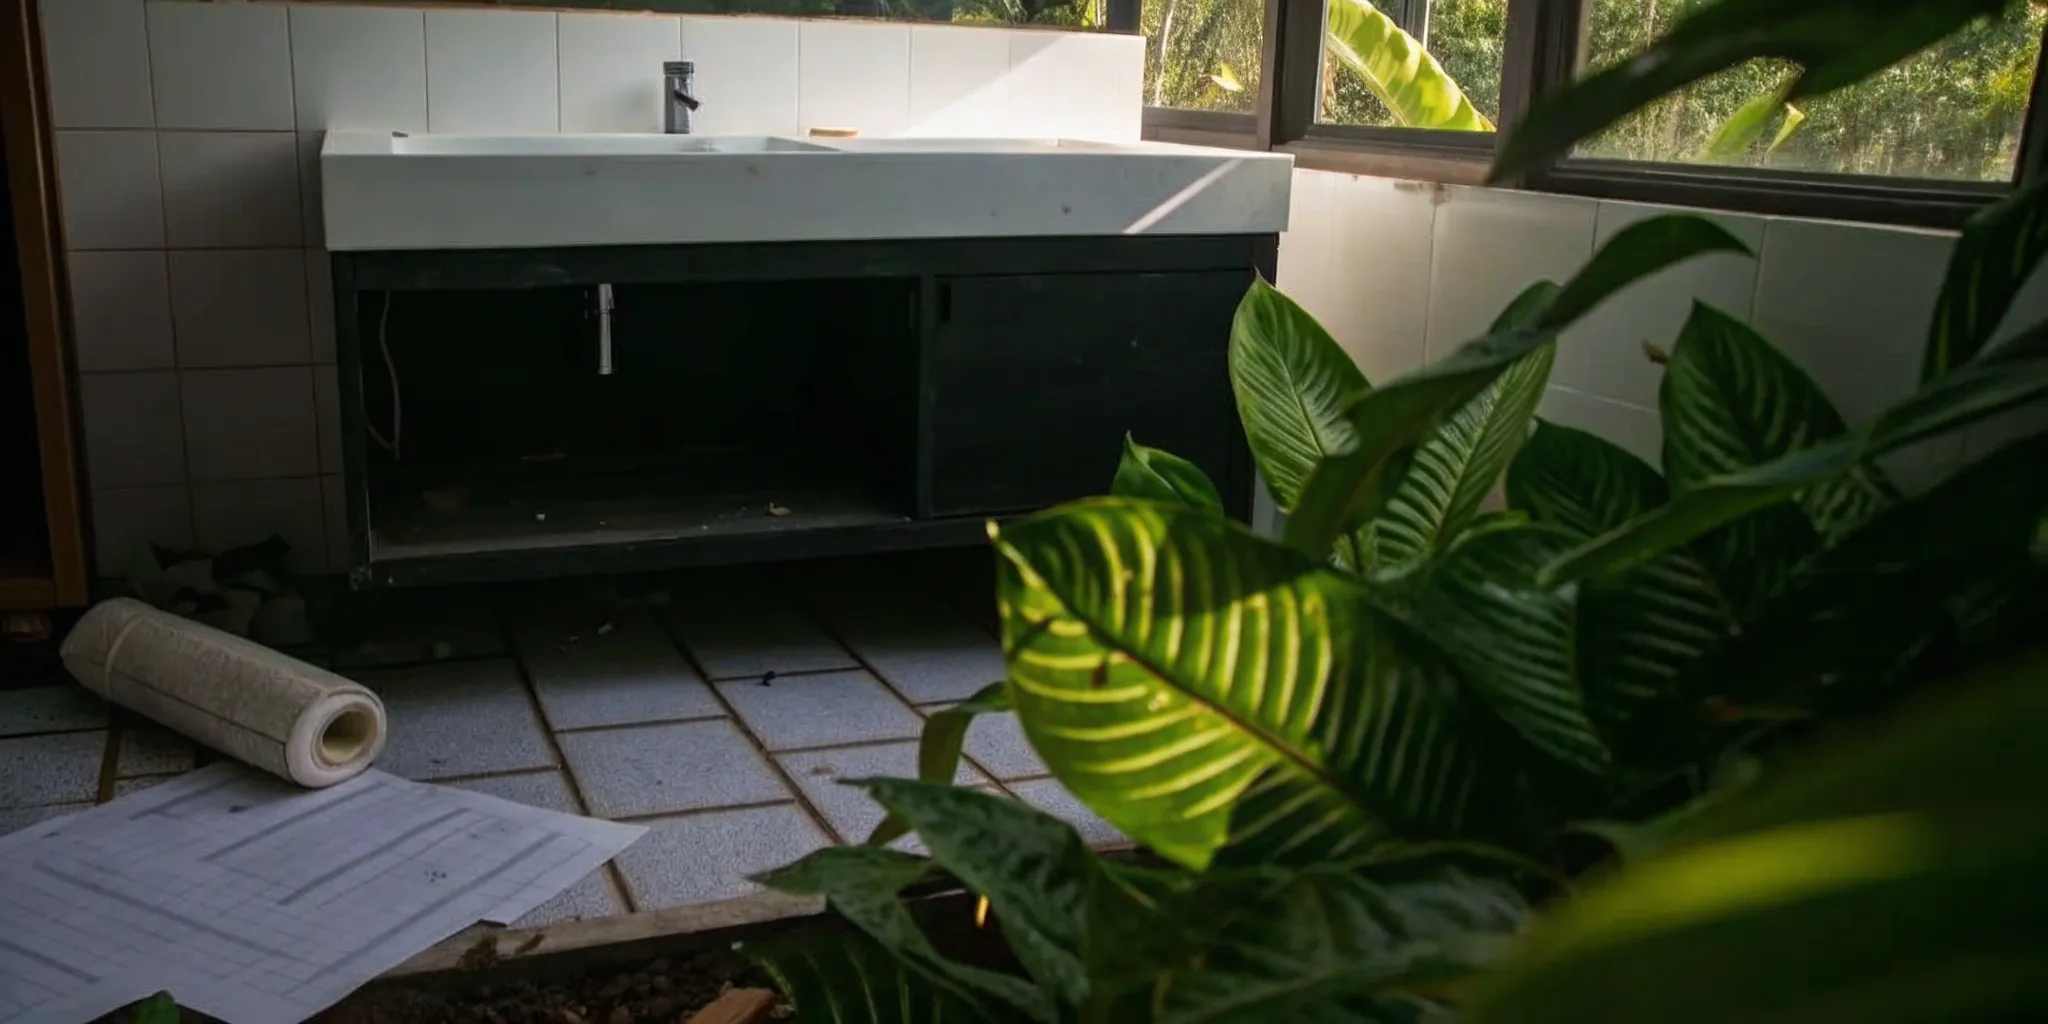
A bathroom is a non-negotiable for a truly livable shed. The main challenge here is plumbing. While many companies can build a shed with a bathroom layout, they often don't handle the plumbing installation itself. You'll need to hire a licensed plumber to connect your shed to your home’s water and sewer or septic system. To save space, consider a corner shower, a wall-mounted toilet, and a slim vanity. A pocket door is another great space-saver that eliminates the need for door swing clearance. Planning for ventilation with a good exhaust fan is also crucial to prevent moisture issues in a small space.
Staying Comfortable: Heating, Cooling, and Insulation
To use your studio shed throughout the year, you need to control the climate. Proper insulation is your first line of defense against extreme temperatures, so don’t cut corners here. For heating and cooling, ductless mini-split systems are a popular and efficient choice. They provide both A/C and heat without requiring extensive ductwork. Some fully-equipped shed models include these systems as part of the package, ensuring your space is comfortable from day one. Radiant floor heating is another fantastic option for a touch of luxury and consistent, quiet warmth during colder months.
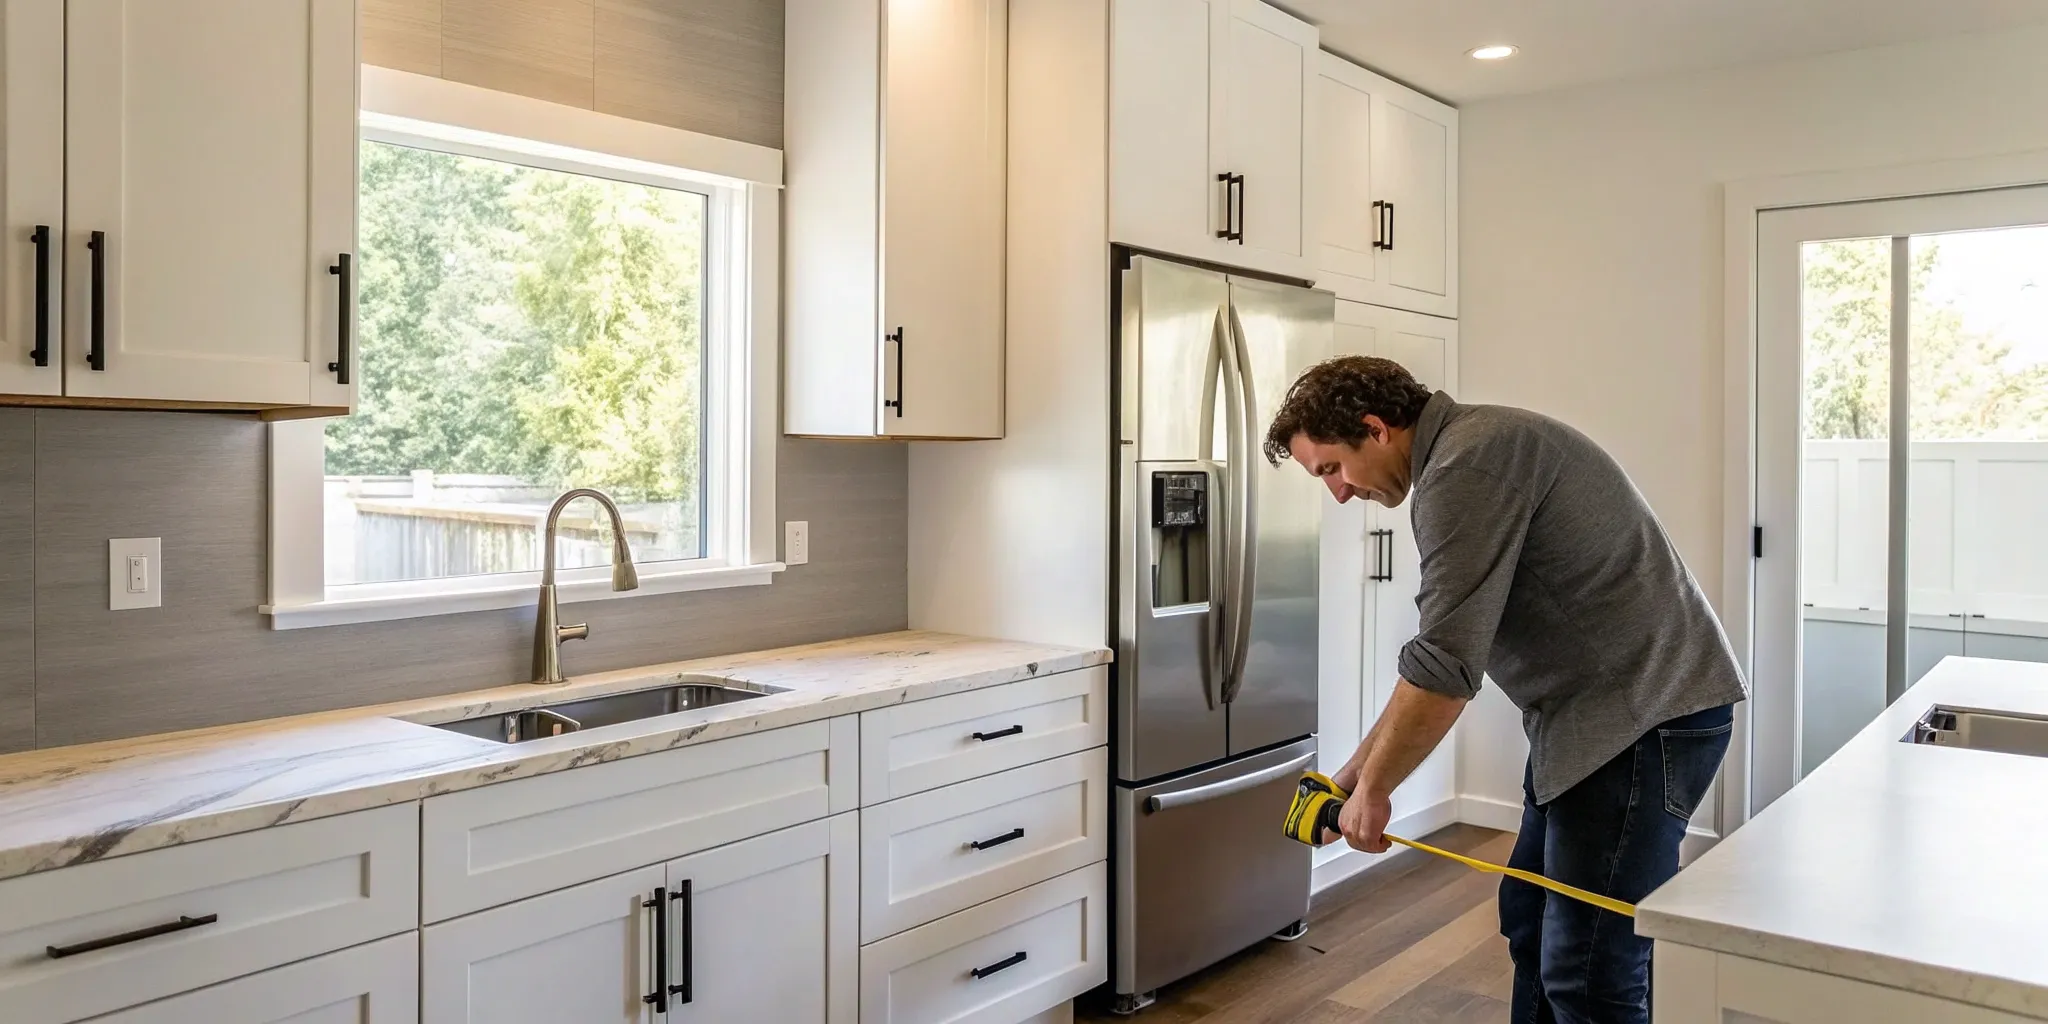
Getting Hooked Up: Electrical and Plumbing Essentials
Beyond the fixtures, the utility connections are what bring your studio shed to life. This is a critical step that requires professional expertise. Most shed companies clarify that you’ll need to arrange for electrical and plumbing hookups separately. This means you’ll need to work with an electrician to run power from your main panel and a plumber for water and waste lines. It’s important to factor these services into your overall budget and timeline. A Realm advisor can help you coordinate with vetted local contractors to ensure all the work is done correctly and up to code.
Choosing Energy-Efficient Options
An energy-efficient shed isn’t just good for the planet; it’s also easier on your wallet. High-quality, double-pane windows and doors will prevent heat loss and gain, making your heating and cooling systems work more efficiently. Opt for LED lighting, which uses less energy and lasts longer than traditional bulbs. When selecting appliances, look for the ENERGY STAR® label. Many modern ADUs and studio sheds are designed with sustainability in mind, incorporating features that reduce their overall energy consumption. These thoughtful choices will lower your utility bills and create a more comfortable and sustainable living space for years to come.
Top Studio Shed Brands to Consider
Once you start looking, you'll find a wide world of studio shed providers, each with its own unique strengths. The best brand for you really comes down to your specific goals, budget, and style preferences. Are you looking for a sleek, modern ADU, a durable and practical home office, or a simple, space-saving creative studio? The sheer number of choices can feel overwhelming, but breaking it down makes it much more manageable. To help you get started, I’ve pulled together a list of some of the most reputable and popular brands on the market. These companies are known for their quality, design, and range of options, and each one caters to a slightly different need. Some specialize in fully-equipped living spaces, while others offer streamlined kits for a dedicated workspace. Think of this as your starting point—a way to see what’s possible and find a brand that aligns with your vision for your backyard space. From here, you can explore their specific models and customization features to find the perfect fit for your property and lifestyle. We'll look at options that prioritize modern aesthetics, some that focus on rugged durability, and others that excel at creating functional spaces in compact yards.
Studio Shed
If you’re looking for a versatile and high-quality structure, Studio Shed is a fantastic place to start. They specialize in creating customizable prefab studios that are perfect for a home office, art studio, or personal gym. Their designs are clean and modern, and they offer a range of sizes and finishes to match your home’s aesthetic. What makes them so popular is the balance they strike between quality and affordability. You get a well-built, insulated structure that feels like a true extension of your home without the price tag of a full-scale addition. Their process is streamlined to make design and installation as simple as possible.
Kanga Room Systems
For those needing a bit more than just a simple room, Kanga Room Systems offers some seriously impressive options. Their Kanga Studio Luxe model, for example, is a step up from a basic shed and can be configured with a bathroom and in larger sizes. This makes it an ideal choice for a more substantial backyard office building, a guest suite, or a comfortable retreat space. They focus on high-quality materials and offer a range of customizable options to ensure the final product meets your exact needs, blending functionality with a modern, cabin-like aesthetic.
Modern-Shed
As the name suggests, Modern-Shed is all about contemporary design and maximum functionality. Their sheds are highly adaptable and can be customized for a wide variety of uses, from a simple office to a fully equipped additional dwelling unit (ADU) with its own kitchen, bathroom, and separate utility hookups. This brand is a great fit if you want a stylish and practical space that can serve multiple purposes over time. They emphasize clean lines, quality materials, and smart design, resulting in a structure that not only looks great but also adds significant value and utility to your property.
Tuff Shed
Known for their durability and robust construction, Tuff Shed is a household name for a reason. While many associate them with storage sheds, they also offer a range of customizable structures that can be transformed into comfortable living spaces. You can work with them to design a backyard studio that includes options for bathrooms and kitchens, creating a durable and long-lasting solution. If you’re looking for a reliable and sturdy build from an established company with a wide network of installers, exploring Tuff Shed’s custom options is a smart move.
Handy Home Products
If you're working with a smaller backyard or just need to make the most of a tight spot, Handy Home Products has some clever solutions. They offer practical and stylish sheds designed to maximize utility in limited areas. For example, their lean-to models are perfect for placing against an existing wall or fence, giving you a functional studio without taking up a huge footprint. While they may offer more compact designs, they don't skimp on the essentials, providing a great foundation for adding the amenities you need for a comfortable and space-saving studio.
How Much Does a Studio Shed Really Cost?
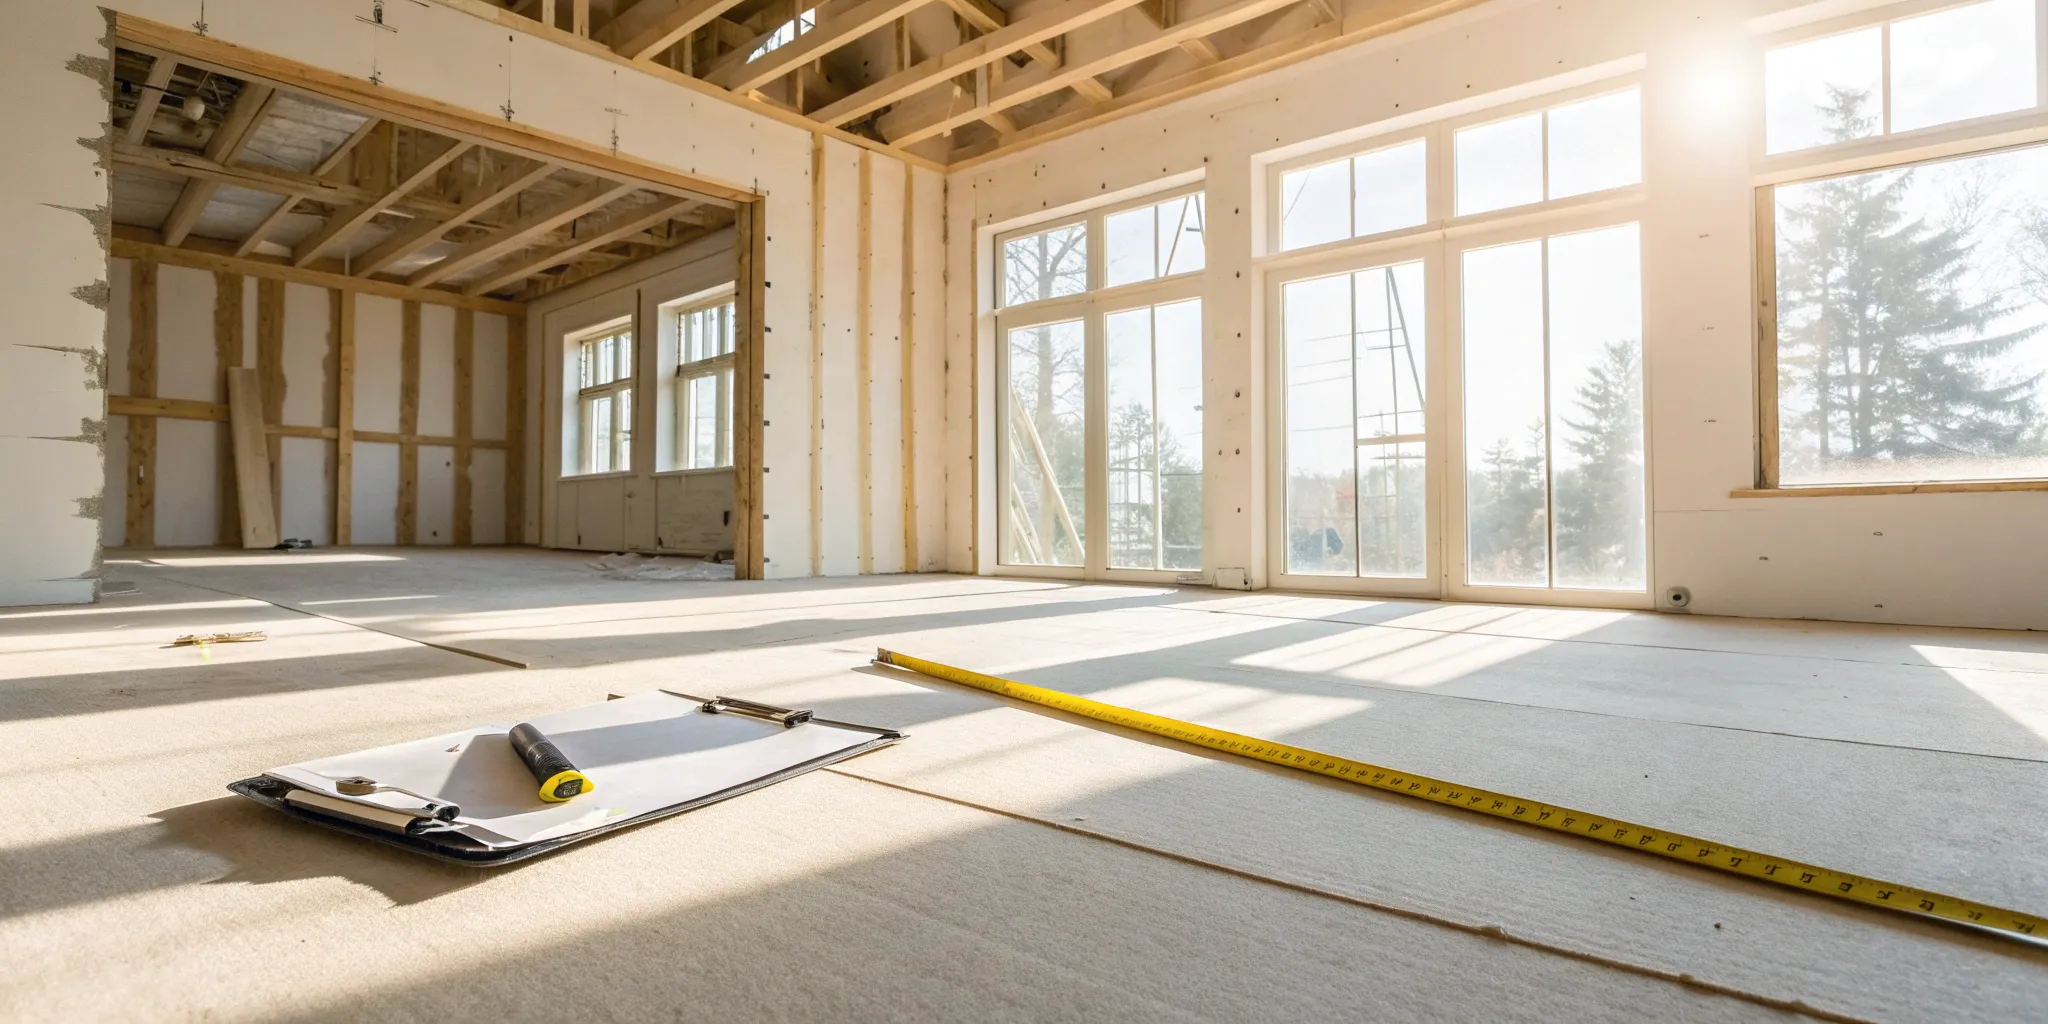
When you start shopping for a studio shed, you’ll see a sticker price for the unit itself. But if you’re planning for a fully functional living space with a kitchen and bathroom, that base price is just the starting point. The total investment includes several other key costs that you’ll need to budget for to get a realistic picture of your project. Think of it less like buying a product off the shelf and more like a mini-construction project.
The final cost of your studio shed will depend on five main factors: the base price of the shed model you choose, the cost of preparing your site and installing the unit, the expense of connecting utilities like water and electricity, the necessary permits and local fees, and any upgrades or custom finishes you add to make the space your own. Understanding each of these components will help you create an accurate budget and avoid any surprises along the way. Let’s break down what you can expect to pay for at each stage.
Breaking Down the Base Price
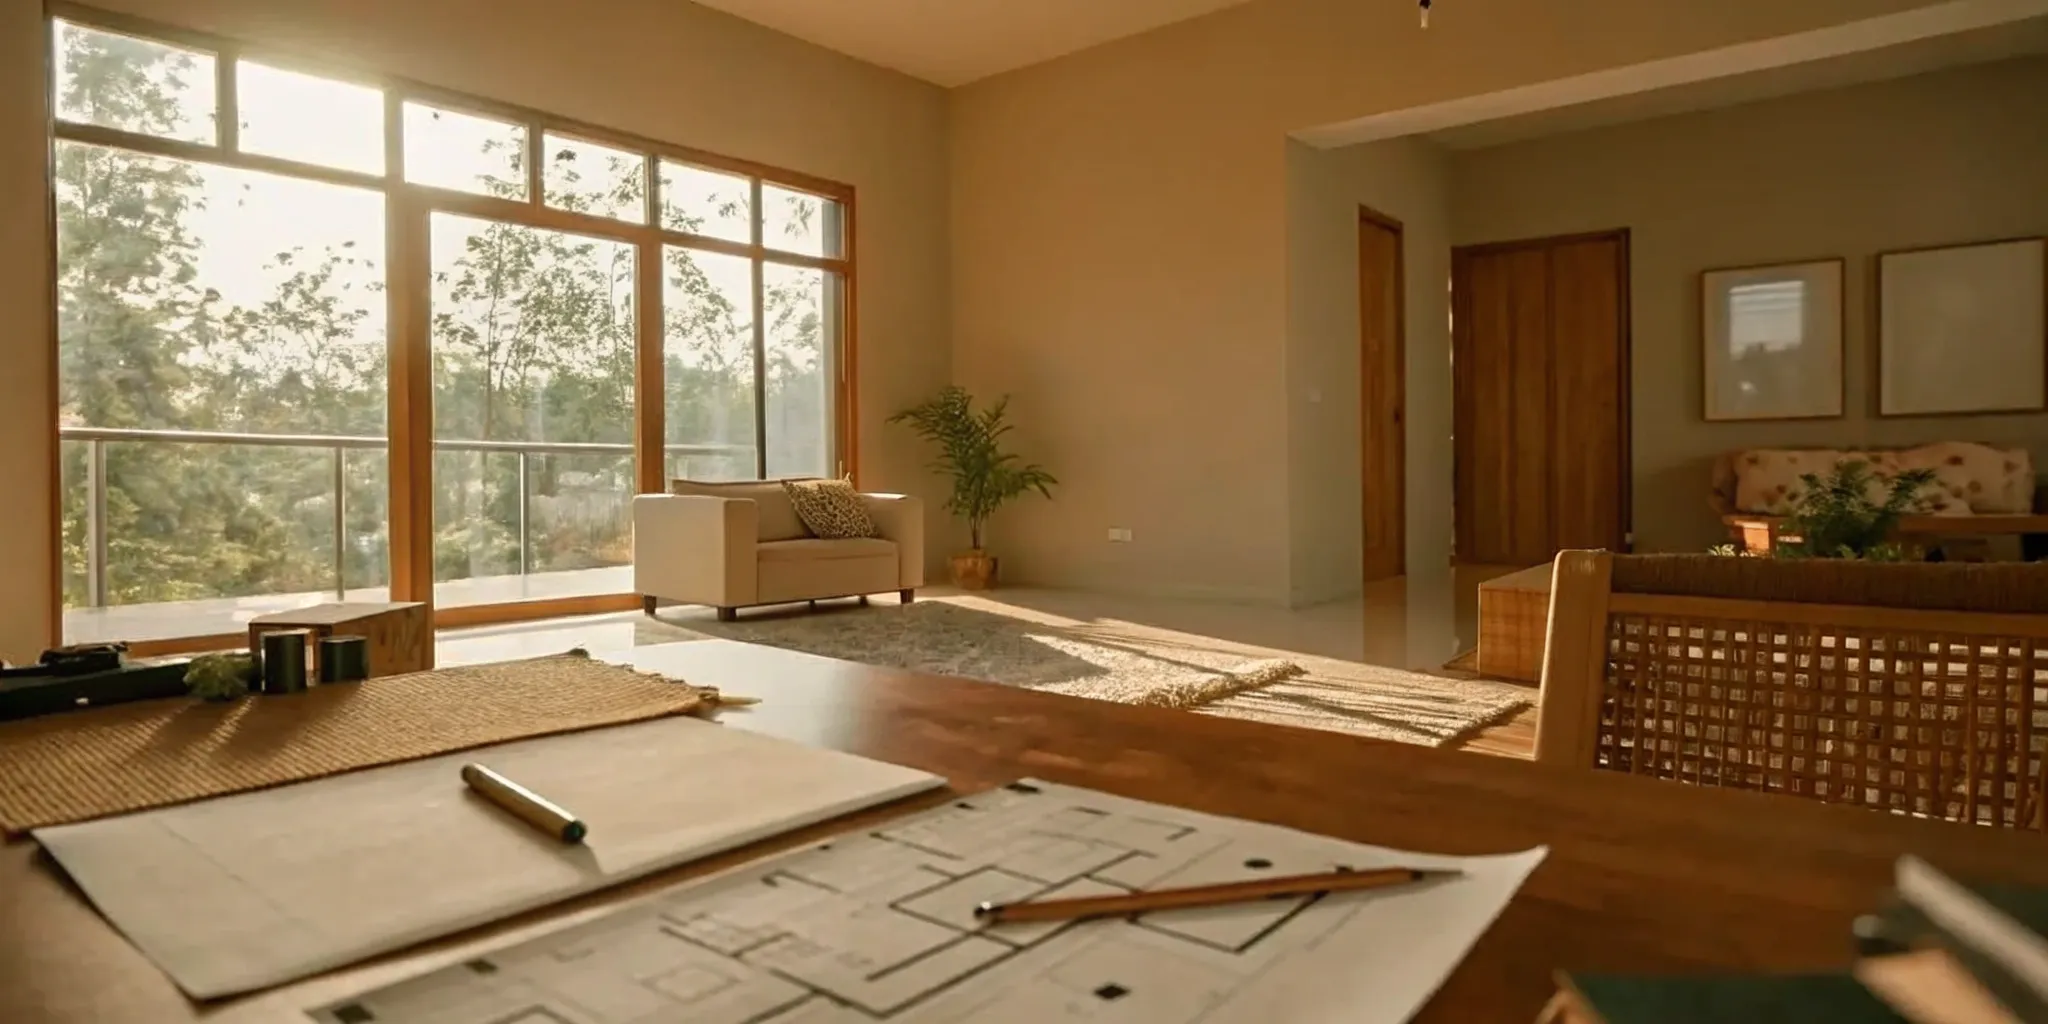
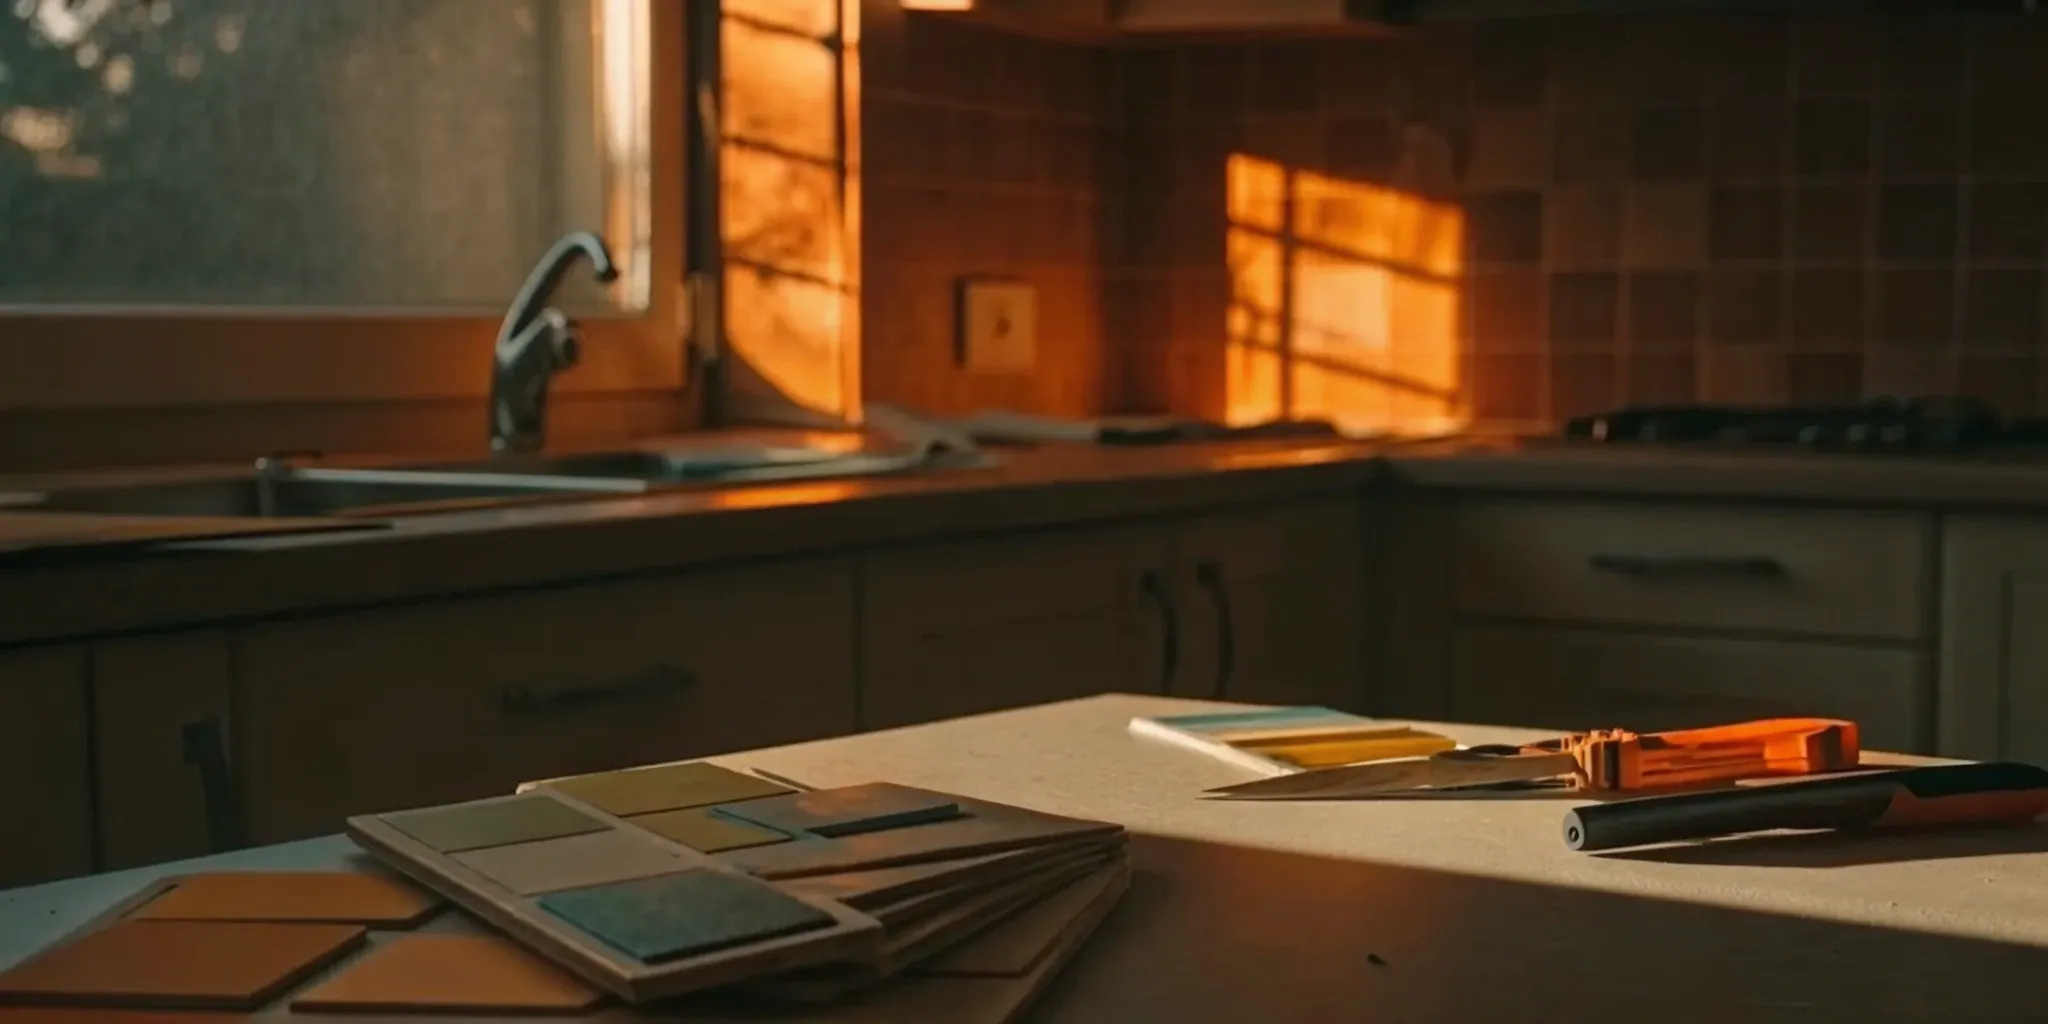
The base price is what you pay for the physical structure of the shed. This typically covers the walls, roof, standard doors, and windows. For example, a model like the Studio Shed Summit 308 offers a 308-square-foot space with a layout for a studio and a bathroom. The advertised price gets you the core building, but it doesn't usually include the foundation, utility hookups, or interior finishes like flooring, paint, and cabinetry. Think of the base price as the cost of the "shell" of your new space. It’s the canvas you’ll build upon, and any customizations or premium materials will add to this initial cost.
Factoring in Installation and Site Prep
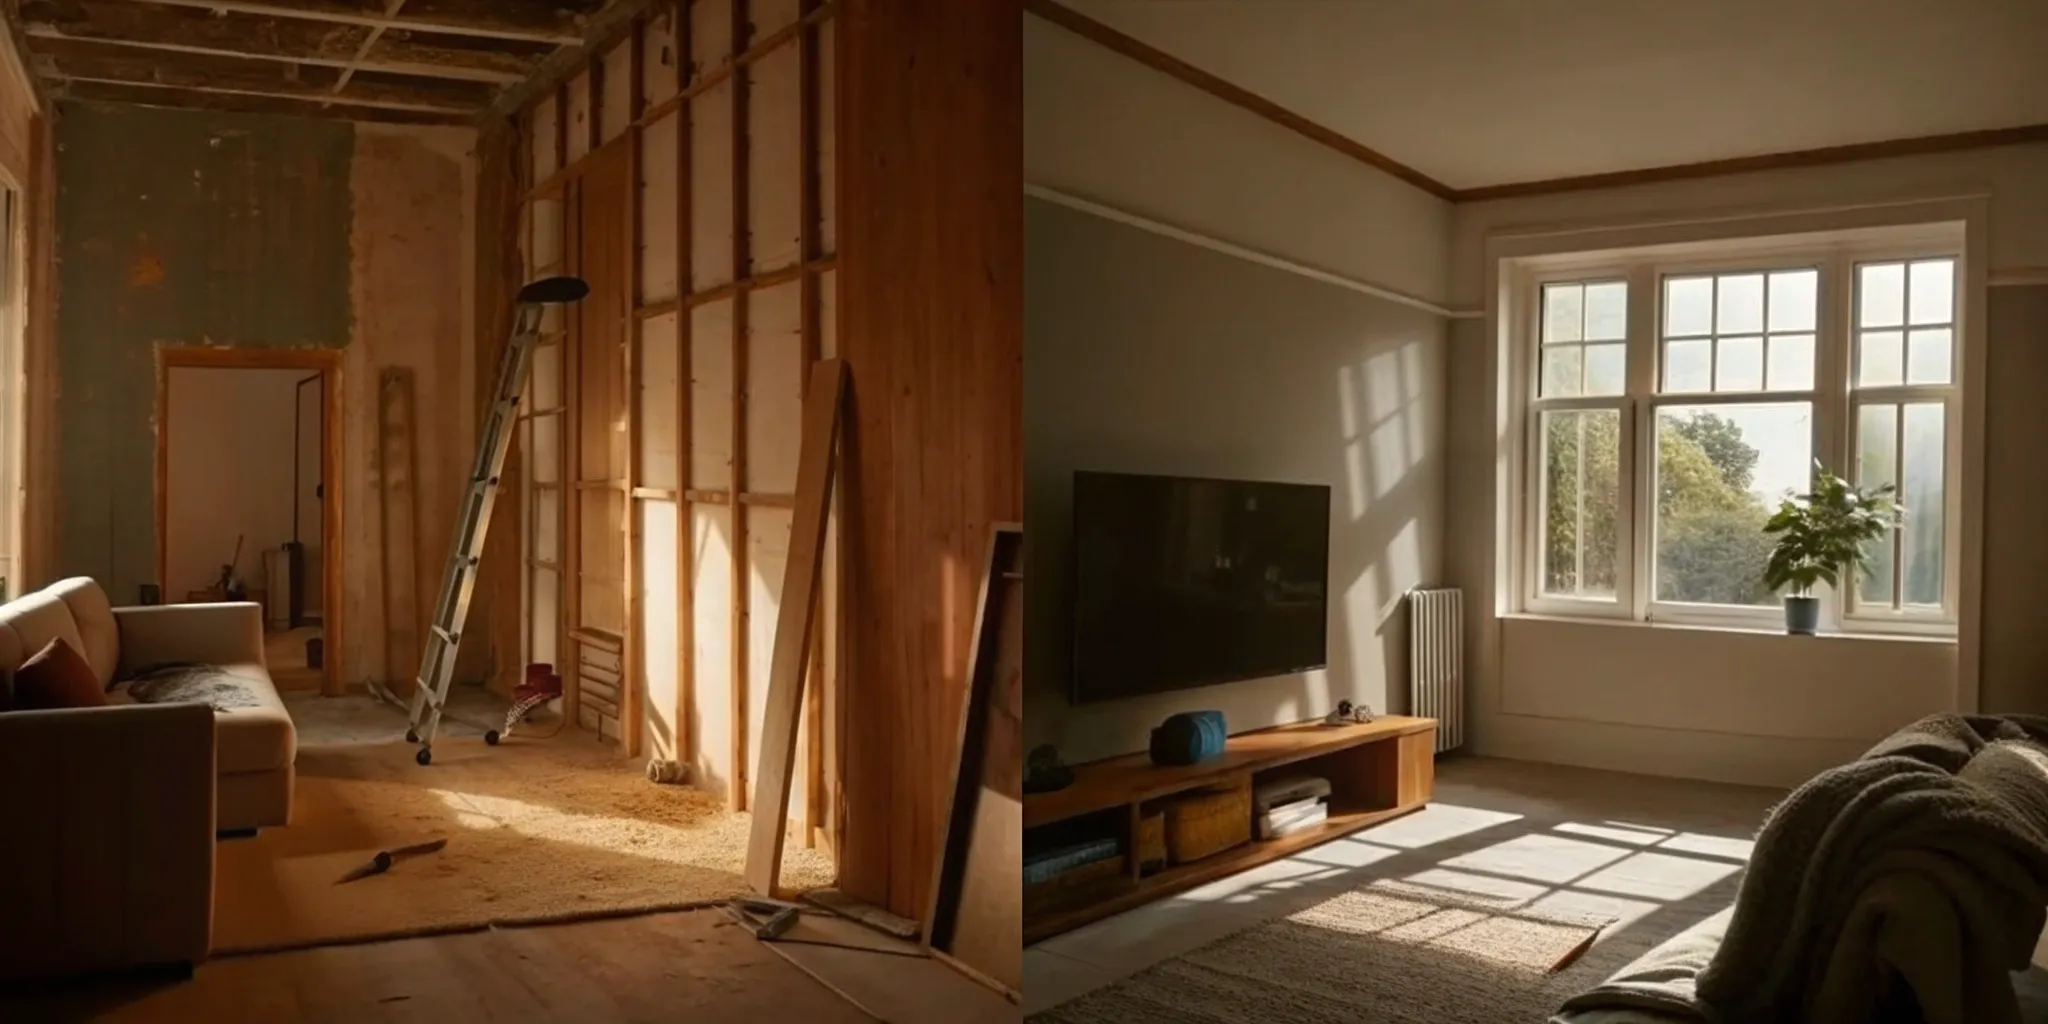
Before your shed can be delivered, the ground where it will sit needs to be prepared. Site preparation can range from simple leveling to pouring a concrete foundation, depending on your shed’s size and local requirements. This is a crucial step that ensures your shed is stable and secure for years to come. Many studio sheds are prefabricated, meaning the parts are built in a factory and then assembled on your property, which can speed up the installation process significantly. The cost of installation itself will vary based on your site’s accessibility and the complexity of the unit. This is where having a clear plan and reliable professionals makes all the difference in how your project works.
The Cost of Connecting Utilities
Getting water, electricity, and sewer lines to your new studio shed is a major part of the project and a significant cost. For a shed with a kitchen and bathroom, you'll need to hire licensed plumbers and electricians to run utility lines from your main house to the new structure. The cost can vary widely depending on the distance and the complexity of the terrain—trenching across a long, rocky backyard will cost more than a short, simple connection. Some shed companies don't handle this part of the process at all, so you’ll need to find and manage these contractors yourself. Working with a platform that has a vetted vendor network can simplify finding the right pros for the job.
Don't Forget Permits and Fees
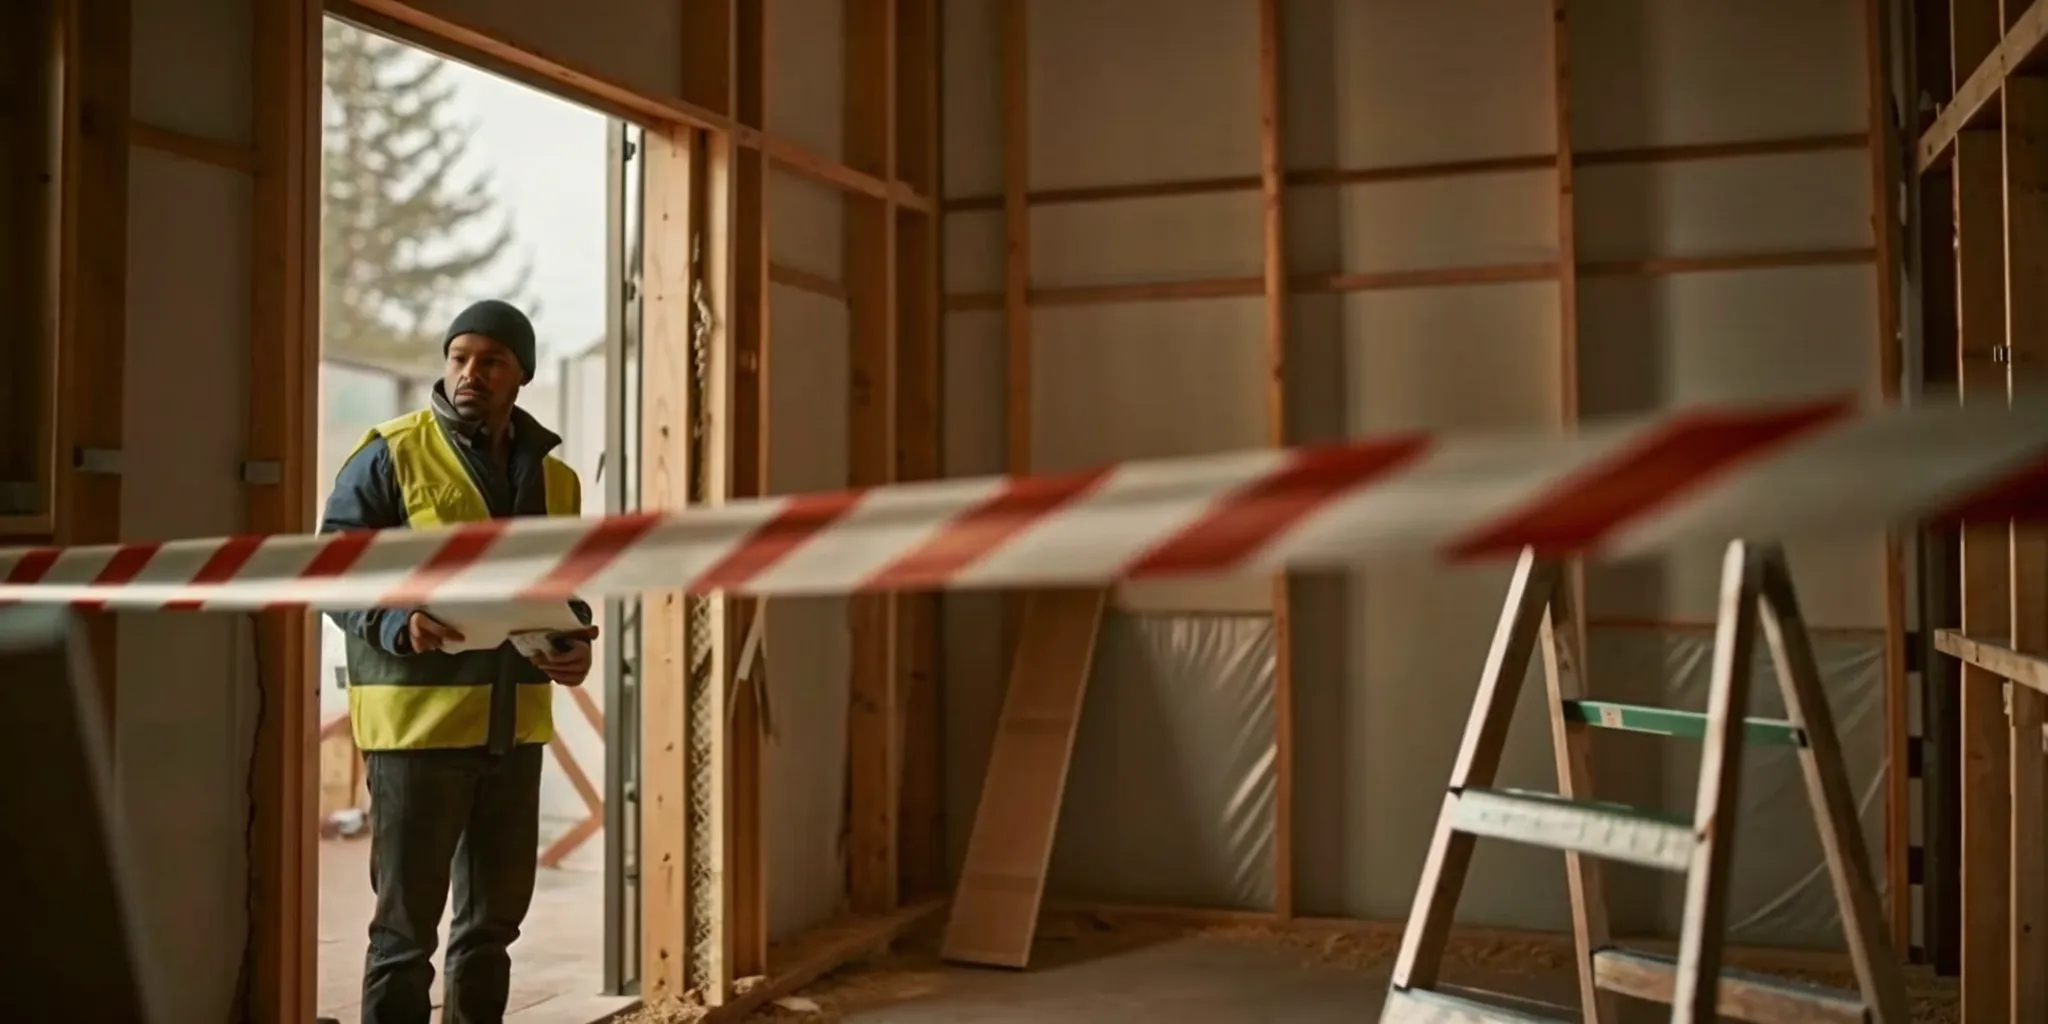
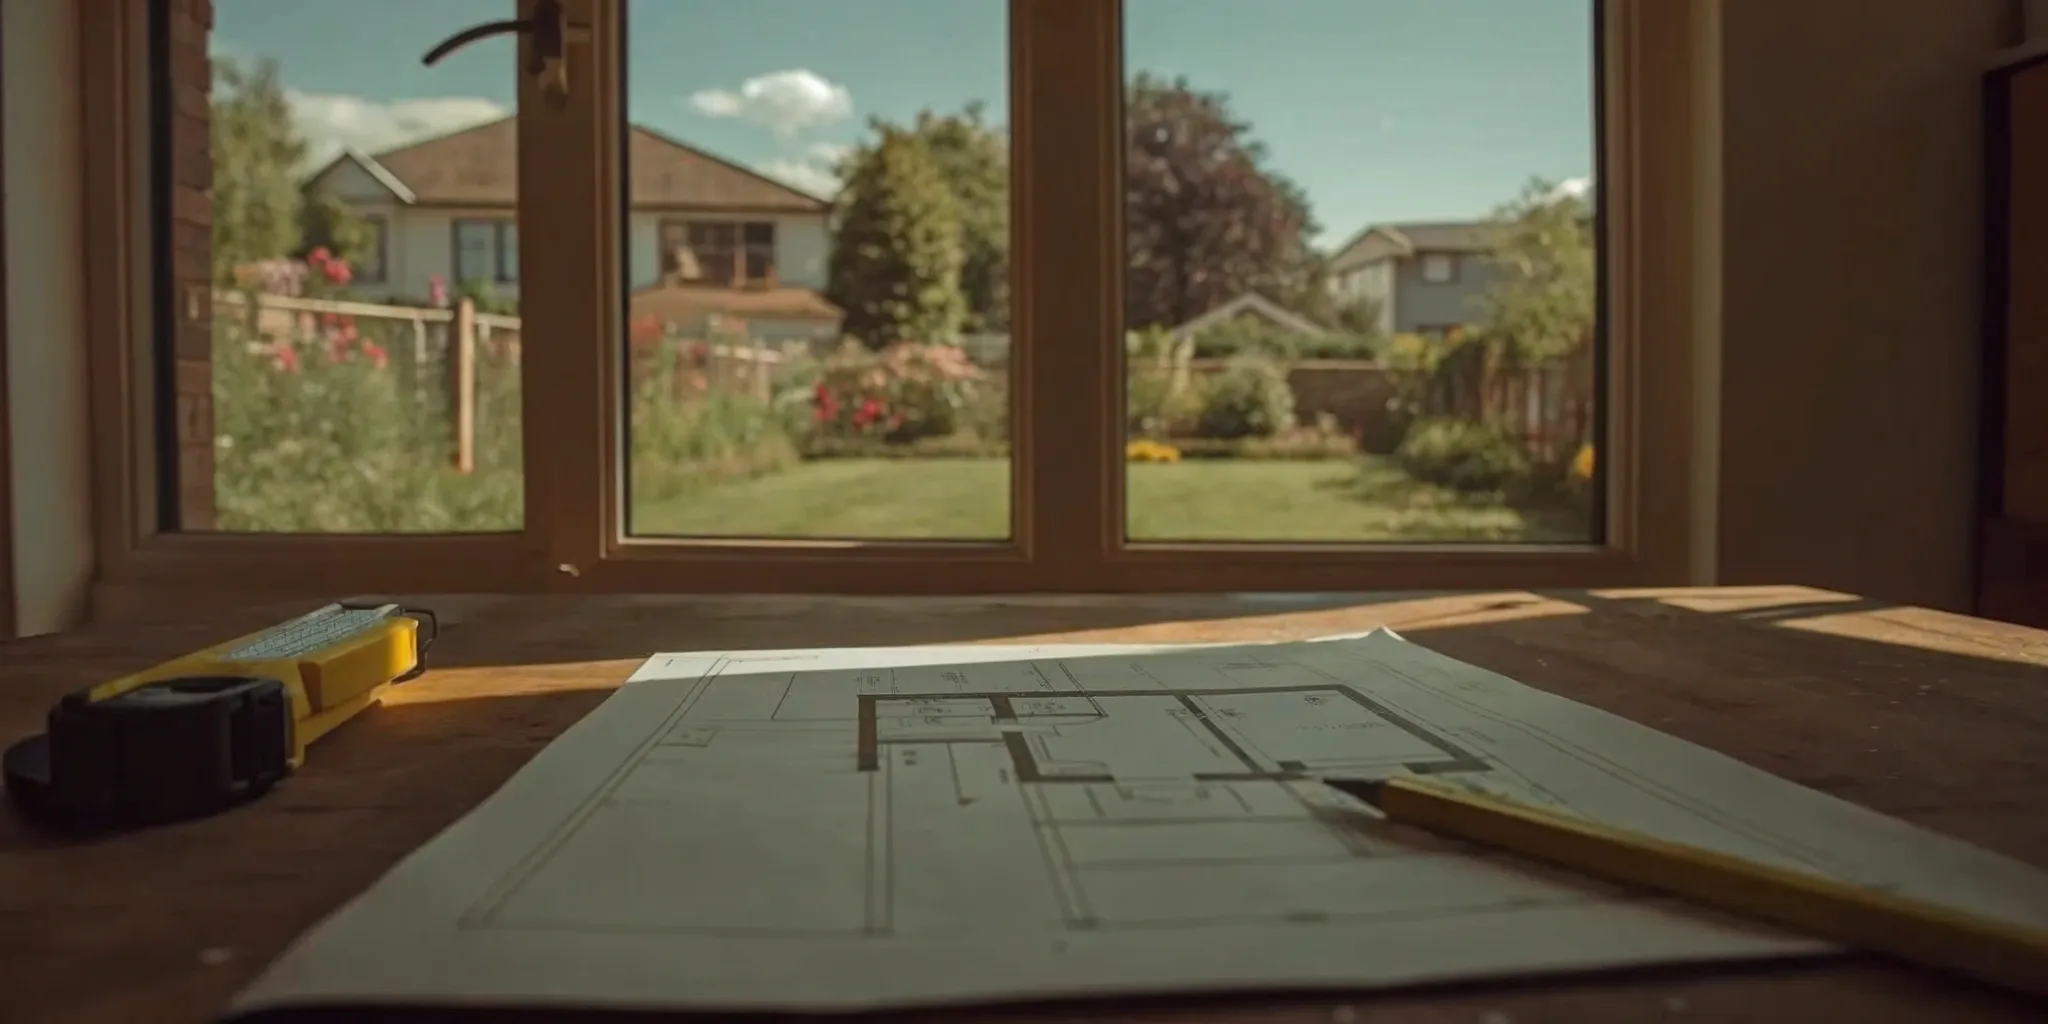
Nearly every construction project requires permits, and studio sheds are no exception. In many areas, any structure over a certain size (like 120 square feet in California) needs a building permit. These permits ensure your shed is built to code and is safe to occupy. The process involves submitting plans to your local building department, paying application and review fees, and scheduling inspections at various stages of construction. These fees can add several hundred to a few thousand dollars to your budget, depending on your municipality. It’s a step you can’t skip, as building without a permit can lead to fines and an order to tear the structure down.
Budgeting for Upgrades and Add-Ons
This is where you get to personalize your space, but it’s also where costs can climb quickly. The base model might come with basic fixtures, but you’ll likely want to add your own touch. Upgrades can include anything from higher-end flooring and custom cabinetry to energy-efficient windows and a mini-split system for heating and cooling. Some companies offer "fully equipped" packages that include appliances, bathroom fixtures, and even HVAC systems, but these come at a premium. To stay on budget, make a list of your must-haves versus your nice-to-haves and price them out before you commit. This will help you decide where to invest and where to save.
The "Hidden" Infrastructure Cost: Bringing Power and Water Outboard
While a high-quality studio shed shell might cost $15,000, adding a kitchen and bathroom requires permanent utility connections that can double your budget. In 2026, expect these specific infrastructure costs:
- Trenching & Plumbing ($5,000 – $9,000): You must dig a trench below the frost line to run water and sewer lines from your main house. The further the shed is from your home’s main stack, the higher this cost.
- Electrical Sub-panel ($2,000 – $4,000): A kitchen (fridge, microwave) and a bathroom (water heater) require more than an extension cord. You will likely need a 50-amp to 100-amp sub-panel.
- Permit & Impact Fees ($1,000 – $5,000): Many jurisdictions classify a shed with a kitchen as a "dwelling unit" (ADU). This triggers higher permit fees and strict "Title 24" or local energy-compliance requirements.
Your Pre-Build Planning Checklist
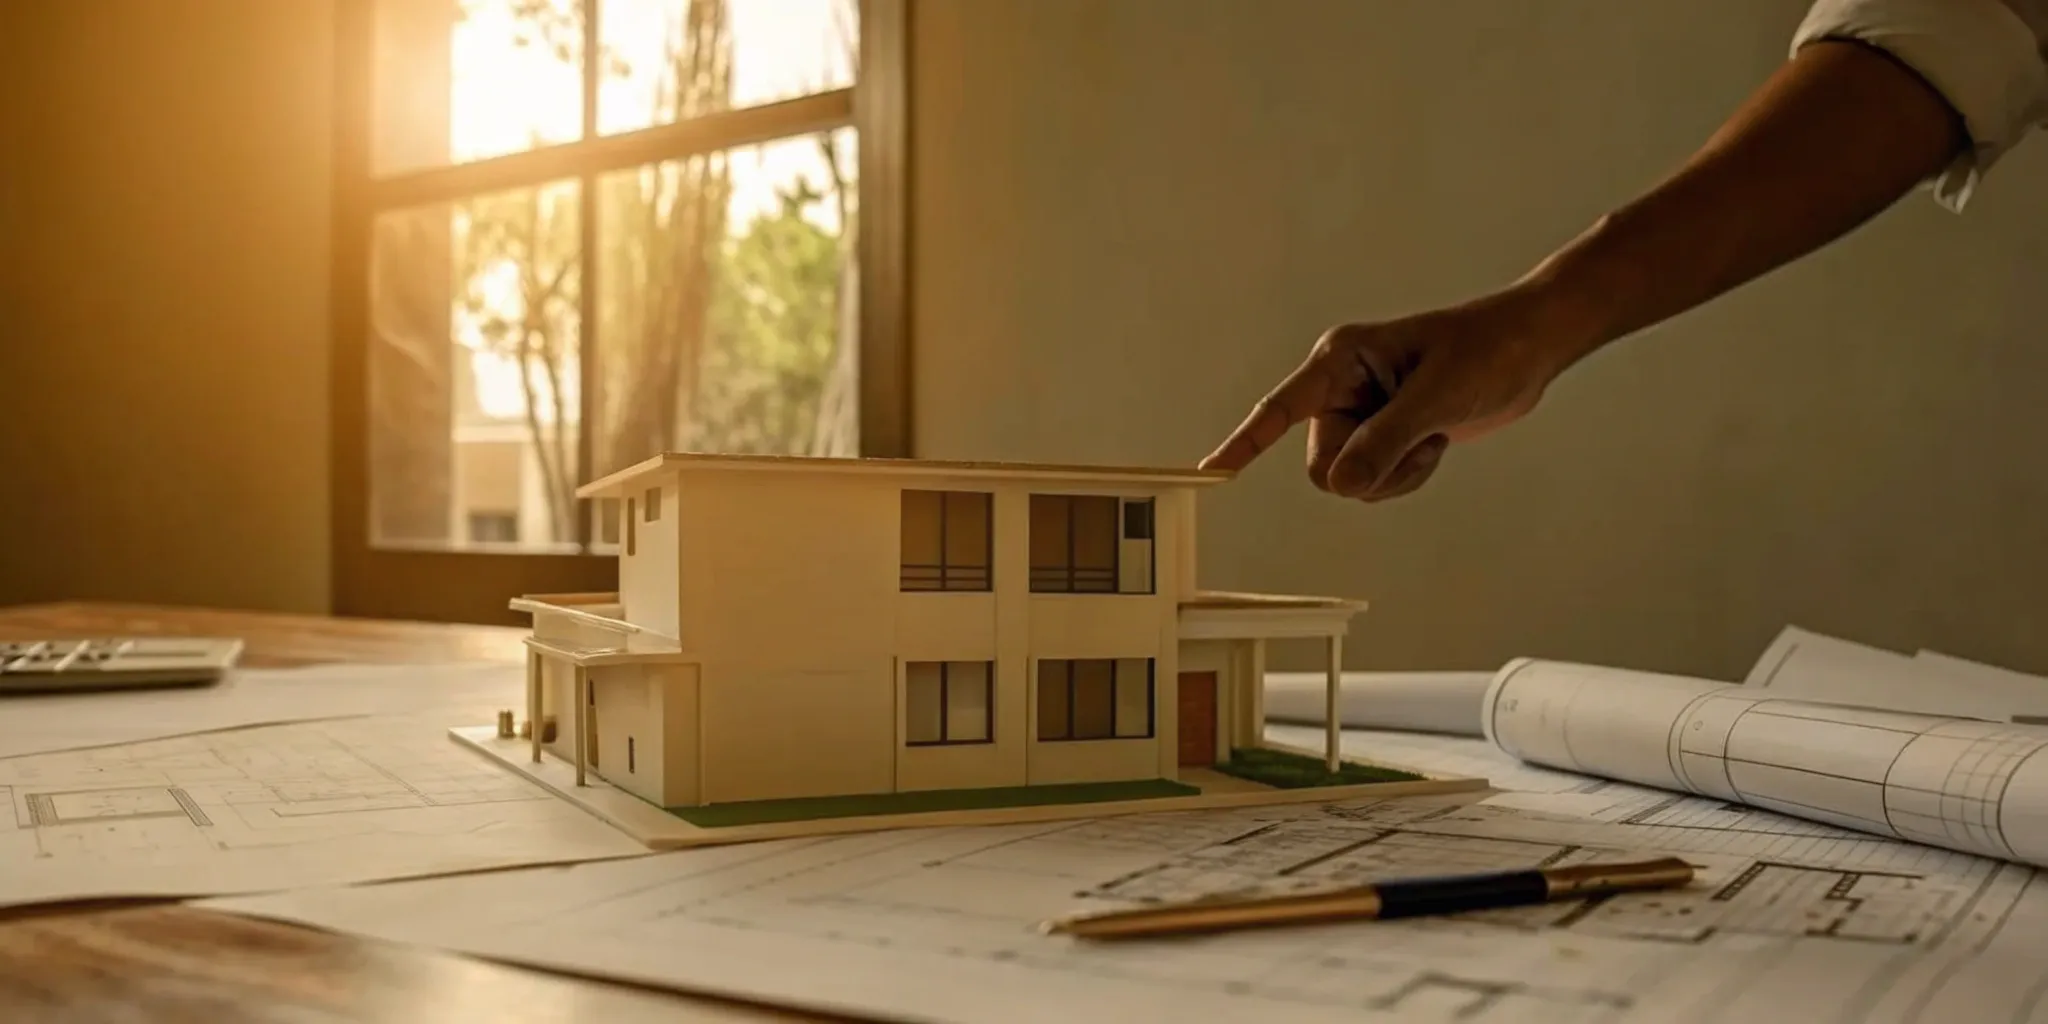
Before you get swept up in picking out paint colors and mini-fridges, there are a few key steps you need to take. Think of this as your pre-flight check to ensure a smooth and successful project. Getting these foundational pieces right from the start will save you from major headaches and unexpected costs down the line. Let's walk through exactly what you need to do before breaking ground.
Check Your Local Building Codes and Zoning Rules
First things first: let’s talk permits. This might not be the most exciting part of the process, but it's definitely the most important. Many cities require a building permit for any structure over 120 square feet, and you might need a separate planning permit depending on your specific zone. These rules dictate how big your shed can be, where it can be placed on your property, and what features it can include. Taking the time to understand your local building codes now will prevent any stop-work orders or costly changes later. It’s always better to ask for permission than to deal with the consequences.
Choose the Right Foundation
Your studio shed needs a solid base to rest on, and you have a few options. A concrete slab is the gold standard for strength and stability, creating a permanent and well-insulated floor. However, it’s also the most expensive and labor-intensive choice. For a more budget-friendly approach, you could consider a gravel pad or concrete piers. These options can work perfectly well, but they might require a bit more maintenance over time. Your choice of shed foundation really depends on your budget, soil type, and how you plan to use the space.
How to Prepare Your Site
Once you’ve picked the perfect spot, you need to get the ground ready. The ideal site for your shed should be as flat as possible—most installers recommend a variance of no more than six inches. A level surface is critical for ensuring the structure is stable and the doors and windows function properly. This step usually involves clearing away any grass, rocks, or debris and then leveling the soil. It’s a bit of manual labor, but proper site preparation is a non-negotiable for a long-lasting and safe studio shed.
Plan for Water and Waste Management
Adding a kitchen and bathroom means you’ll need to figure out plumbing. This is a big step that shed manufacturers typically don't handle themselves. You’ll need a clear plan for how to connect your studio to your home’s main water and sewer lines. This almost always requires hiring a licensed plumber to ensure everything is up to code and functions correctly. It’s a good idea to consult with a professional early in the process to understand the scope and cost of this essential utility connection. This is one area where you definitely don’t want to cut corners.
Assess Your Property for the Best Spot
Where you place your shed can have a huge impact on how much you enjoy it. Take a walk around your property and think through the logistics. Consider things like sun exposure—do you want morning light for a creative studio or afternoon shade for a home office? Think about accessibility for both construction and daily use. Most importantly, consider the proximity to your home for running utility lines. The shorter the distance, the less expensive it will likely be to connect power, water, and sewer. A little forethought here goes a long way.
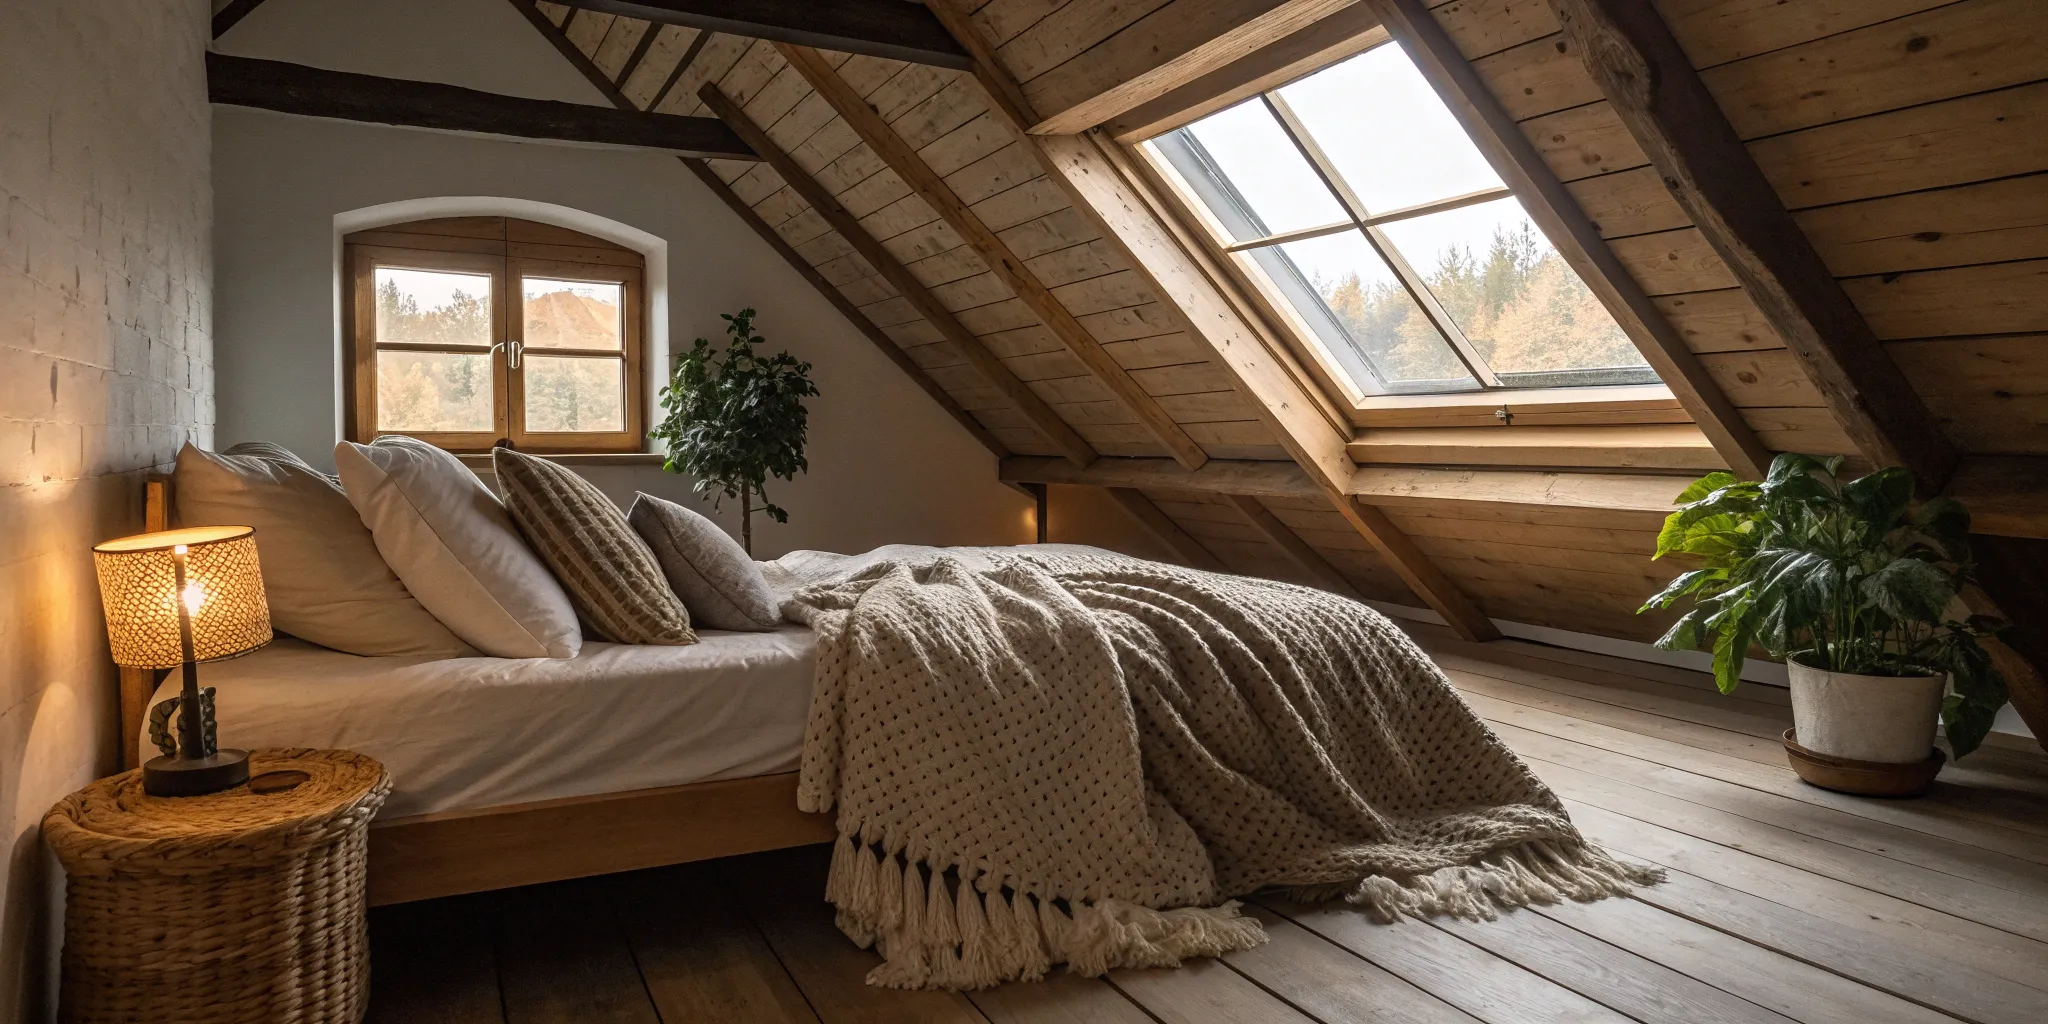
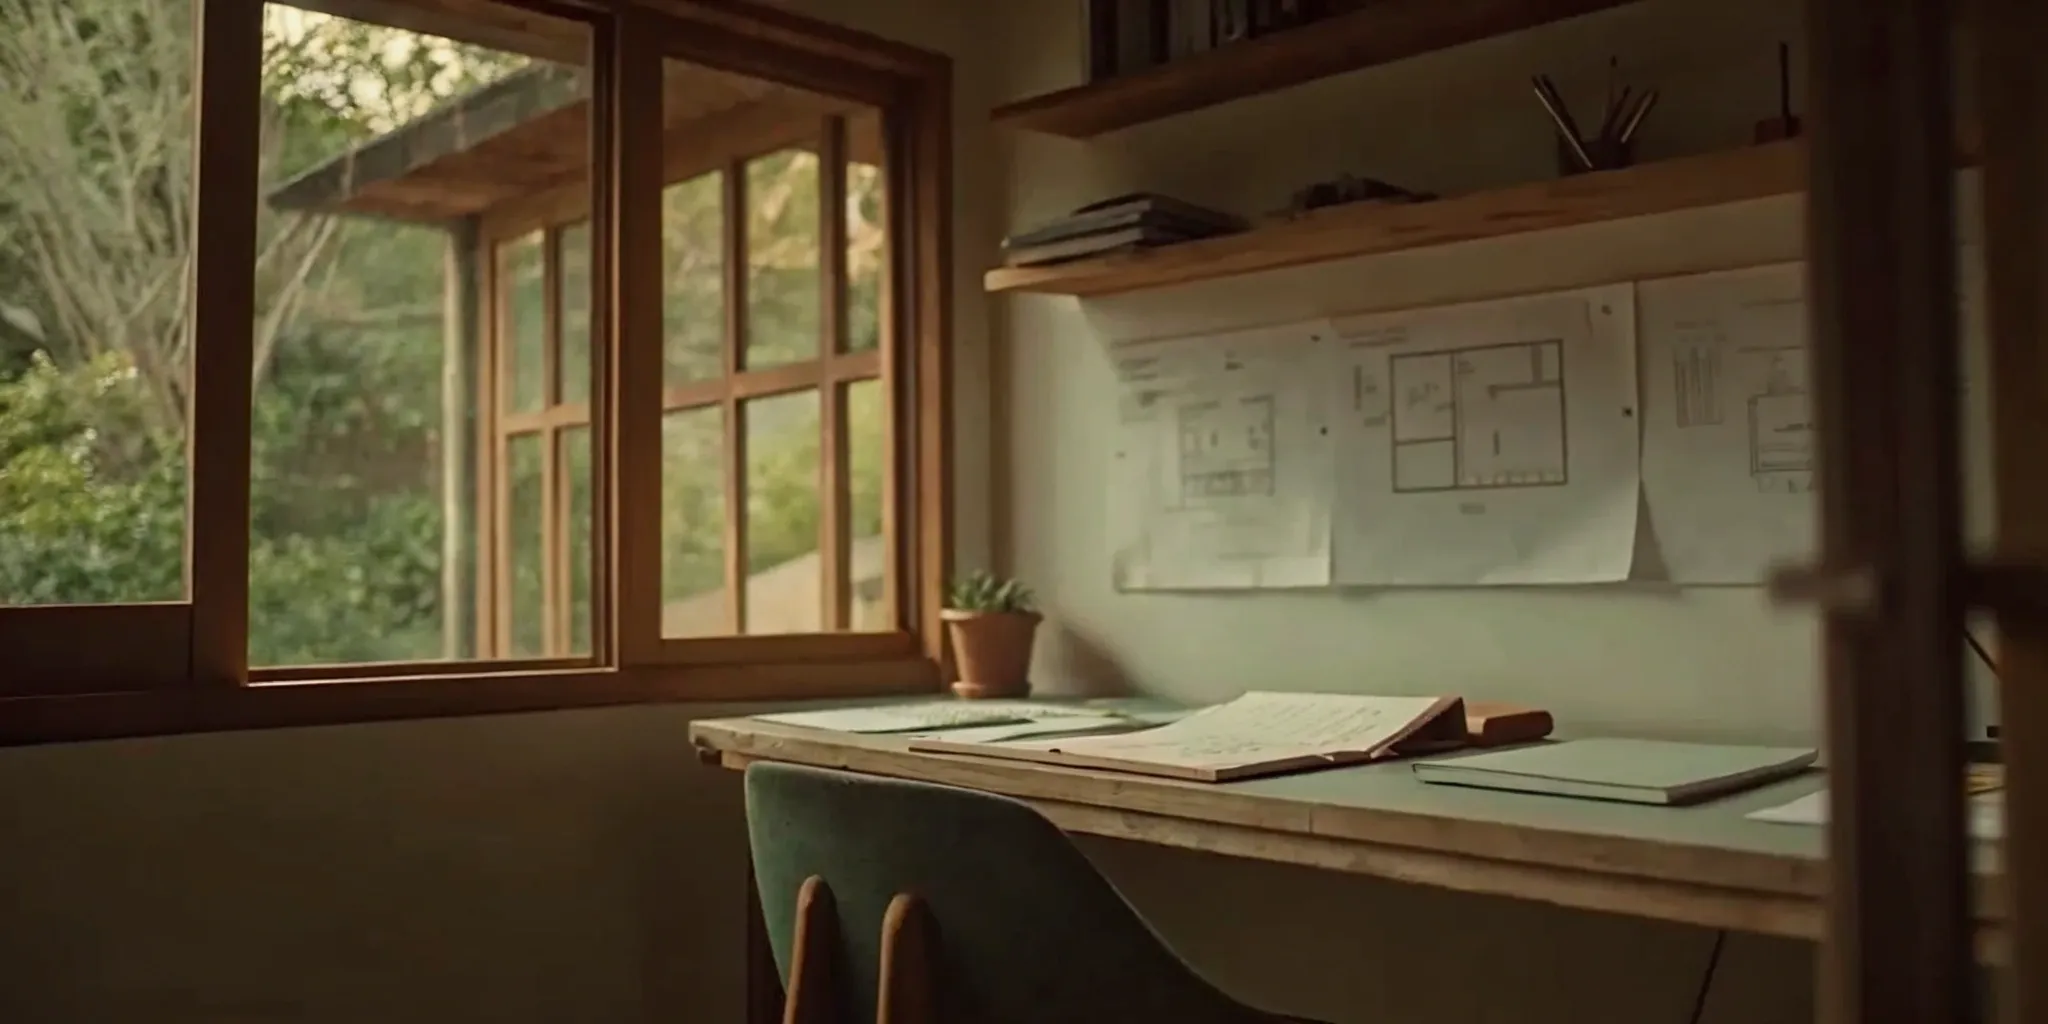
Making It Your Own: Design and Customization
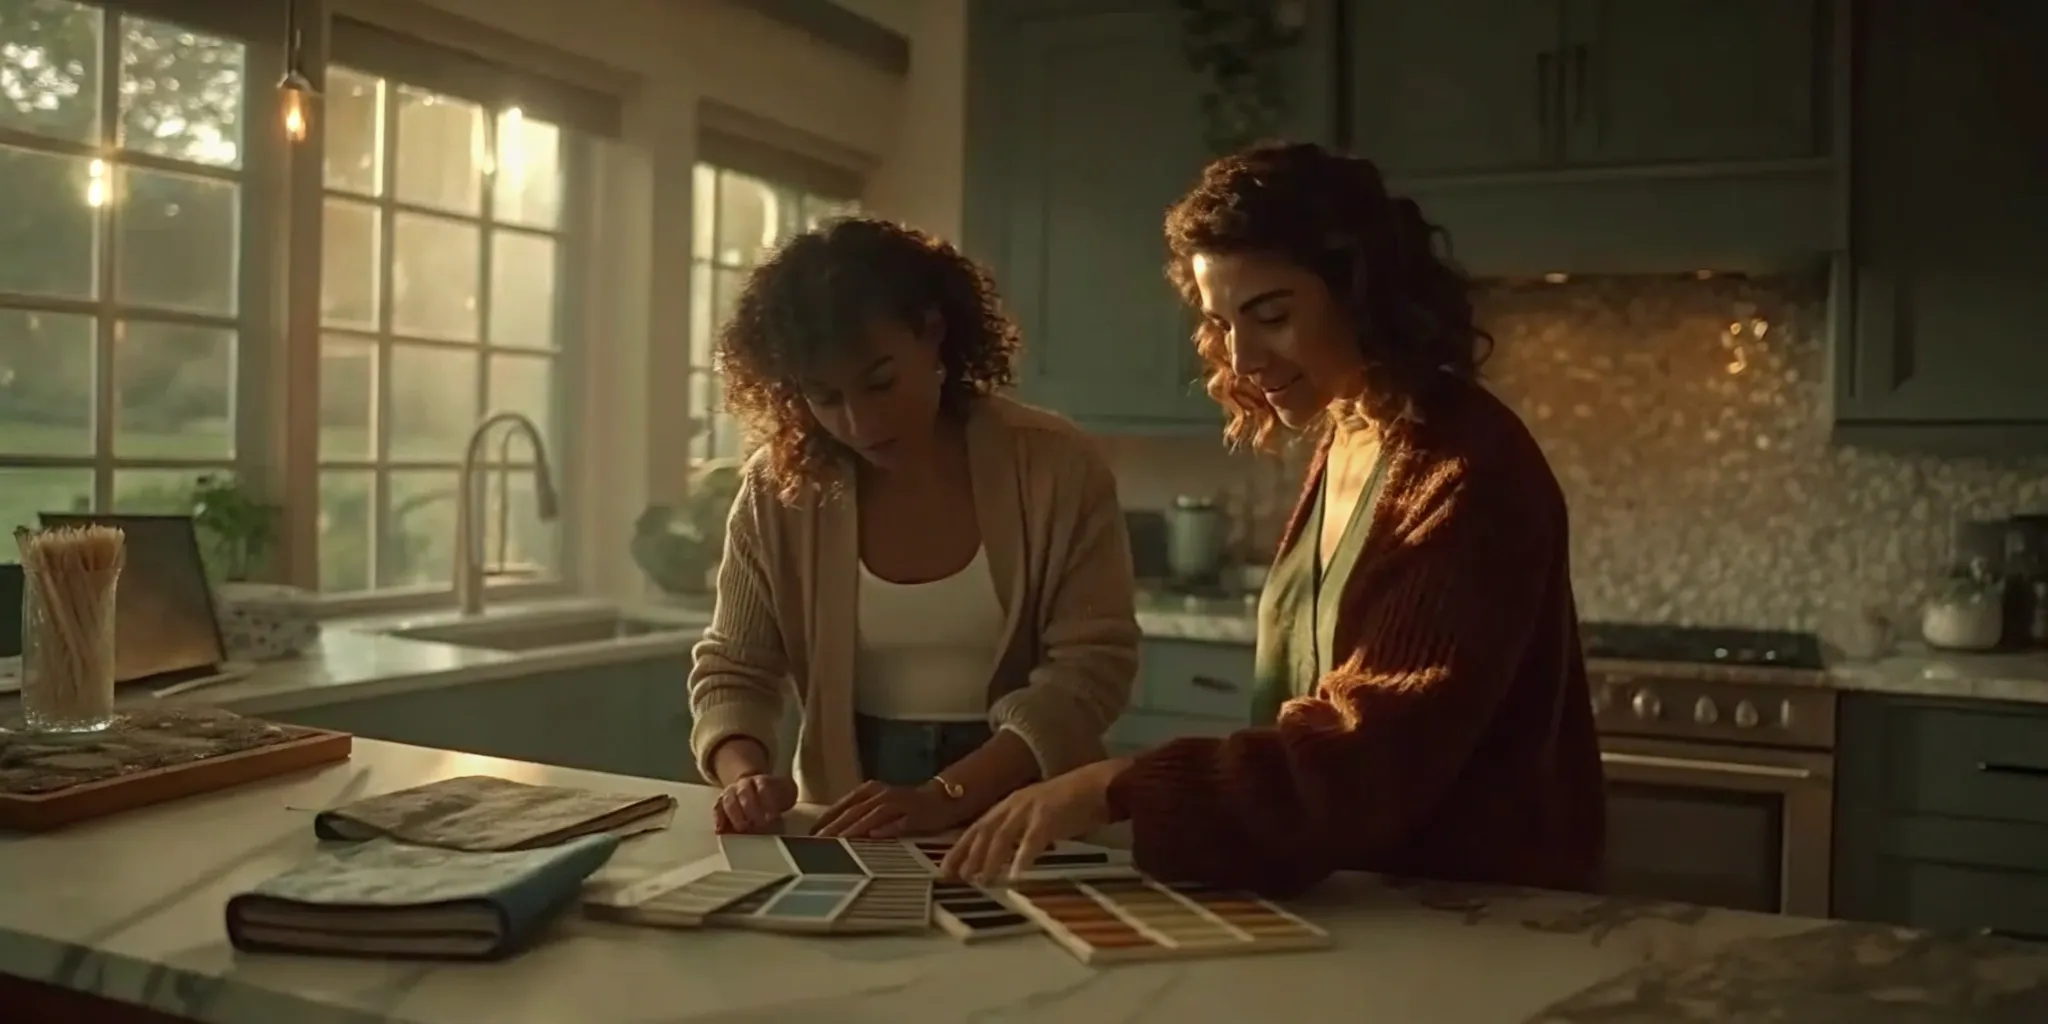
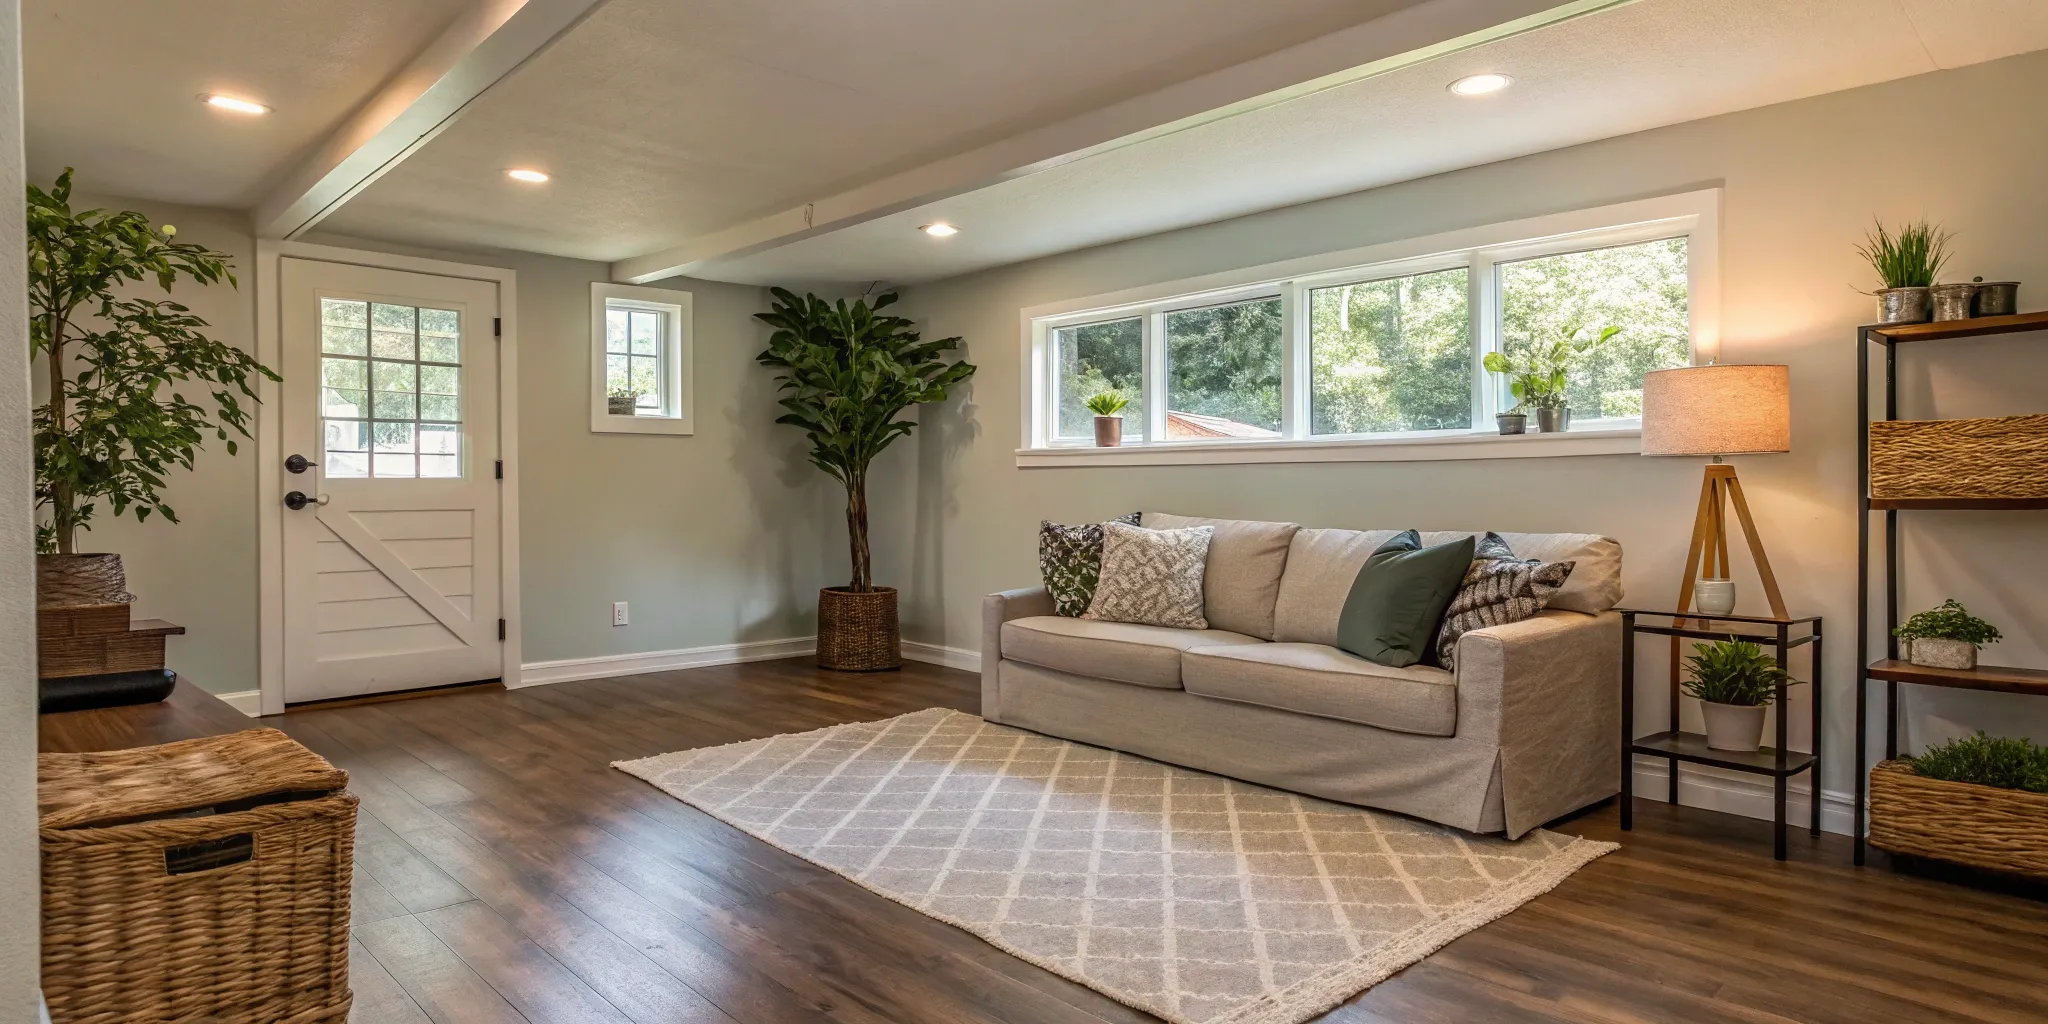
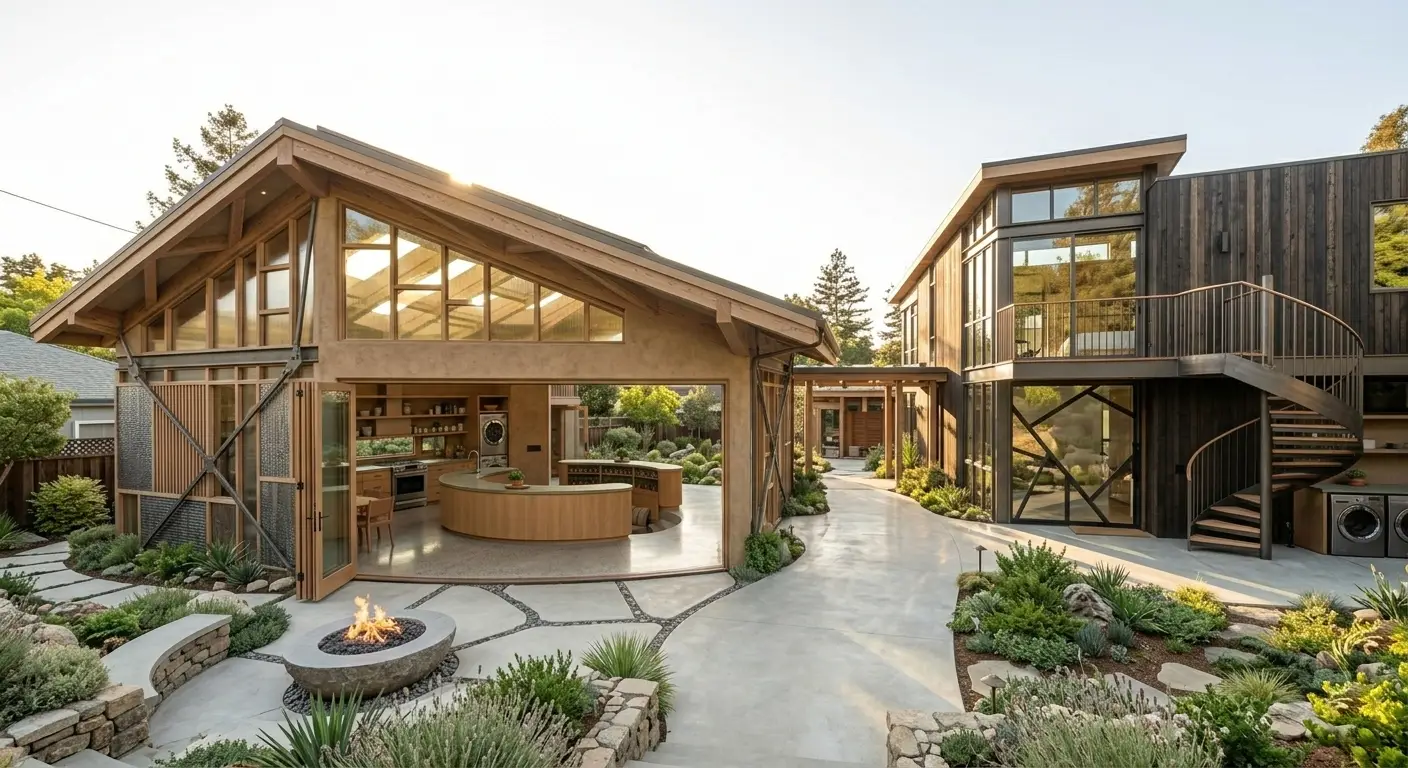
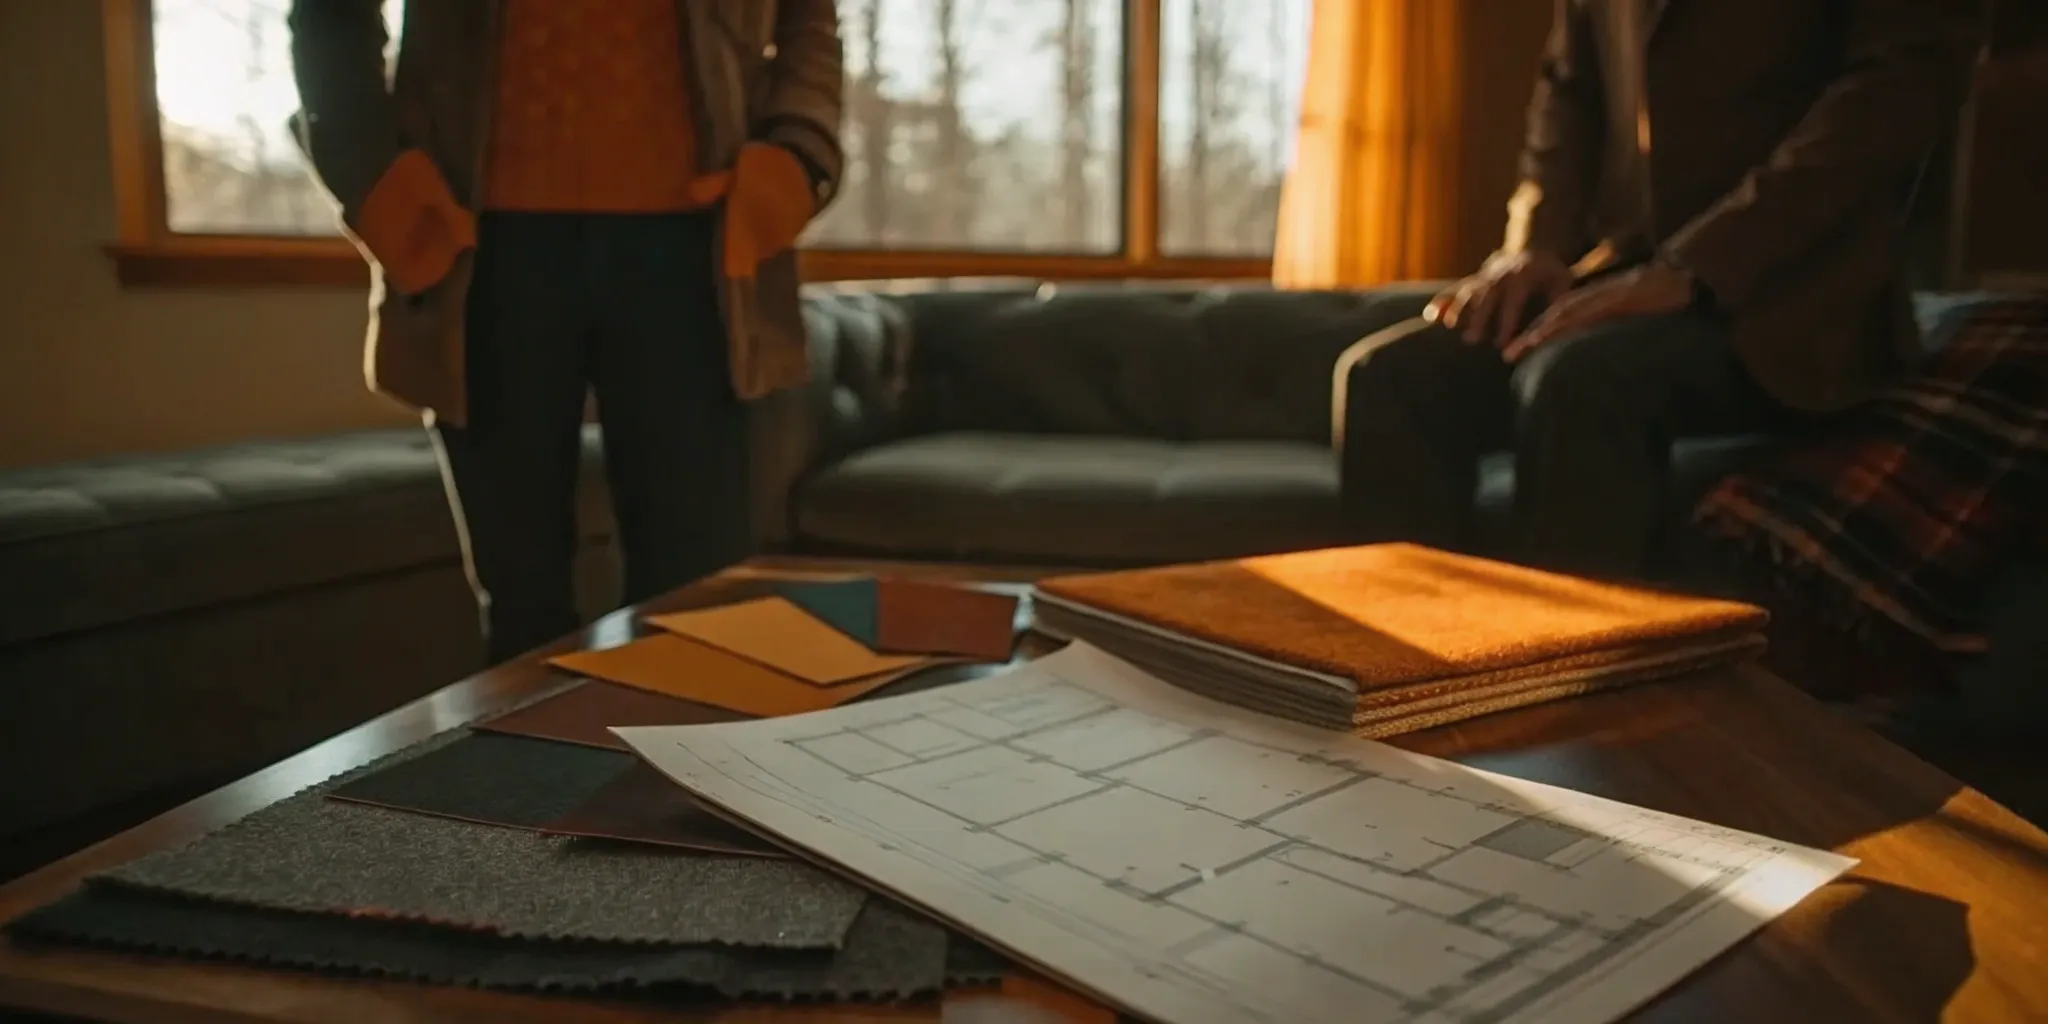
Once you’ve handled the foundational planning, it’s time for the fun part: making the space truly yours. A studio shed is a blank canvas, and the right design choices can transform it from a simple structure into a functional and beautiful extension of your home. Customization is what makes these spaces so versatile, allowing you to create everything from a productive home office to a cozy guest suite. The key is to think critically about how you’ll use the space and choose features that are both stylish and smart. With a bit of creativity, you can design a layout that feels spacious, comfortable, and perfectly suited to your needs.
Smart Layouts for Kitchens and Bathrooms
When you’re working with a compact footprint, the layout is everything. For the kitchen, think about a galley-style or single-wall design to save space without sacrificing function. Choose apartment-sized appliances and consider multi-use items, like a convection microwave, to keep counters clear. For the bathroom, a corner shower and a floating vanity can make the room feel larger. Some designs, like the Summit 308 model, come with a full kitchen and bathroom already integrated, showing just how efficient these layouts can be. The goal is to create a natural flow between zones while ensuring every square foot serves a purpose. A well-planned layout is the foundation of a comfortable and usable space.
Clever Storage Solutions for Small Spaces
In a studio shed, smart storage is non-negotiable. The best approach is to build it right into the design. Think vertically with floor-to-ceiling shelving or custom built-ins that fit perfectly into nooks and crannies. Under-the-bed storage, benches with hidden compartments, and wall-mounted desks are all fantastic ways to keep clutter at bay. Since every homeowner’s needs are different, it’s important to find a builder who understands that one shed does not fit all. By planning for your specific storage needs from the start, you can maintain an open, airy feel without giving up your essentials. This foresight prevents the space from feeling cramped and ensures everything has its place.
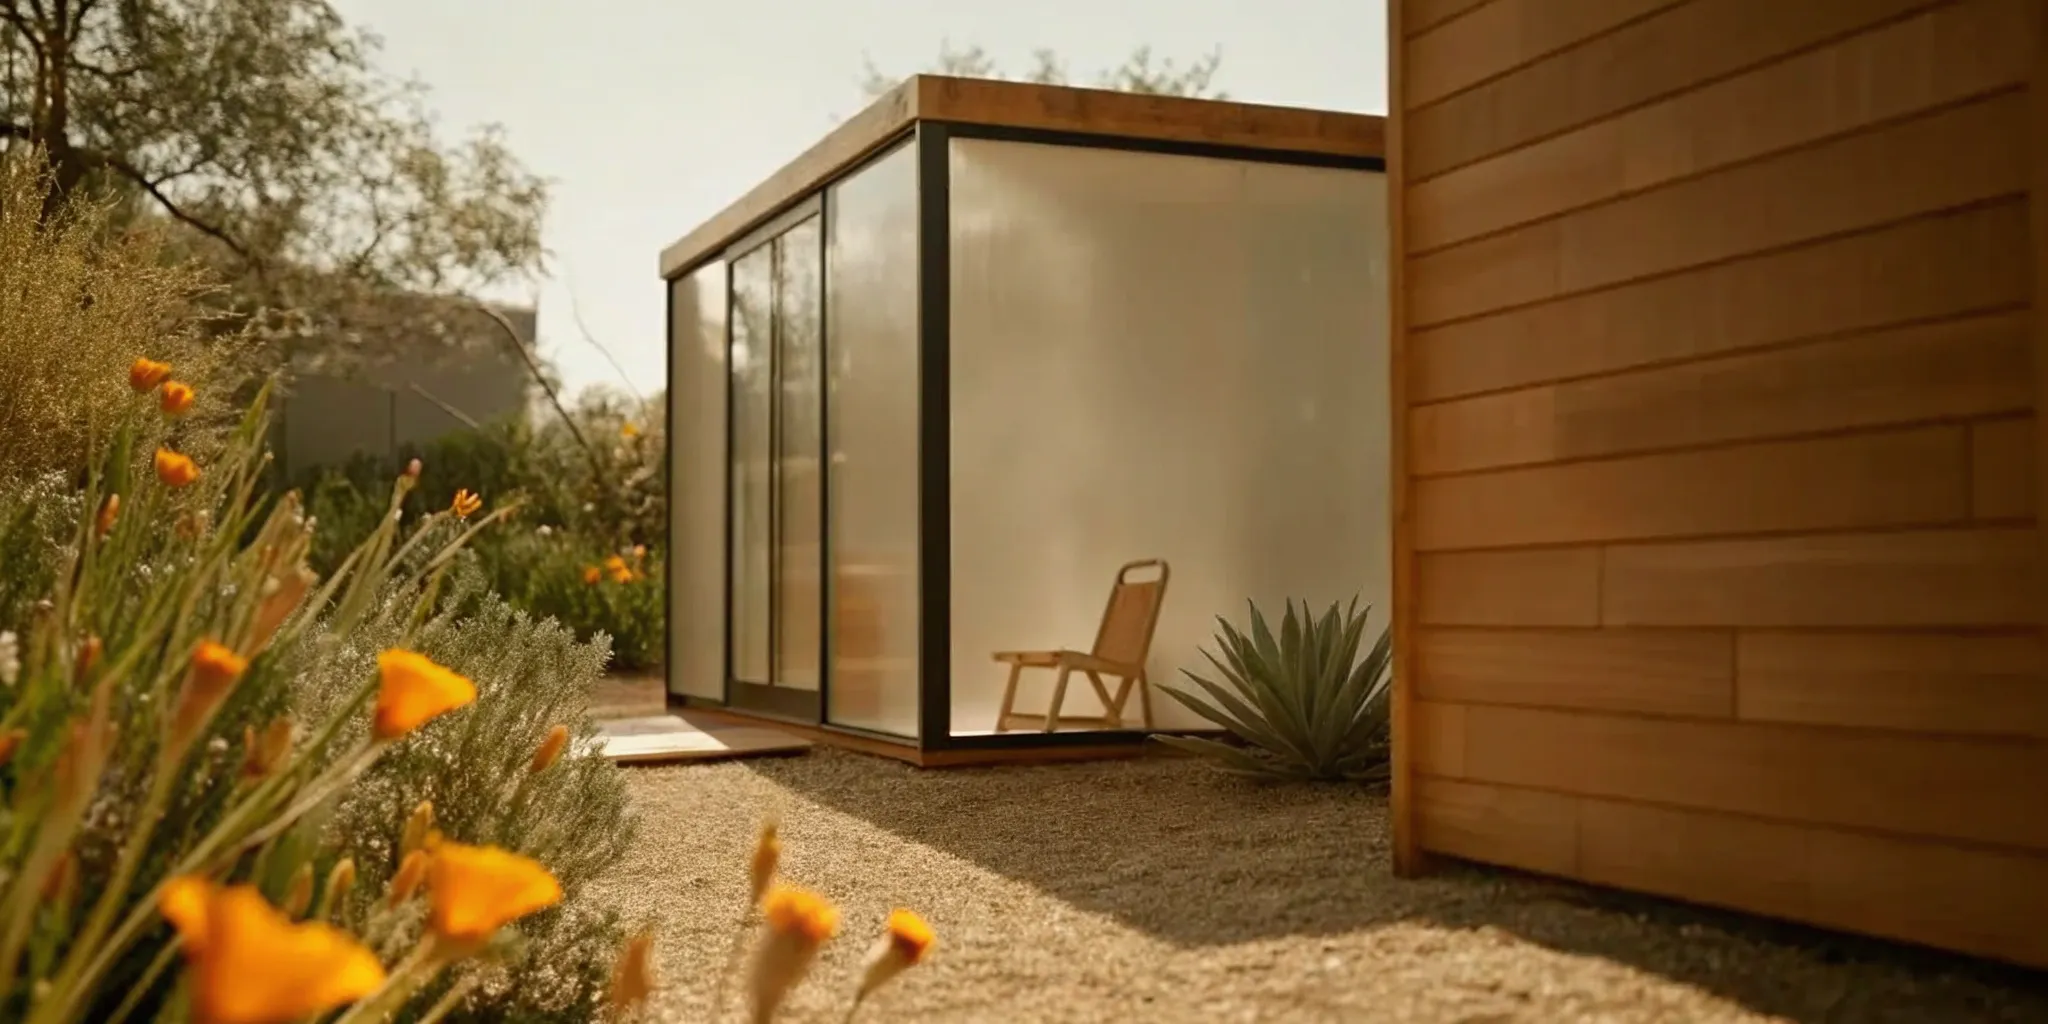
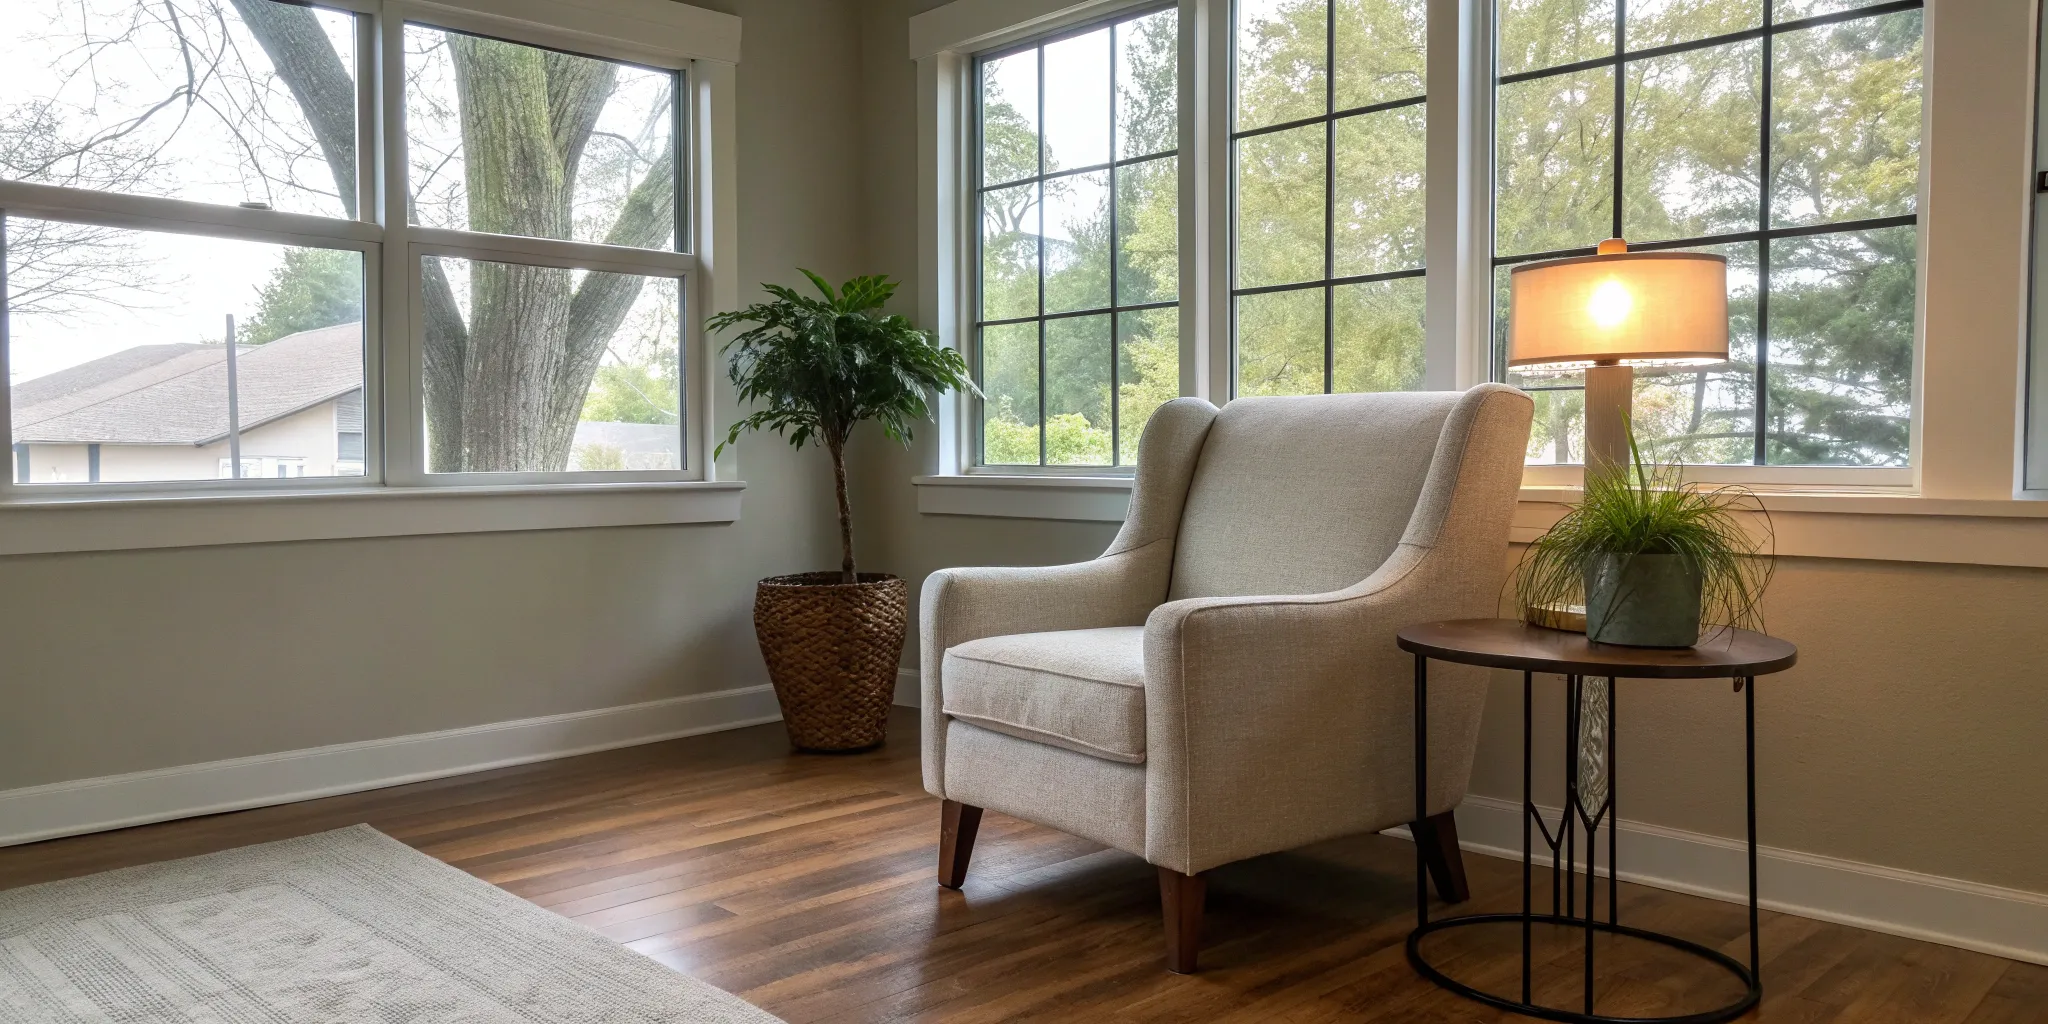
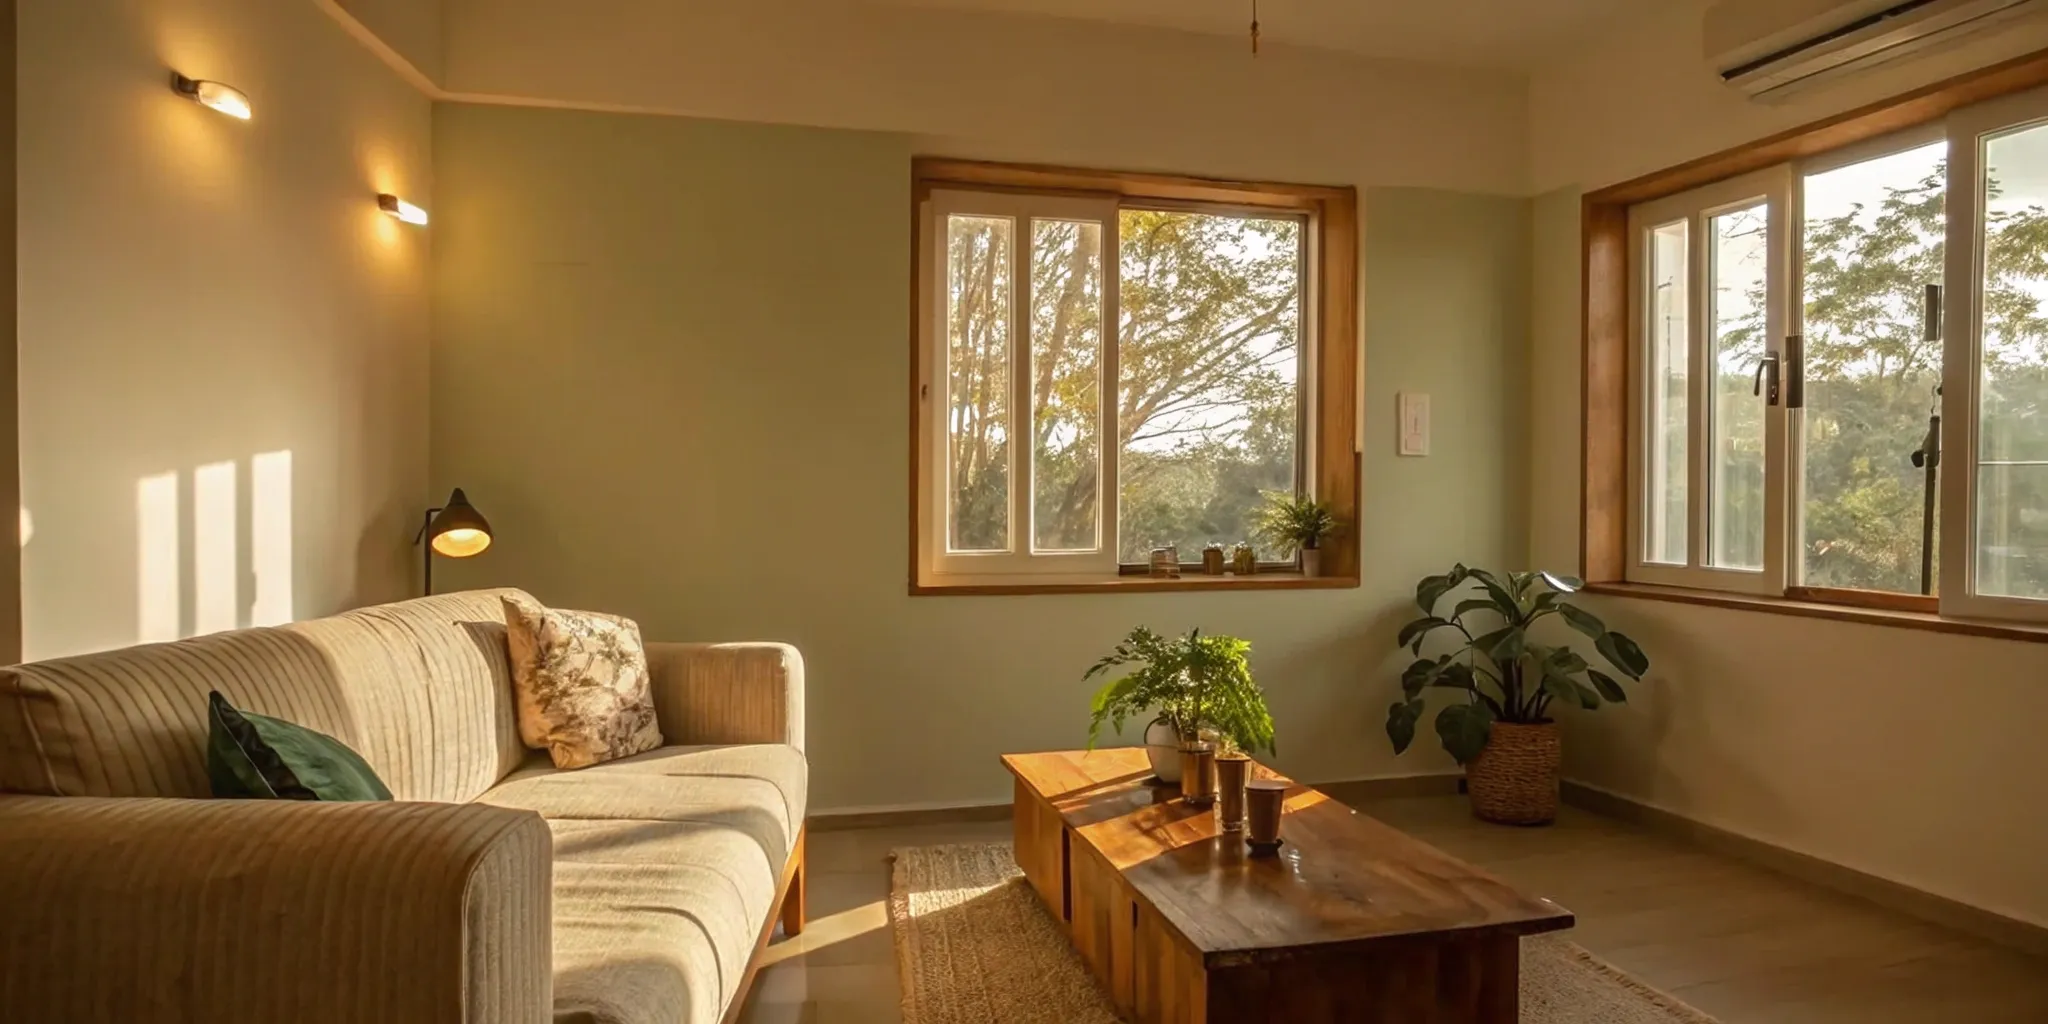
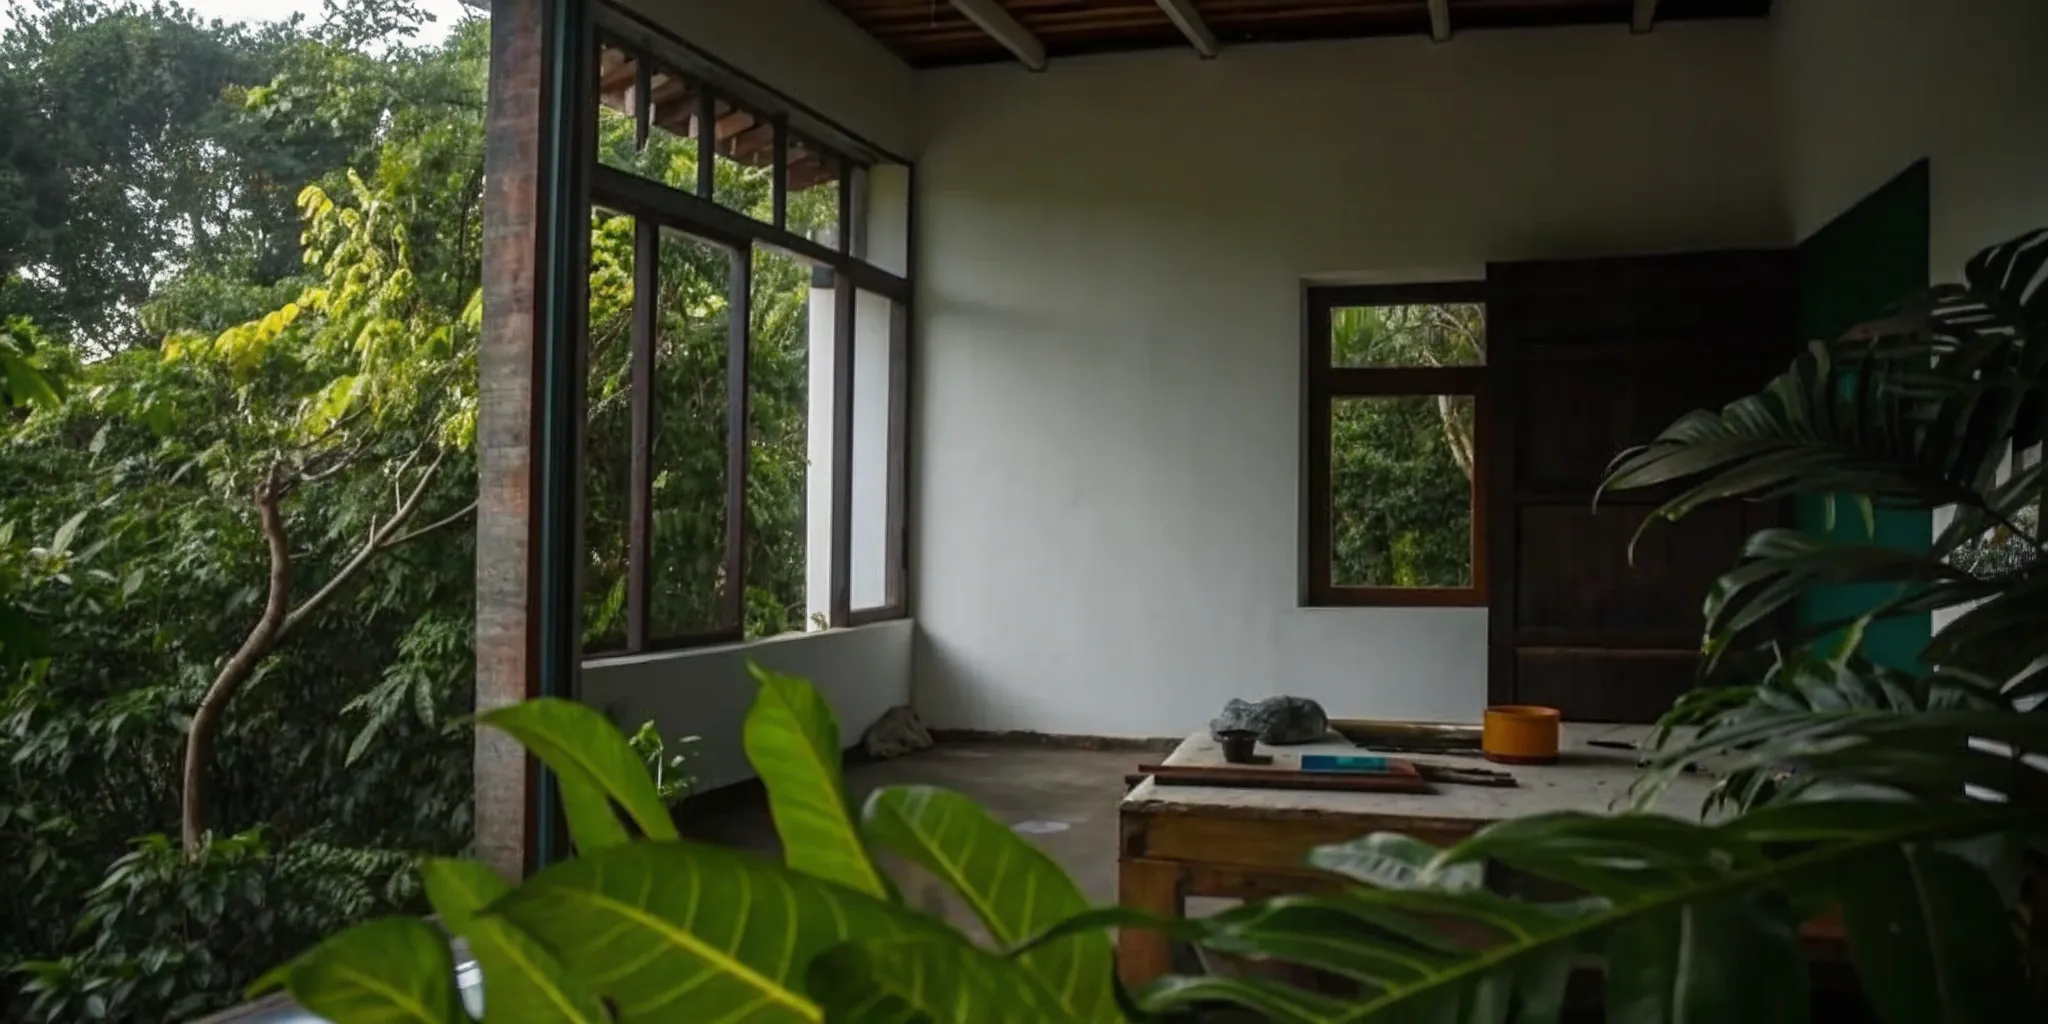
Where to Place Windows and Doors for Light and Flow
Strategic placement of windows and doors can dramatically change the feel of your studio shed. Abundant natural light makes any small space feel bigger and more inviting. Before you decide on placement, consider your property. Where does the sun hit in the morning and afternoon? Are there any views you want to highlight (or hide)? Using a 3D Design Center can be a huge help, allowing you to visualize how light will fill the space throughout the day. A glass door or large picture window can serve as a focal point, while smaller, higher windows can provide light while maintaining privacy. Thoughtful window placement connects your indoor space with the outdoors, enhancing the overall experience.
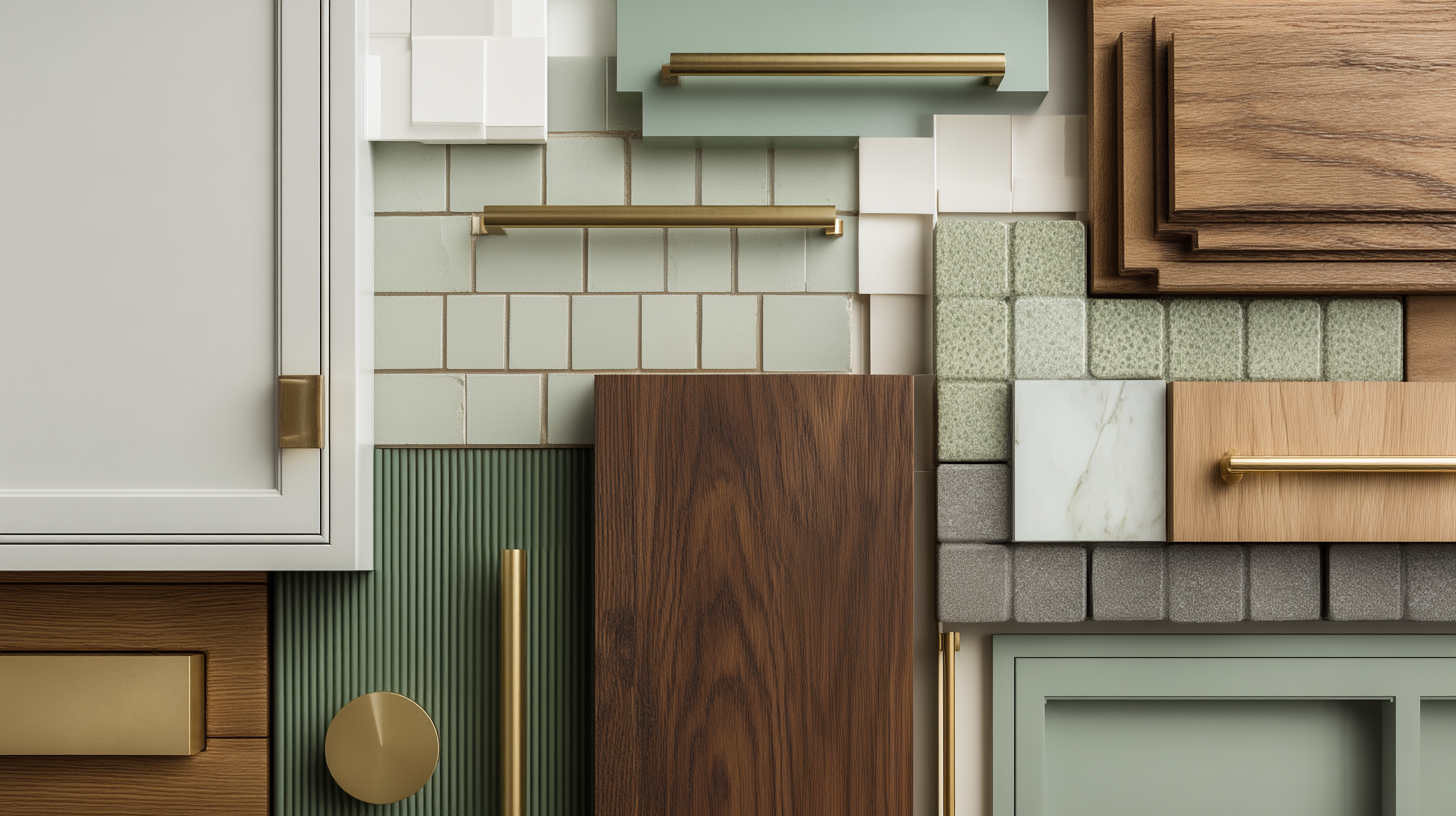
Picking Your Interior Finishes
Your choice of interior finishes will define the personality of your studio shed. Light-colored paint on the walls and ceiling can create an illusion of height and space. For flooring, choose something durable that suits the shed’s purpose—laminate or vinyl plank is great for high-traffic areas, while cozy carpeting might be perfect for a guest suite. Don’t be afraid to add pops of color or texture with a tile backsplash in the kitchen or unique light fixtures. Since these sheds can be built and delivered almost anywhere, you have a wide variety of interior finishes to choose from to match your personal style and create a cohesive look with your main home.
Must-Have, Space-Saving Features
To truly maximize your studio shed’s potential, incorporate features designed for compact living. A Murphy bed can transform a bedroom into a living area in seconds. A drop-leaf table can serve as a dining spot or a workspace before folding away neatly. Instead of traditional swinging doors that eat up floor space, opt for pocket doors or barn doors. These sheds are much more than storage units; they are full living spaces that can be adapted for almost any purpose. By integrating these clever, space-saving elements, you can create a multi-functional room that adapts to your needs throughout the day, ensuring maximum utility from a minimal footprint.
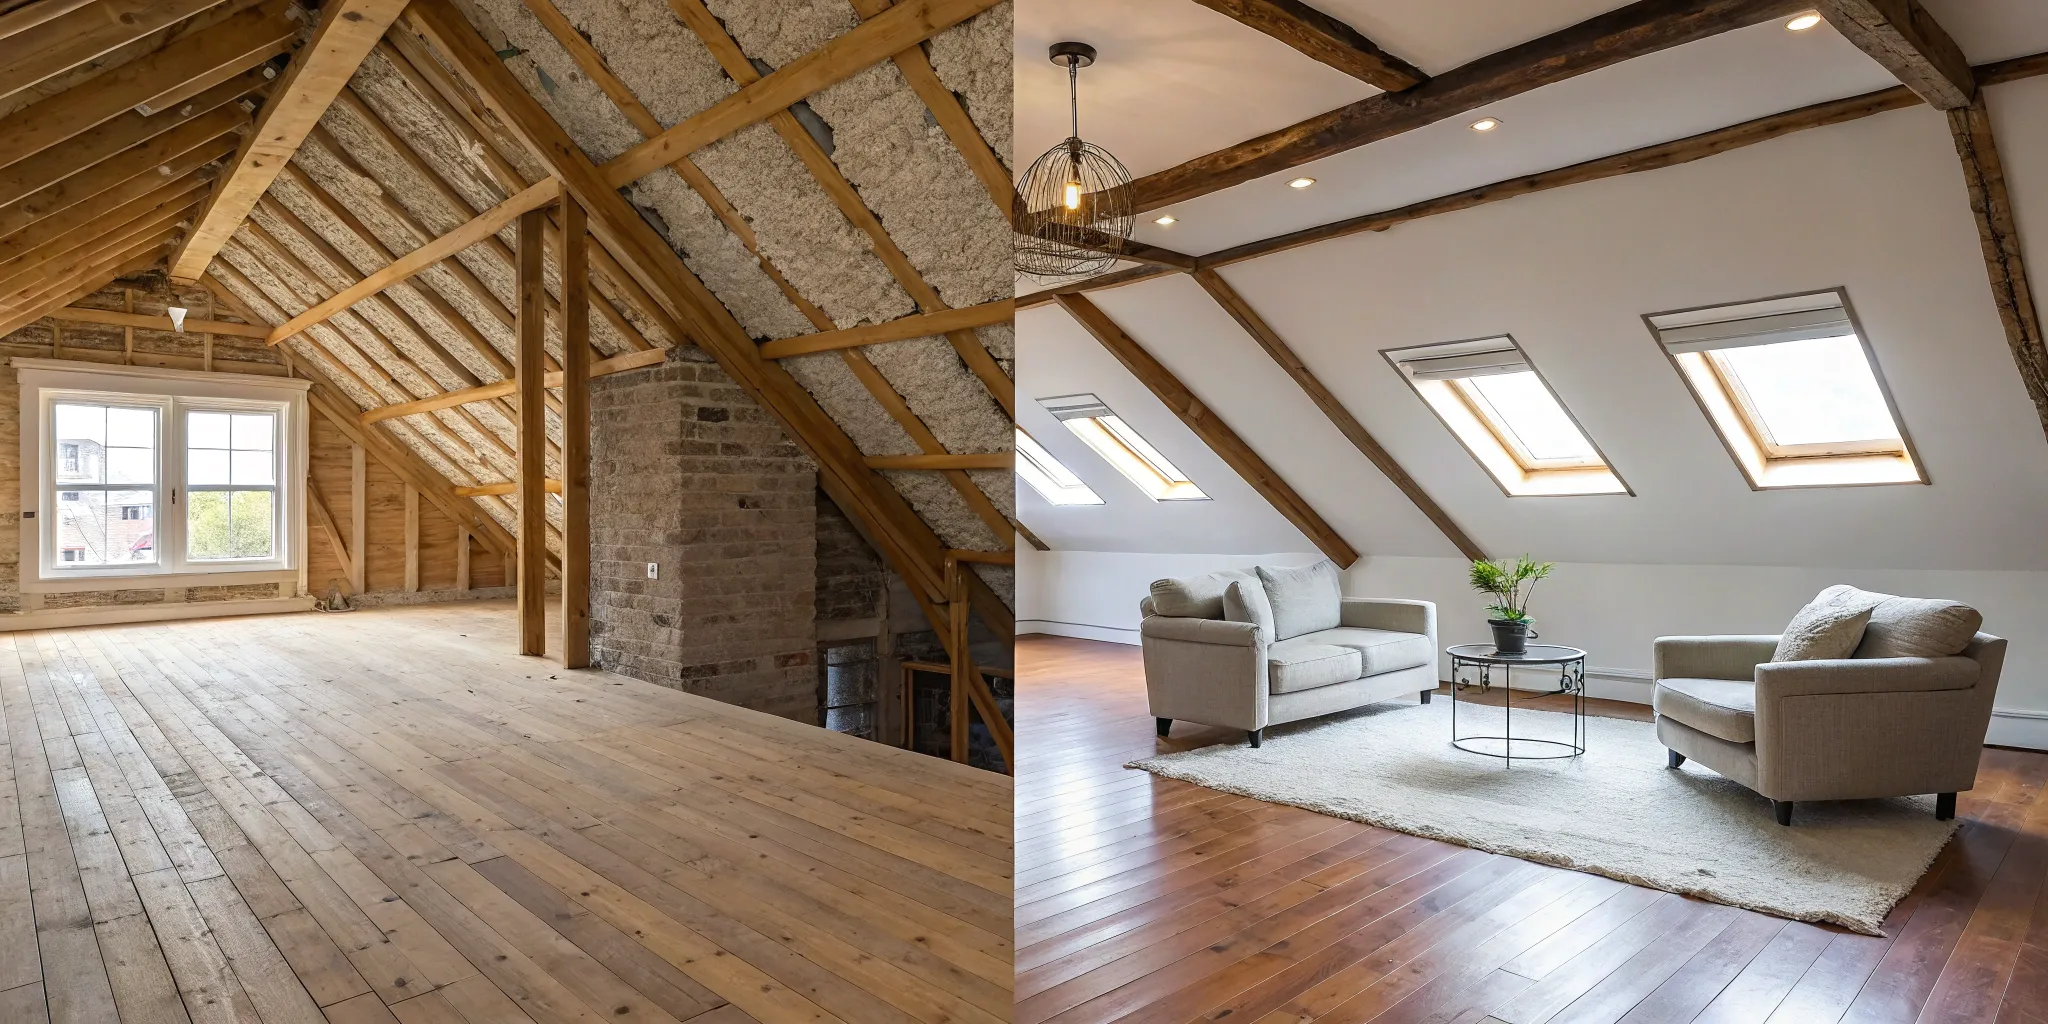
Choosing the Right Materials
The materials you choose for your studio shed are about more than just looks—they determine how comfortable, durable, and low-maintenance your new space will be. Think of it as building a small house. You want an exterior that can handle the weather year after year and an interior that feels cozy and finished. The right combination of siding, roofing, insulation, and flooring will make your shed a true extension of your home, ready for anything from a quiet home office to a full-time living space.
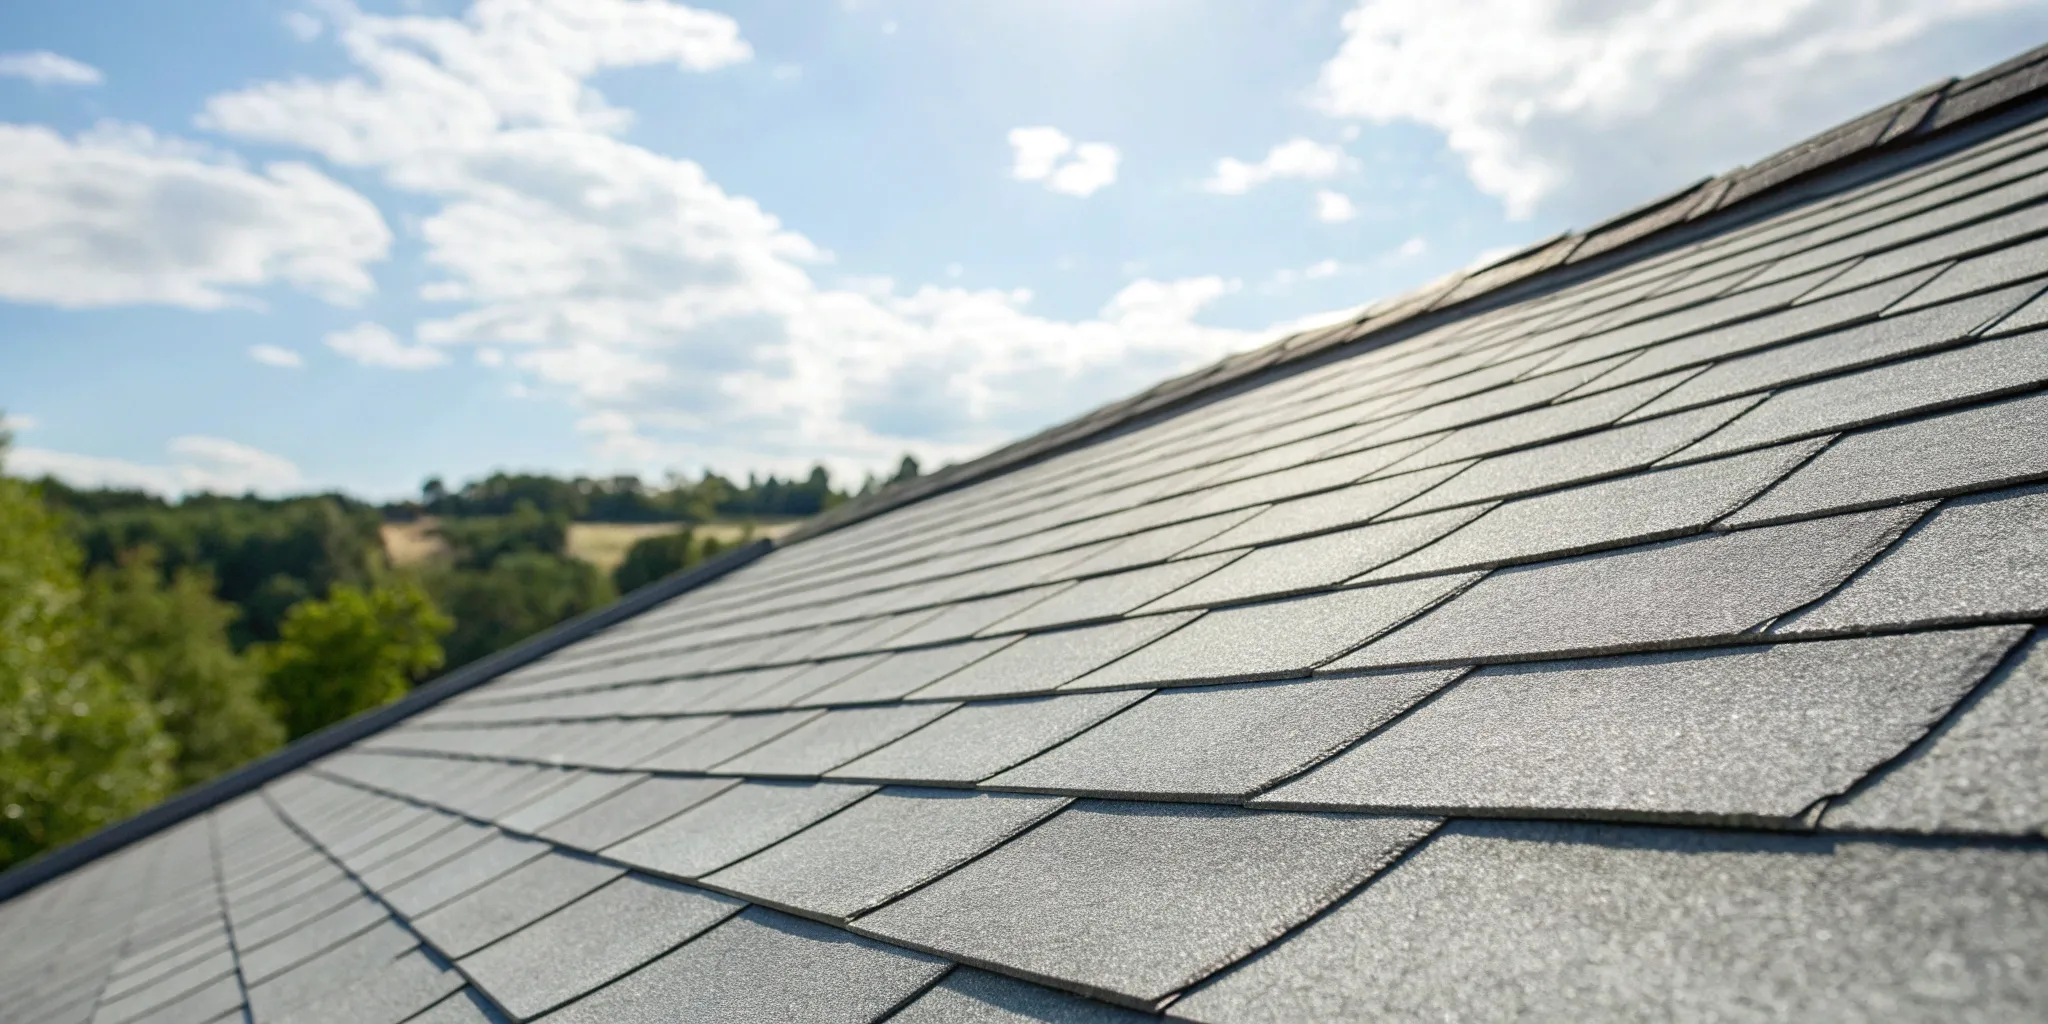
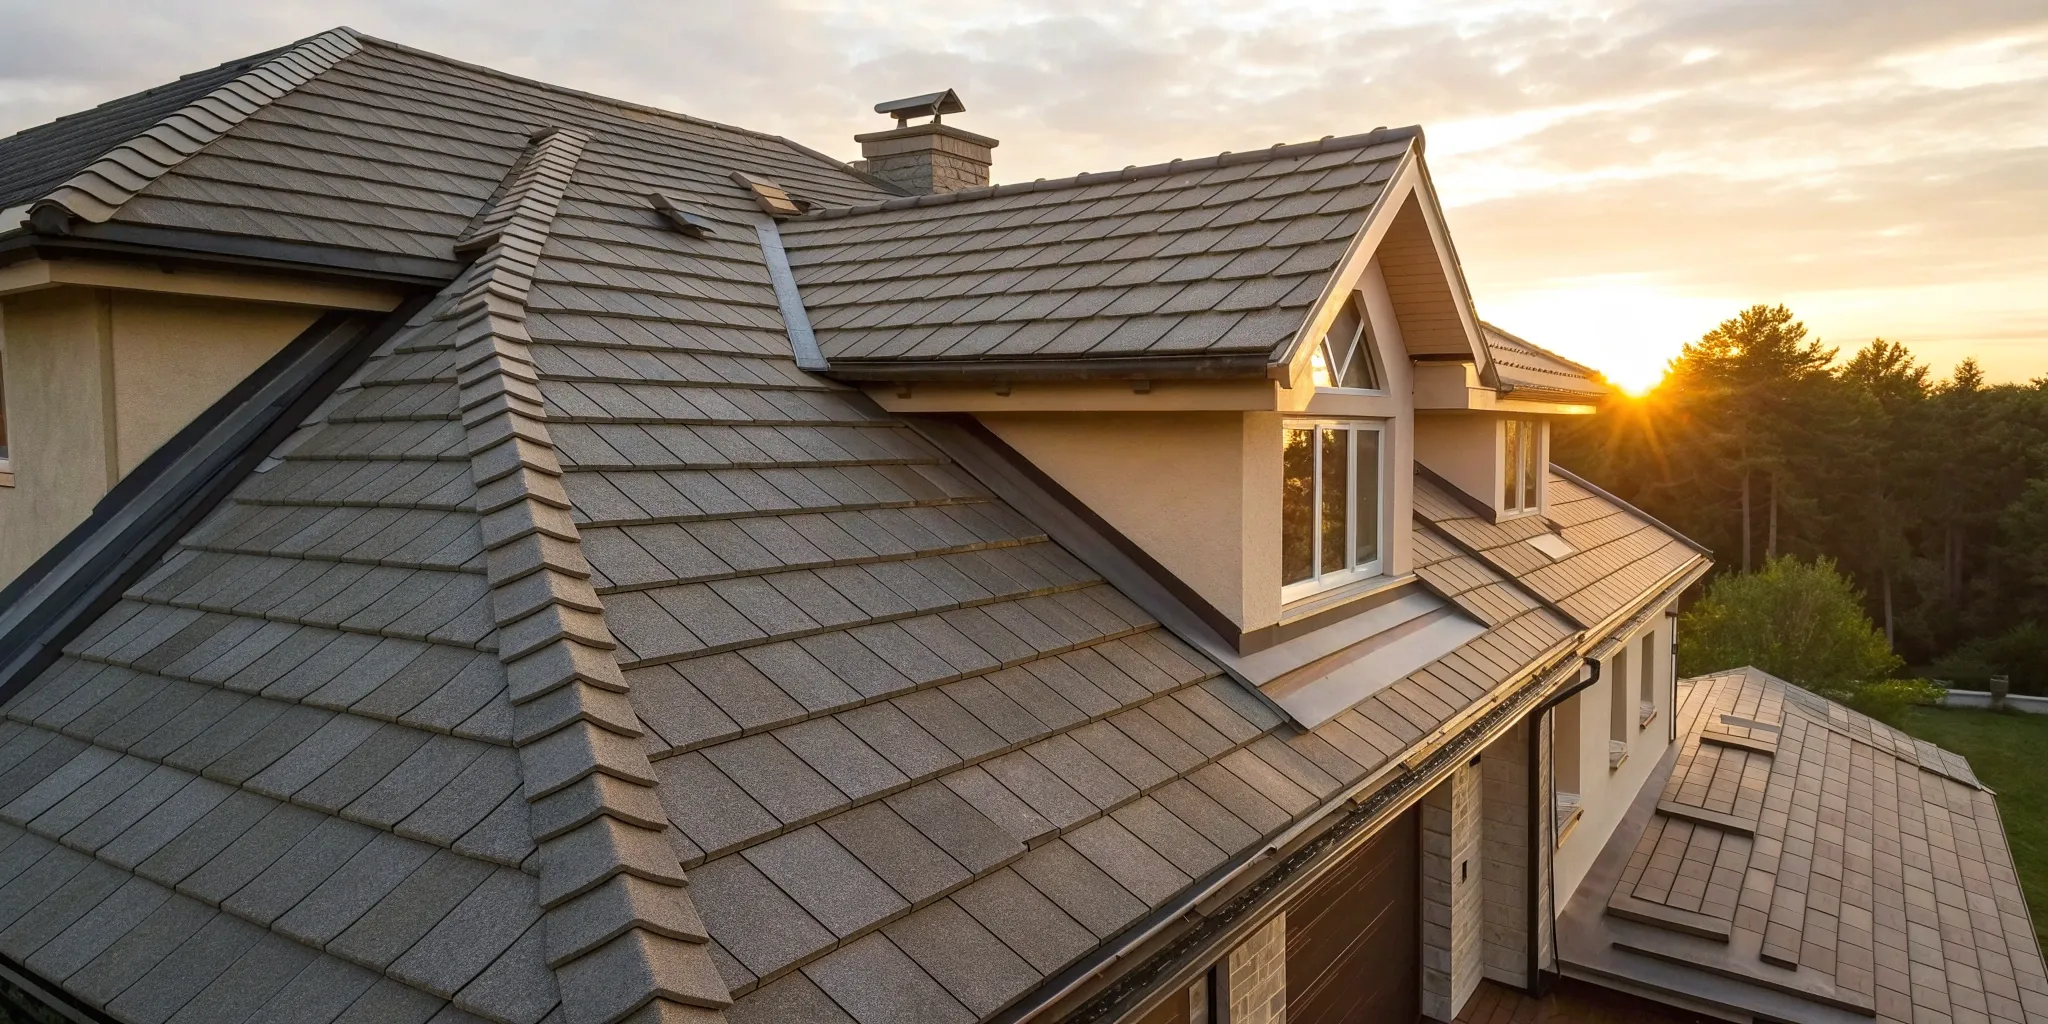
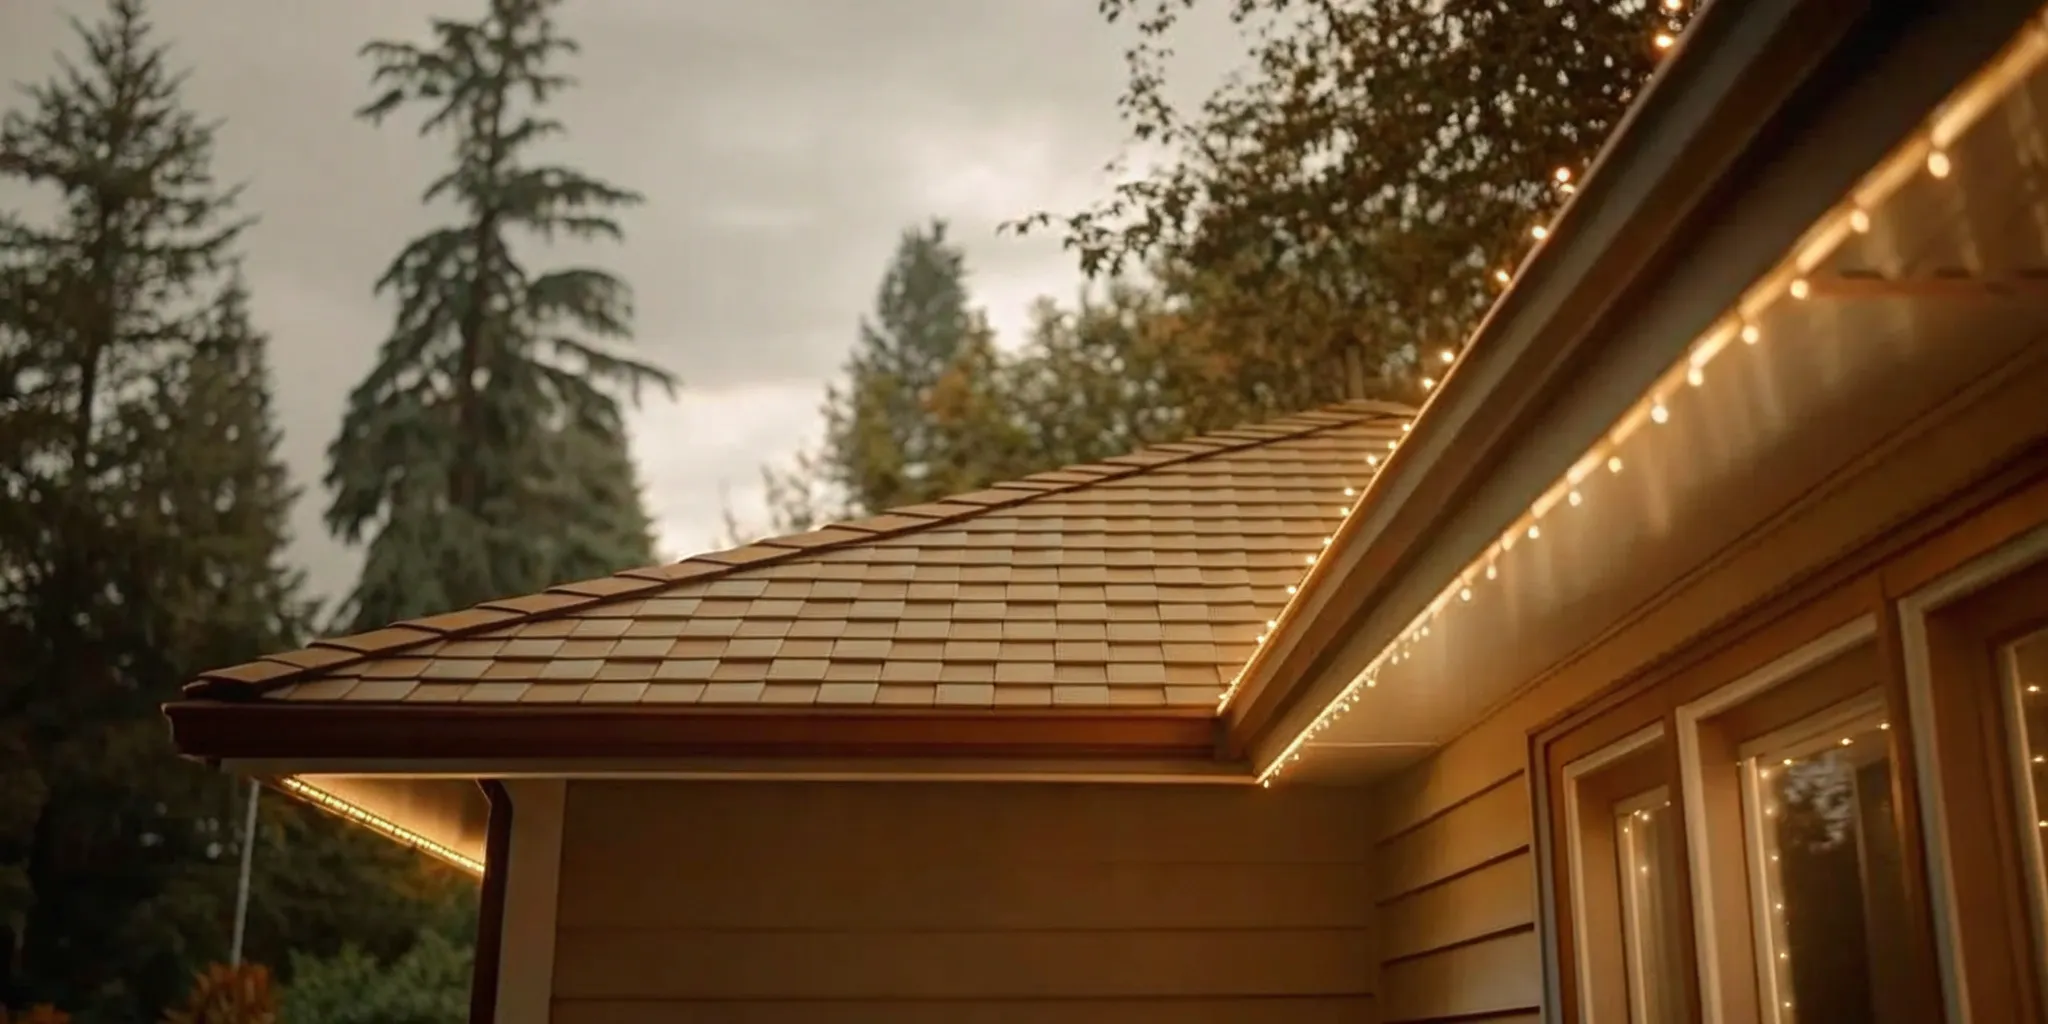
Durable Exterior Siding and Roofing
Your shed's exterior is its first line of defense against sun, rain, and wind, so you want materials that are up to the task. Look for companies that offer a variety of durable exterior siding and roofing options designed to last. Many modern sheds use engineered wood siding, which resists rot and pests, or sleek metal panels for a contemporary look. For the roof, a standing-seam metal roof is a fantastic long-term investment that sheds water and snow effectively. These high-quality materials not only protect your structure but also reduce the time you’ll spend on future maintenance.
Stylish Interior Walls and Flooring
Inside, your goal is to create a space that feels welcoming and complete. Forget the unfinished plywood walls of a typical garden shed. For a true studio, you’ll want fully finished drywall that you can paint any color, just like any other room in your house. When it comes to flooring, consider both style and function. Luxury vinyl plank (LVP) is a popular choice because it’s waterproof, scratch-resistant, and comes in countless wood and stone looks. Choosing stylish interior walls and flooring is what transforms the structure from a shed into a beautiful, functional room.
A Quick Guide to Insulation Types
Proper insulation is non-negotiable if you plan to use your shed year-round. It’s the key to keeping the space warm in the winter and cool in the summer without running up a huge energy bill. Most high-quality shed kits use rigid foam panels or spray foam insulation, which offer a high R-value (a measure of thermal resistance) without taking up a lot of interior space. Many manufacturers now offer strong, environmentally friendly insulation options that improve energy efficiency. Good insulation also provides the added benefit of sound dampening, making your studio a more peaceful and private retreat.
How to Weatherproof Your Shed
A weatherproof shed starts with smart construction. Many top brands prefabricate their wall and roof panels in a factory-controlled setting. This process allows for incredibly precise cuts and tight seals that are difficult to achieve when building from scratch outdoors. This method not only speeds up on-site assembly but also enhances the overall durability and weather resistance of the final structure. When the pieces are assembled, high-quality house wrap, flashing around windows and doors, and proper sealing of all joints are essential final steps to ensure your shed stays dry and draft-free for years to come.
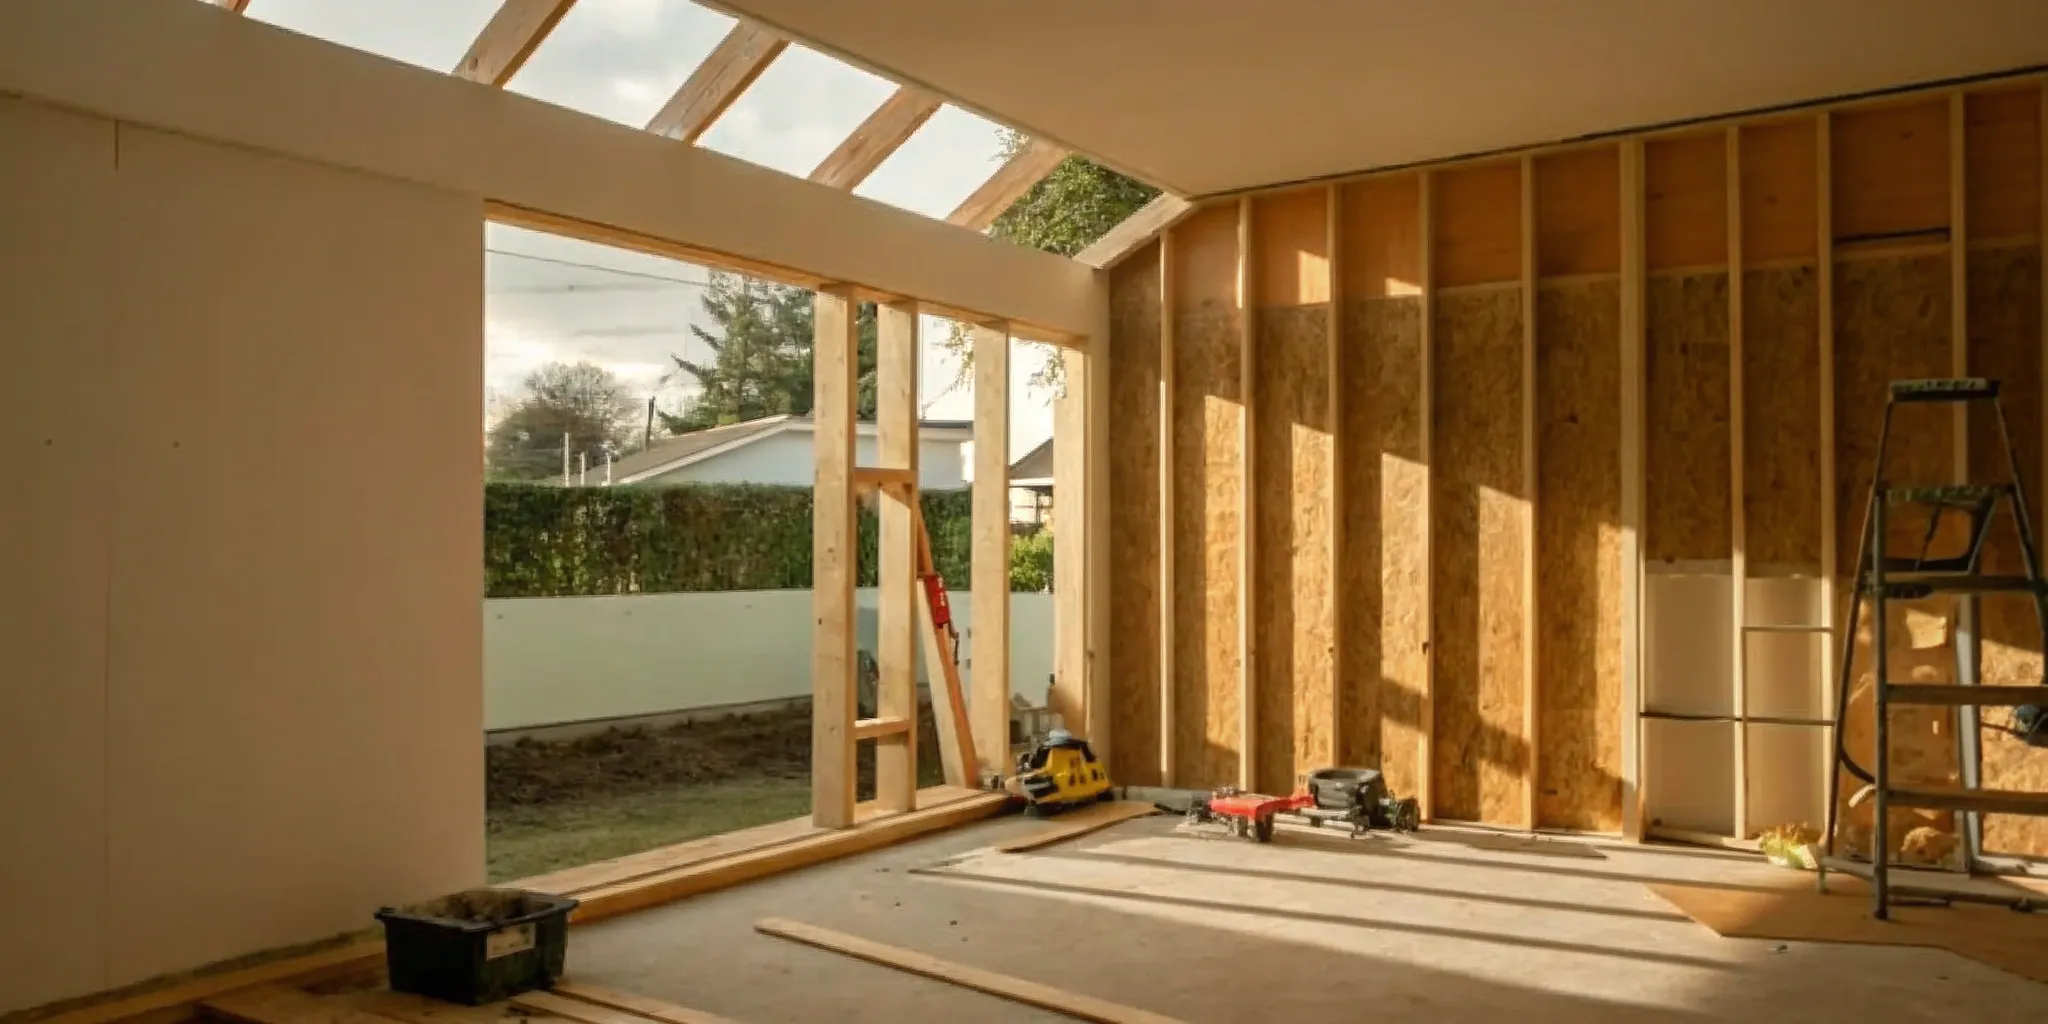
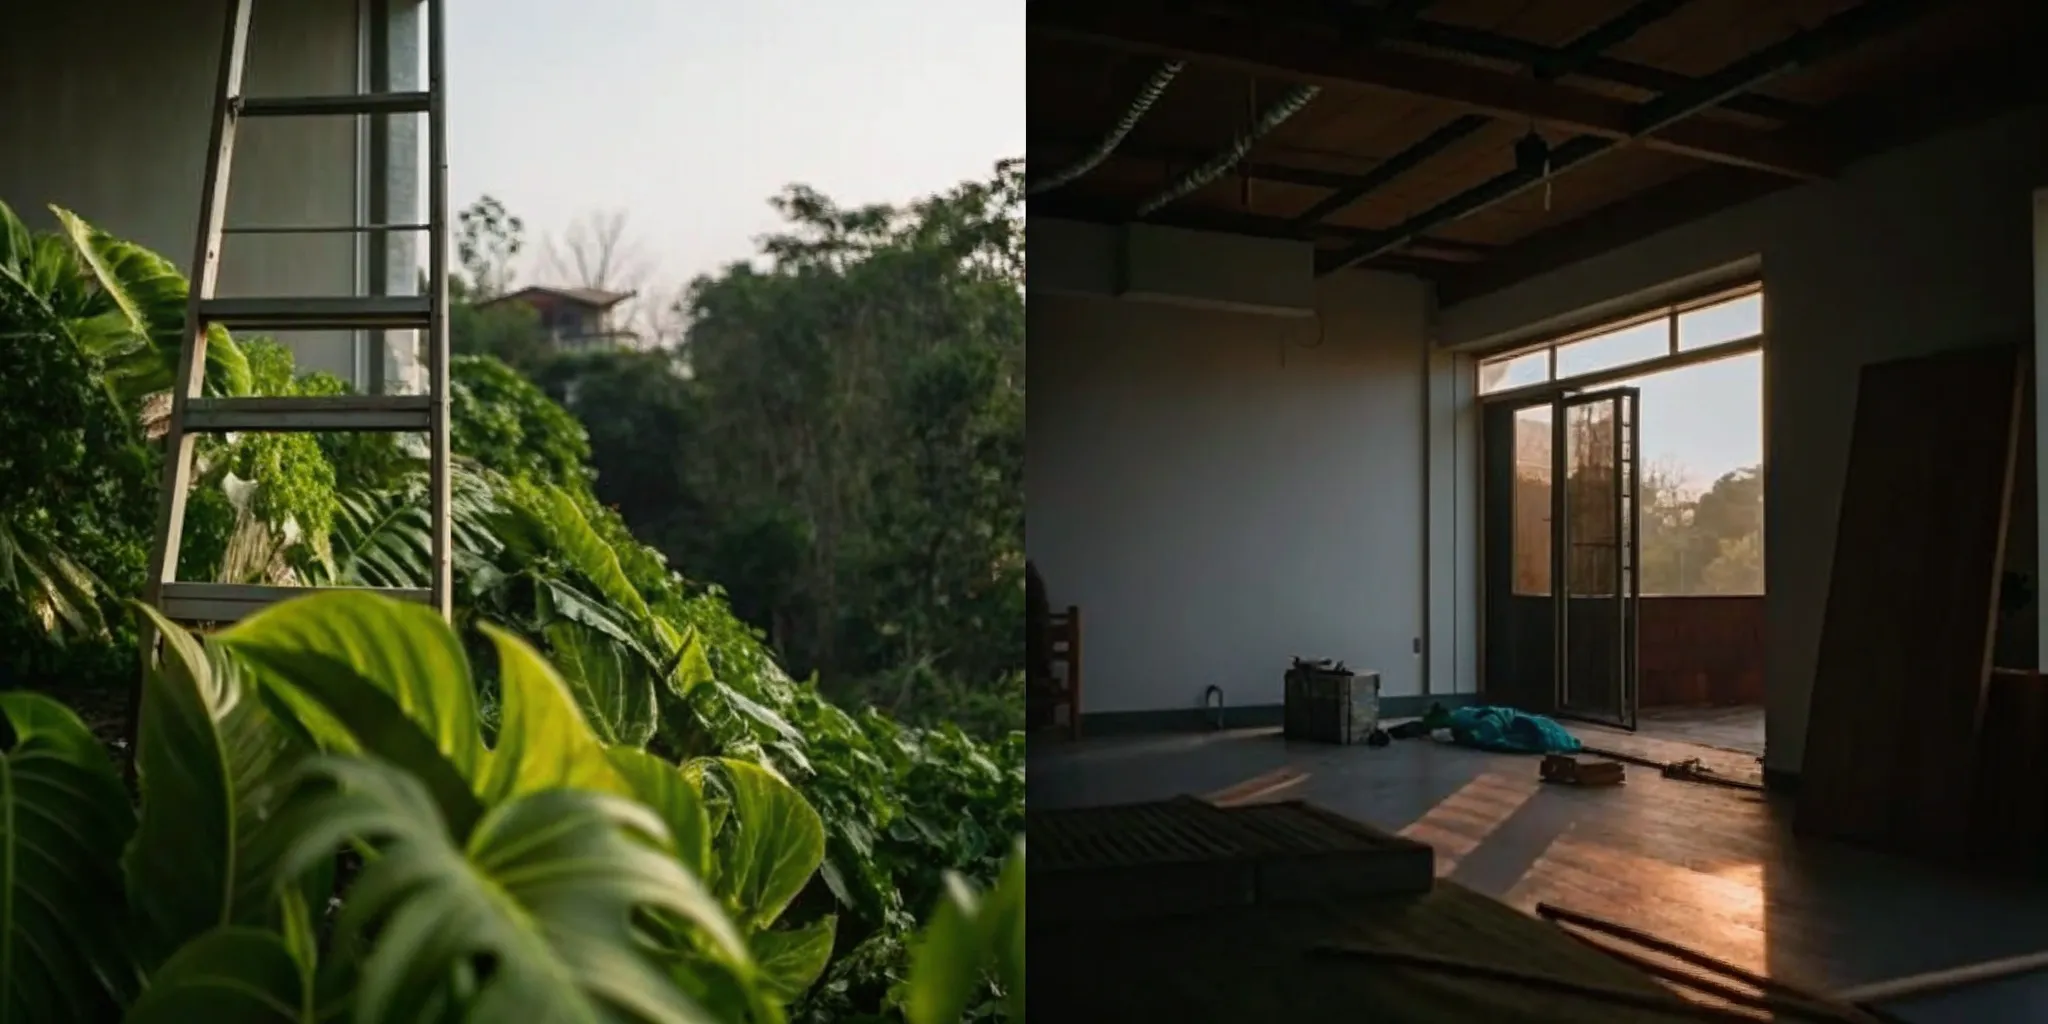
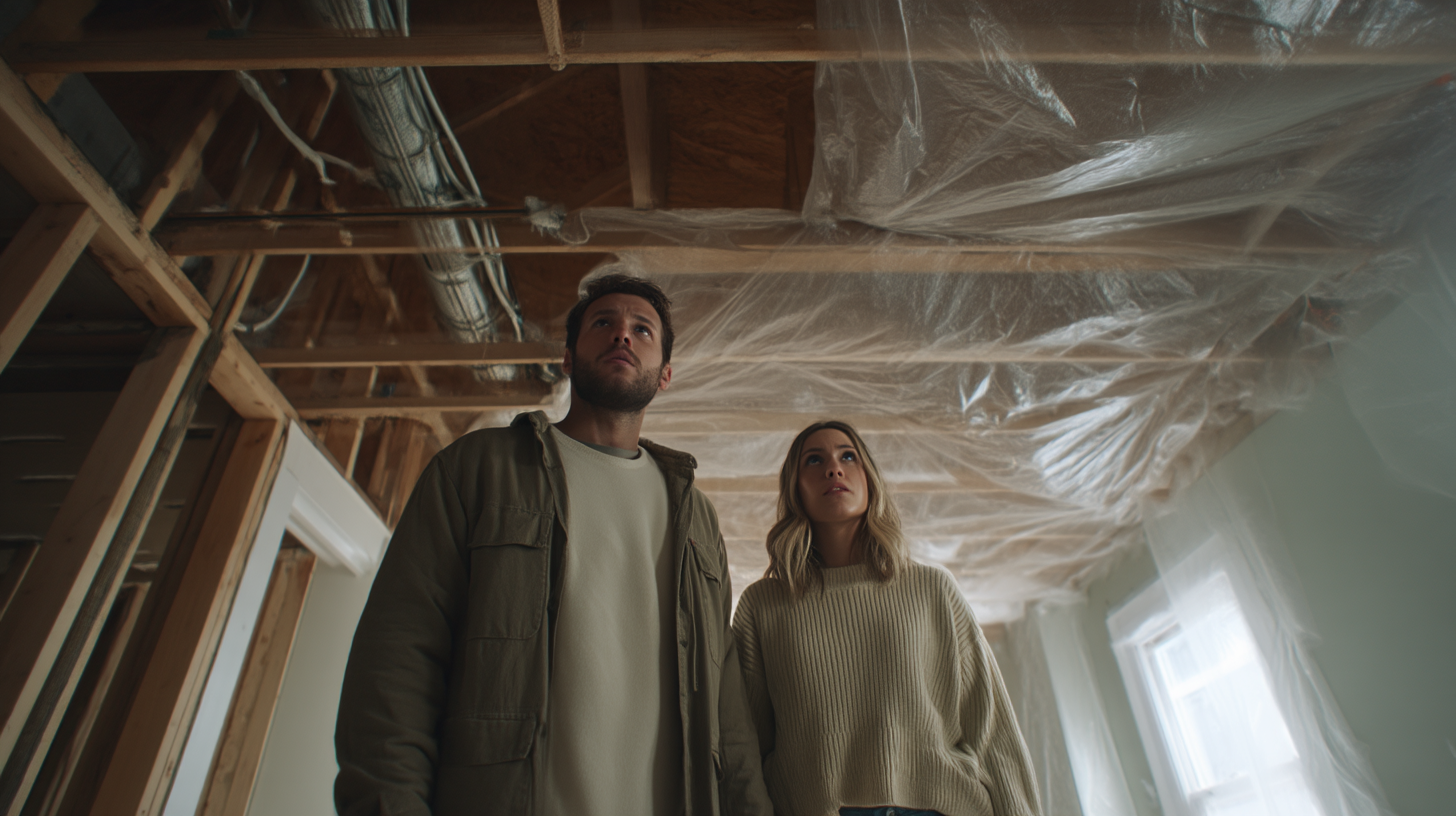
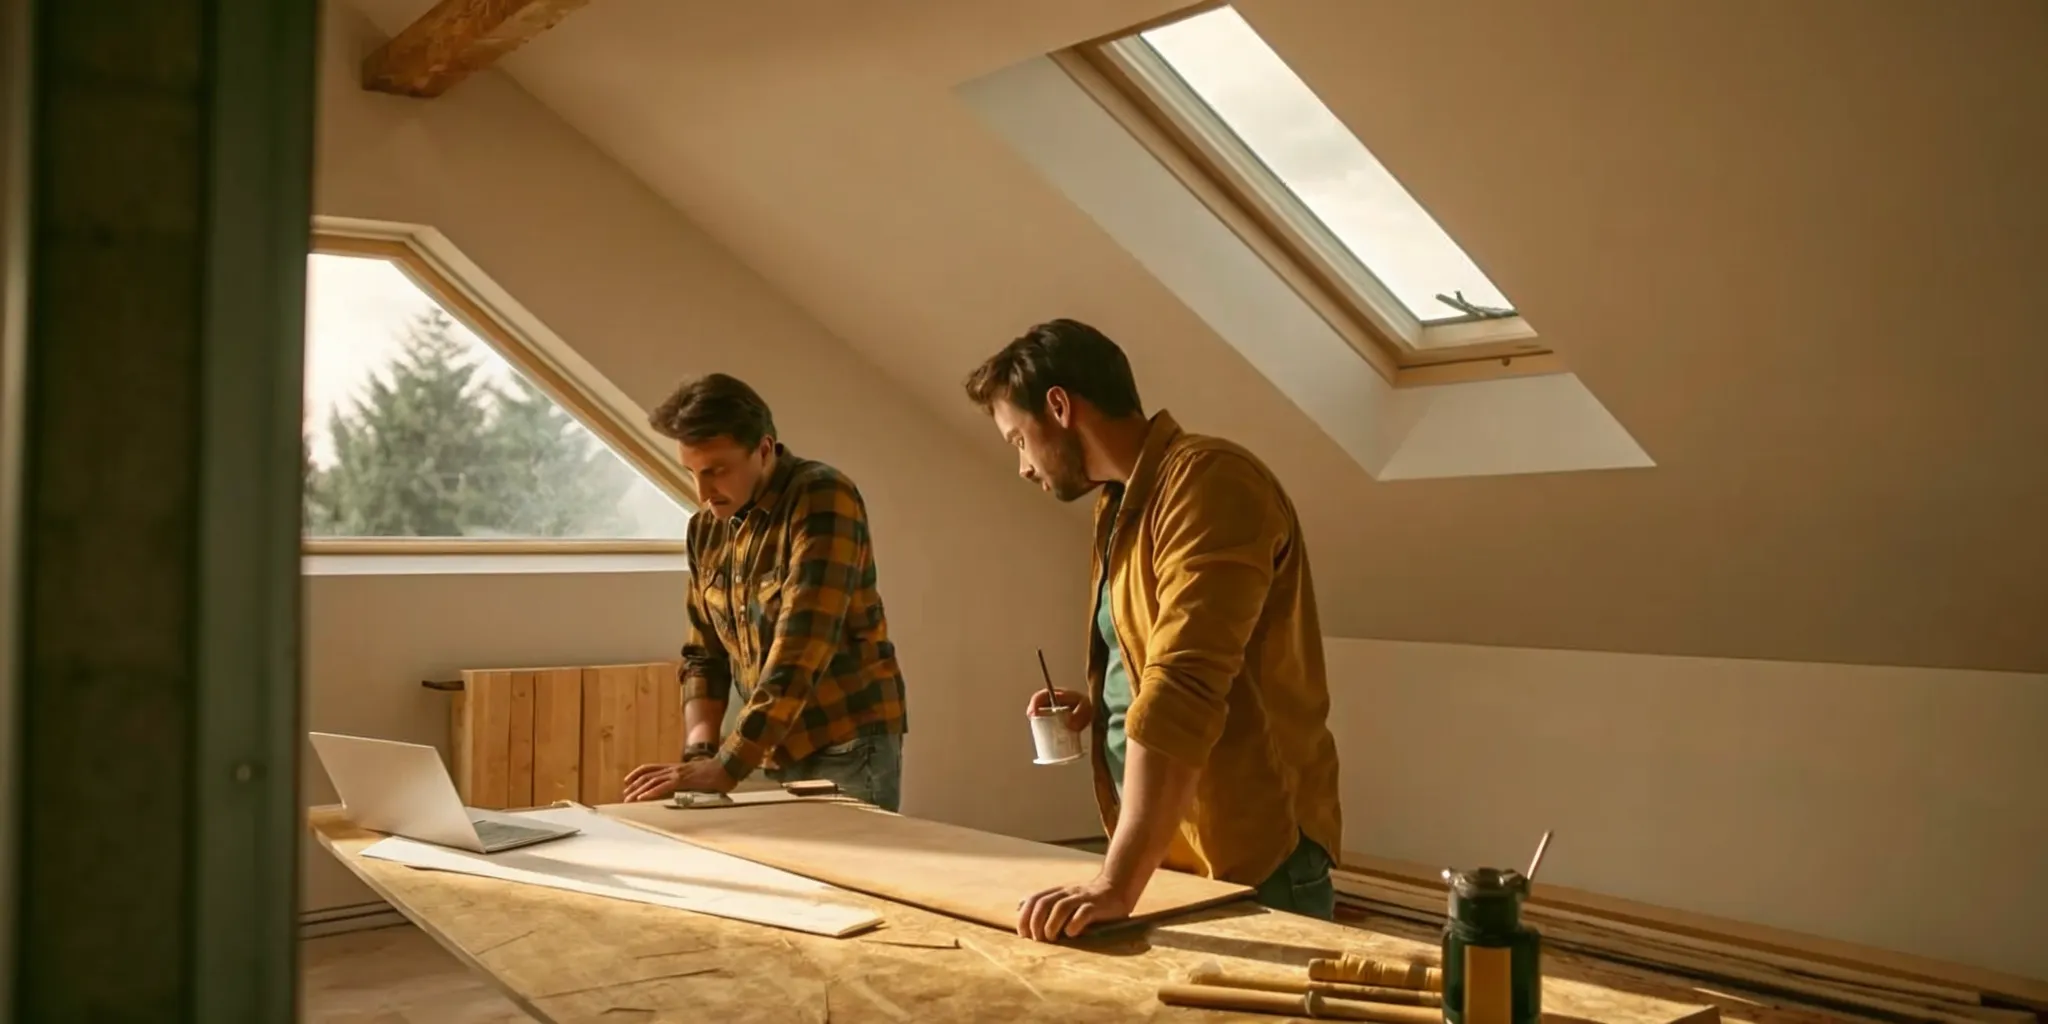
What to Expect During Installation
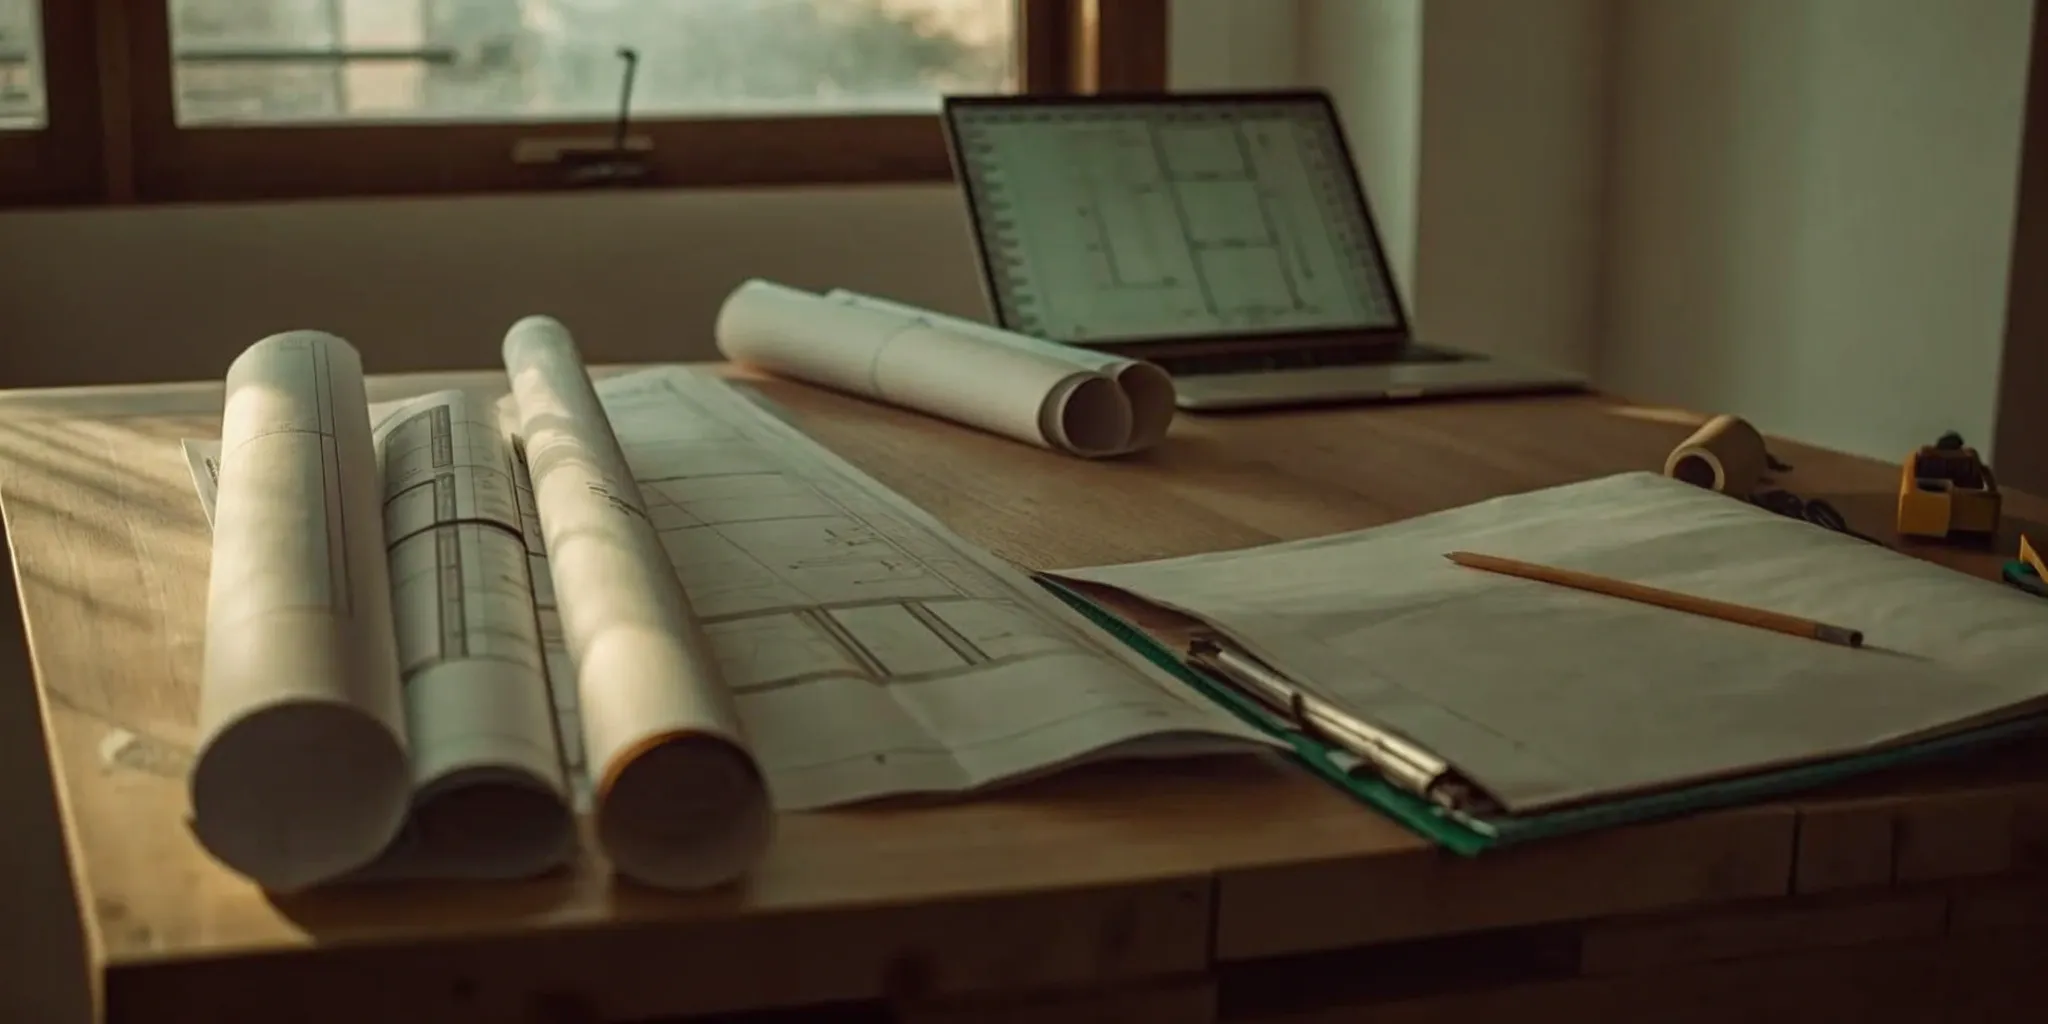
Once you’ve finalized your design and placed your order, it’s time for the most exciting part: the build. The installation phase is where your plans and blueprints transform into a physical structure in your backyard. A smooth installation process comes down to having the right team, a clear timeline, and an understanding of the key milestones. Knowing what’s coming will help you manage the project with confidence, ensuring your new studio shed is built to last and ready for you to enjoy. From laying the foundation to passing the final inspection, here’s a look at what the construction journey entails.
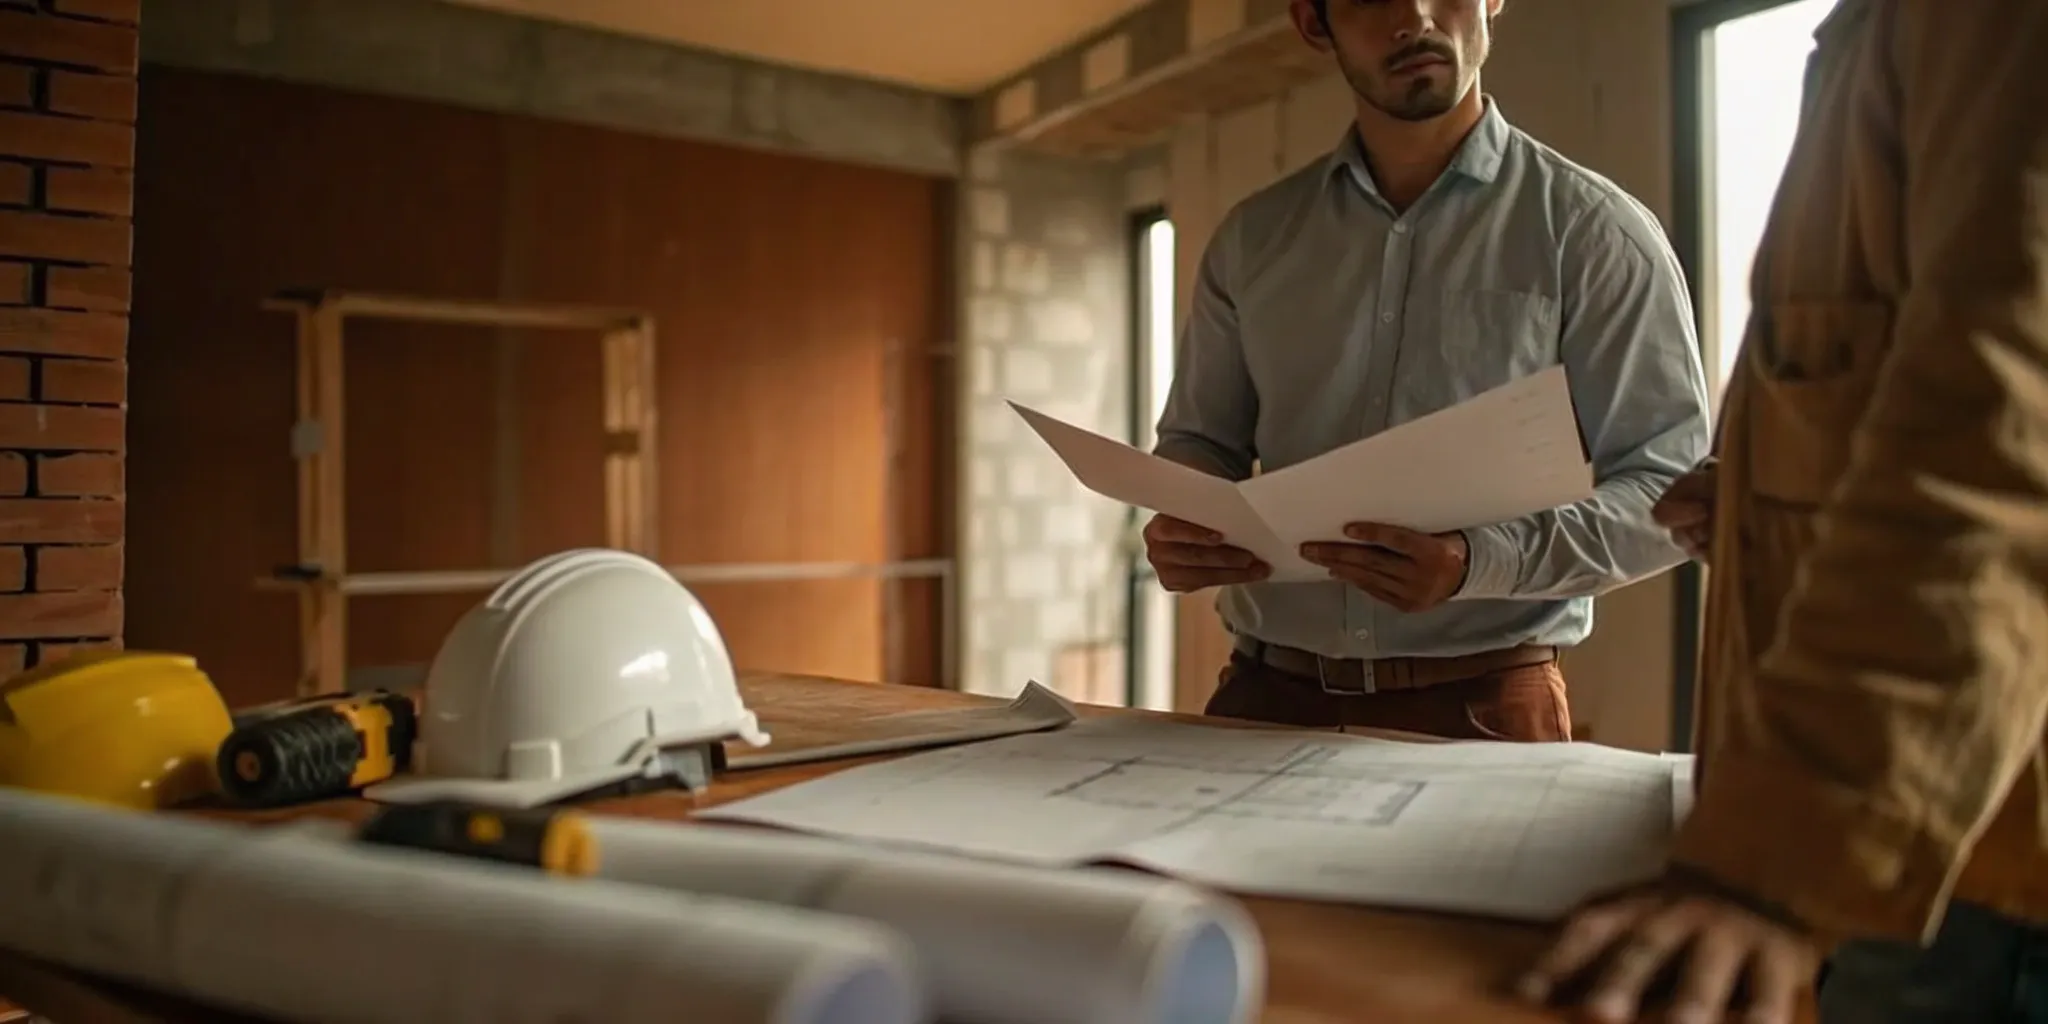
How to Find a Great Contractor
Some shed manufacturers have a network of certified builders they can recommend, which is a great place to start. If you’re an experienced DIYer, you might even consider assembling the basic shell yourself. However, adding a kitchen and bathroom introduces complex plumbing and electrical work that’s best left to the pros. Finding a qualified and reliable contractor is key to your project’s success. You’ll want someone with specific experience in building accessory structures and hooking up utilities. Working with a service that provides expert guidance can make all the difference, connecting you with thoroughly vetted professionals who are right for your specific project and taking the guesswork out of the hiring process.
Mapping Out Your Project Timeline
While the shed itself might go up in a matter of days, the entire project timeline is much longer. It’s helpful to break it down into phases so you know what to expect. First comes the design and permitting stage, which can take several weeks or even months. Once your order is placed, you’ll need to account for manufacturing and shipping time. While you wait, your contractor can begin site preparation and pour the foundation. After the kit arrives, assembly begins, followed by the critical interior work: running electrical wiring, installing plumbing, and finishing the walls. Having a clear project plan from the start helps keep everything on track and ensures all the moving parts come together smoothly.
Ensuring a High-Quality Build
A quality build goes beyond the materials in your kit—it’s about the craftsmanship of the installation. This is especially true when you’re dealing with the complexities of a kitchen and bathroom. You want to be sure that every pipe is sealed, every wire is secure, and every window is properly weatherproofed to prevent issues like leaks or drafts down the road. Don’t be afraid to ask your contractor questions and schedule regular check-ins to see the progress. A reputable builder will prioritize quality, follow building codes meticulously, and ensure your finished shed is not only beautiful but also safe, functional, and durable for years to come.
Passing the Final Inspection
The final inspection is the last major step before you get the green light to use your new space. A city or county inspector will visit your property to verify that all the work was completed according to code. This includes checking the foundation, framing, electrical wiring, and plumbing systems. In many parts of California, for example, a building permit is required for any shed over 120 square feet. Your contractor should manage the inspection schedule, but it’s good to understand what it entails. Passing this inspection provides peace of mind that your studio shed is safe and legally compliant, marking the official end of construction and the beginning of your enjoyment.
Studio Shed or Home Addition: Which Is Right for You?
When you need more living space, the big question often comes down to building out or building separate. A traditional home addition expands your home’s existing footprint, while a studio shed creates a brand-new, detached structure in your backyard. Both are fantastic ways to get the extra room you need, but they serve different purposes and come with very different project requirements.
Choosing the right path depends entirely on your budget, timeline, and how you plan to use the new space. A home addition might be the answer if you want to enlarge your kitchen or add a primary suite that connects directly to your house. But if you’re dreaming of a quiet home office, a private guest house, or a potential rental unit, a studio shed could be the perfect fit. Let’s break down the key differences to help you decide which project makes the most sense for you and your home.
Comparing the Costs
Cost is often the deciding factor, and there’s a clear difference here. A home addition is a major construction project that involves extending your foundation, framing, roofing, and integrating new plumbing and electrical into your existing systems. This complexity makes it significantly more expensive than a detached shed.
On the other hand, a studio shed offers a more predictable and contained budget. For example, the starting price for a fully equipped Studio Shed Summit 308 is around $88,000, which includes a kitchen, bathroom, and all the finishes. While you’ll still have costs for site prep and utility connections, the all-in-one nature of a prefab shed helps prevent the budget surprises that can pop up during a traditional renovation.
How Long Does Each Project Take?
If you need more space sooner rather than later, a studio shed has a major advantage. The process is incredibly streamlined: you design your unit, get the necessary permits, order it, and have it assembled on-site. From start to finish, you could be enjoying your new space in just a few months. This minimizes the disruption to your daily life, as most of the construction happens away from your main house.
A home addition is a much longer commitment. The timeline involves hiring an architect, finalizing designs, a lengthy permitting process, and months of on-site construction. Living through a renovation can be stressful and messy, with crews in your home for an extended period. If you’re looking for a faster, less invasive solution, a studio shed is the clear winner.
Which Adds More Value to Your Home?
Both projects can increase your property value, but they do so in different ways. A thoughtfully designed home addition that adds functional square footage—like a new bedroom or an expanded family room—will almost always provide a strong return on investment by increasing your home’s official stats.
However, don’t underestimate the appeal of a detached space. Adding a livable shed with a kitchen and bathroom can make your property worth more, especially if it qualifies as an Accessory Dwelling Unit (ADU). An ADU can provide rental income, which is a huge selling point for future buyers. A stylish, functional studio shed can be a unique feature that makes your home stand out on the market and adds significant value.
Making the Most of Your Space
Think about how you want your new space to function. A home addition is perfect for expanding common areas or adding rooms that need to be connected to the main house, like a nursery or a larger kitchen. It seamlessly integrates into your home’s existing flow.
A studio shed offers something different: separation. These sheds are no longer just for storage; they can be full living spaces that provide a quiet retreat from the main house. Studio Shed offers many ways to customize your unit, making it ideal for a home office, an art studio, a guest suite, or a teen hangout. This physical separation creates a dedicated zone, free from the distractions of the main household.
What to Expect for Long-Term Maintenance
Long-term, both structures will require upkeep. A home addition becomes part of your house, so its maintenance is tied to your home’s overall condition. The roof, siding, and windows will need the same care as the rest of your house.
A studio shed is a separate building with its own exterior and systems to maintain. You’ll be responsible for a second roof, separate siding, and its own plumbing and HVAC systems. It’s also crucial that both projects are done correctly from the start. Any extensive remodeling work requires a building permit, whether it’s for an addition or a fully-equipped shed. Skipping this step can lead to major headaches and safety risks down the road.
Related Articles
- Livable Sheds with Bathroom and Kitchen
- Studio Shed Summit Series
- How It Works: Adding a Studio Shed
- Why Realm: Expert Guidance for Home Projects
- Studio Sheds by Backyard Products
Frequently Asked Questions
Is a studio shed the same thing as an ADU? Think of it this way: a studio shed with a kitchen and bathroom can be an Accessory Dwelling Unit (ADU), but it has to meet specific local requirements first. An ADU is a legal classification for a secondary living space on your property. To qualify, your shed will need to be permitted as a habitable dwelling, which includes having a permanent foundation, a kitchen, a bathroom, and proper utility connections. So, while not every shed is an ADU, the high-quality, fully-equipped studio sheds we've discussed are designed to meet these standards.
How much should I budget for utility connections? This is one of the biggest variables in the total project cost, and it's impossible to give a single number. The final price for connecting water, sewer, and electricity depends heavily on the distance from your main house to the shed and the complexity of your yard. A short, straight trench in soft soil will cost far less than a long one that has to go around patios or through rocky ground. The best way to get an accurate estimate is to have licensed plumbers and electricians visit your property and provide detailed quotes before you finalize your budget.
Can I just convert a regular storage shed into a living space? While it might seem like a budget-friendly shortcut, it's generally not a good idea. Standard storage sheds aren't built to be lived in. They lack proper insulation, the framing isn't designed to support drywall and interior finishes, and they aren't engineered to meet the building codes required for a safe, habitable space. Starting with a structure designed for living, like the studio sheds from the brands we mentioned, ensures you have the right foundation for a comfortable, durable, and legally compliant home office or guest suite.
How long does the entire process take, from ordering to move-in? While the on-site assembly of a prefab shed can be surprisingly fast—sometimes just a few days—the total project timeline is much longer. You should plan for at least a few months from start to finish. The initial phase includes design, engineering, and securing permits, which can take one to three months alone. After that, there's the manufacturing and delivery time for the shed itself. Once it arrives, the on-site work of installation, utility hookups, and final inspections will take several more weeks.
Do I really need a permit for a small backyard structure? Yes, almost certainly. If your studio shed has plumbing and electricity and is intended for people to live or work in, you will need permits. Most cities require a building permit for any accessory structure over a certain size, often as small as 120 square feet. The permitting process ensures that the construction is safe, structurally sound, and meets all local zoning and building codes. Skipping this step can result in fines, legal trouble, and even an order to tear the structure down.


.png)


.png)