Your Home Addition Project Timeline Explained
Get a clear look at the home addition project timeline, including key phases, common delays, and tips to keep your renovation on track from start to finish.
|
March 9, 2026

In this article:
Taking on a home addition can feel like you’re losing control over your own home, with schedules and decisions piling up. The best way to feel empowered during this process is to understand it from the inside out. Knowing what to expect and when gives you the confidence to ask the right questions and make timely decisions. A well-defined home addition project timeline is more than just a series of dates; it’s your framework for managing the entire project. This guide will demystify the process, breaking down each stage so you know what’s coming next and can partner effectively with your contractor.
Key Takeaways
- Plan for the pre-work: A successful home addition timeline accounts for the lengthy planning, design, and permitting phases, which often take as long, if not longer, than the actual construction.
- Embrace the buffer: Unpredictable factors like weather, supply chain issues, and hidden structural problems are common. Build a 15-20% cushion into your schedule and budget to manage these surprises without derailing your project.
- Drive your project with clear communication: Your project's pace depends heavily on your decisions and your relationship with your contractor. Keep things on track by hiring a vetted team, communicating frequently, and making material choices early.
What is a Home Addition Timeline?
Thinking about a home addition can feel like staring at a giant puzzle. You know what the final picture should look like, but figuring out how all the pieces fit together is a different story. A project timeline is your guide to assembling that puzzle. It breaks down the entire process into four main stages: planning, design, permitting, and construction. This isn't just a single date on a calendar; it's a roadmap that outlines each step, from initial sketches to the final coat of paint.
Understanding this sequence is the first step toward a smoother renovation. It helps you see the big picture and know what to expect and when. For example, you’ll learn that a significant amount of time is spent on planning and design before any ground is broken. Knowing this helps set clear expectations with your contractor and keeps everyone on the same page. At Realm, we provide a customized plan that maps out these phases, so you always know what’s coming next and feel confident in your project’s direction.
How Project Type Affects Your Timeline
The most common question homeowners ask is, "How long will it take?" The honest answer is: it depends. A home addition can take anywhere from a few months to over a year. A simple, single-room bump-out might be completed in eight to twelve weeks, while a complex, two-story addition could easily stretch to six months or more.
Several factors influence your project’s schedule. The size and complexity of the addition are the biggest drivers. Adding a primary suite involves more intricate plumbing and electrical work than adding a sunroom. Other variables include how long it takes to get building permits approved by your city, the availability of your contractor, and potential delays in sourcing materials. Weather can also play a role, especially during the foundation and framing stages.
Why a Realistic Timeline Matters
A realistic timeline is more than just a nice-to-have; it’s essential for keeping your project on track and your stress levels down. When you have a clear and practical schedule, it serves as a powerful communication tool between you and your build team. It helps prevent misunderstandings and ensures everyone agrees on key milestones. This clarity is crucial for managing your budget, as unexpected delays often lead to additional costs.
Early planning and open communication are your best defenses against project hold-ups. A well-thought-out timeline allows you to order materials in advance and schedule subcontractors efficiently. It also gives you a benchmark to measure progress against. Having an expert advisor to help you establish and manage this timeline can make all the difference, turning a potentially chaotic process into a predictable and organized one.
How Long Does Each Phase Really Take?
A home addition project isn’t a single sprint; it’s more like a marathon with distinct stages. Understanding how long each part of the race takes can help you set realistic expectations and feel more in control from start to finish. While every project is unique, most additions follow a similar path from idea to completion. Let's break down the typical timeline for each major phase so you know what to expect as you move forward with your renovation.
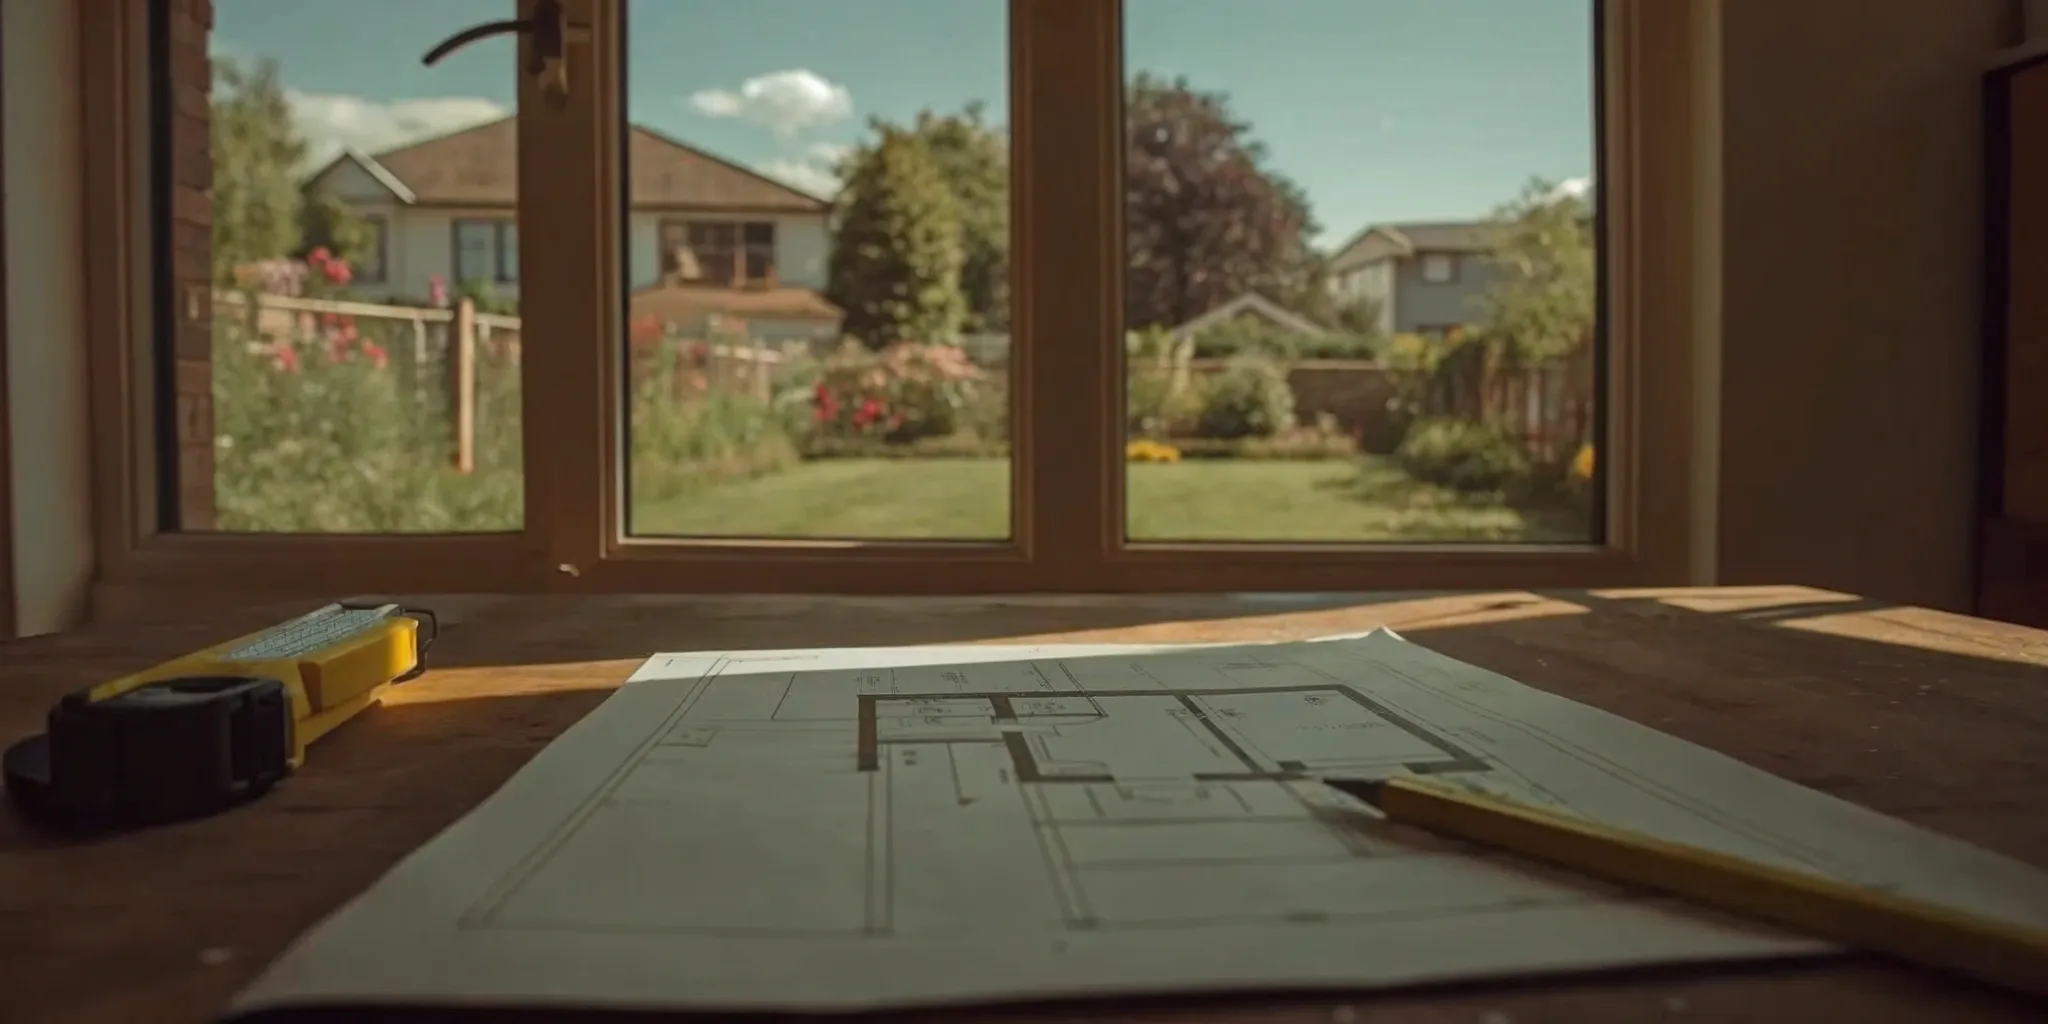
The Blueprint: Planning and Design (8-20 weeks)
This is where your vision starts to take shape. The planning and design phase involves working with an architect or designer to translate your ideas into detailed blueprints. This process includes initial consultations to discuss your needs, developing preliminary sketches, and refining them into final construction-ready documents. The 8 to 20-week timeframe depends heavily on the complexity of your project and how quickly you provide feedback and make decisions. A simple room addition will be on the shorter end, while a multi-story project with custom features will require more time to perfect the customized plans.
Getting the Green Light: Permitting (2-8 weeks)
Before any construction can begin, you need official approval from your local building department. This is the permitting phase, and it’s a non-negotiable step that ensures your project meets all safety and zoning codes. The timeline can vary significantly depending on your municipality’s workload and the specifics of your project. An experienced contractor who is familiar with local regulations can help make this process smoother. Having a vetted professional on your team is invaluable here, as they can prepare and submit all the necessary paperwork correctly, helping you avoid unnecessary delays.
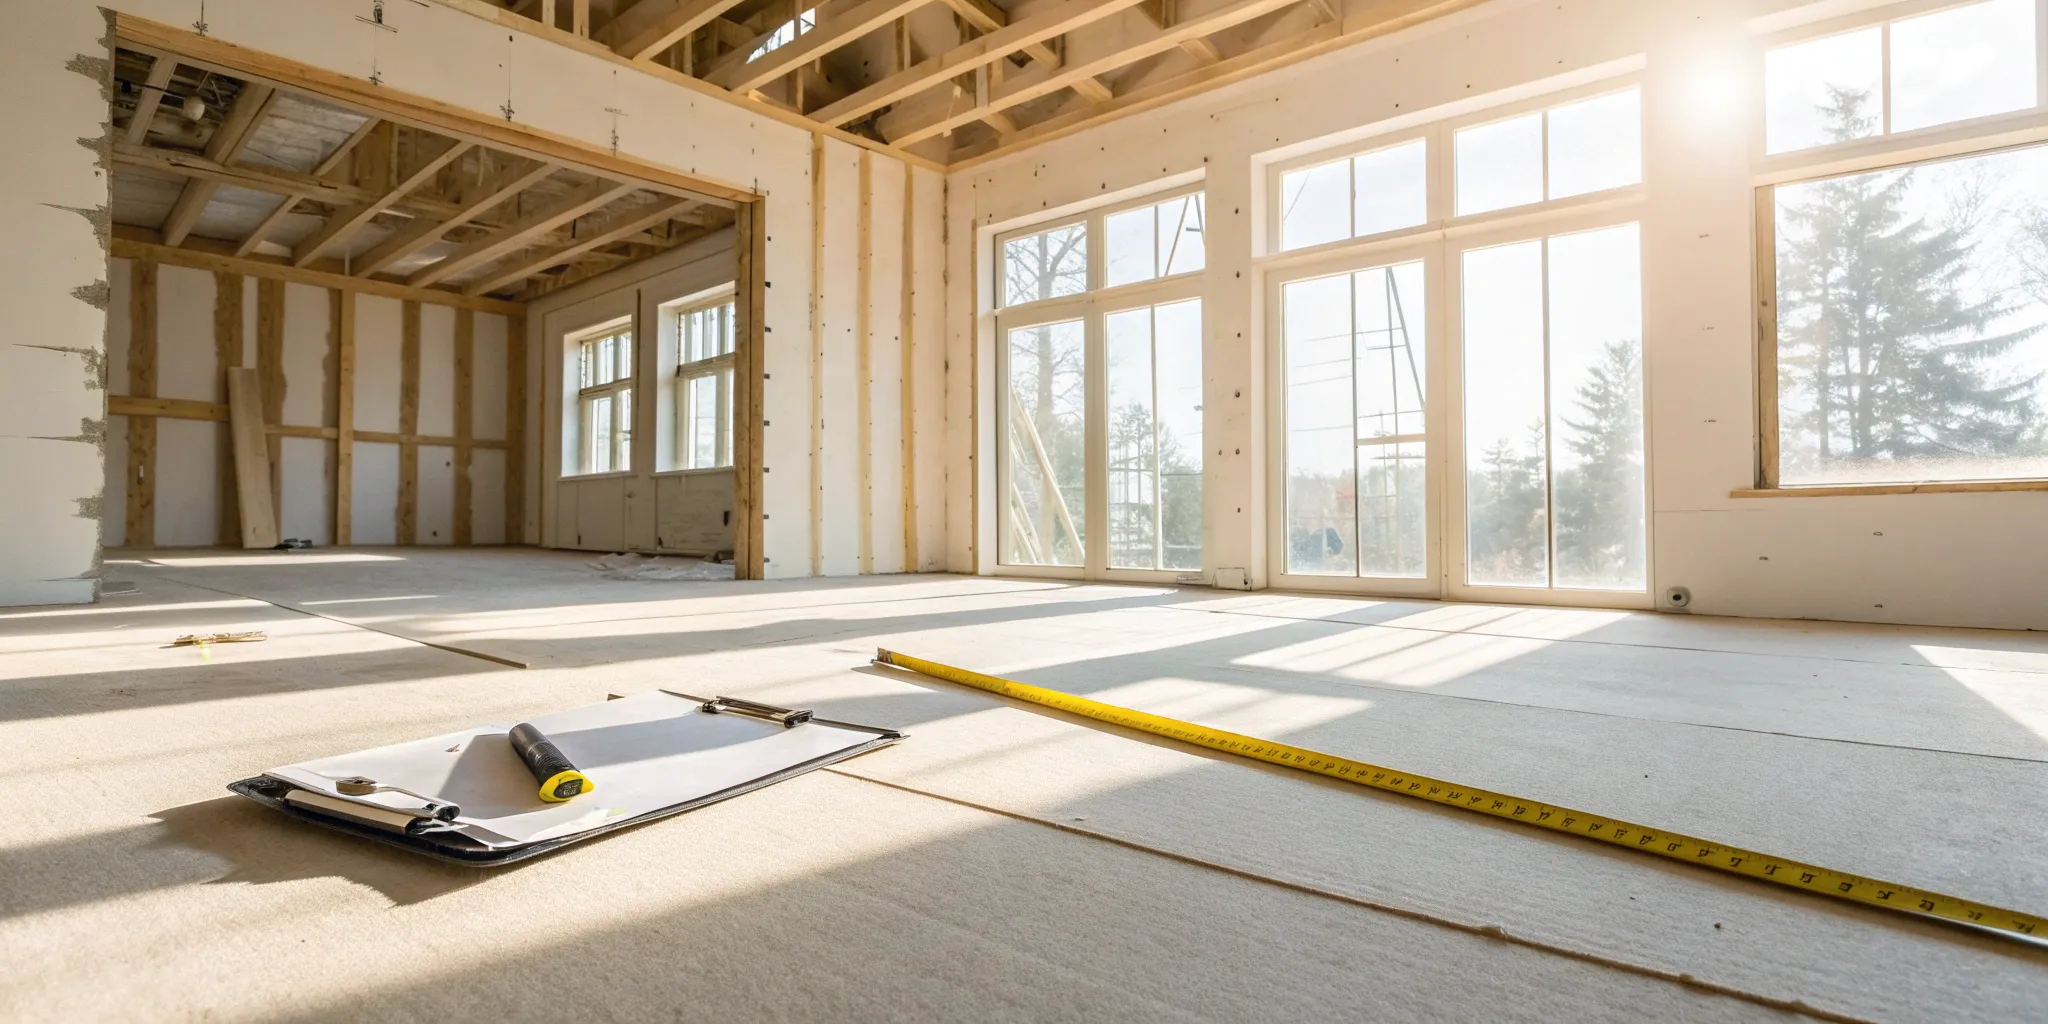
Breaking Ground: Construction (8-20 weeks)
This is the phase where you finally see your addition come to life. Construction itself is broken down into smaller stages, starting with laying the foundation, followed by framing the structure (the "rough-in" phase), and finally, completing the interior and exterior finishes. For a standard, single-story addition, you can expect the actual build to take about 14 weeks. However, this can range from 8 to 20 weeks or more, depending on the project's scale. Weather, material availability, and subcontractor schedules can all influence the timeline during this active and exciting phase.
What Are the Key Stages of a Home Addition?
A home addition project moves through several distinct stages, from the initial idea to the final coat of paint. Understanding these phases helps you know what to expect and how to prepare for the journey ahead. Think of it as a roadmap that guides you, your designer, and your contractor from start to finish, ensuring everyone is on the same page. Each stage builds on the last, so getting the early steps right is key to a smooth process.
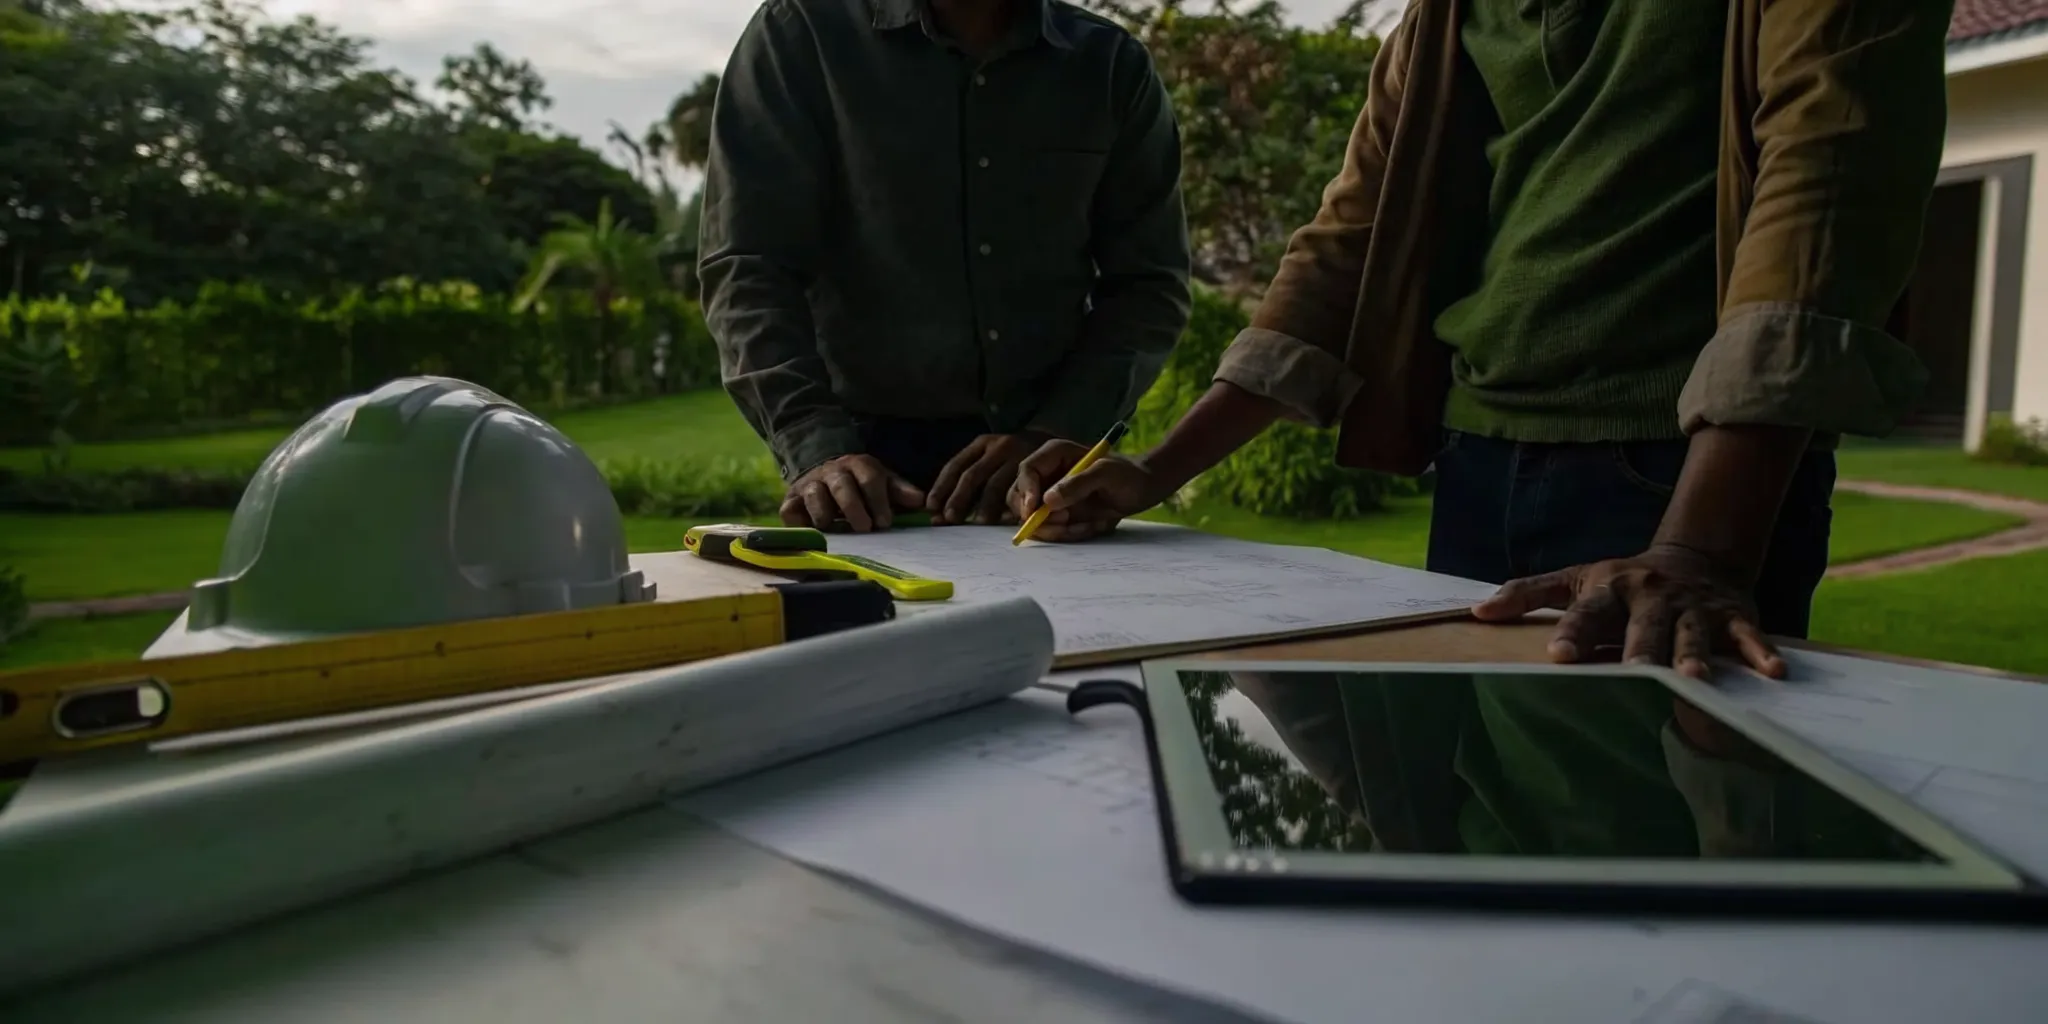
First Steps: Consultation and Feasibility
This is where your dream starts to take shape. The first stage is all about exploring your ideas, defining your goals, and determining if your project is realistic for your property and budget. You’ll meet with designers, architects, or a home renovation advisor to discuss what you want to achieve with your new space. This is the time to ask big questions: Can we build out, or should we build up? What are the zoning restrictions in my area? How much can we realistically afford to spend? This initial consultation sets the foundation for your entire project, turning your vague ideas into a concrete plan of action.
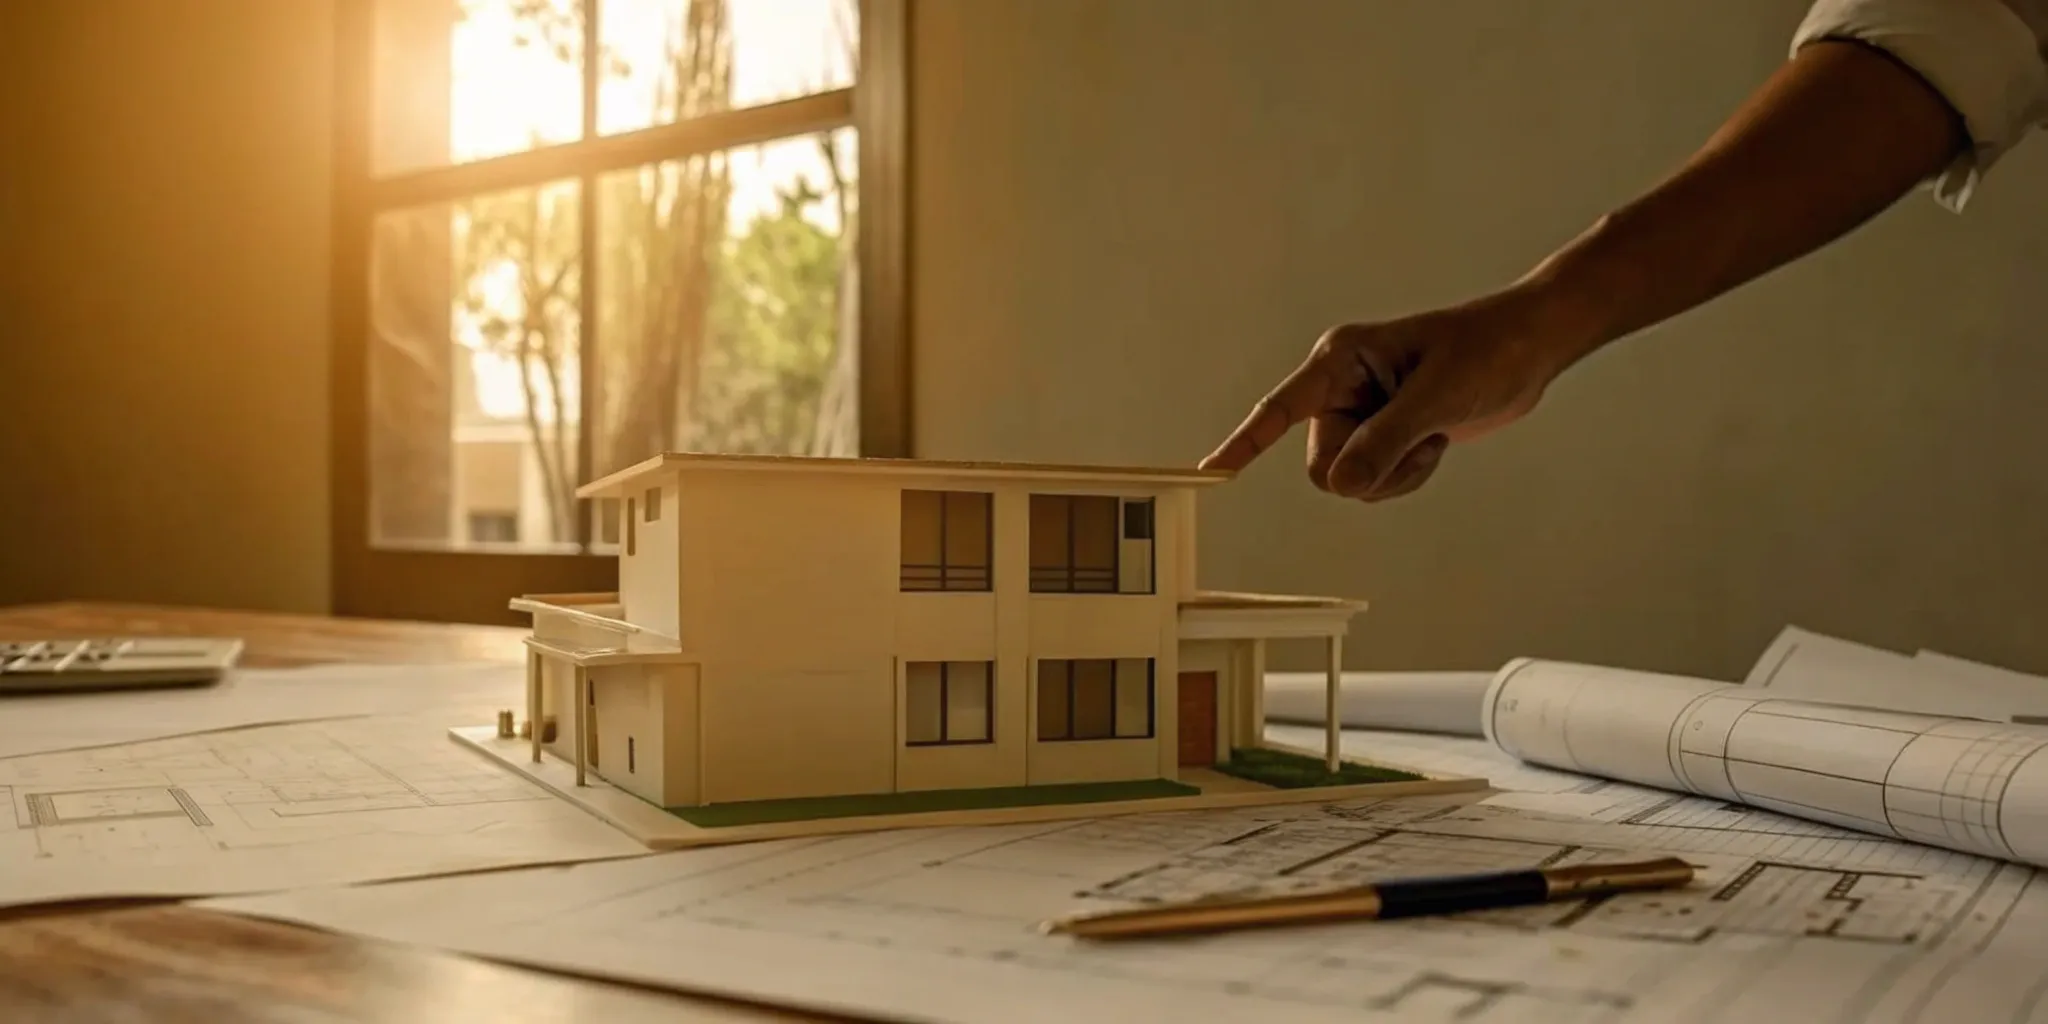
Drawing It Up: Architectural Design and Engineering
Once you have a clear vision, it’s time to bring in the architects and engineers to create detailed blueprints. This phase translates your functional needs and aesthetic preferences into a buildable design. The process typically involves a few rounds of revisions, starting with initial concept sketches and moving to detailed construction drawings that specify materials, dimensions, and structural requirements. These plans are more than just pictures; they are the essential instructions your contractor will use to build your addition accurately and safely. A well-thought-out design ensures your new space is both beautiful and structurally sound.
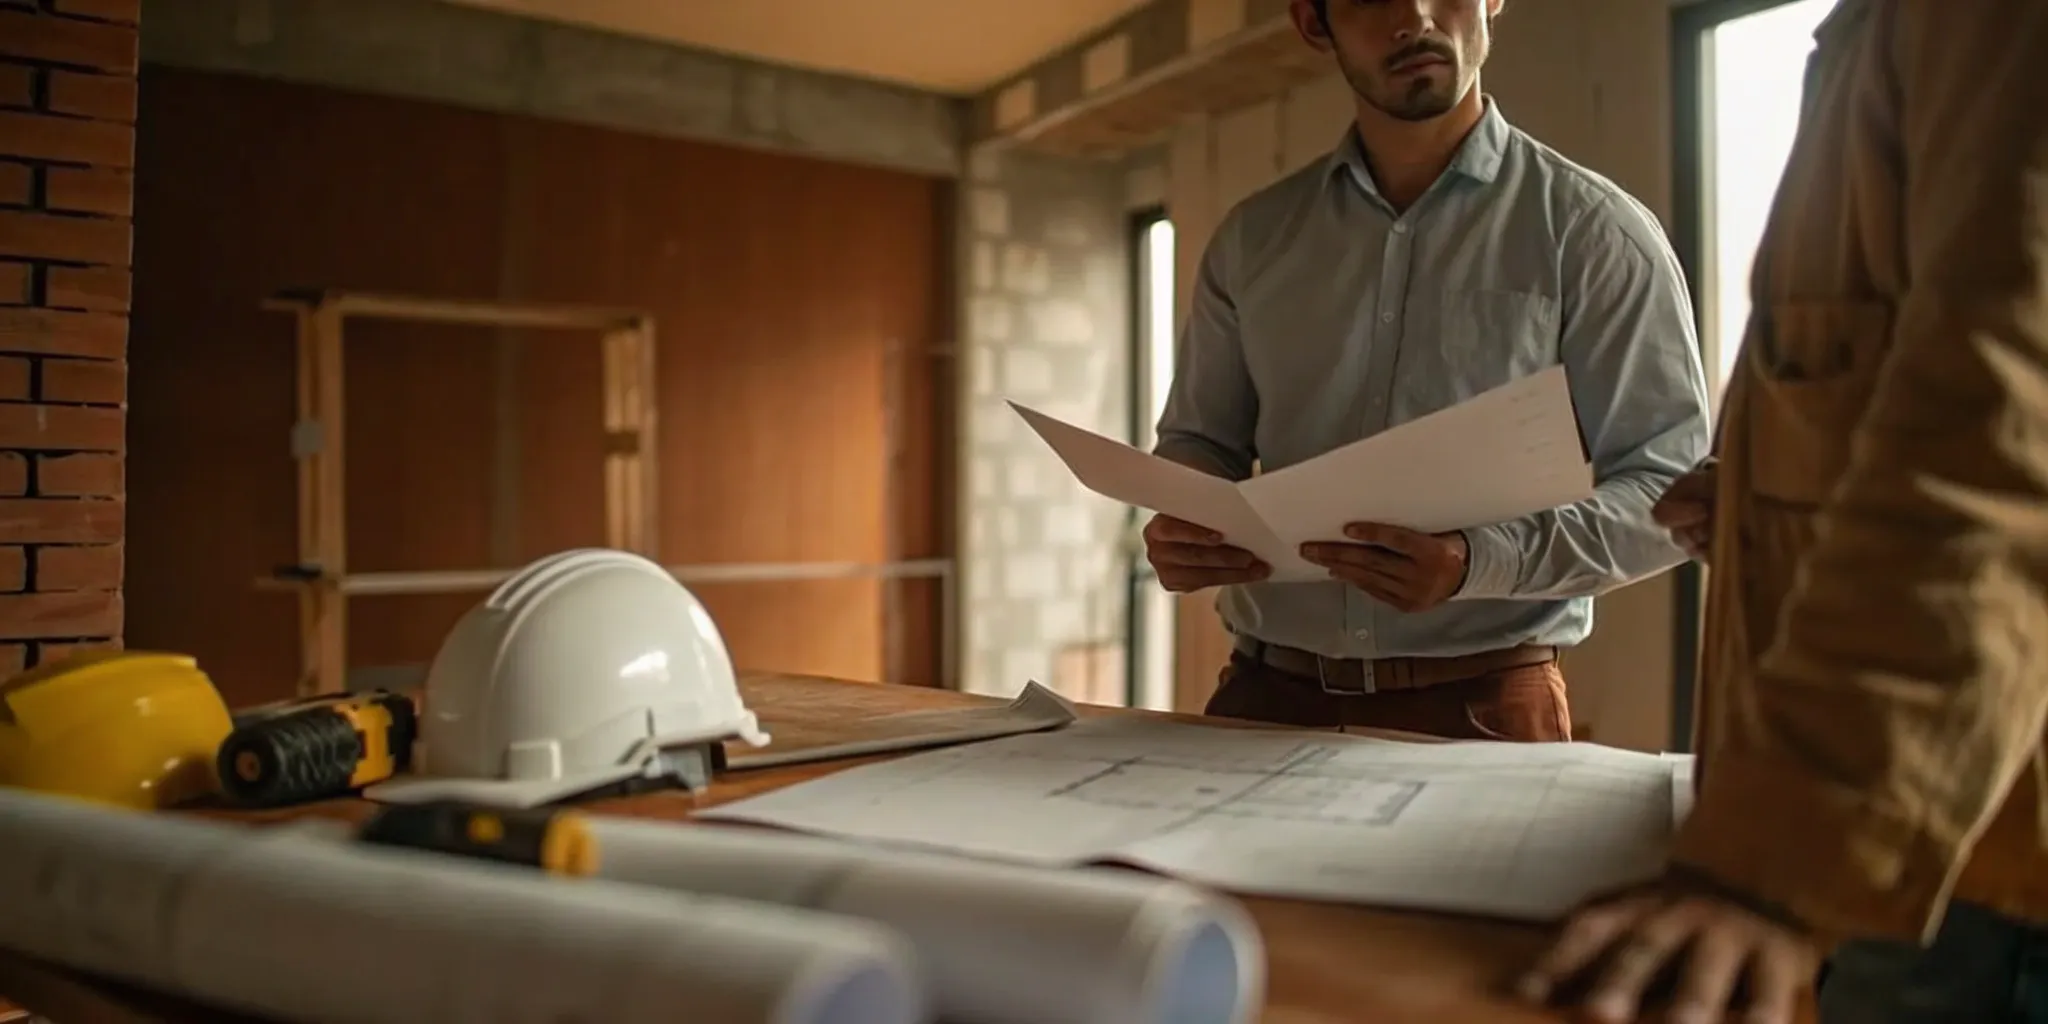
The Paperwork: Permit Application and Approval
Before any ground is broken, you need official permission from your local municipality. This involves submitting your architectural plans to the building department for review. The permitting process ensures your project complies with local zoning laws, building codes, and safety regulations. Be prepared for this stage to take time, as timelines can vary widely depending on your city’s workload. In some cases, getting permits can take even longer than the construction itself. Your contractor or architect will typically manage the submission process, but staying informed will help you keep your project timeline on track.
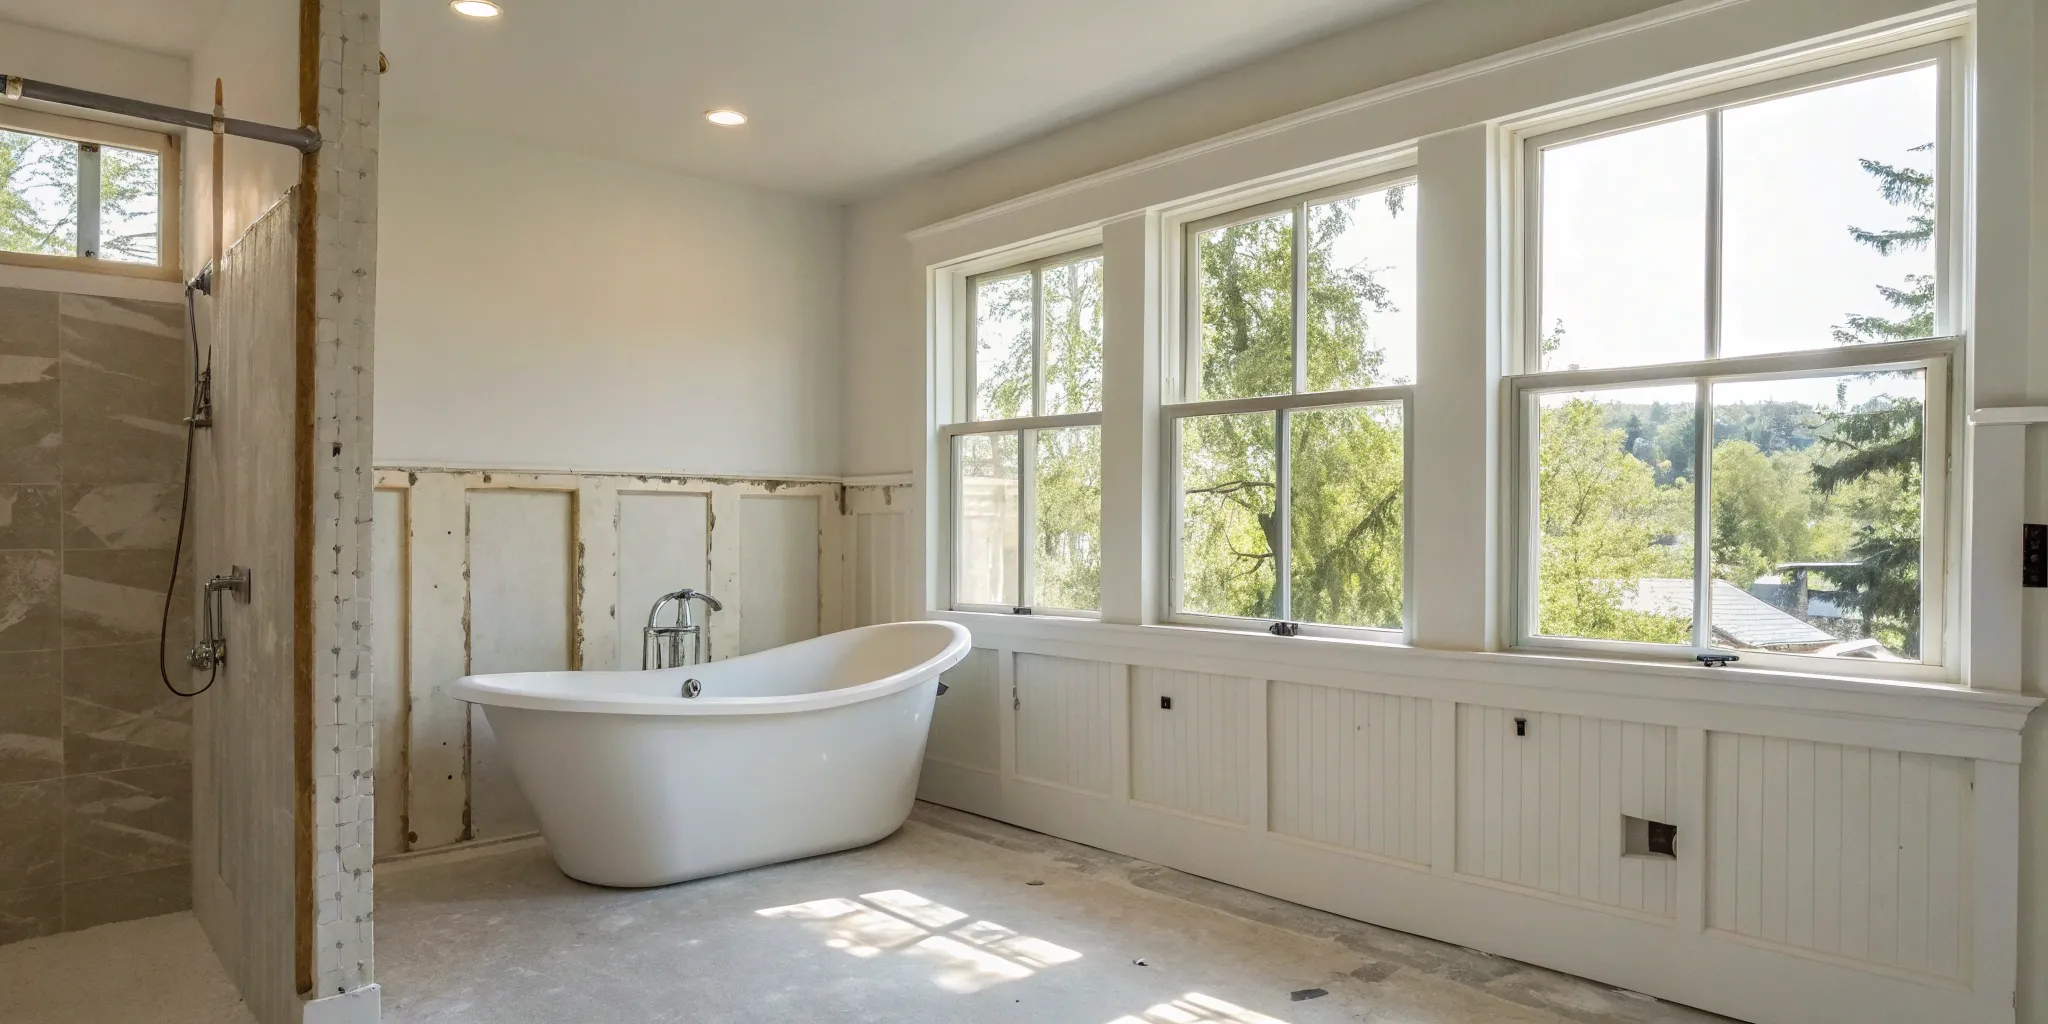
Laying the Groundwork: Foundation and Structure
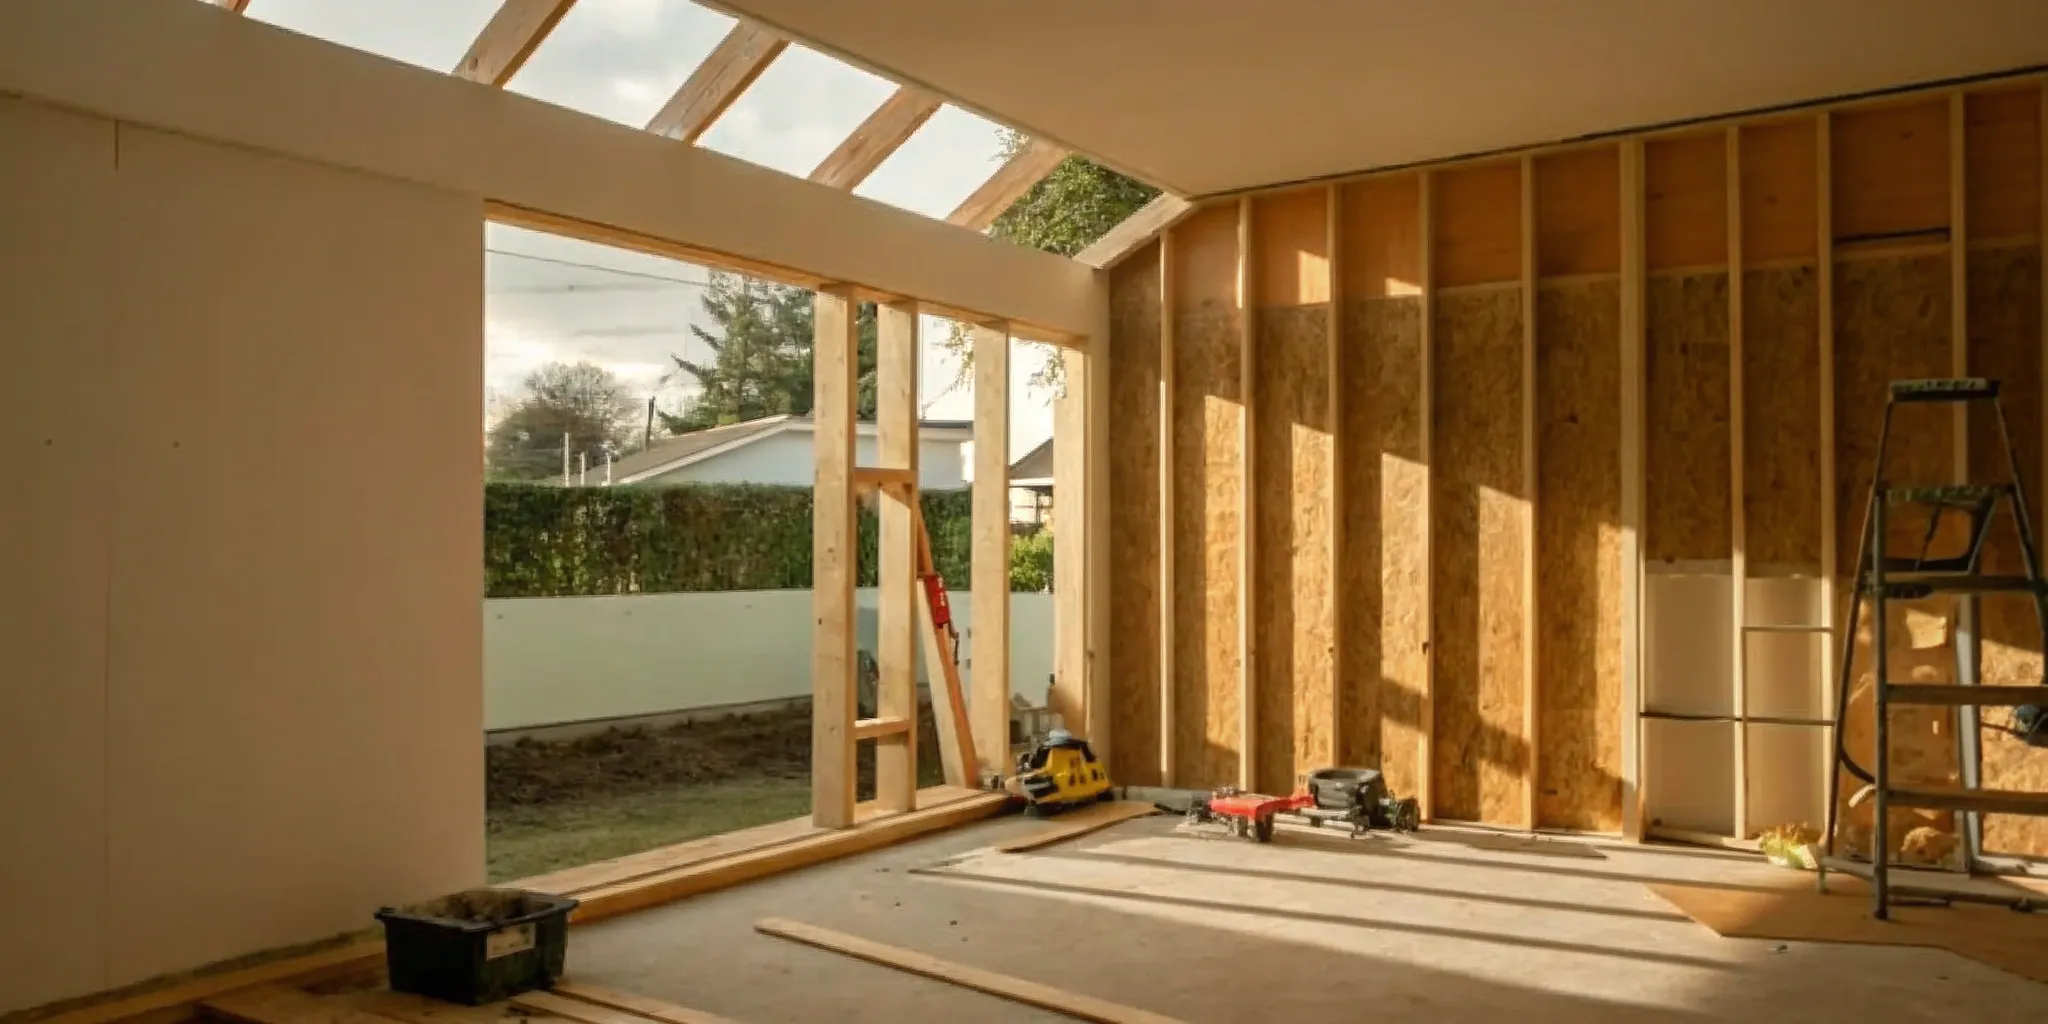
With permits in hand, construction can finally begin. The first physical step is preparing the site and laying the foundation. This involves excavating the area, building forms, and pouring concrete to create a stable base for your new addition. Once the foundation has cured, the framing crew arrives to build the skeleton of your addition, including the walls, floor, and roof systems. This is an exciting phase where you’ll see the physical shape of your new space emerge for the first time. A solid foundation and a sturdy frame are critical for the longevity and safety of your home.
The Ins and Outs: Electrical, Plumbing, and HVAC
After the structure is framed and weatherproofed, it’s time to install the vital systems that make a house a home. During this "rough-in" phase, electricians, plumbers, and HVAC technicians run all the necessary wiring, pipes, and ductwork through the interior walls and floors. This includes everything from electrical outlets and light fixture locations to water supply lines and heating and cooling vents. These systems are then inspected to ensure they meet code requirements before the walls are closed up with insulation and drywall. Proper installation here is crucial for the comfort and functionality of your new space.
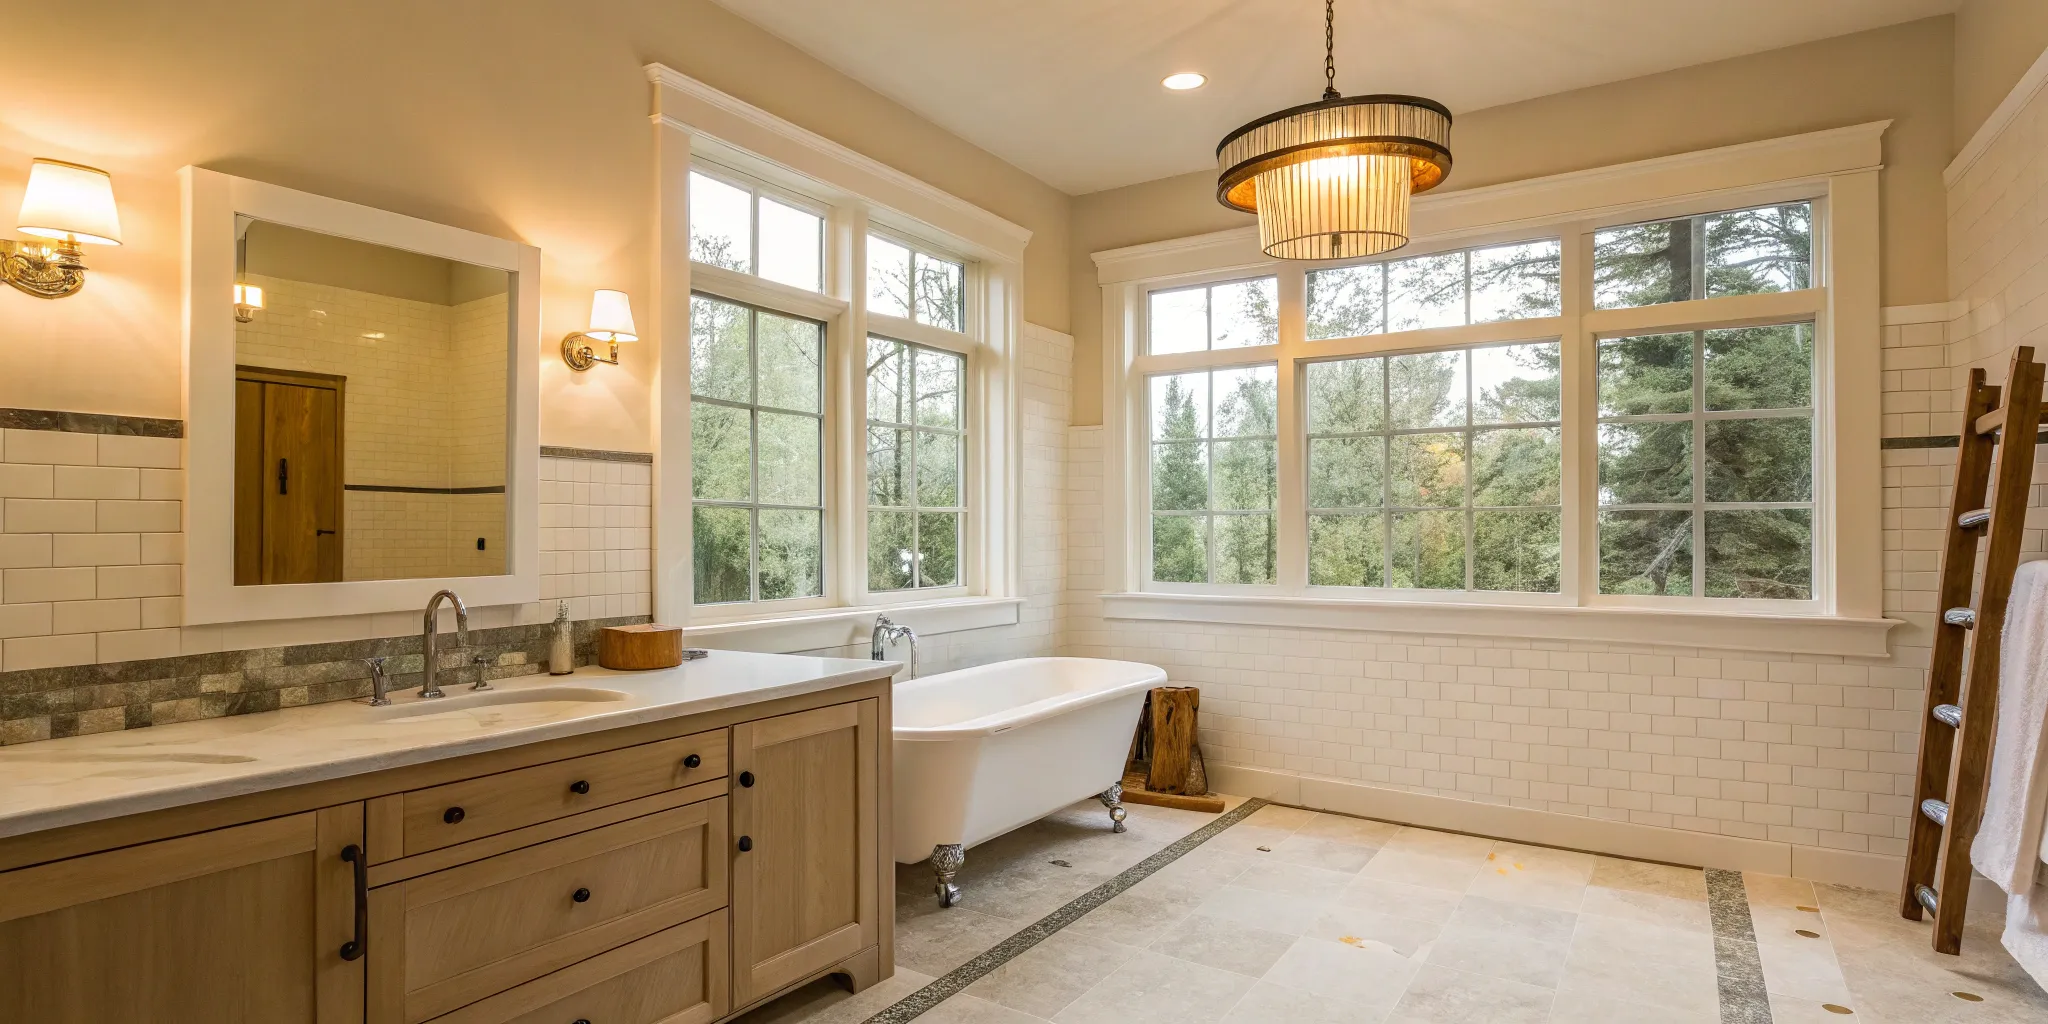
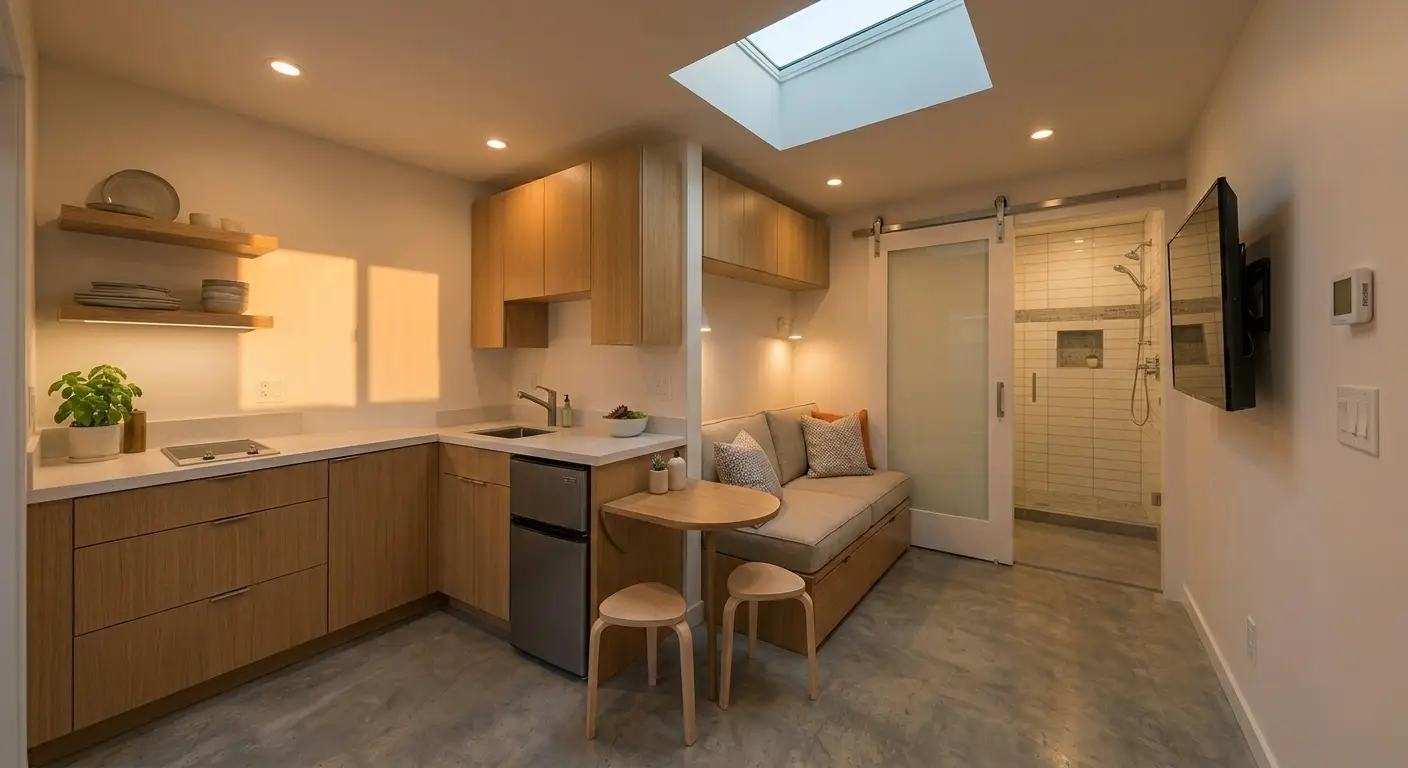
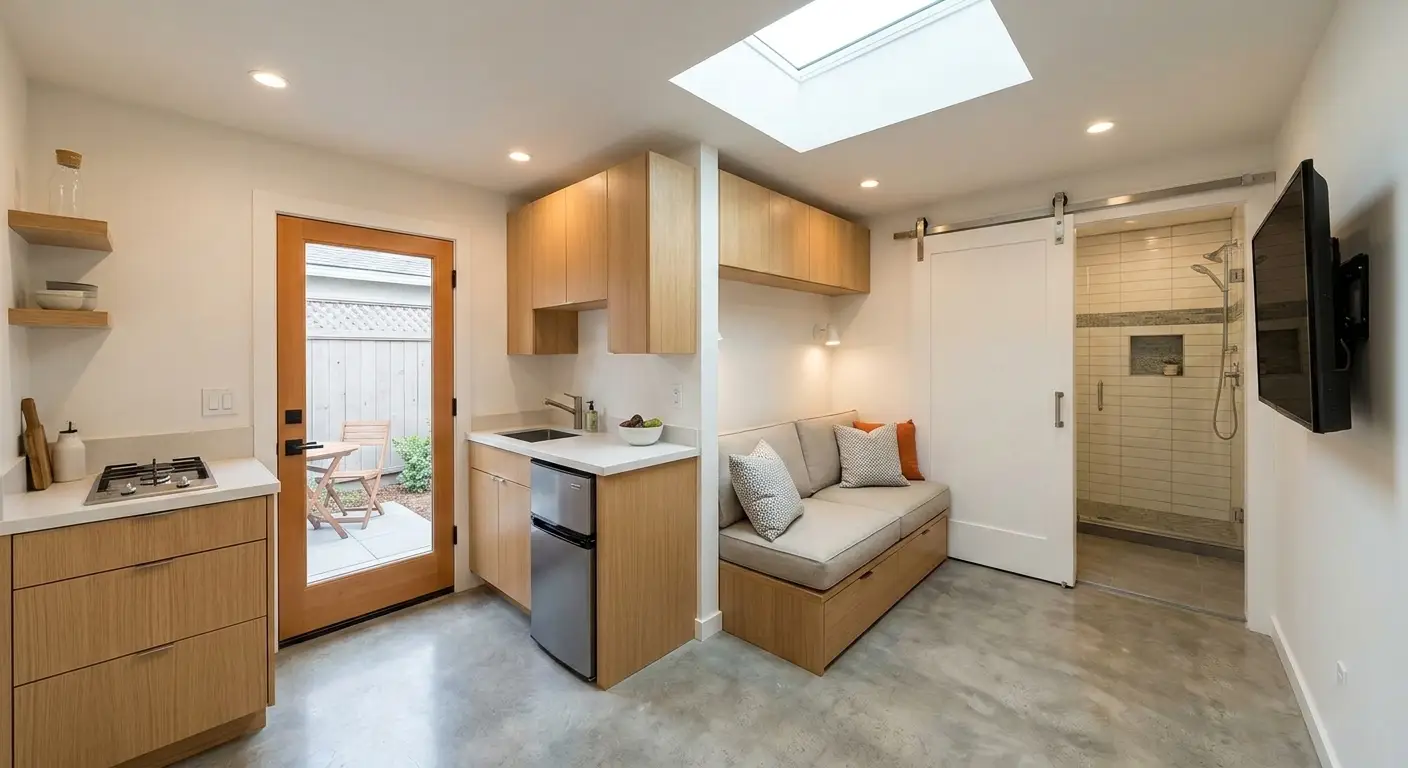
The Finishing Touches: Final Details and Inspections
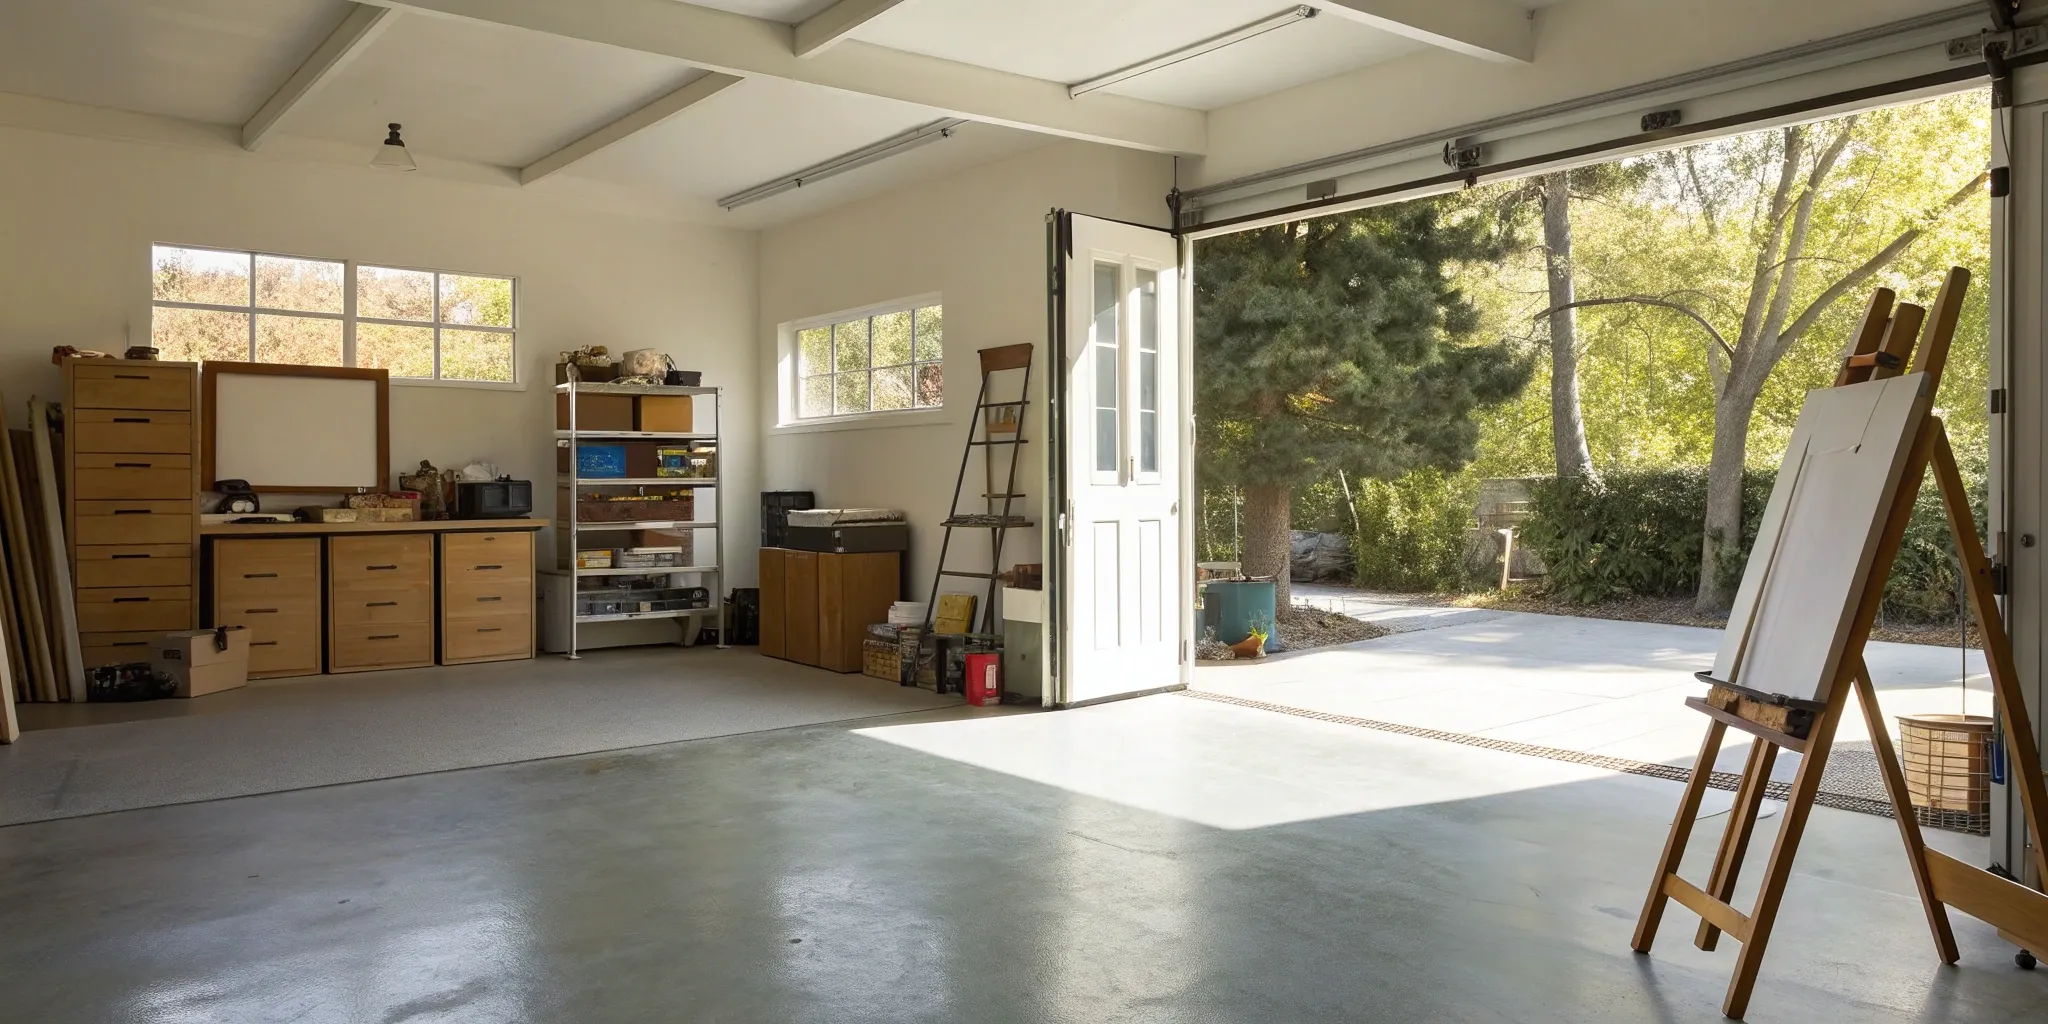
This is the stage where your addition truly comes to life. After insulation and drywall are installed, the finishing work begins. This includes painting the walls, laying flooring, installing cabinets and countertops, and adding light fixtures, faucets, and trim. Every detail matters here, as these are the elements you’ll see and interact with every day. Once all the work is complete, a final inspection is scheduled with a city official to confirm that the addition was built correctly and meets all building codes. Passing this inspection is the last step before you can officially move in and enjoy your beautiful new space.
What Can Delay Your Home Addition?
Even with a perfect plan, home additions can hit unexpected bumps. The key isn’t to expect a flawless project, but to know what potential hurdles look like so you can prepare for them. From Mother Nature to municipal red tape, several factors can stretch your timeline. Understanding these common delays ahead of time helps you build a more resilient schedule and keeps stress levels in check when things don’t go exactly as planned. Being prepared is your best tool for keeping the project moving forward smoothly.
Weather and Seasonal Snags
You can’t control the weather, and it can have a major say in your construction schedule. Heavy rain, snow, or even extreme heat can bring outdoor work to a complete standstill. Pouring a foundation or framing a new structure simply can’t happen safely or effectively in poor conditions. While your construction team can work on interior tasks during some bad weather days, the initial phases are particularly vulnerable. It’s wise to discuss seasonal weather patterns with your contractor and build a few buffer days into the timeline, especially if your project is scheduled during a notoriously rainy or hot season.
Material and Supply Chain Hold-Ups
Your project is only as fast as its slowest part, and sometimes that’s a specific material. Delays in the supply chain can leave your team waiting for essential items like windows, custom cabinets, or specific tiles. If a key material is on backorder, it can pause progress for weeks. You can also contribute to these delays by taking a long time to finalize your selections. Making timely decisions on finishes and fixtures is crucial. Working with a dedicated advisor can help you track orders and make smart choices early on to prevent these kinds of hold-ups from derailing your timeline.
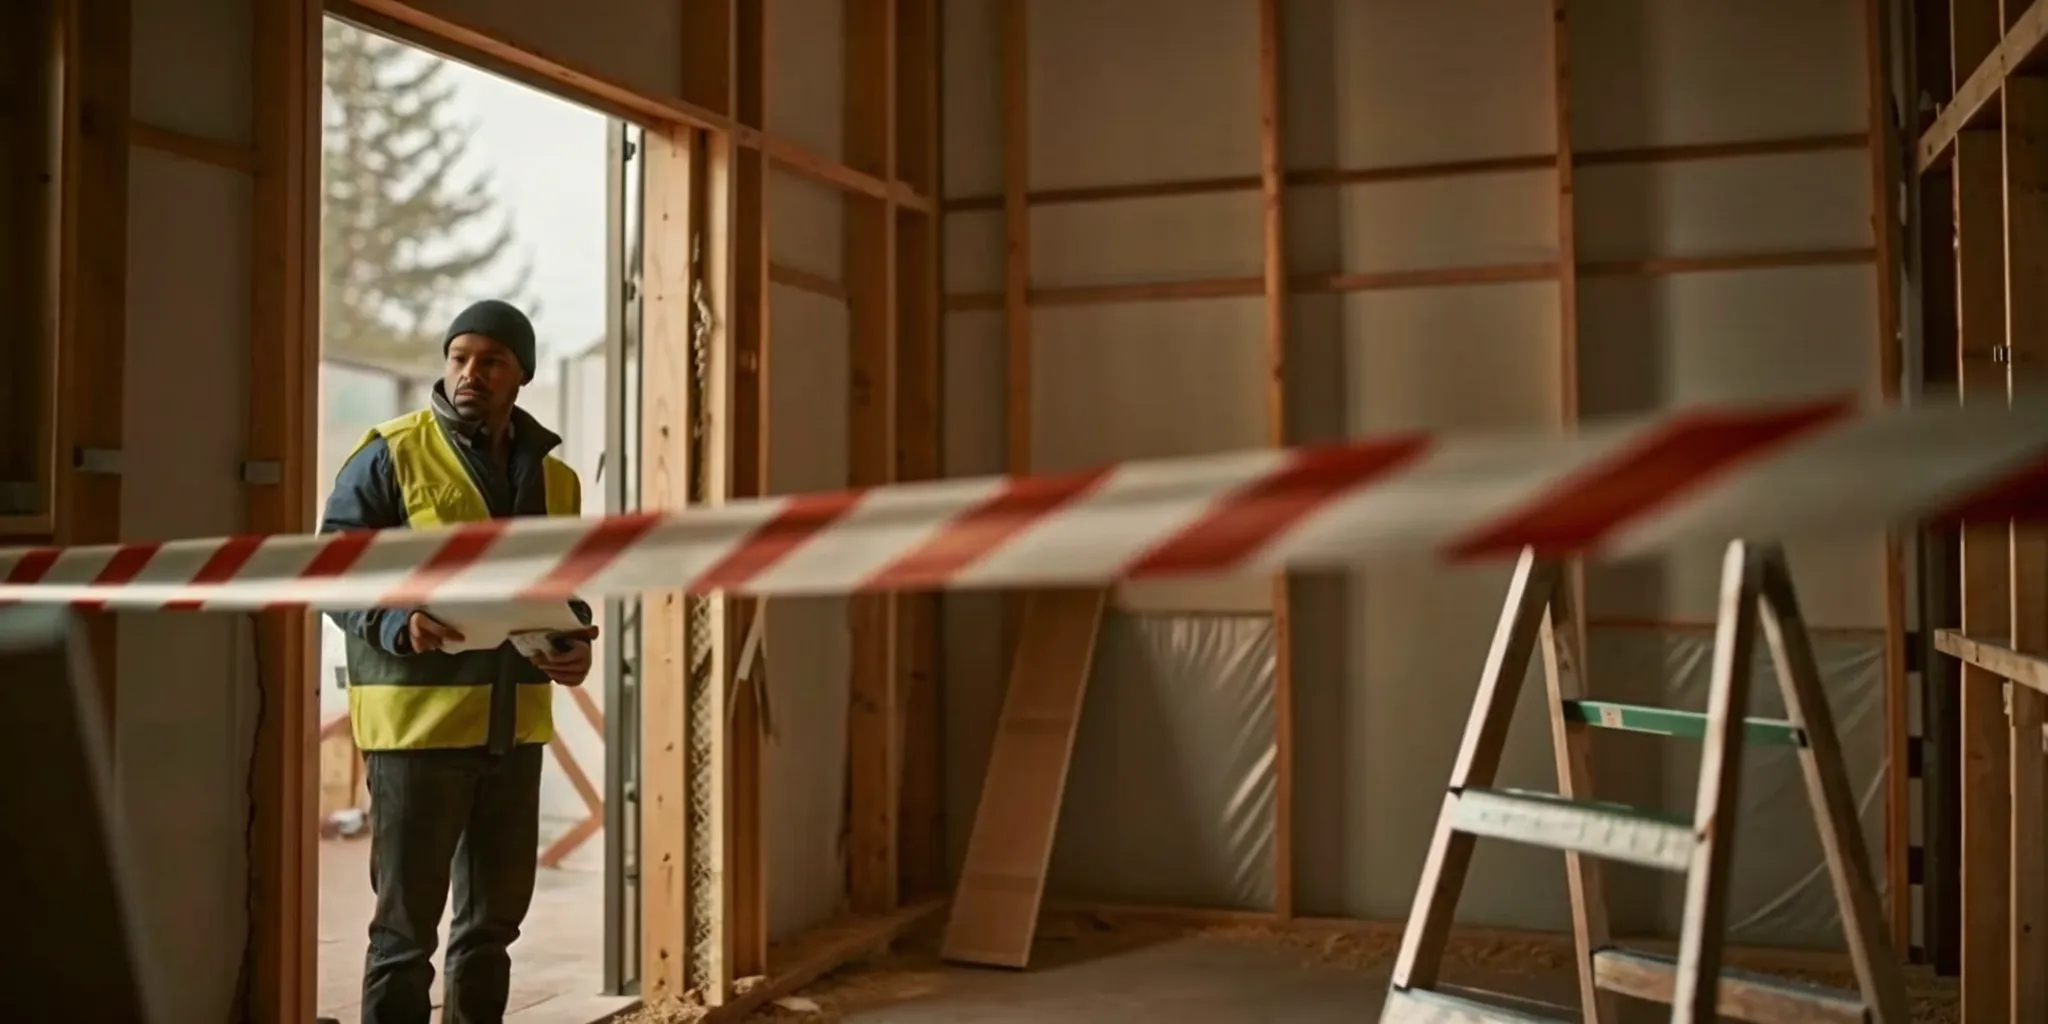
Permit and Inspection Delays
Before a single nail is hammered, you need the green light from your local building department, and that can take time. Securing the necessary permits can sometimes be a lengthy process, depending on your municipality’s workload. Once construction is underway, you’ll also need to schedule inspections at critical stages, like after the foundation is poured or the electrical wiring is complete. Work has to stop until the inspector signs off, so if their schedule is packed, your project will have to wait. An experienced contractor will know how to prepare for these steps to minimize downtime.
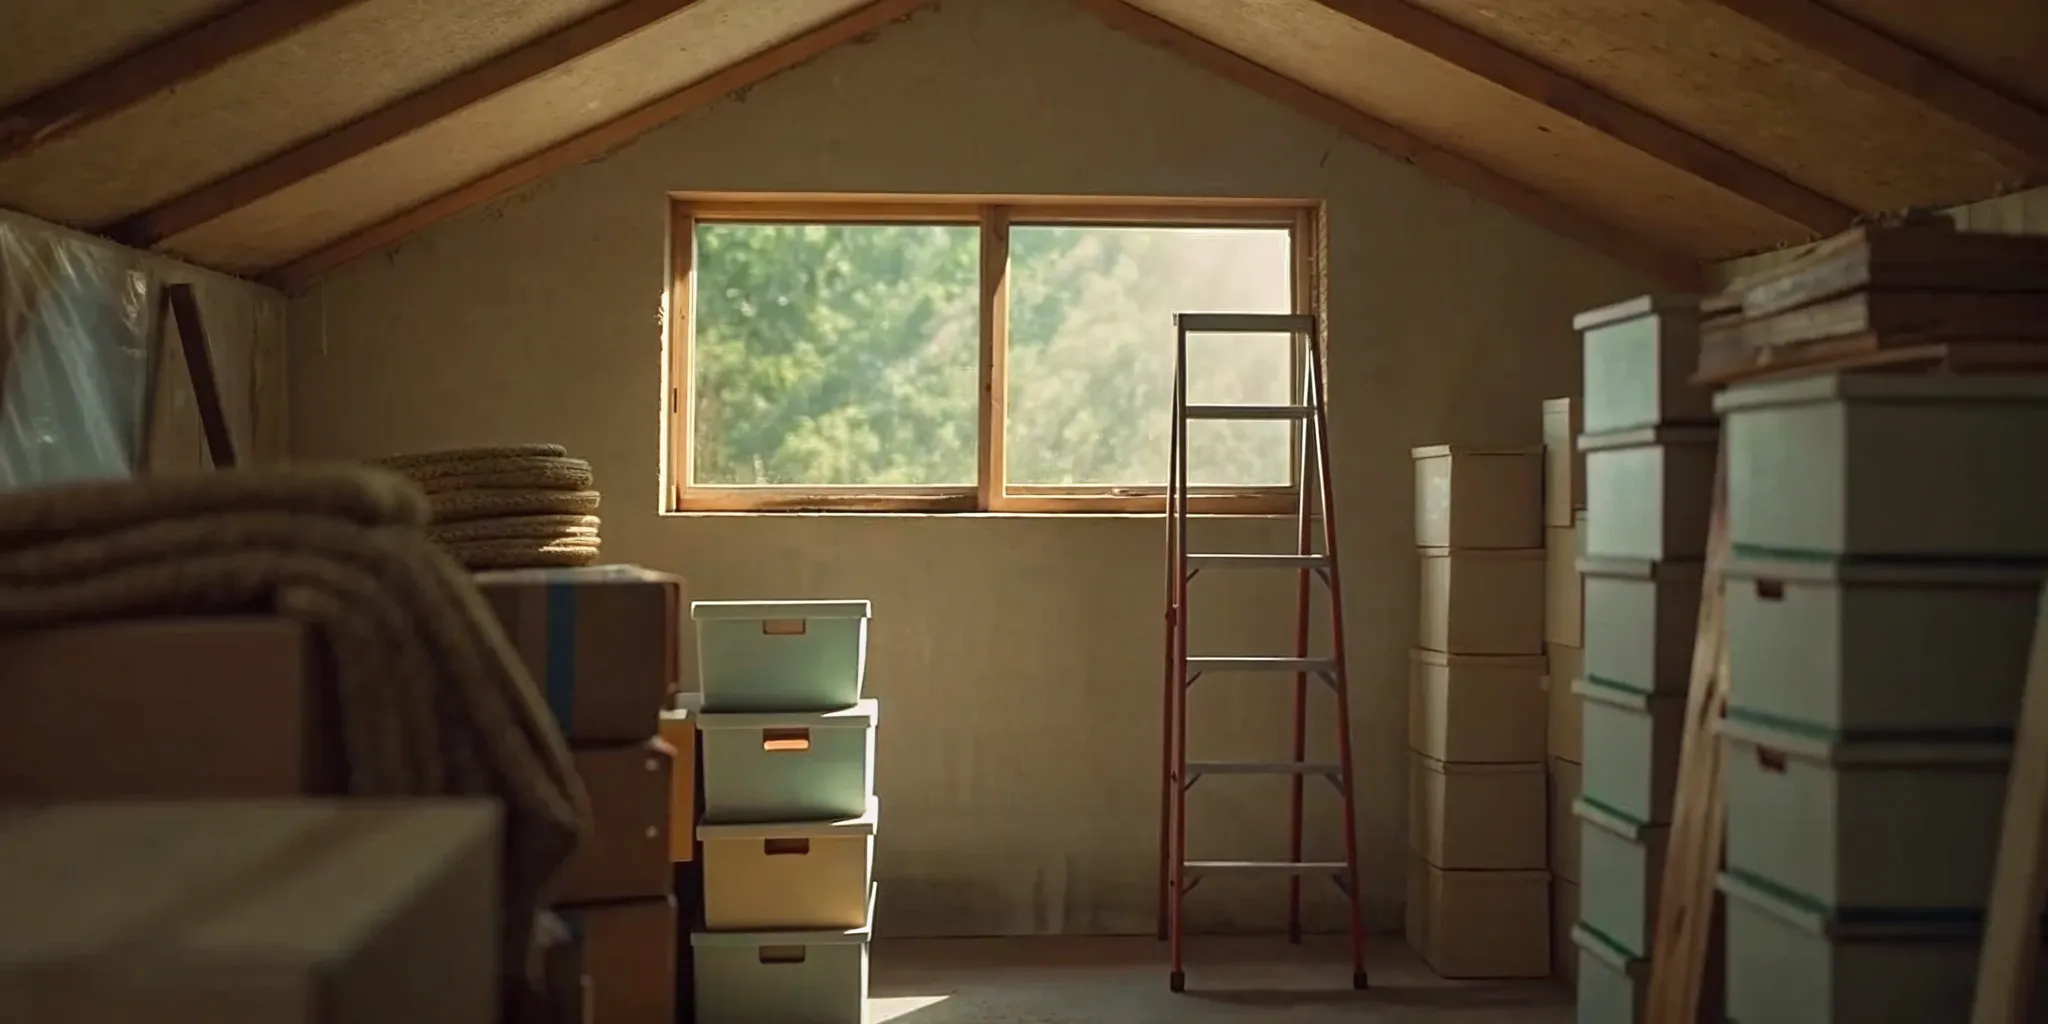
Uncovering Hidden Structural Issues
Opening up walls in an older home can sometimes feel like opening a Pandora’s box. You never know what surprises might be lurking inside, from outdated plumbing and faulty wiring to unexpected structural issues or even pest damage. These discoveries aren’t anyone’s fault, but they need to be addressed before the project can continue, which adds time and cost. This is why it’s so important to have a contingency fund and some flexibility in your schedule. A good contractor will anticipate the possibility of uncovering issues and will communicate clearly about how to resolve them.
Last-Minute Changes and Scheduling Conflicts
Changing your mind about a layout or a design feature mid-project can have a significant ripple effect. Even a seemingly small adjustment can require new plans, different materials, and rescheduling subcontractors, all of which can lead to delays. Speaking of subcontractors, your general contractor’s ability to manage their team is vital. A contractor with strong, established relationships with their plumbers, electricians, and other tradespeople can keep the project on track because everyone communicates well and shows up on time. This is why it’s so important to find vetted professionals you can trust.
How Project Size Shapes Your Timeline
The scope of your project is the single biggest factor that will influence your home addition timeline. A simple room bump-out won't take nearly as long as adding a full second story to your home. Understanding where your project falls on this spectrum can help you set realistic expectations from the start. While every project is unique, we can group additions into a few common categories to get a clearer picture of how long the construction phase might take.
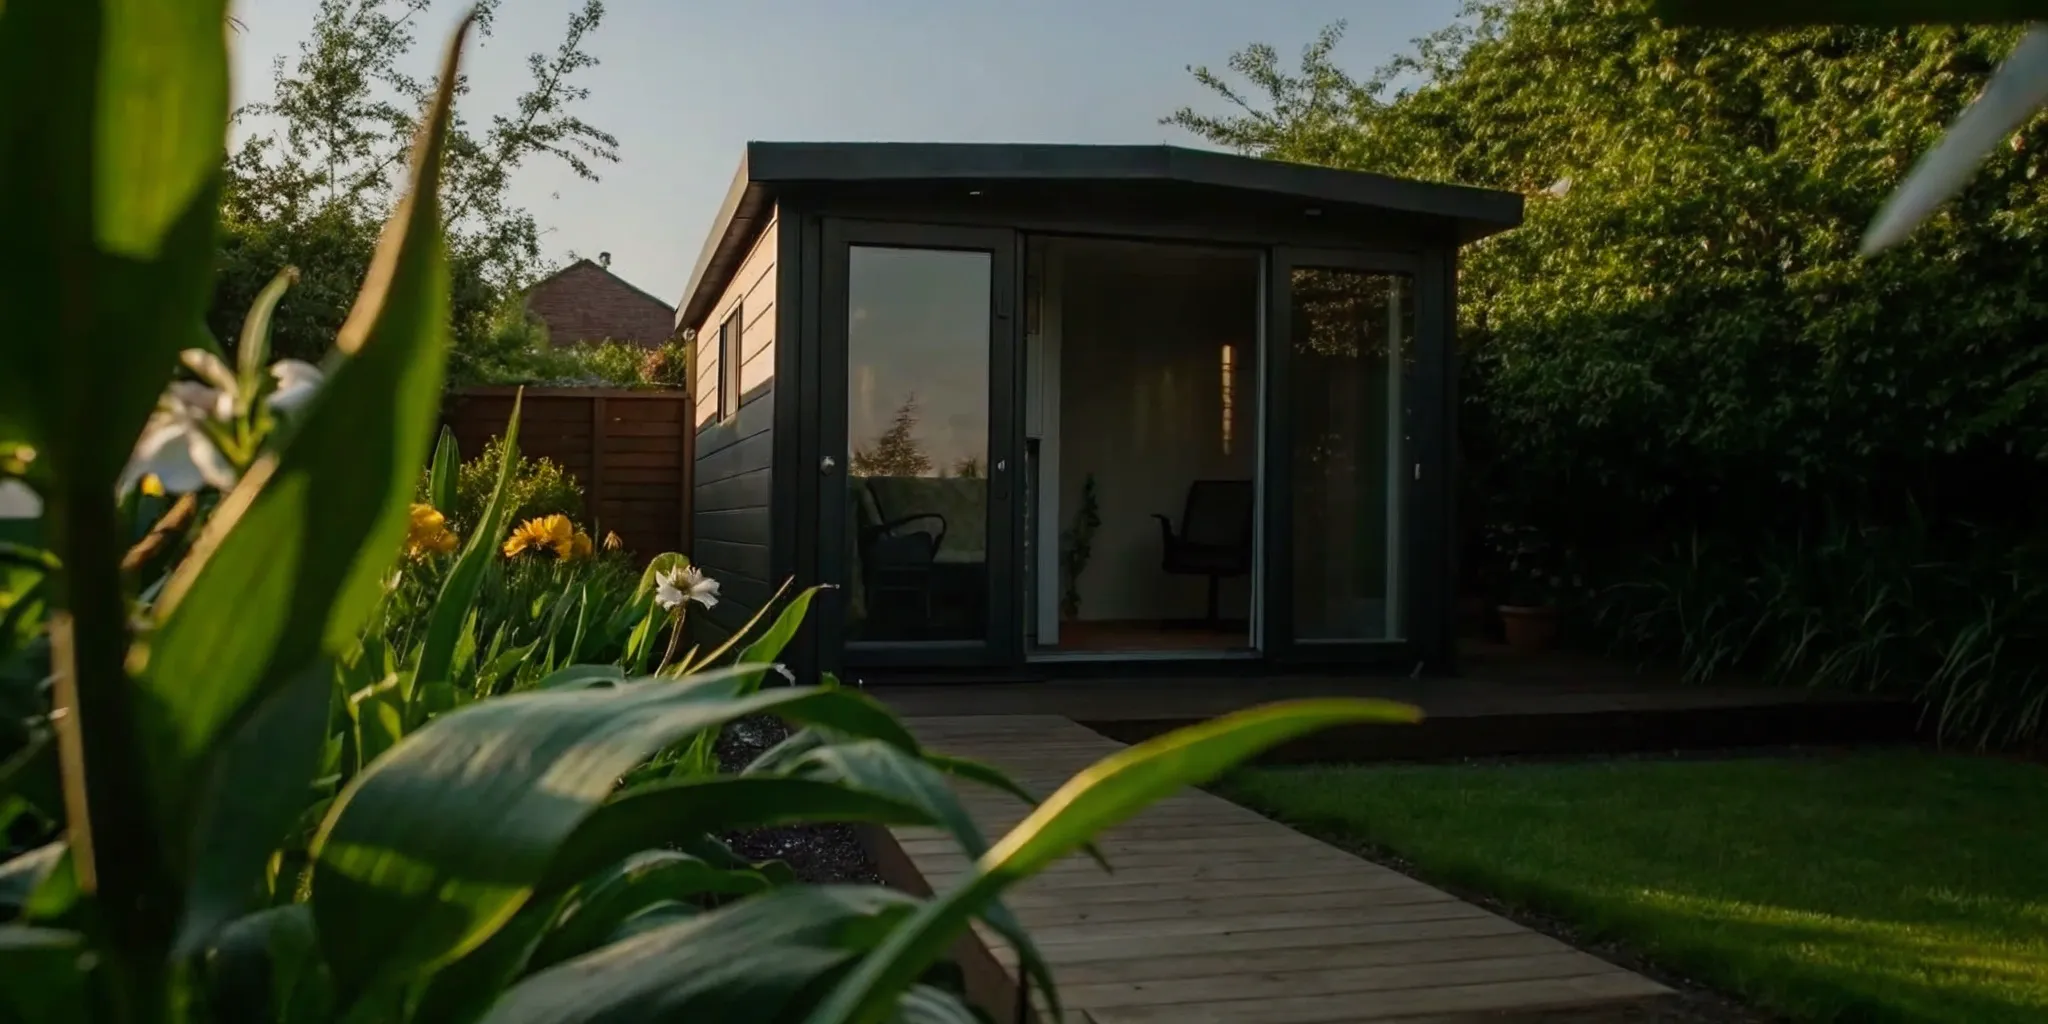
Simple Single-Room Additions (8-12 weeks)
If you’re looking to add a single, straightforward room, like a home office, sunroom, or a small bedroom extension, you can generally expect a quicker turnaround. These projects typically involve less complex structural work and fewer disruptions to the rest of your home. The construction phase for a simple addition often lands in the 8 to 12-week range. As the team at Mazzamuto Construction points out, a simple project can be a relatively fast way to build a home addition and gain valuable living space without committing to a year-long undertaking. This makes it an appealing option for homeowners who need a functional update on a tighter schedule.
Standard Single-Story Additions (14-16 weeks)
For a more substantial single-story addition, such as a primary suite, an expanded family room, or a larger kitchen, the timeline naturally extends. These projects require more comprehensive work, including a larger foundation, more intricate framing, and seamless integration with your home’s existing electrical and plumbing systems. According to the experts at Lamont Bros., a standard ground-level addition usually takes about 14 to 16 weeks, or roughly 3.5 months, to complete. This extended timeframe allows your build team to properly integrate the new space with your existing structure, ensuring everything is cohesive and built to last.
Complex Multi-Story Projects (6+ months)
Venturing into a multi-story or large multi-room addition is a major transformation that requires a significant time investment. Adding a second floor or building a large wing with multiple rooms involves complex engineering, extensive structural changes, and a longer construction sequence. For these large-scale projects, you should plan for a timeline of six months or more. For example, Better Builders estimates that a two-story, multi-room addition typically takes between 24 and 28 weeks from start to finish. These home addition timelines reflect the detailed planning and careful execution needed to handle the project’s scale and complexity.
What Challenges Should You Prepare For?
Even with a perfect plan, home additions can come with a few surprises. Knowing what to expect can help you handle these bumps in the road with confidence. Think of it less like bracing for impact and more like packing an umbrella on a cloudy day. Being prepared for potential challenges like communication gaps, material delays, and budget adjustments is the key to keeping your project moving forward smoothly and with less stress. Here are a few common hurdles and how you can prepare for them.
Keeping Communication Clear with Your Contractor
Clear and consistent communication is the foundation of a successful project. Before the first hammer swings, talk with your contractor about the best way to stay in touch. Do you prefer a daily text update, a weekly summary email, or a quick phone call? A great builder will adapt to your style to ensure you’re always on the same page. Don’t hesitate to ask questions or voice concerns as they come up. Establishing this open line of communication early on prevents small misunderstandings from turning into bigger problems. This is where having a dedicated project advisor can be a game-changer, ensuring nothing gets lost in translation between you and your build team.
Handling Material Delays and Quality Control
From custom cabinets to specific tile, the materials you choose give your new space its personality. They can also be a source of delays. Special-order items or materials affected by supply chain issues can take weeks or even months to arrive, potentially pausing your project. To get ahead of this, try to finalize your material choices as early as possible during the design phase. This allows your contractor to place orders well in advance. When materials do arrive on-site, it’s also a good idea to inspect them with your contractor to check for any damage or defects before they’re installed.
Juggling Subcontractor Schedules
A home addition is a team effort, relying on a sequence of skilled tradespeople like plumbers, electricians, and drywall installers. Your general contractor is the conductor of this orchestra, but sometimes a key player can run behind schedule, creating a domino effect on the project timeline. A contractor with a strong, established network of trusted subcontractors is invaluable here. These long-standing relationships mean their team is more likely to be reliable and communicative, helping to keep everything on track. When you work with a vetted professional, you’re also tapping into their proven network of specialists.
Managing Your Budget and Change Orders
Sticking to a budget is a top priority for most homeowners. One of the best ways to do this is to work with a builder who offers a fixed-price contract, which means they are responsible for completing the project within that budget. The main exception is a "change order," which is any addition or alteration to the original plan. Whether you decide to add a window or upgrade your flooring mid-project, these changes will affect both your final cost and your timeline. It’s wise to set aside a contingency fund of 10–20% of your total budget to cover unexpected issues or any changes you decide to make along the way.
Living in a Construction Zone
There’s no way around it: living through a renovation is disruptive. For several weeks or months, a portion of your home will be a construction zone, complete with noise, dust, and a steady stream of workers. You can make the experience more manageable by preparing your family for the temporary chaos. Section off the construction area with plastic sheeting to contain dust, and establish clear work hours with your crew so you know when to expect them. If the project involves your kitchen, consider setting up a temporary kitchenette in another room. A little planning can make a world of difference in maintaining your sanity and household harmony.
How to Keep Your Addition on Track
Staying on schedule during a home addition isn't about luck; it's about smart planning and proactive management. While unexpected issues can pop up, you have more control than you might think. By focusing on a few key areas from the very beginning, you can guide your project smoothly from start to finish. It all comes down to setting clear expectations, building the right team, and communicating effectively every step of the way. Let's walk through the best strategies to keep your project moving forward.
Set Realistic Expectations (and Add a Buffer)
Let’s be honest, home renovation shows have skewed our perception of timelines. In reality, projects rarely finish early. The best way to manage your timeline is to build a buffer right into the schedule from day one. Always plan for extra time to handle surprises, like discovering old plumbing during excavation or dealing with a week of unexpected rain. A good contractor will do this automatically, but it’s important for you to have that mindset, too. This isn't being pessimistic; it's being prepared. A well-planned timeline with a 15-20% buffer for time and budget will reduce stress and help you handle hiccups without derailing the entire project.
Hire the Right Team and Communicate Often
The single most important decision you'll make for your project is choosing who to work with. You need a design-build partner with a proven track record, efficient systems, and strong relationships with their subcontractors. This is where doing your homework pays off. Check references, look at past projects, and make sure you have a good rapport with them. At Realm, we connect homeowners with a network of vetted, high-quality contractors to simplify this process. Once you’ve hired your team, establish a regular communication schedule. Weekly check-ins can keep everyone aligned, solve problems quickly, and ensure there are no surprises.
Use Tools to Track Your Progress
Keeping all the details of a home addition straight can feel like a full-time job. Using a system to track progress helps everyone stay on the same page. This doesn't have to be complex software. It can be a shared digital folder with documents, a spreadsheet, or a dedicated app. Effective project management tools allow you to monitor schedules, track expenses, and keep photos and important documents in one place. Having a central hub for information makes it easier to see where things stand, spot potential delays early, and communicate clearly with your contractor about what’s next.
Prepare Materials and Permits in Advance
Waiting for materials or permits can bring a project to a screeching halt. Securing building permits can sometimes take longer than the construction itself, so it’s critical to start the process early. An experienced builder who understands the local regulations is invaluable here. Similarly, you should finalize and order materials like windows, doors, and custom cabinetry well in advance. Supply chain issues can cause significant delays, so having your materials on-site before they are needed prevents your crew from having to stop work while waiting for a delivery. This foresight is a key part of a successful project strategy.
Address Changes Quickly to Minimize Delays
It’s common to rethink a detail or two once you see the project taking shape. While some changes are unavoidable, it’s important to understand their impact. A change order can affect not just your budget but also the schedule, as it may require new materials or different labor. If you are considering a change, bring it up with your contractor immediately. The sooner you have the conversation, the easier it will be to assess the impact and make a decision. Waiting until the last minute can cause a ripple effect of delays, so clear and prompt communication is your best tool for managing adjustments smoothly.
Related Articles
- Home Addition Cost Per Sq Ft: A Full Breakdown
- The Cheapest Way to Add an Addition to Your House
- 400 Sq Ft Master Suite Addition Costs: A Homeowner's Guide
Frequently Asked Questions
What's the difference between the construction timeline and the total project timeline? The construction timeline is just one piece of the puzzle. It covers the time from when workers first break ground to the final walkthrough. The total project timeline is much broader and includes everything that happens before construction, such as creating architectural plans, getting permits approved, and ordering materials. This pre-construction phase can often take just as long, if not longer, than the build itself.
Why does the planning and design phase take so much time? The planning and design phase is where all the critical thinking happens. It's your opportunity to work with a designer to translate your vision into detailed blueprints that a contractor can actually build from. This involves making decisions on everything from the layout to the specific materials you want. A thorough design process prevents costly changes and confusion later, so investing time here ensures the construction phase runs much more smoothly.
What is a "change order" and how does it affect my timeline? A change order is a formal document that outlines any alteration to the original project plan after construction has started. It could be something small like moving an outlet or something bigger like adding a window. While it might seem simple, any change can create a ripple effect. It often requires new materials, different labor, and adjustments to the subcontractor schedule, which almost always adds time and cost to your project.
Besides the size of my addition, what's a common cause of delays? Delays related to permits and materials are very common. Your local building department operates on its own schedule, and waiting for approvals can pause everything before it even begins. Likewise, supply chain issues can leave your crew waiting for essential items like windows or custom cabinets. Planning for these possibilities by starting the permit process early and finalizing material choices quickly is a smart strategy.
What's the best thing I can do to help my project stay on schedule? The most impactful thing you can do is hire the right team from the start and maintain clear communication with them. A great contractor has efficient systems and strong relationships with their subcontractors, which helps prevent many common scheduling conflicts. Once you've hired them, establishing a regular check-in schedule ensures everyone stays aligned and that you can address potential issues before they become major problems.


.png)


.png)