How to Convert Your Garage Into a Living Space
Learn how to convert a garage into a living space with practical steps, budgeting tips, and design ideas for a comfortable, functional new room.
|
September 22, 2025
In this article:
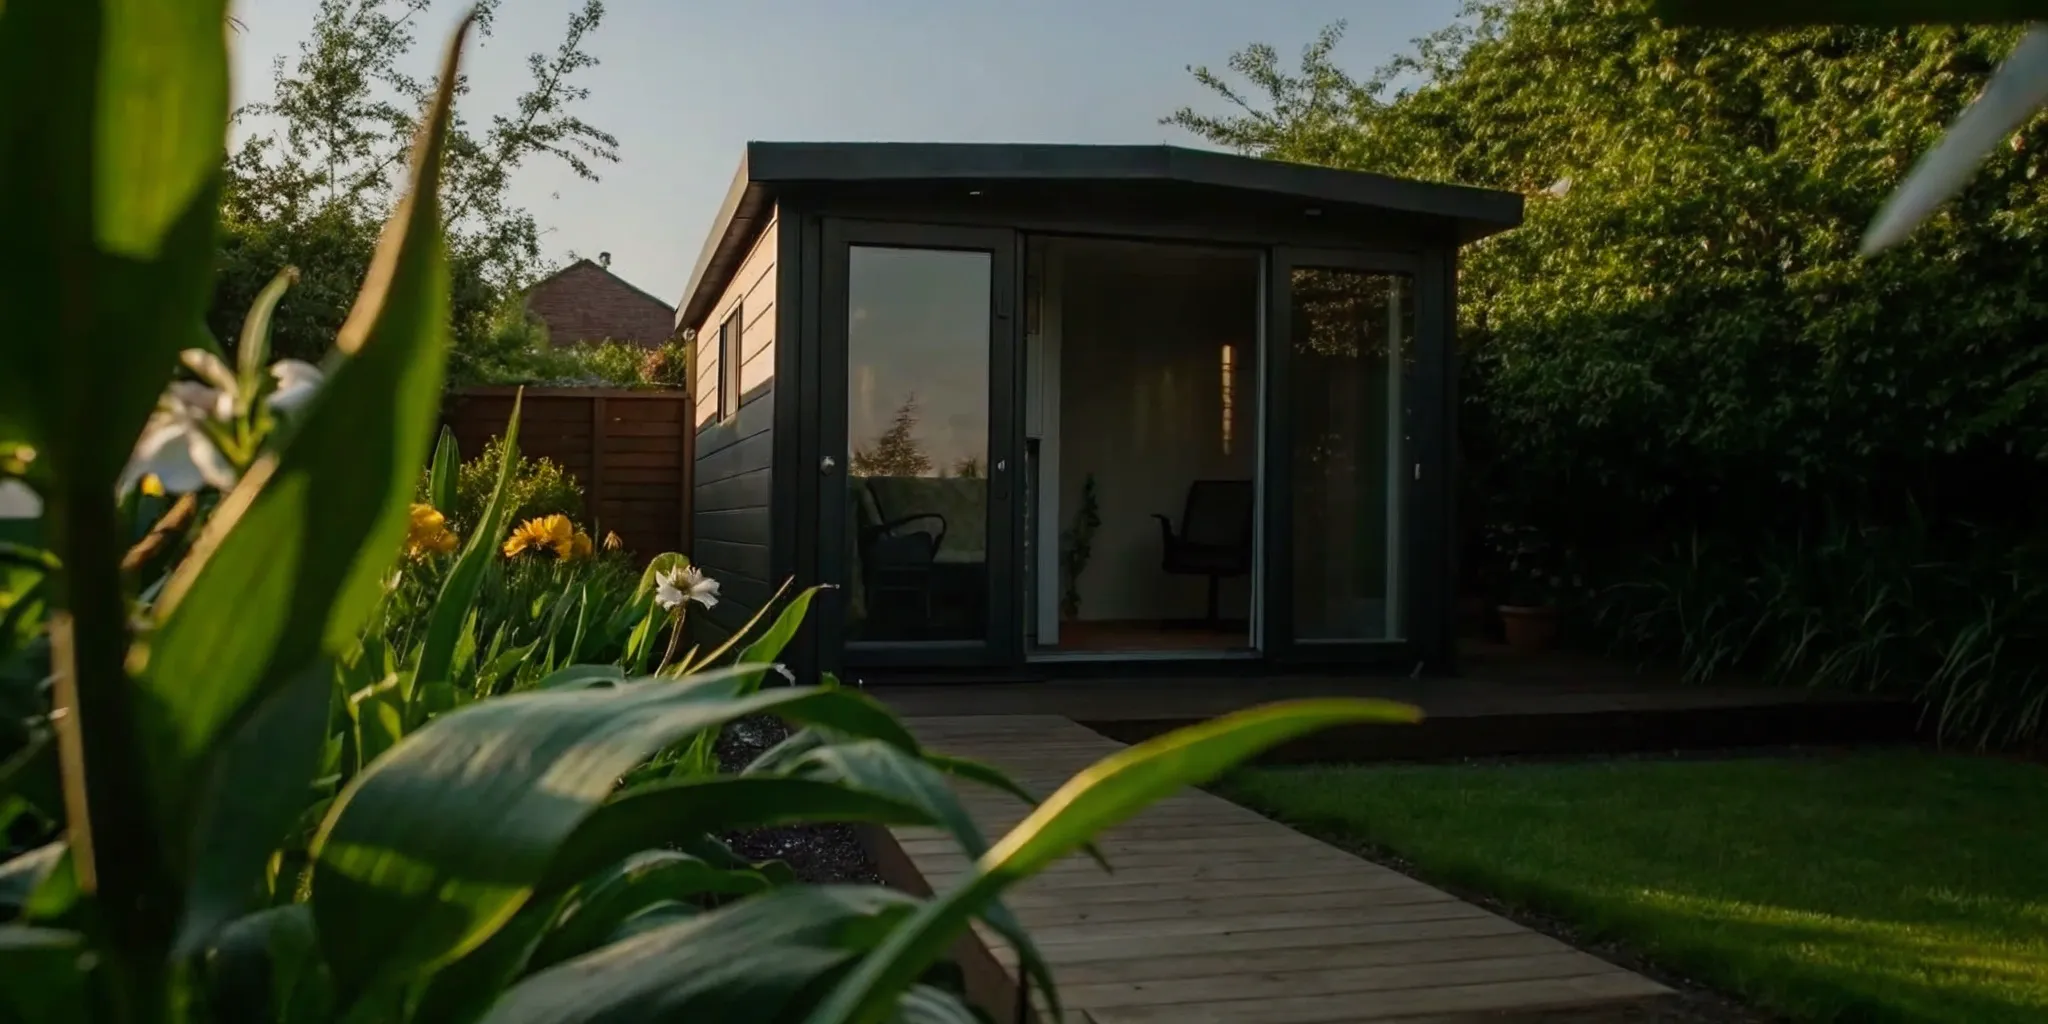
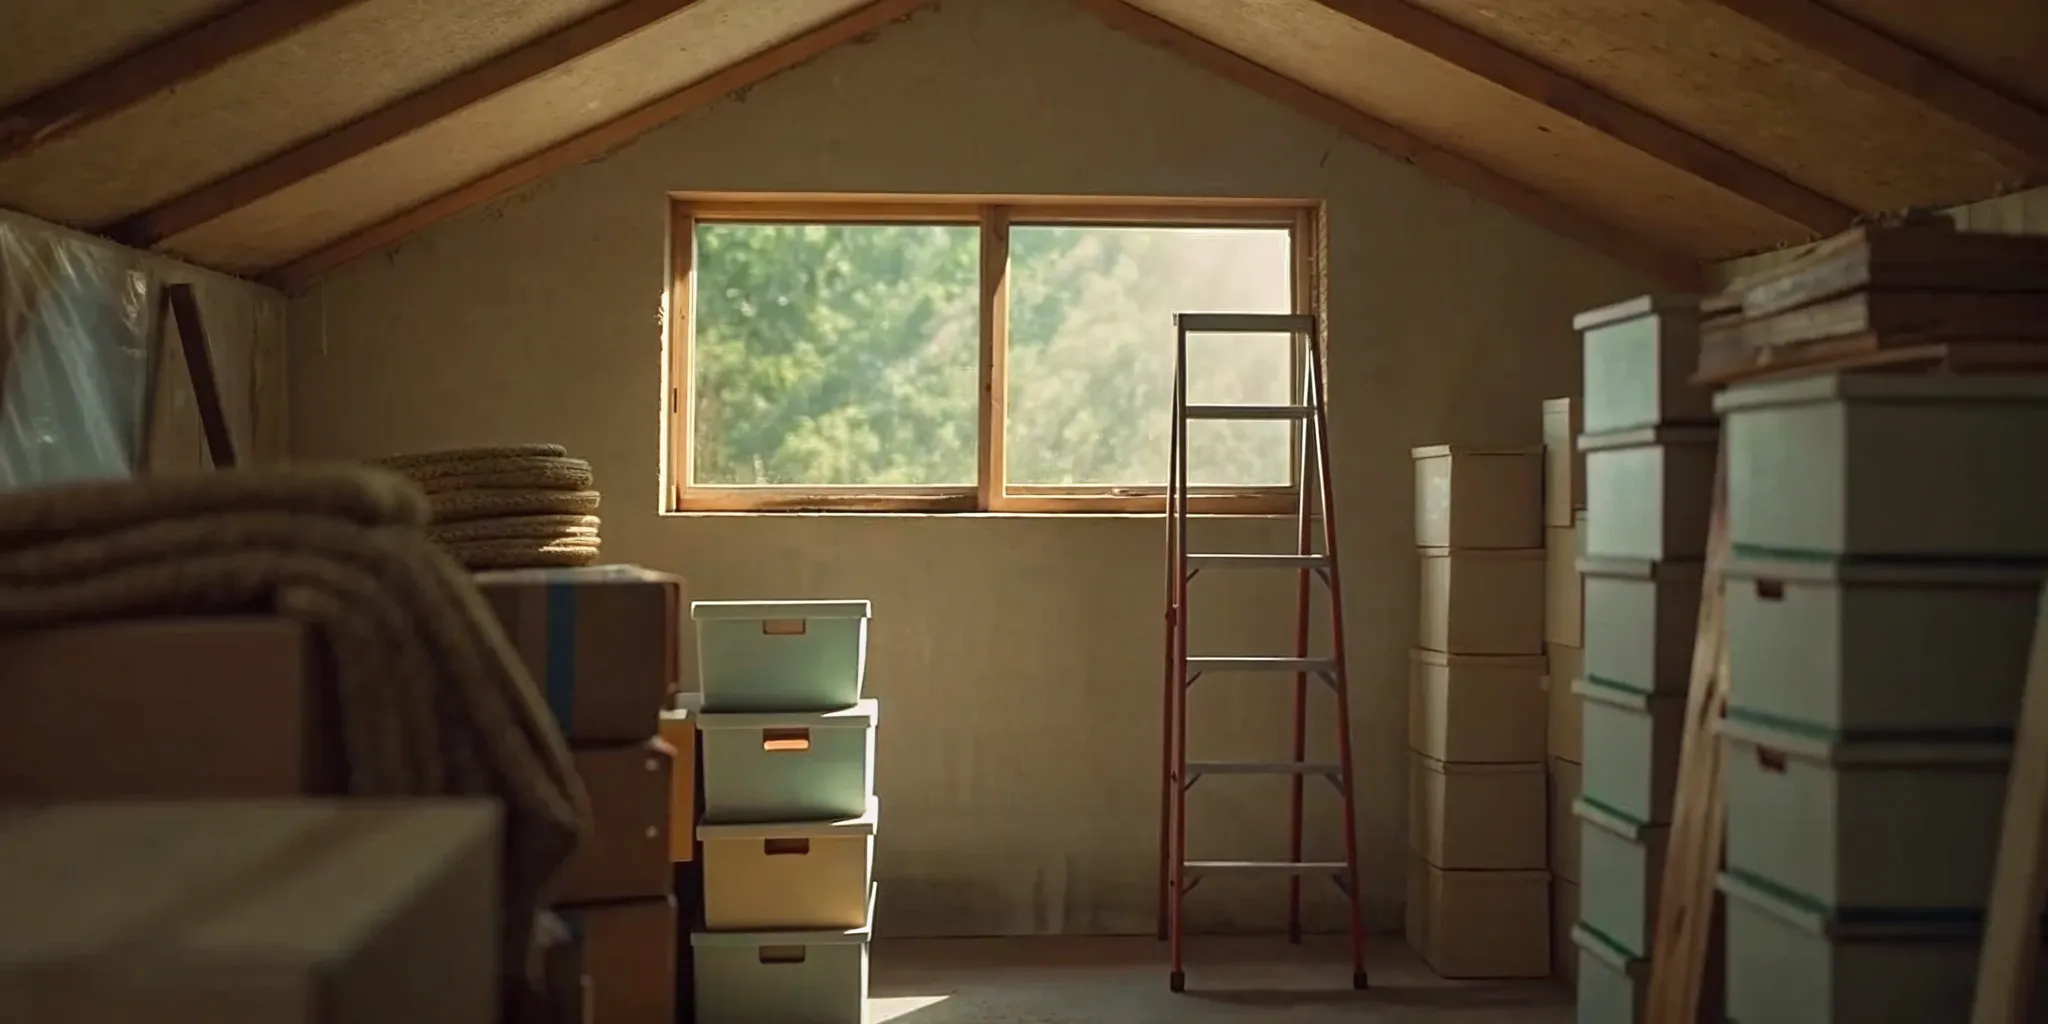
That extra space attached to your house, currently home to dusty boxes and forgotten workout equipment, holds so much potential. For many homeowners, it’s the most practical answer to needing more room without the massive expense of a full-scale addition. Transforming it into a guest suite, a home office, or even a rental unit can be a game-changer for your property and your lifestyle. But figuring out how to convert a garage into a living space involves more than just rolling out a rug. This guide breaks down the entire process, from navigating permits and setting a budget to handling the construction and adding those final, perfect touches.
Key Takeaways
- Prioritize Permits and Planning: Before you think about design, focus on the essentials: local building permits, zoning laws, and any HOA rules. Getting these approvals first is non-negotiable and protects your home's value by ensuring the conversion is legal and safe.
- Build a Solid Foundation: A successful conversion depends on what’s behind the walls. Invest in crucial structural updates like leveling the floor, adding proper insulation, and professionally installing core systems like electrical and HVAC to create a space that’s truly comfortable and energy-efficient.
- Assemble Your Expert Team: A garage conversion is a complex job that requires licensed professionals. Hiring a vetted general contractor who manages electricians, plumbers, and other specialists is the best way to ensure high-quality work, pass inspections, and keep your project on schedule.
Know the Rules: Permits, Zoning, and HOAs
Before you start knocking down walls, it’s time to tackle the less glamorous—but absolutely essential—part of the project: the paperwork. Getting a handle on permits, zoning laws, and neighborhood rules upfront will save you from major headaches and potential fines down the road. Think of it as building a solid foundation for your project's success. This is where having an experienced team can make a world of difference, as they can manage the complex web of regulations for you.
Building Permits and Zoning Laws
First things first, you’ll need to understand your local building codes. Every city has its own set of rules, and a garage conversion is a significant project that almost always requires permits. If you’re adding a bathroom, kitchen, or making major electrical and plumbing changes, you can count on needing separate permits for each. It might seem like a hassle, but securing the right approvals is non-negotiable. Without them, your project could be deemed illegal, which can create serious problems if you ever decide to sell your home. An experienced contractor can manage this process for you, ensuring everything is filed correctly from the start.
HOA and Neighborhood Rules
If you live in a community with a Homeowners Association (HOA), you have another layer of rules to consider. Your HOA has its own guidelines designed to maintain the neighborhood's aesthetic and property values, and you’ll likely need their approval before you begin. For example, some associations have strict rules about covered parking. If you convert your garage, you might be required to build a new carport to replace the lost parking space. Be sure to dig out your HOA documents and review the rules for renovations. A quick chat with your HOA board can also clear up any questions and ensure your project goes smoothly.
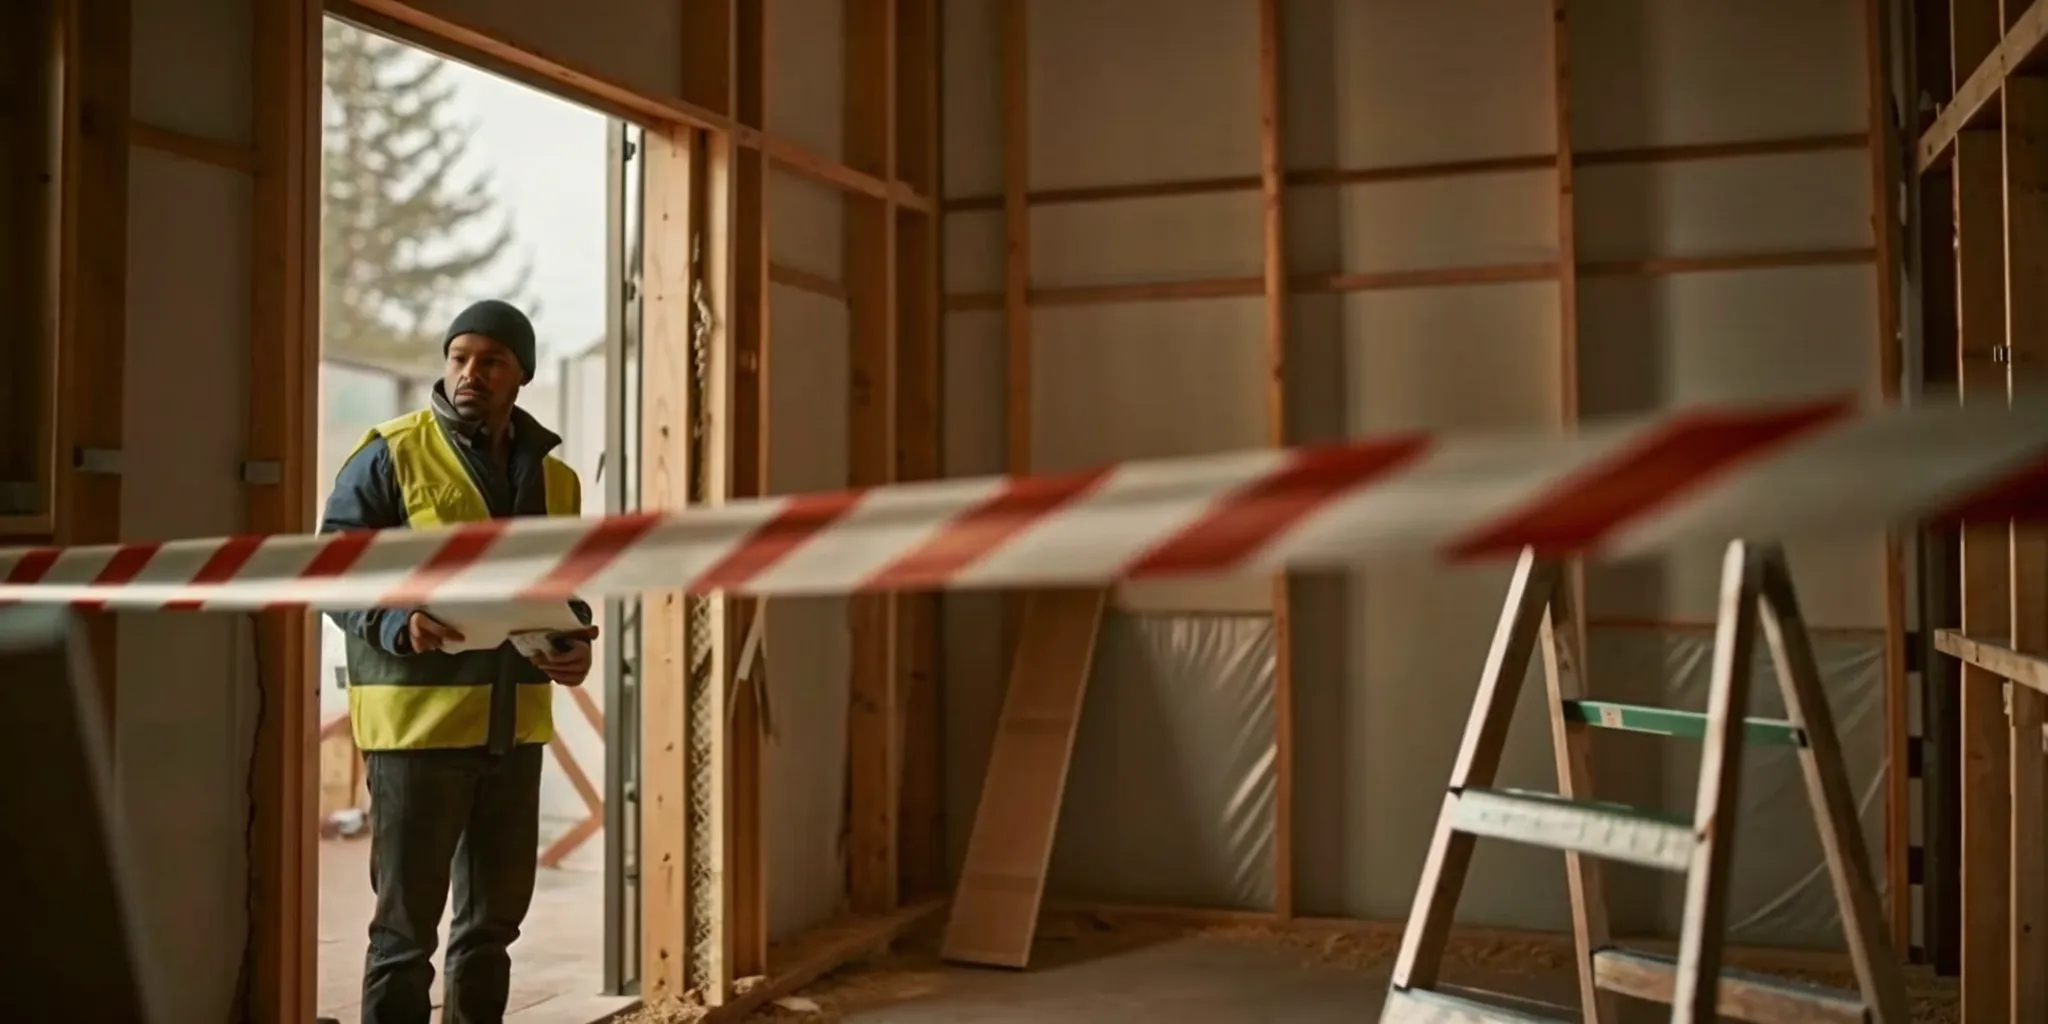
Scheduling Your Inspections
Getting a permit isn’t a one-and-done task; it’s the start of a process that includes several inspections. As your project progresses, a city inspector will need to visit your home to check the work at key stages—like after the framing is up or the electrical wiring is complete. This ensures everything is built to code and is safe for you and your family. Once all the work is finished and has passed the final review, you’ll receive a Certificate of Occupancy. This official document confirms your new living space is legally compliant and ready to be enjoyed. It’s the final green light you need.
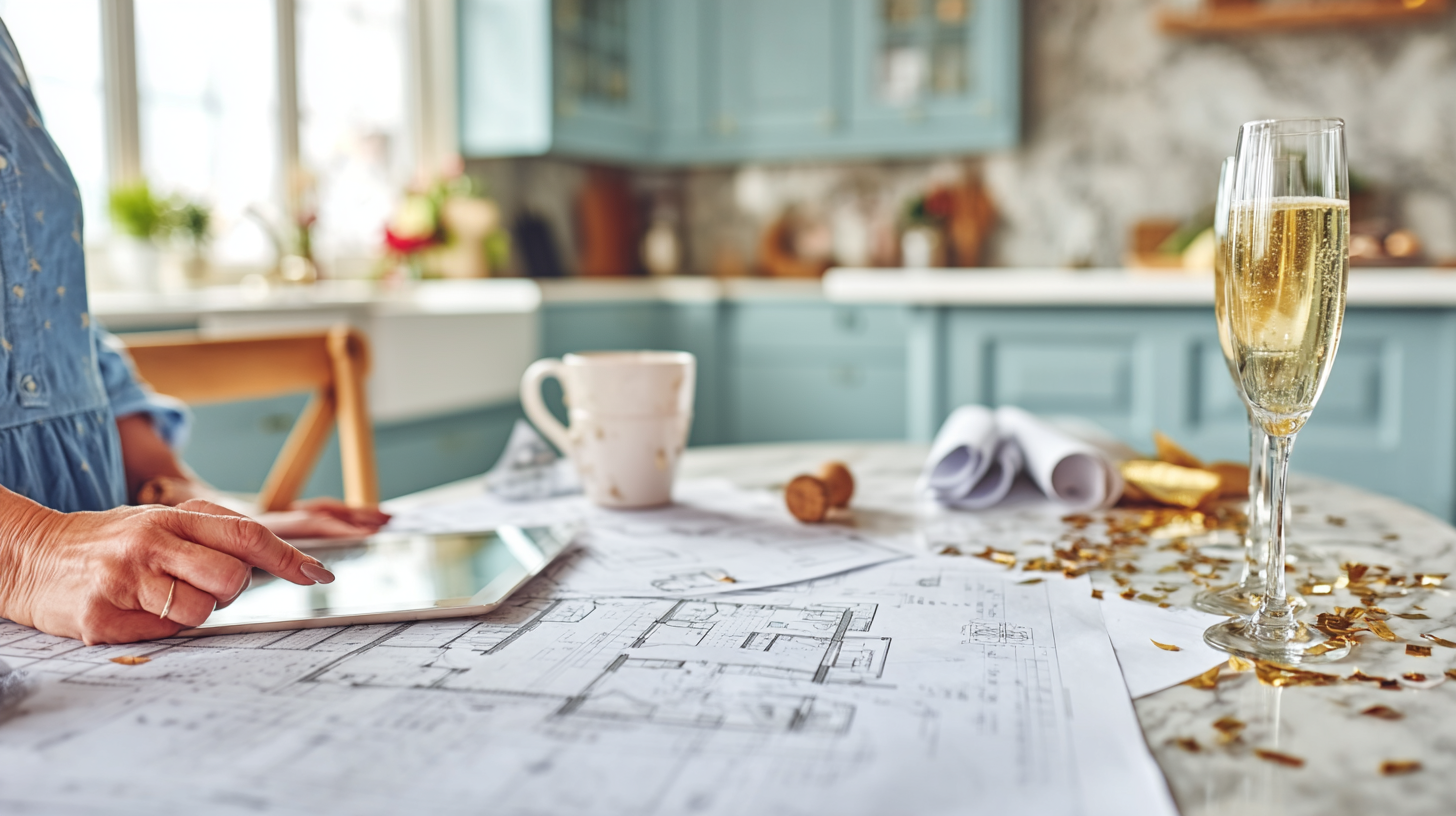
Create Your Garage Conversion Budget
Before you start knocking down walls, it’s time to talk numbers. Creating a detailed budget is one of the most important steps in any renovation. It helps you set realistic expectations, make informed decisions, and avoid surprises along the way. A well-planned budget is your roadmap to a successful garage conversion, ensuring you can create the space you want without financial stress. Let's break down what you can expect to spend and where that money will go.
What's the Average Cost?
The price tag for a garage conversion can vary quite a bit, but most homeowners spend between $6,000 and $27,500. On the lower end, you might be looking at a more basic, DIY-heavy project. The higher end typically involves hiring a contractor for a complete overhaul with premium finishes. According to The Spruce, the national average hovers around $16,500. Think of this range as a starting point. Your final cost will depend on the scope of your project, the materials you choose, and the labor costs in your area.
Key Factors That Affect Cost
Several key elements will influence your final budget. The existing condition of your garage is a big one—a cracked foundation or leaky roof will need to be addressed before you can do anything else. Other major costs include construction, permits, design fees, and any new appliances or fixtures. You’ll also need to budget for site work, like leveling the floor or running utility lines. As you plan your project, remember that everything from the slope of your land to the quality of your insulation will play a role in the total cost.
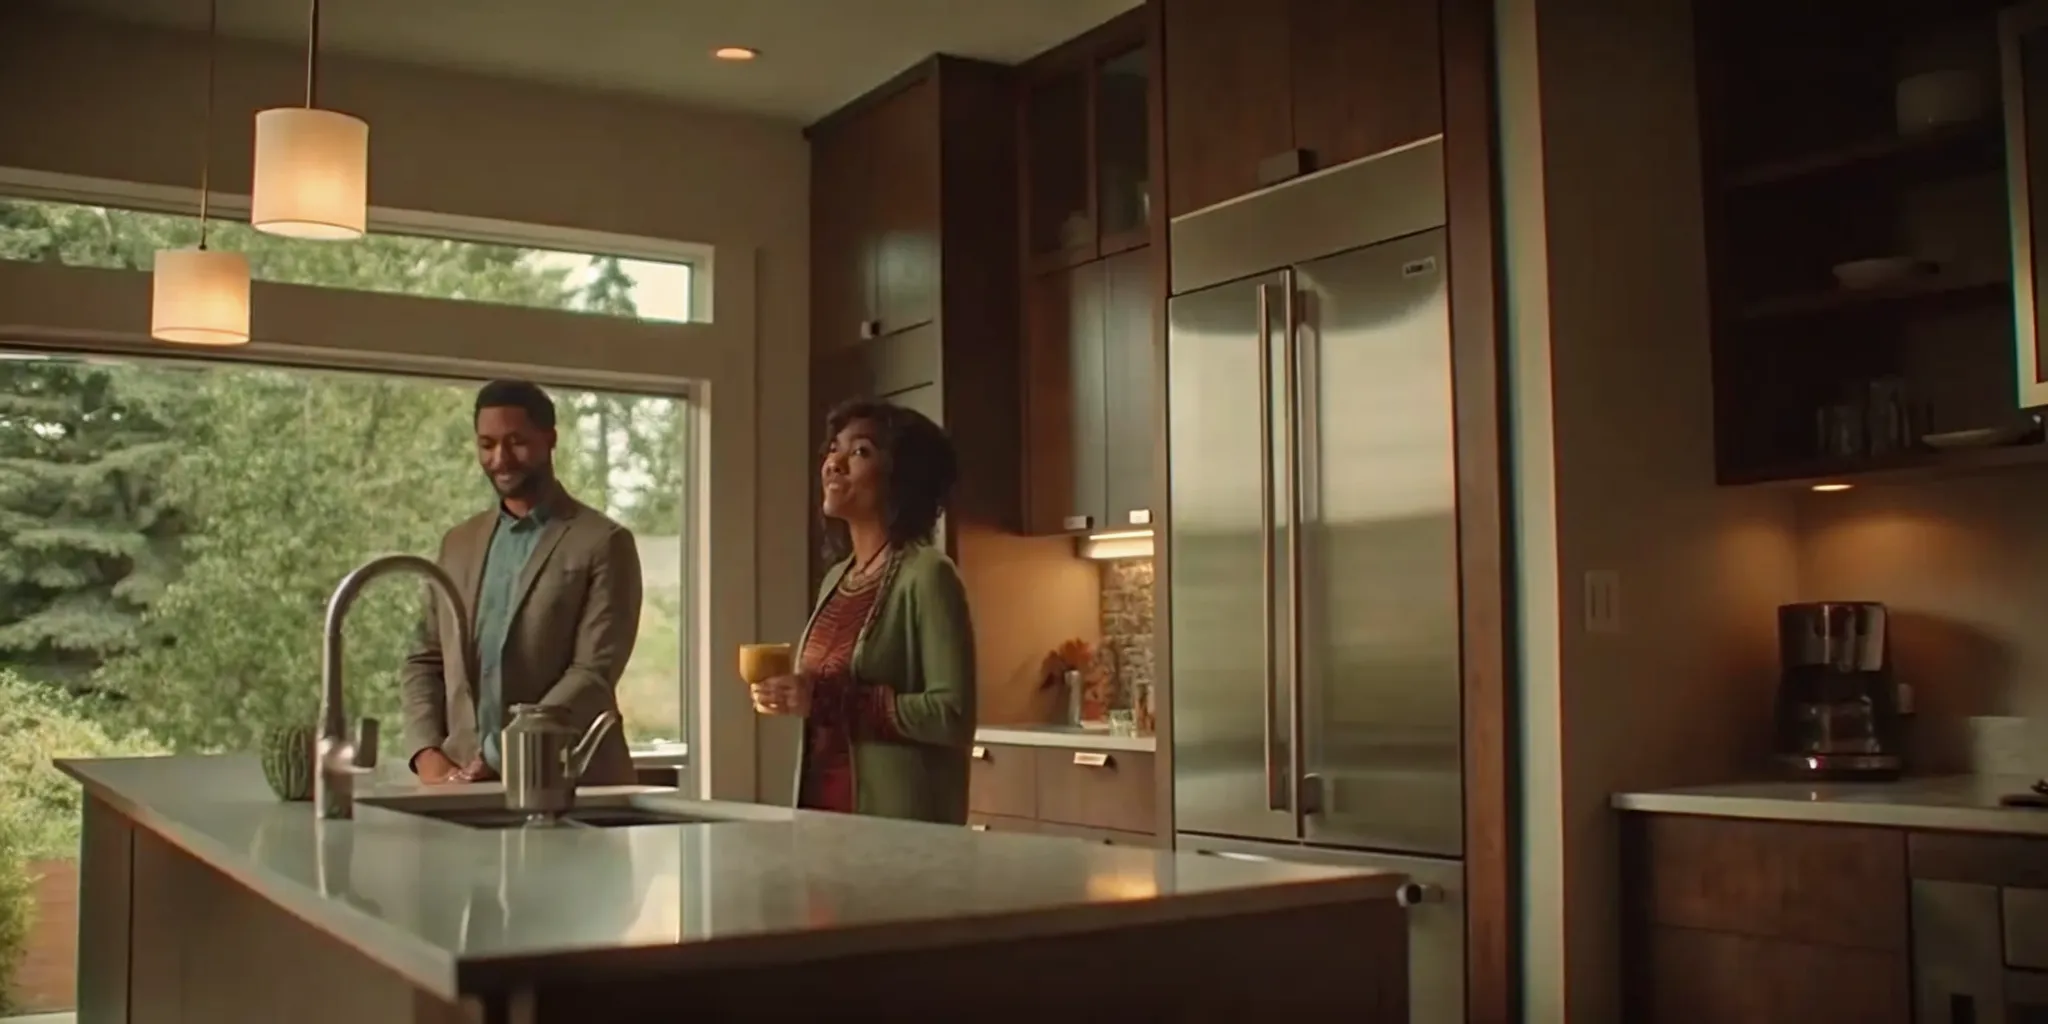
Calculating Your Return on Investment
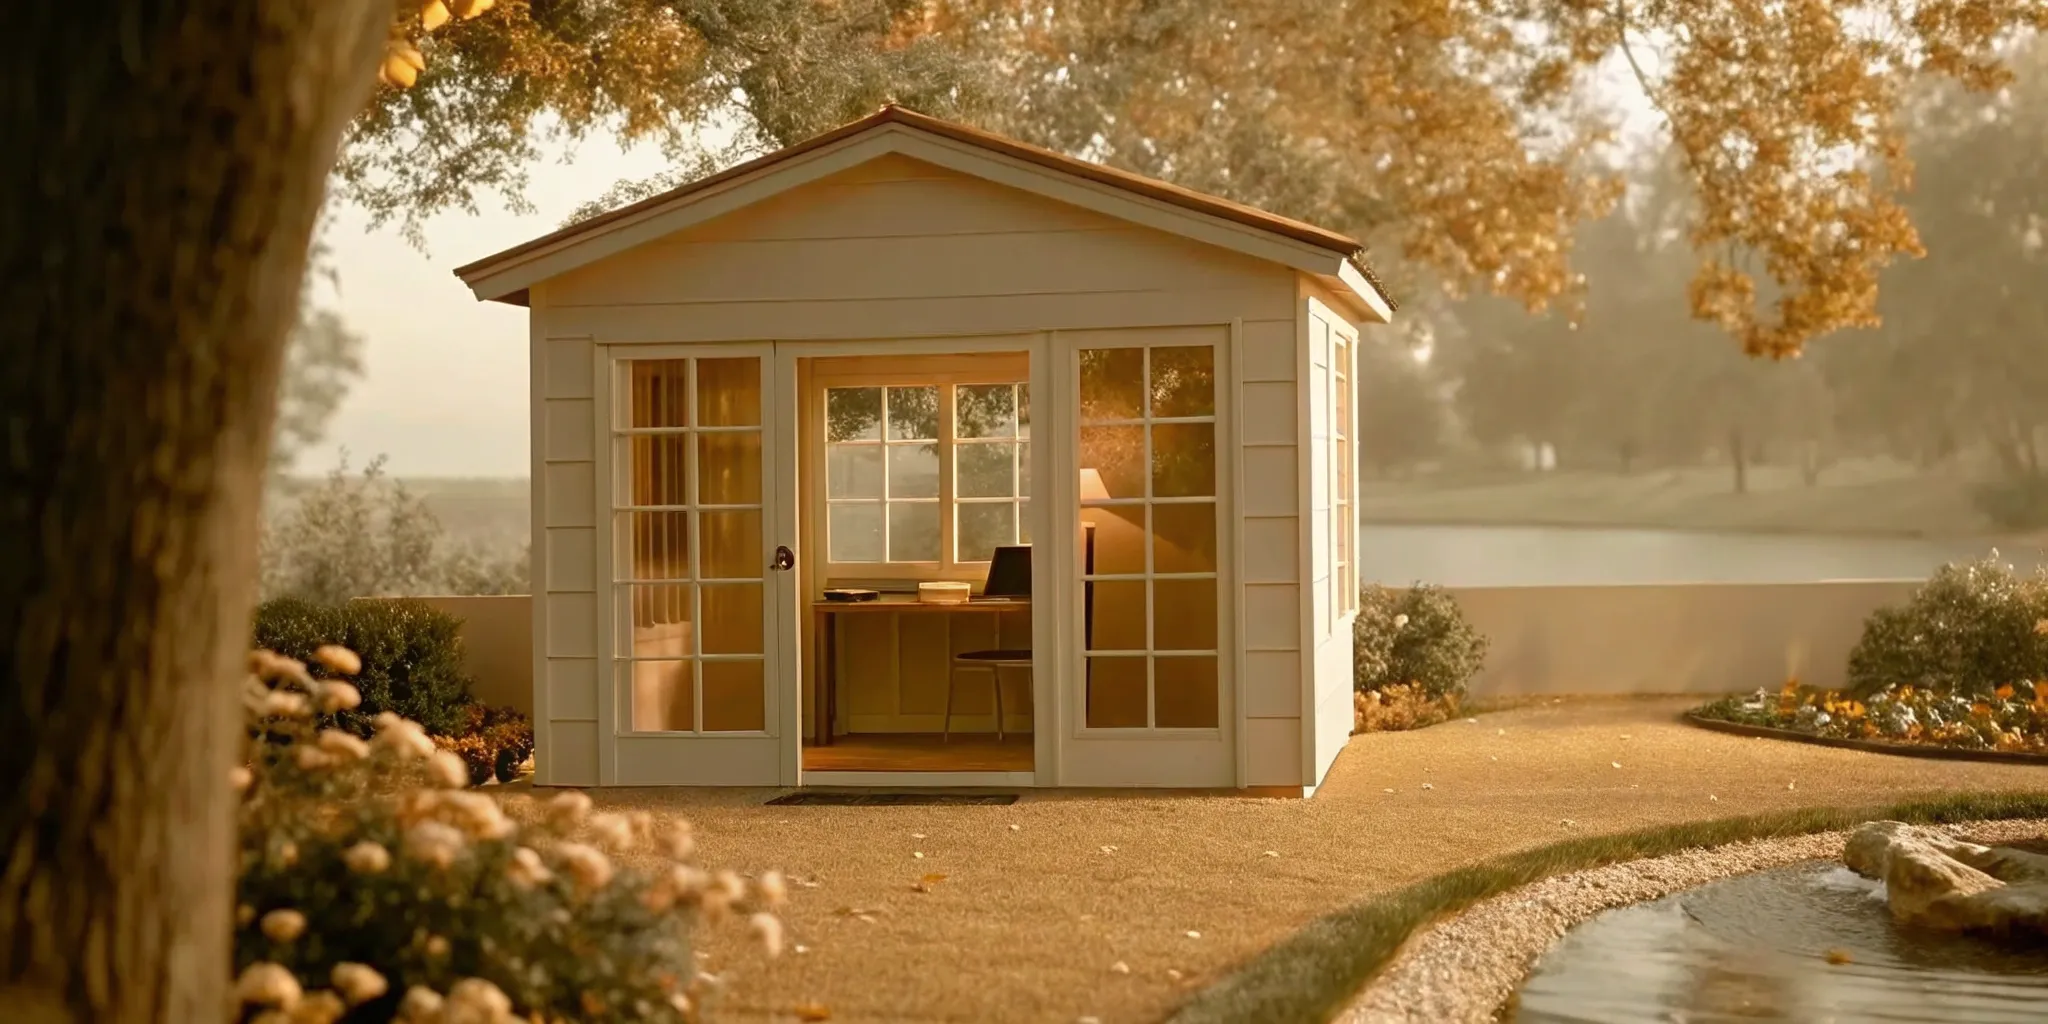
A garage conversion is more than just an expense; it’s an investment in your property. Adding a legal, permitted living space can significantly increase your home's value. It can also create a new stream of income. For example, a finished accessory dwelling unit (ADU) can be rented out, generating monthly cash flow that can offset the project cost over time. In some cases, a garage conversion can offer a tenfold return on your initial investment through long-term rental income. This makes it one of the smartest home improvement projects you can take on.
Don't Forget These Hidden Costs
It’s wise to build a cushion into your budget for unexpected expenses. Many renovation projects end up costing more than the initial estimate, so setting aside an extra 10% to 20% for a contingency fund is a good rule of thumb. Another potential pitfall is failing to get the right permits. Skipping this step might seem like a way to save money upfront, but an unpermitted conversion can be a major headache. It could create insurance problems and make it difficult to sell your home in the future. Working with an experienced team like a Realm advisor can help you anticipate these costs and ensure everything is done by the book.
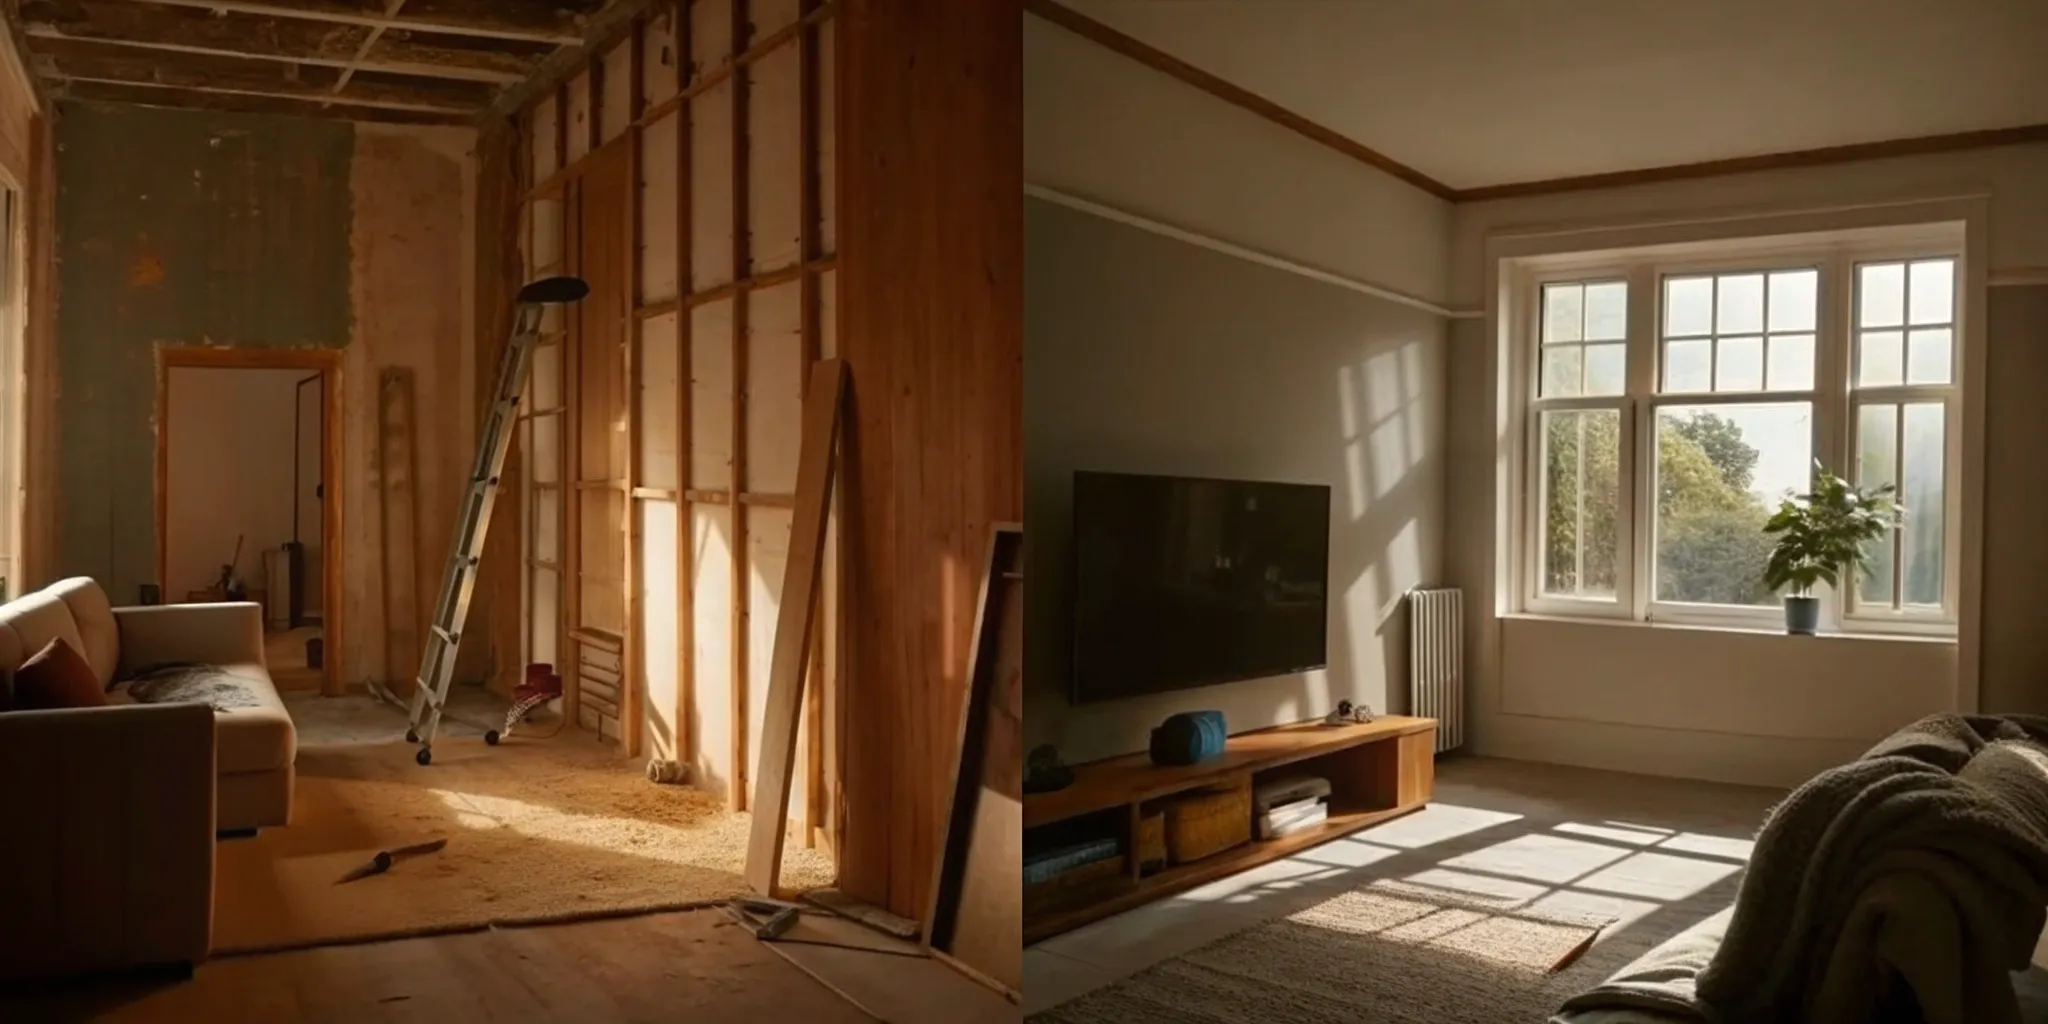
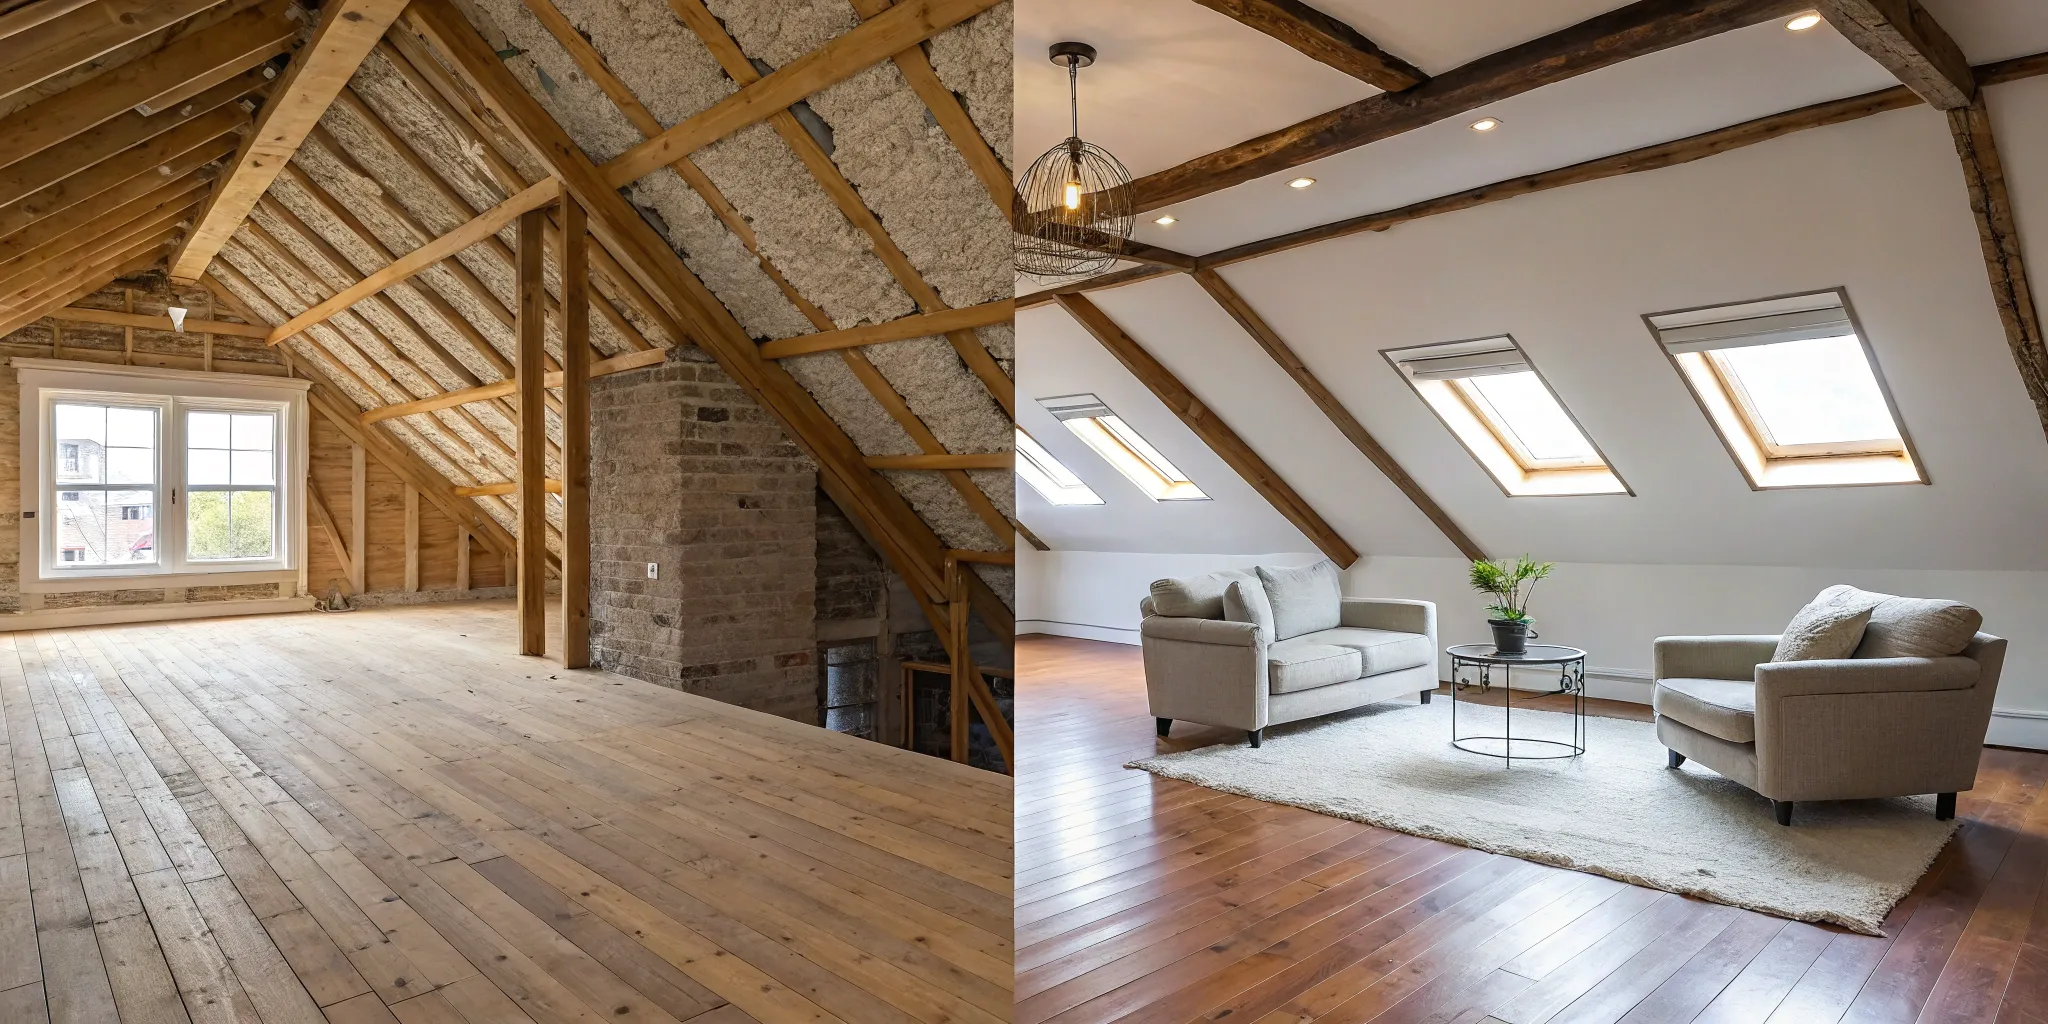
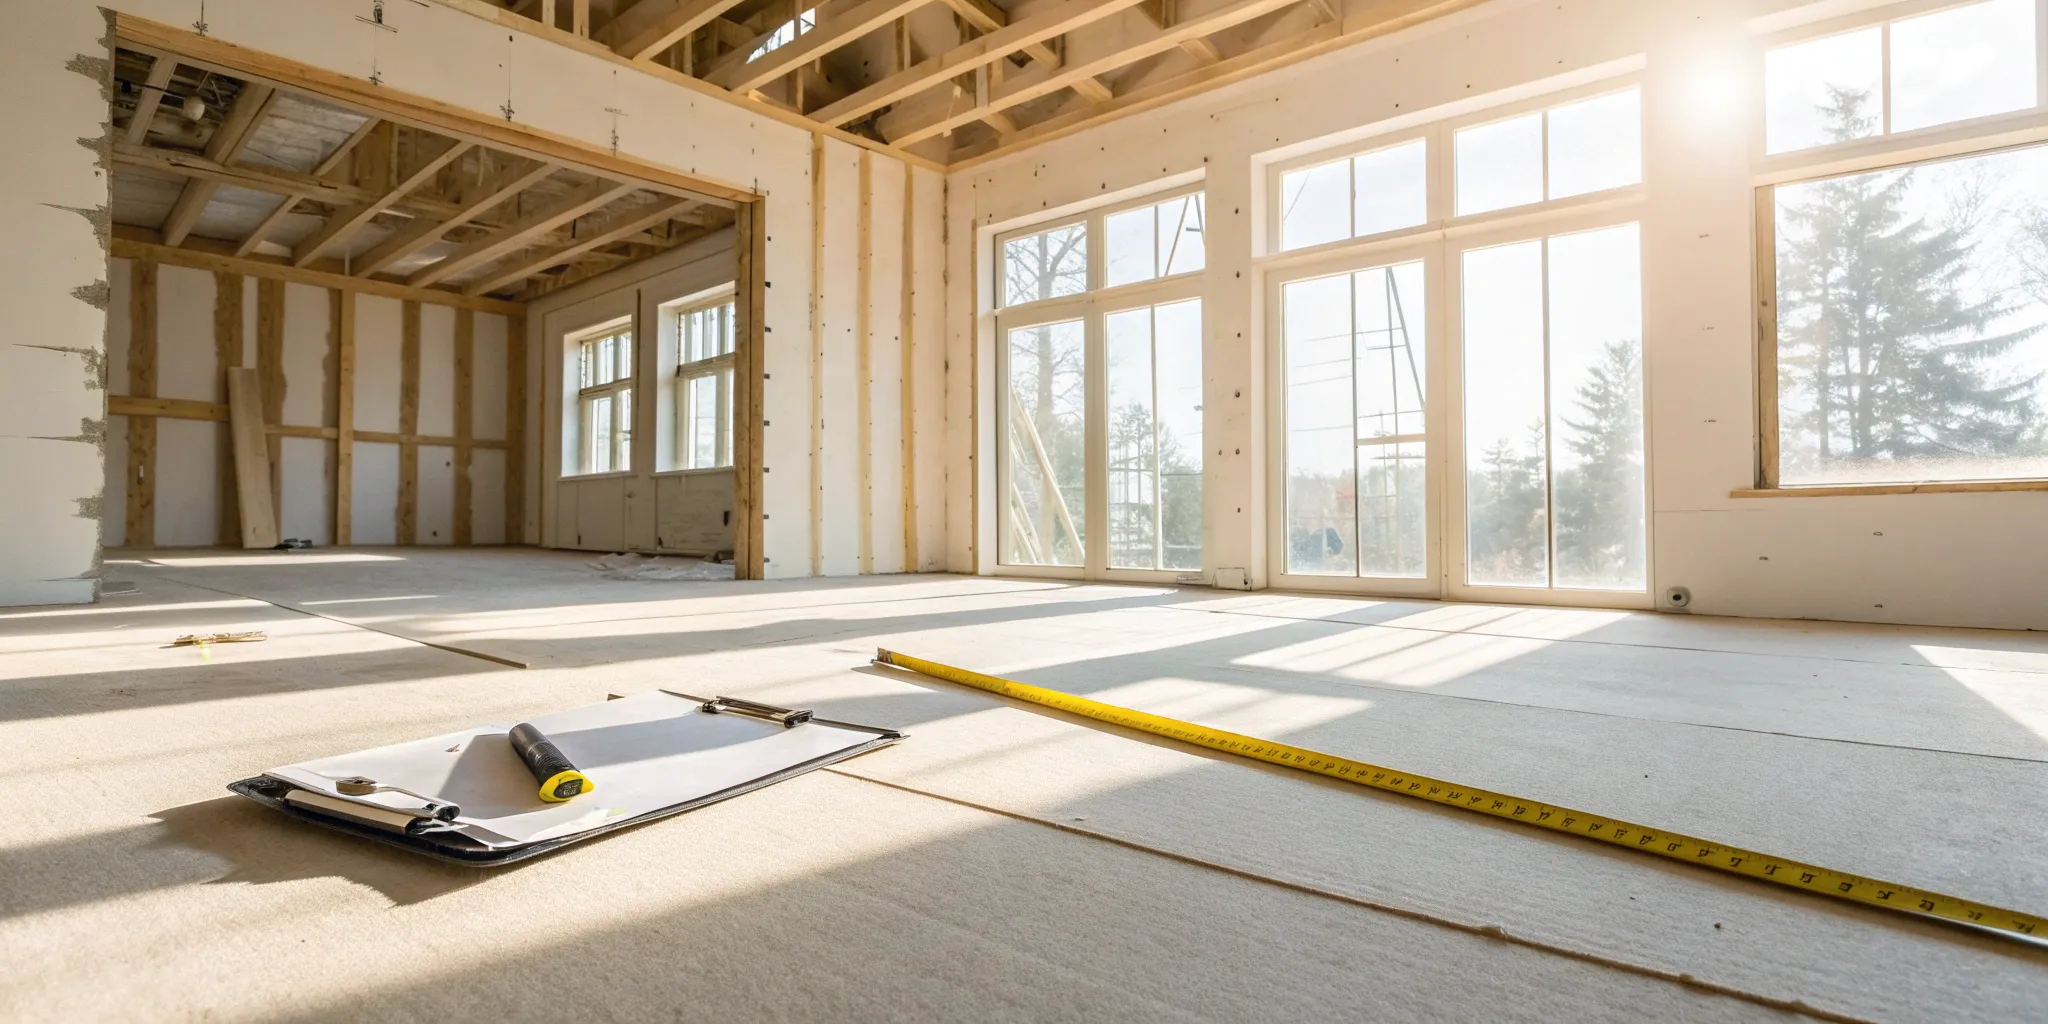
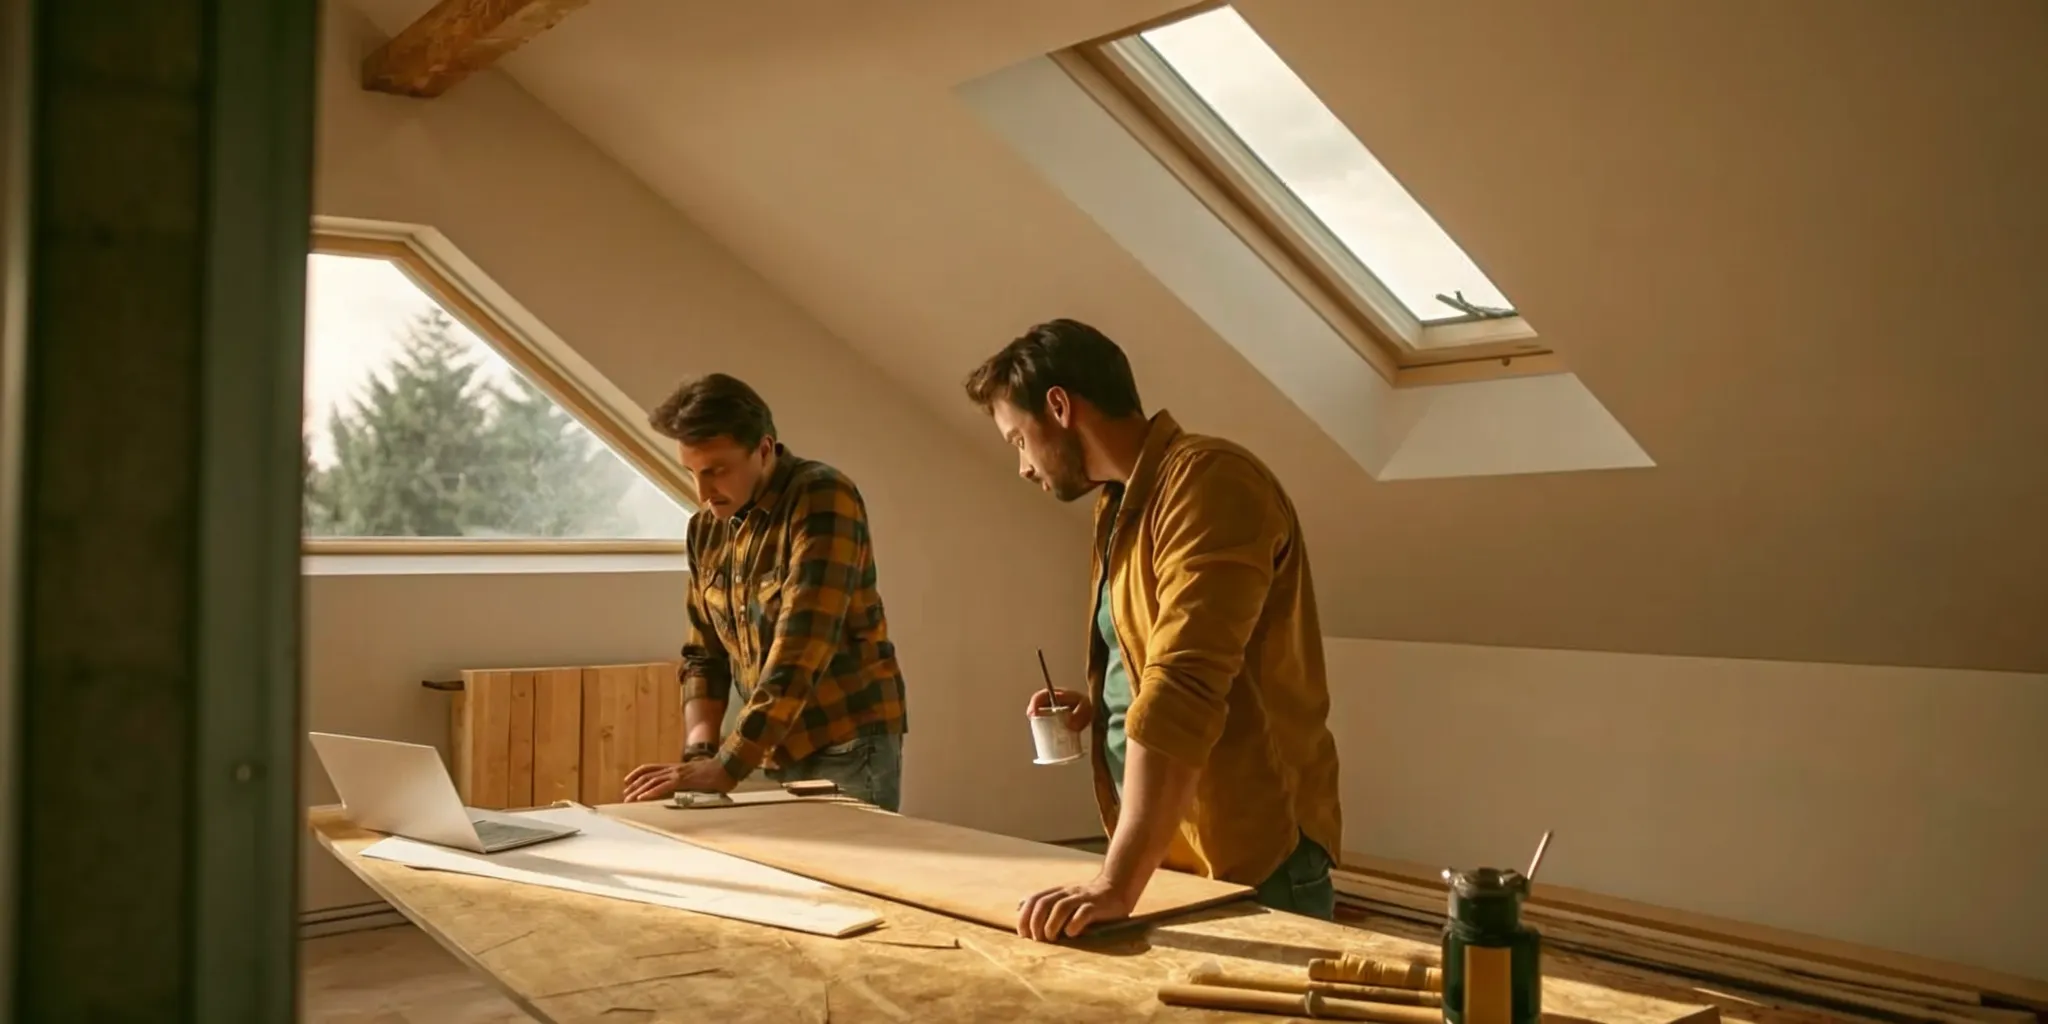
Tackle the Core Structural Changes
Once your plans are approved and your budget is set, it’s time for the most exciting part: the physical transformation. This is where your garage starts to shed its old identity and take on the form of a true living space. These structural changes are the backbone of your conversion, creating a room that’s safe, comfortable, and seamlessly integrated with the rest of your home. This phase involves several major jobs that often require different specialists, which is why having a vetted general contractor is so important to keep the project running smoothly. From the floor to the ceiling, getting these core elements right is essential for a successful and lasting renovation.
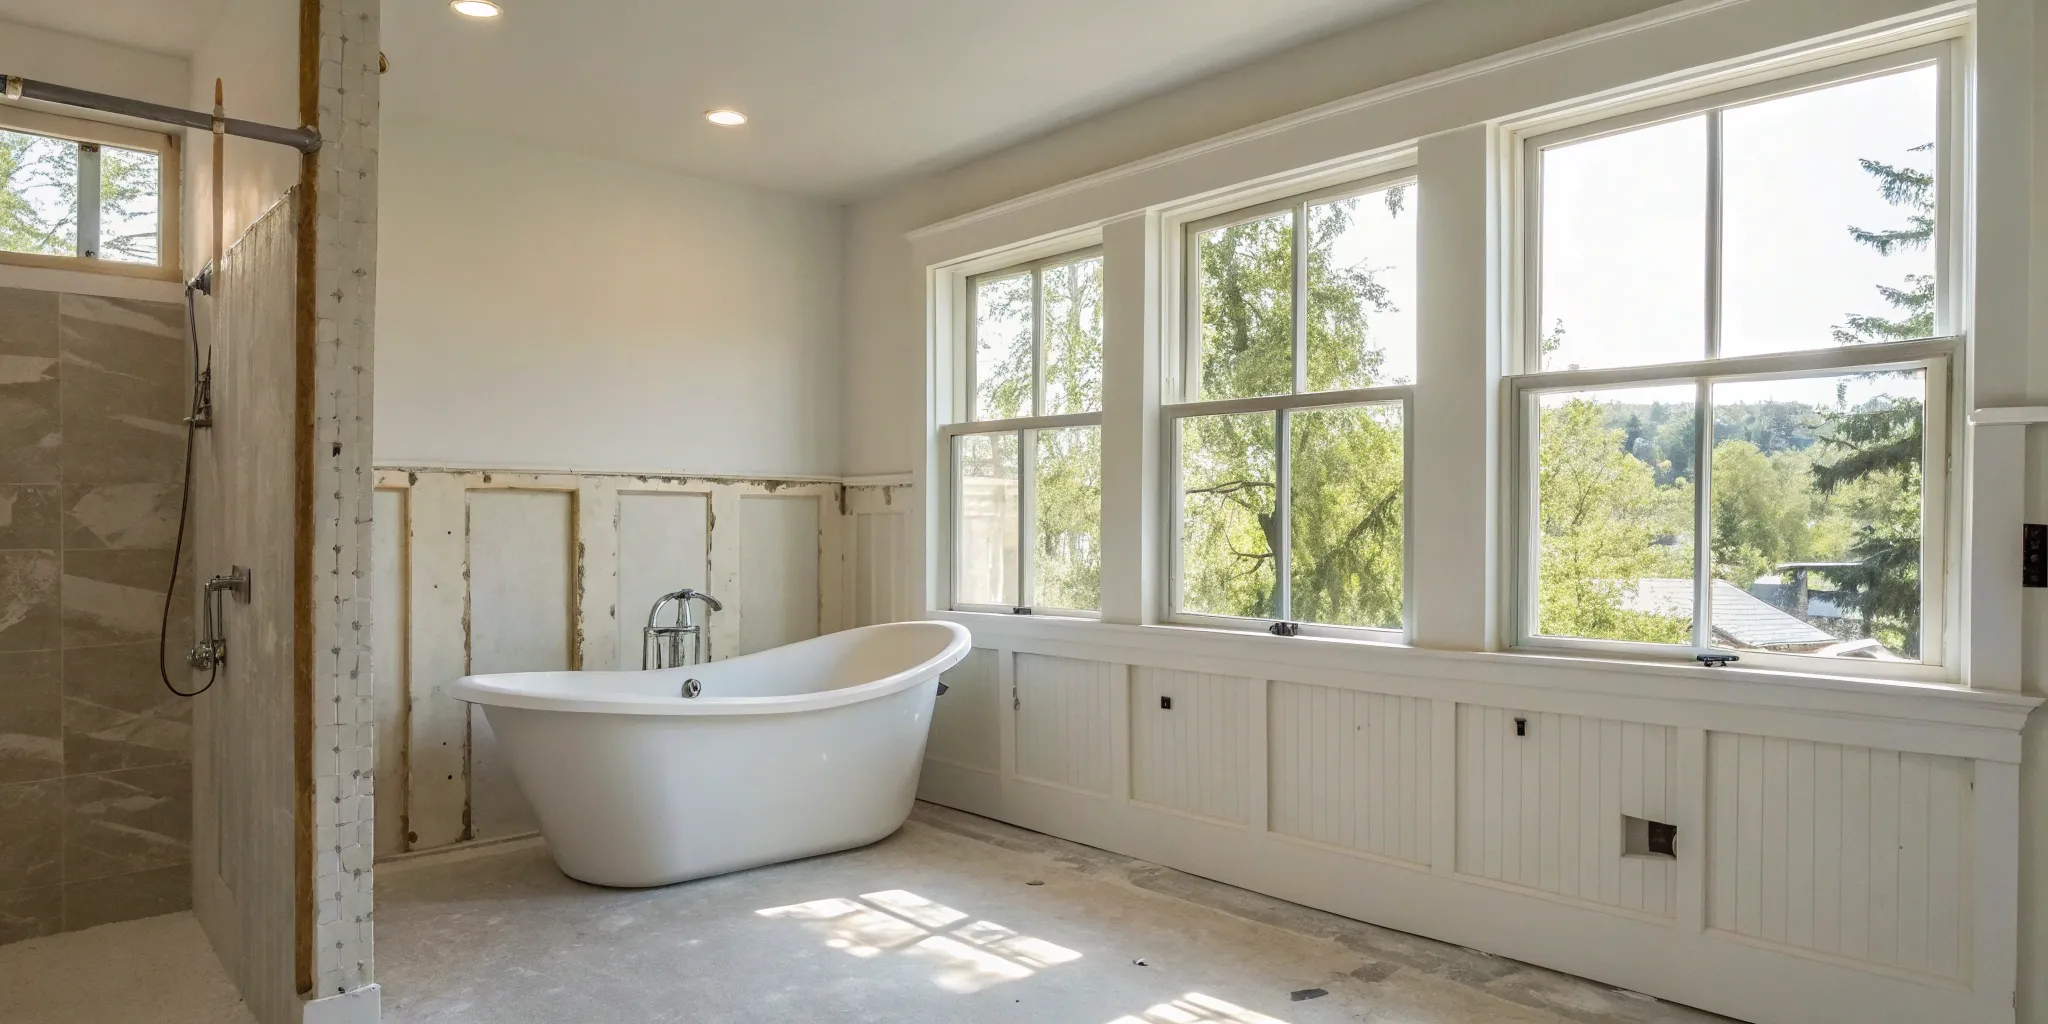
Update the Foundation and Floor
Most garage floors aren't built for living. They’re typically a single slab of concrete that’s sloped toward the door for drainage and sits lower than the foundation of your main house. To make it a proper room, you’ll need to address this first. If the concrete is cracked or uneven, it will need repairs. You’ll almost certainly need to level the floor by adding a self-leveling compound or building a raised subfloor on top of the existing slab. Raising the floor not only creates a level surface for flooring like wood or carpet but also helps it meet the floor height of the rest of your house, creating a much more natural transition between the spaces.
Address Walls and Ceilings
Turning bare studs or unfinished drywall into polished, room-ready walls is a key step in making the garage feel like home. This involves framing any new interior walls to define the space, whether you're creating a closet, a bathroom, or simply separating it from a remaining storage area. Once the framing is up, your contractor will add insulation for temperature and sound control—a crucial step for comfort and energy efficiency. Finally, they’ll hang, tape, and finish the drywall to create the smooth, paint-ready surfaces you’re used to in your home. This process completely erases the utilitarian feel of the garage, giving you a clean canvas to design your new room.
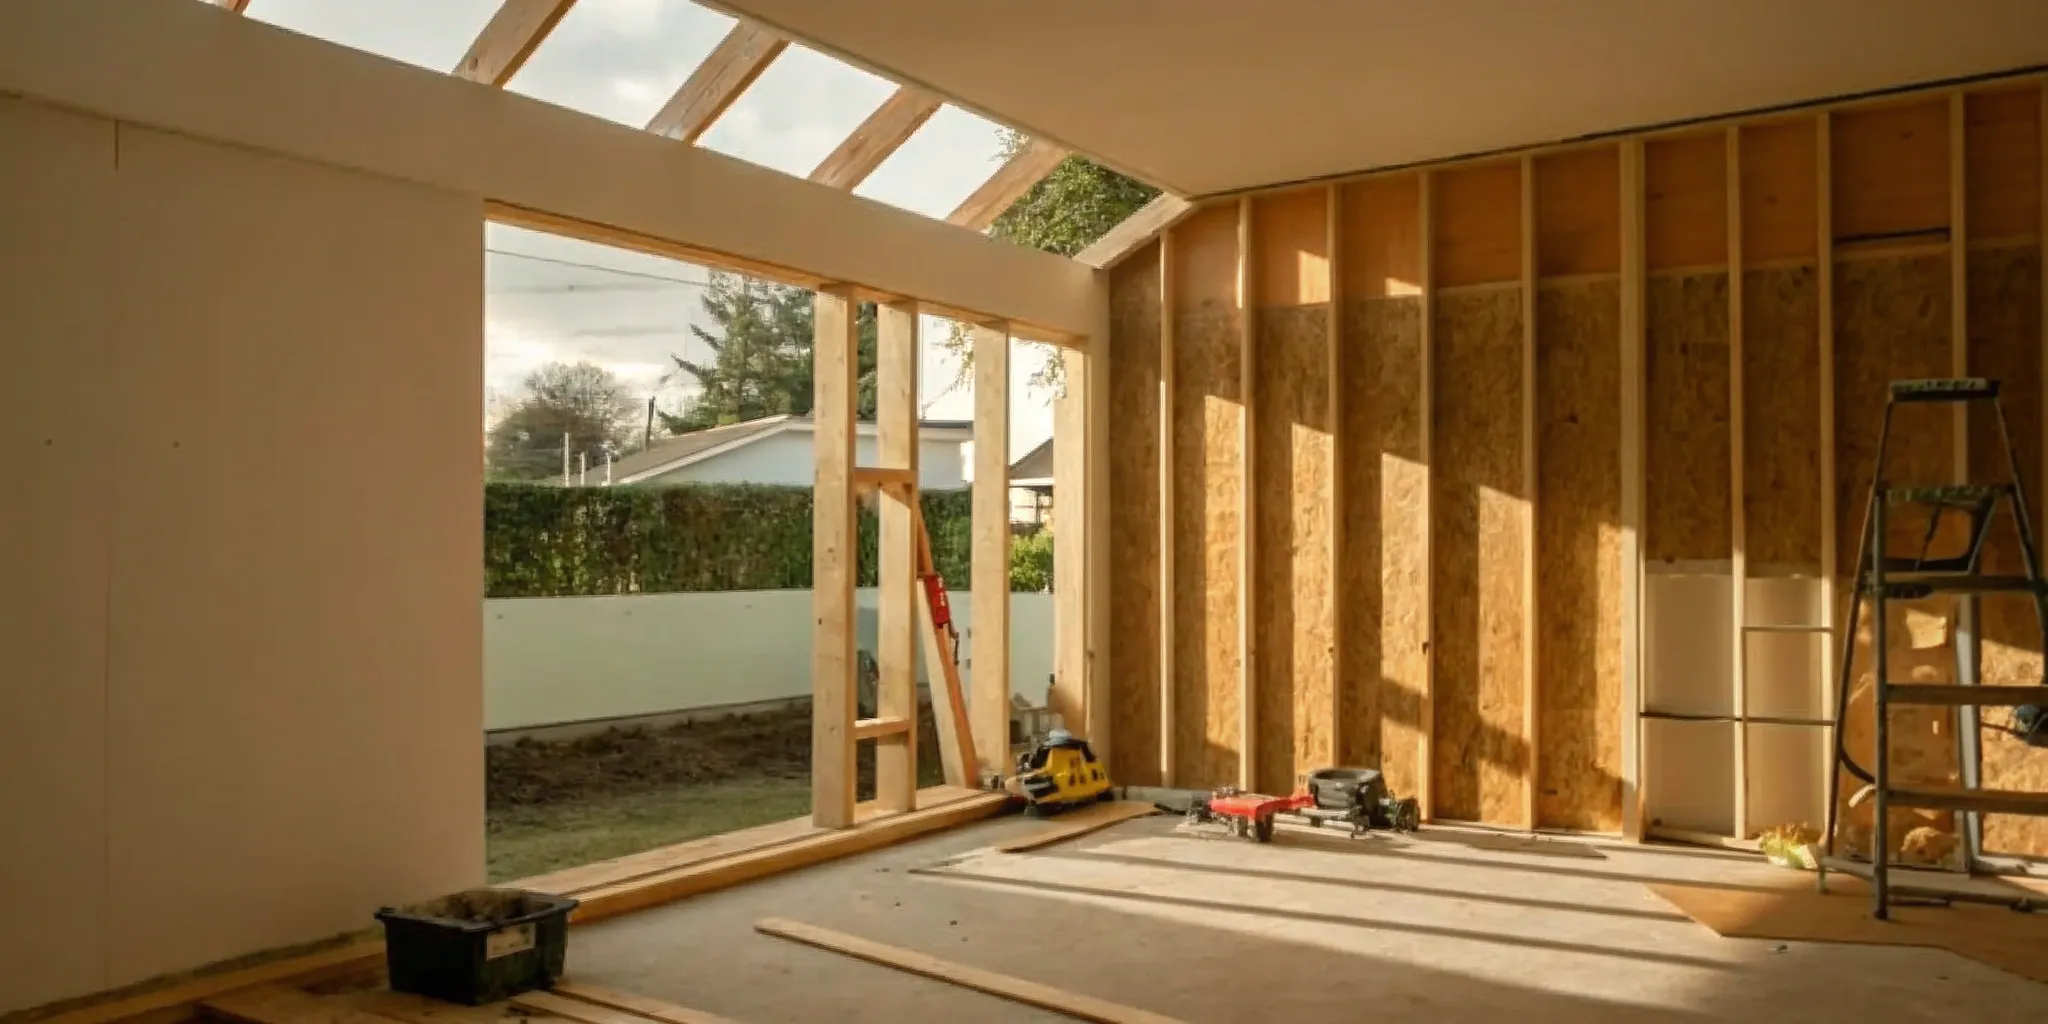
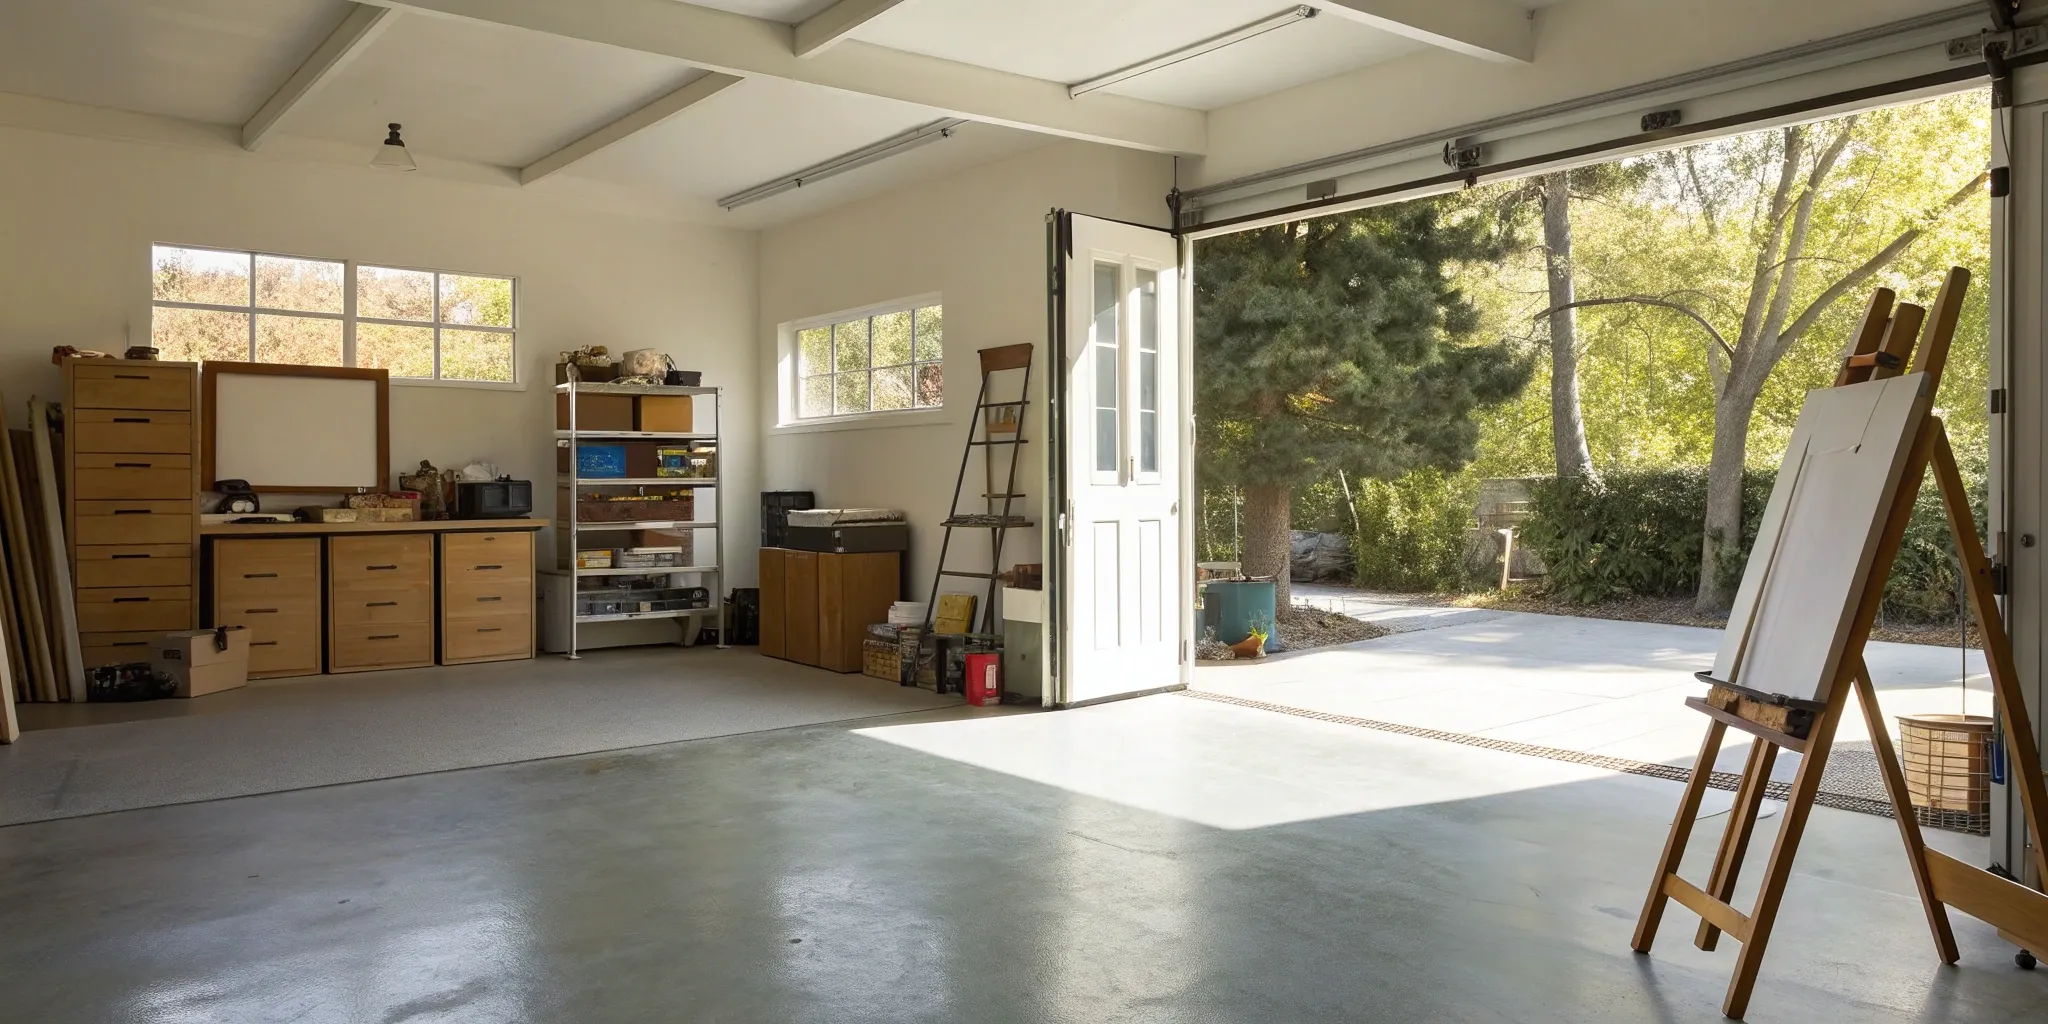
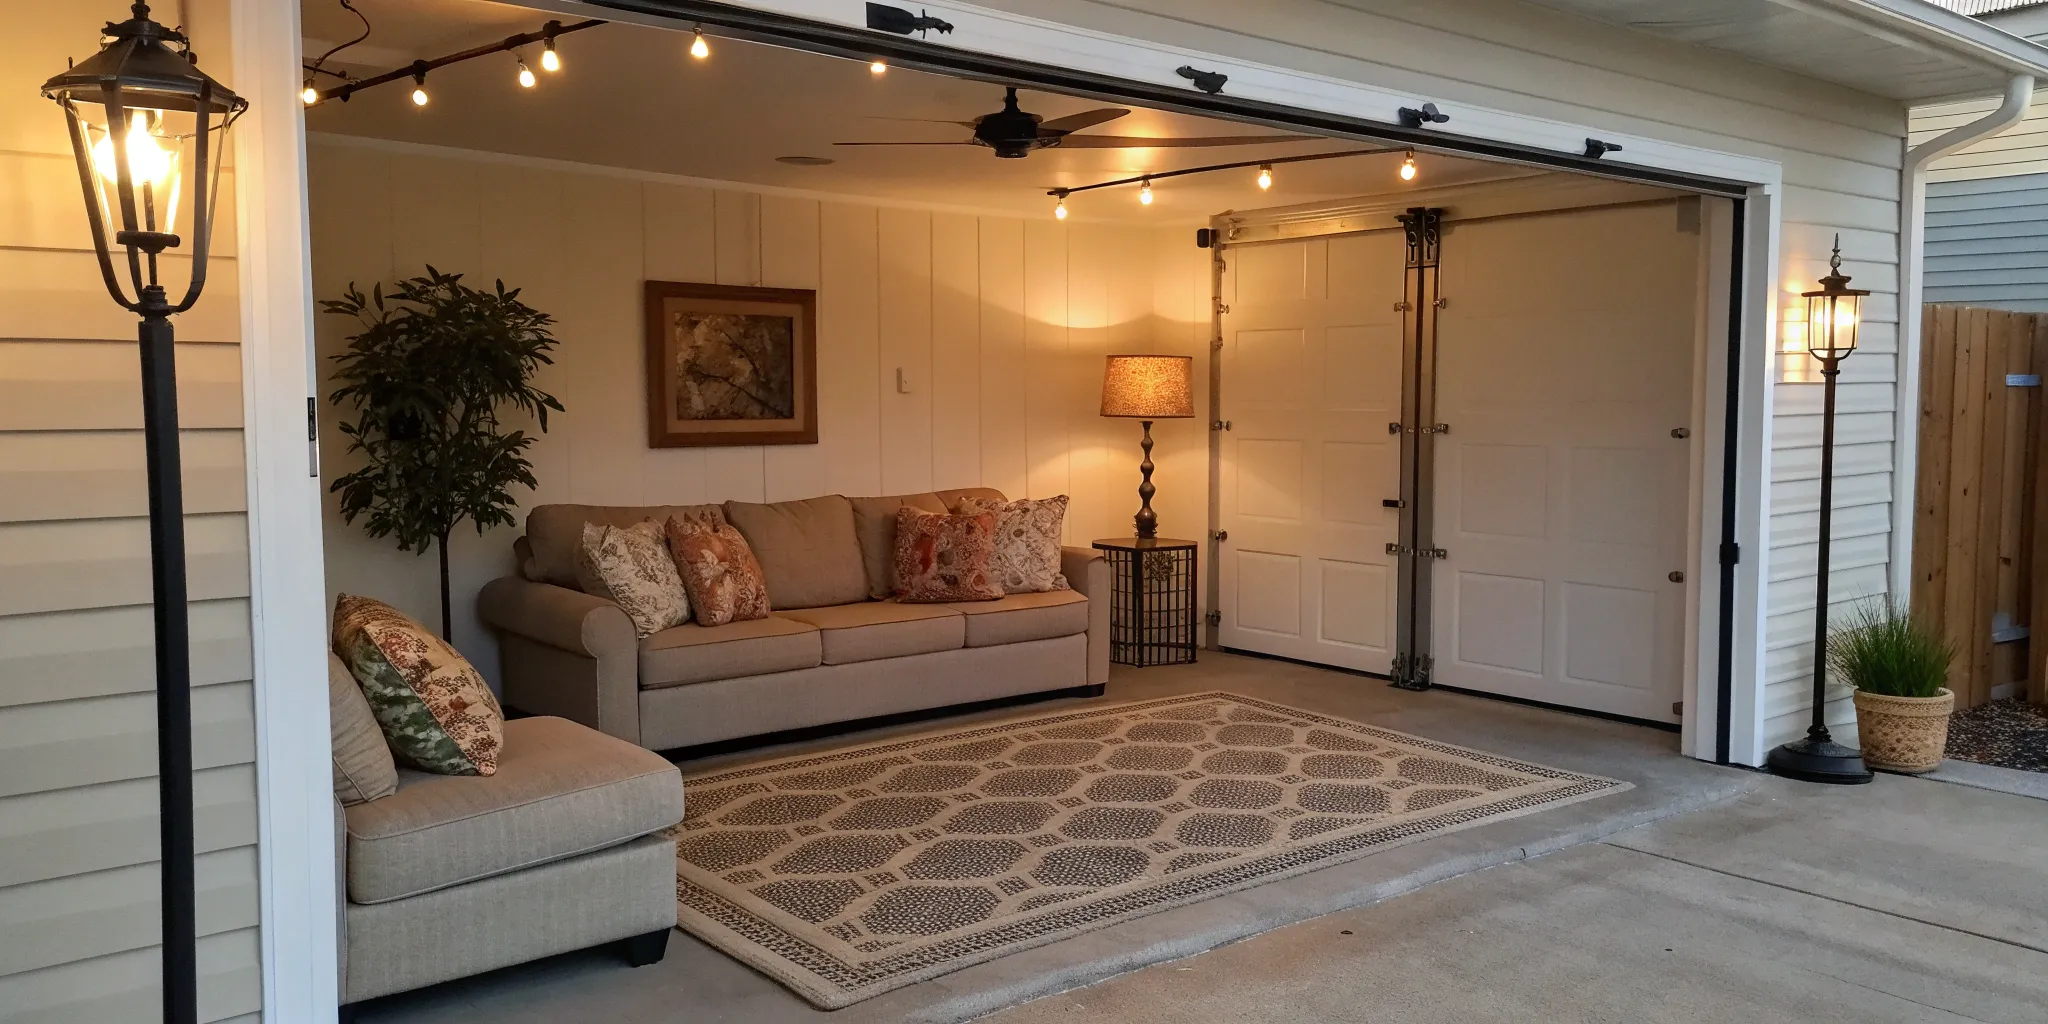
Install New Windows and Doors
Garages are notoriously dark, so bringing in natural light is a top priority. This means cutting openings in the exterior walls to install new windows. You’ll also need a proper entry door, whether it connects to the main house or the outside. The biggest change, of course, is figuring out what to do with the main garage door opening. Many homeowners choose to remove the garage door entirely and frame in the opening for a large picture window, a set of French doors, or a standard wall with a window. This not only enhances the look of your home's exterior but also floods the new space with light, making it feel bright and welcoming.
Get the Insulation Right
Proper insulation is the key to making your converted garage comfortable all year round. Garages are rarely insulated, leaving them freezing in the winter and sweltering in the summer. To create a truly livable space, you’ll need to add insulation to the exterior walls and the ceiling. Common options include fiberglass batts, rockwool, or spray foam, each with its own benefits for thermal resistance and soundproofing. Don't forget about the floor—adding a layer of rigid foam insulation under the subfloor can make a huge difference in keeping the room warm. This step is essential for energy efficiency and will help keep your utility bills in check.
Install Your Home's Core Systems
Once the structural work is done, it’s time to bring your new space to life by installing the core systems that make a room functional and comfortable. This is the "behind-the-walls" work that includes electrical, HVAC, and plumbing. While it’s not the most glamorous part of the renovation, getting it right is absolutely essential for the safety and usability of your converted garage. These systems are complex and have strict code requirements, so this is where hiring licensed, vetted professionals is non-negotiable. A qualified pro will ensure everything is installed correctly, safely, and up to local standards, saving you from major headaches down the road. Planning these systems thoughtfully will ensure your new room is just as comfortable and convenient as any other part of your house.
Plan Your Electrical Layout
Before the drywall goes up, you need a solid electrical plan. This isn't just about deciding where to put a light switch. You'll need to work with a licensed electrician to map out all the new wiring, outlets, and light fixtures. Think carefully about how you'll use the space. Will you need a dedicated outlet for a home office setup or multiple outlets for an entertainment center? Proper planning ensures you have power exactly where you need it. An electrician will also make sure your plan meets all local building codes, which are in place to guarantee safety and prevent electrical hazards.
Add Heating and Air Conditioning
A garage is rarely equipped to handle year-round temperature changes, so adding a climate control system is a must for comfort. You have a few great options to consider. If your home’s existing HVAC system has enough capacity, you might be able to simply extend the ductwork into the new space. For a more targeted solution, a ductless mini-split system is an incredibly efficient way to heat and cool a single room. Another option, especially if you're pouring a new concrete floor, is radiant floor heating, which provides a wonderfully consistent warmth from the ground up. A Realm advisor can help you weigh the pros and cons of each system for your specific project.
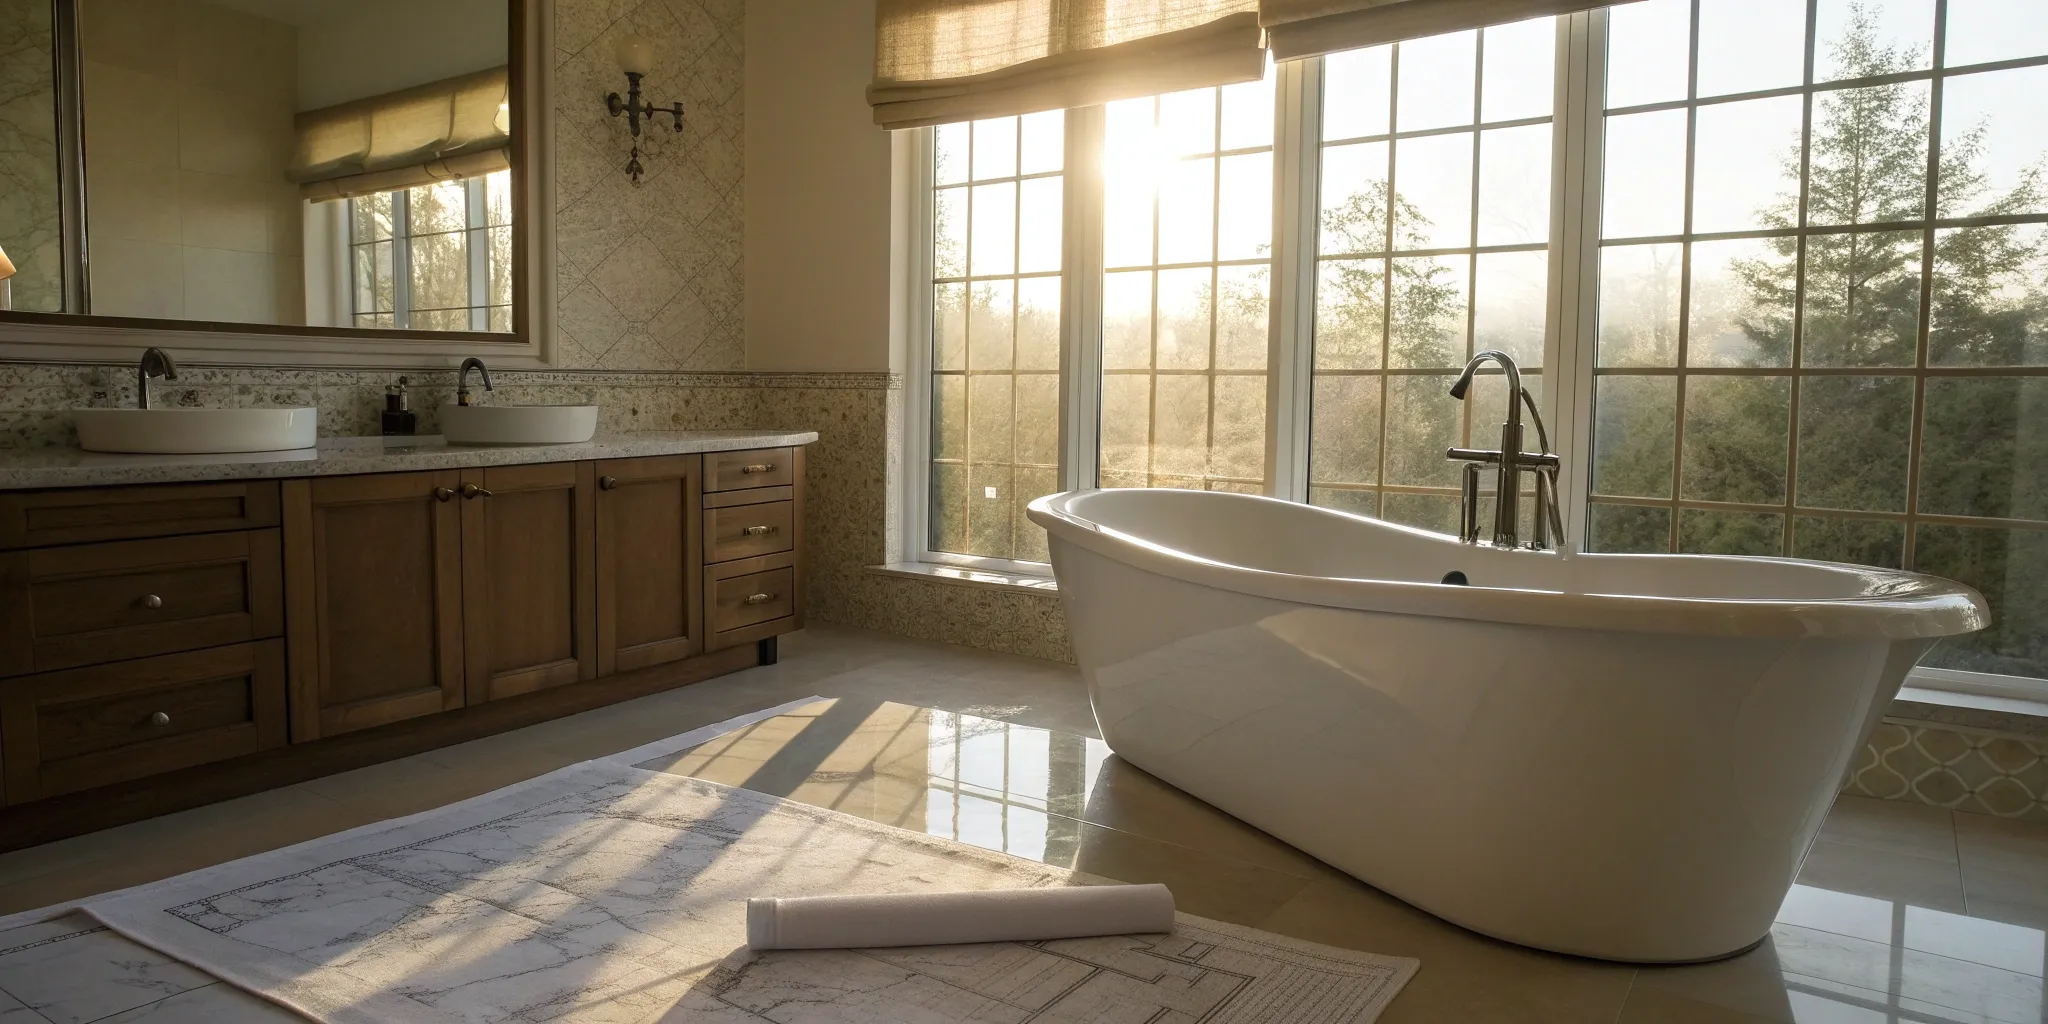
Run New Plumbing
If your garage conversion plans include a bathroom, kitchenette, or even just a utility sink, you’ll need to run new plumbing lines. This step can be one of the more complex and costly parts of the project, as it often involves cutting into the concrete slab to install pipes for water supply and drainage. It’s crucial to hire a licensed plumber to handle this work. They will ensure the new plumbing is properly connected to your home’s main systems and graded correctly to prevent clogs and leaks. Getting the plumbing right from the start will save you from messy and expensive water damage issues in the future.
Ensure Proper Ventilation
Good ventilation is key to creating a healthy and pleasant living environment. It helps control moisture, prevents mold growth, and keeps the air fresh. Building codes typically require a certain amount of natural ventilation, which you can achieve by installing windows that open. The size and number of windows will depend on your local regulations and the square footage of the room. In addition to windows, you’ll need mechanical ventilation, like an exhaust fan, if you’re adding a bathroom or kitchenette. This helps to quickly remove moisture and odors directly from the source, protecting your new space and improving indoor air quality.
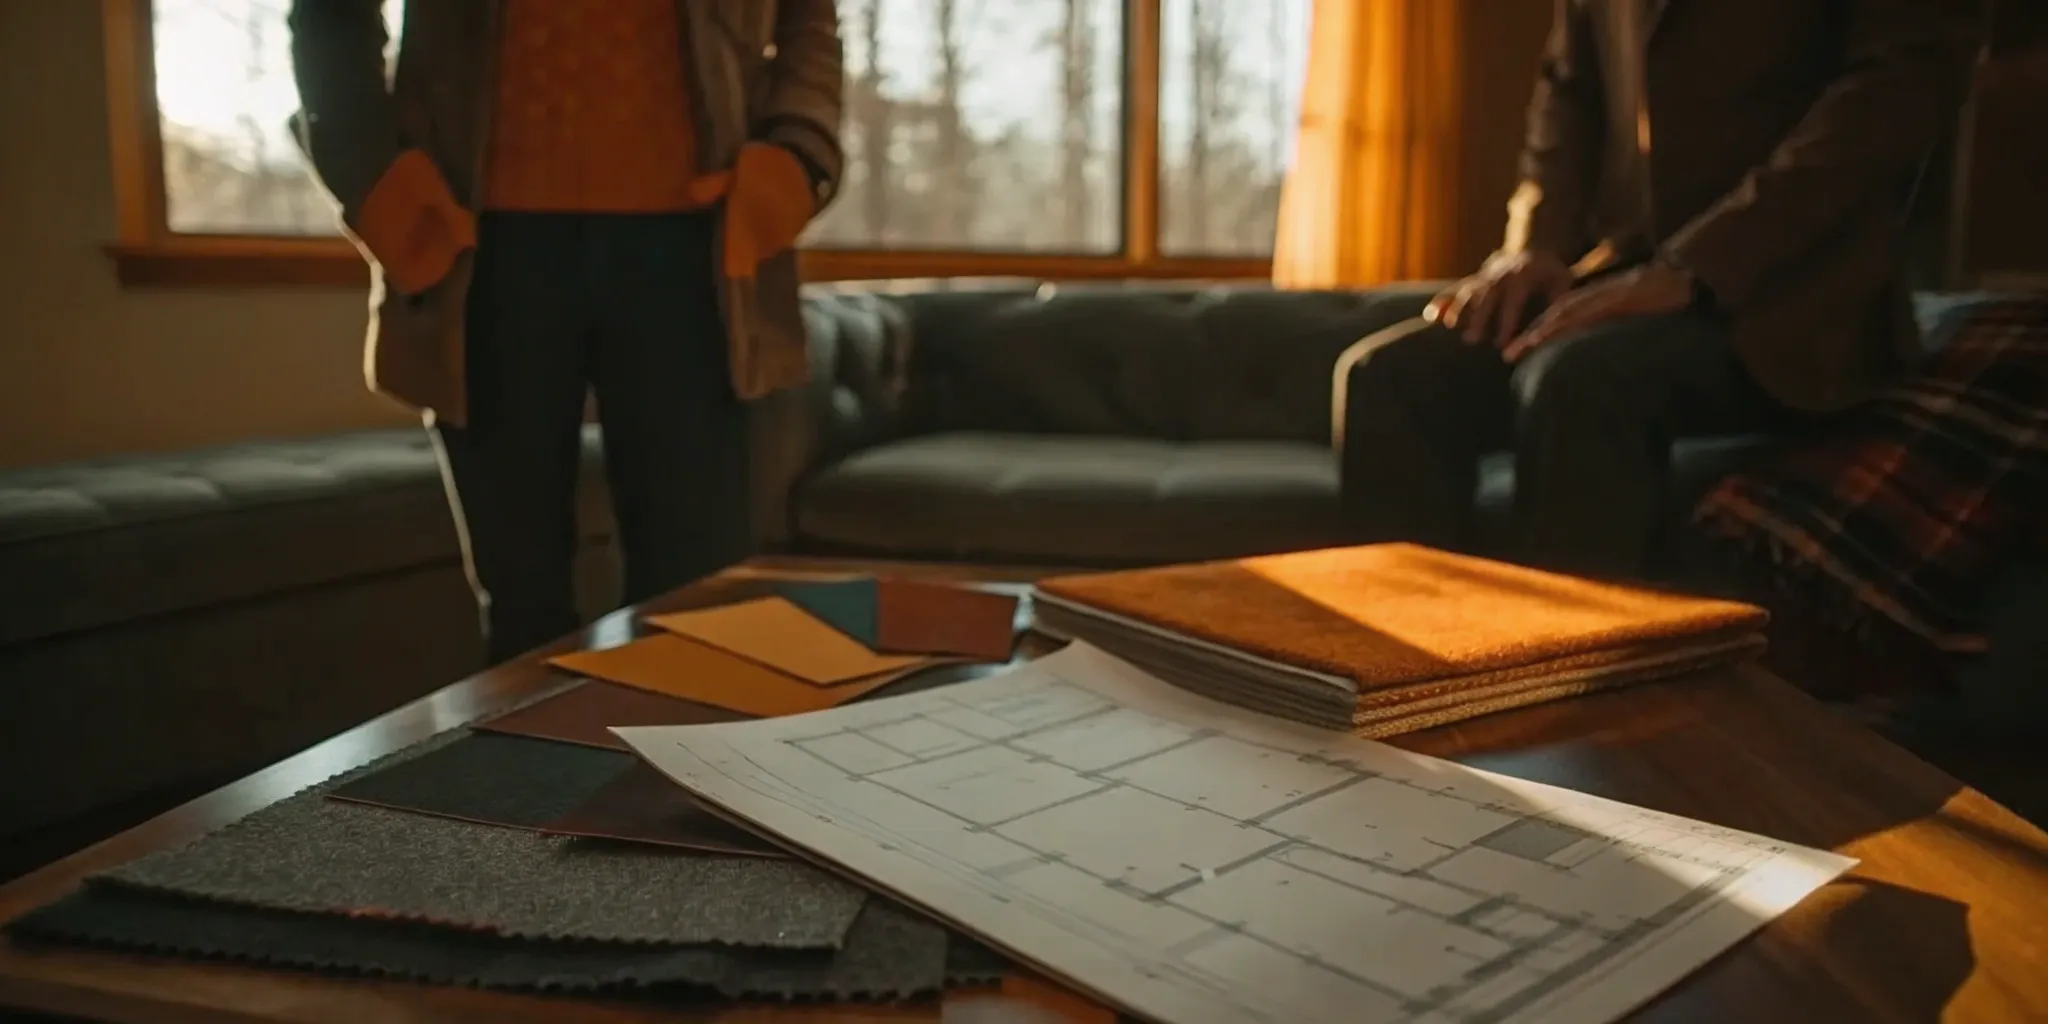
Design Your New Layout
Once the structural work is planned, you can move on to the most exciting part: designing your new room. This is where you get to decide how the space will look, feel, and function for your family. A thoughtful layout is the key to transforming a cold garage into a warm, inviting part of your home. It’s about more than just picking paint colors; it’s about creating a floor plan that flows naturally and serves your specific needs.
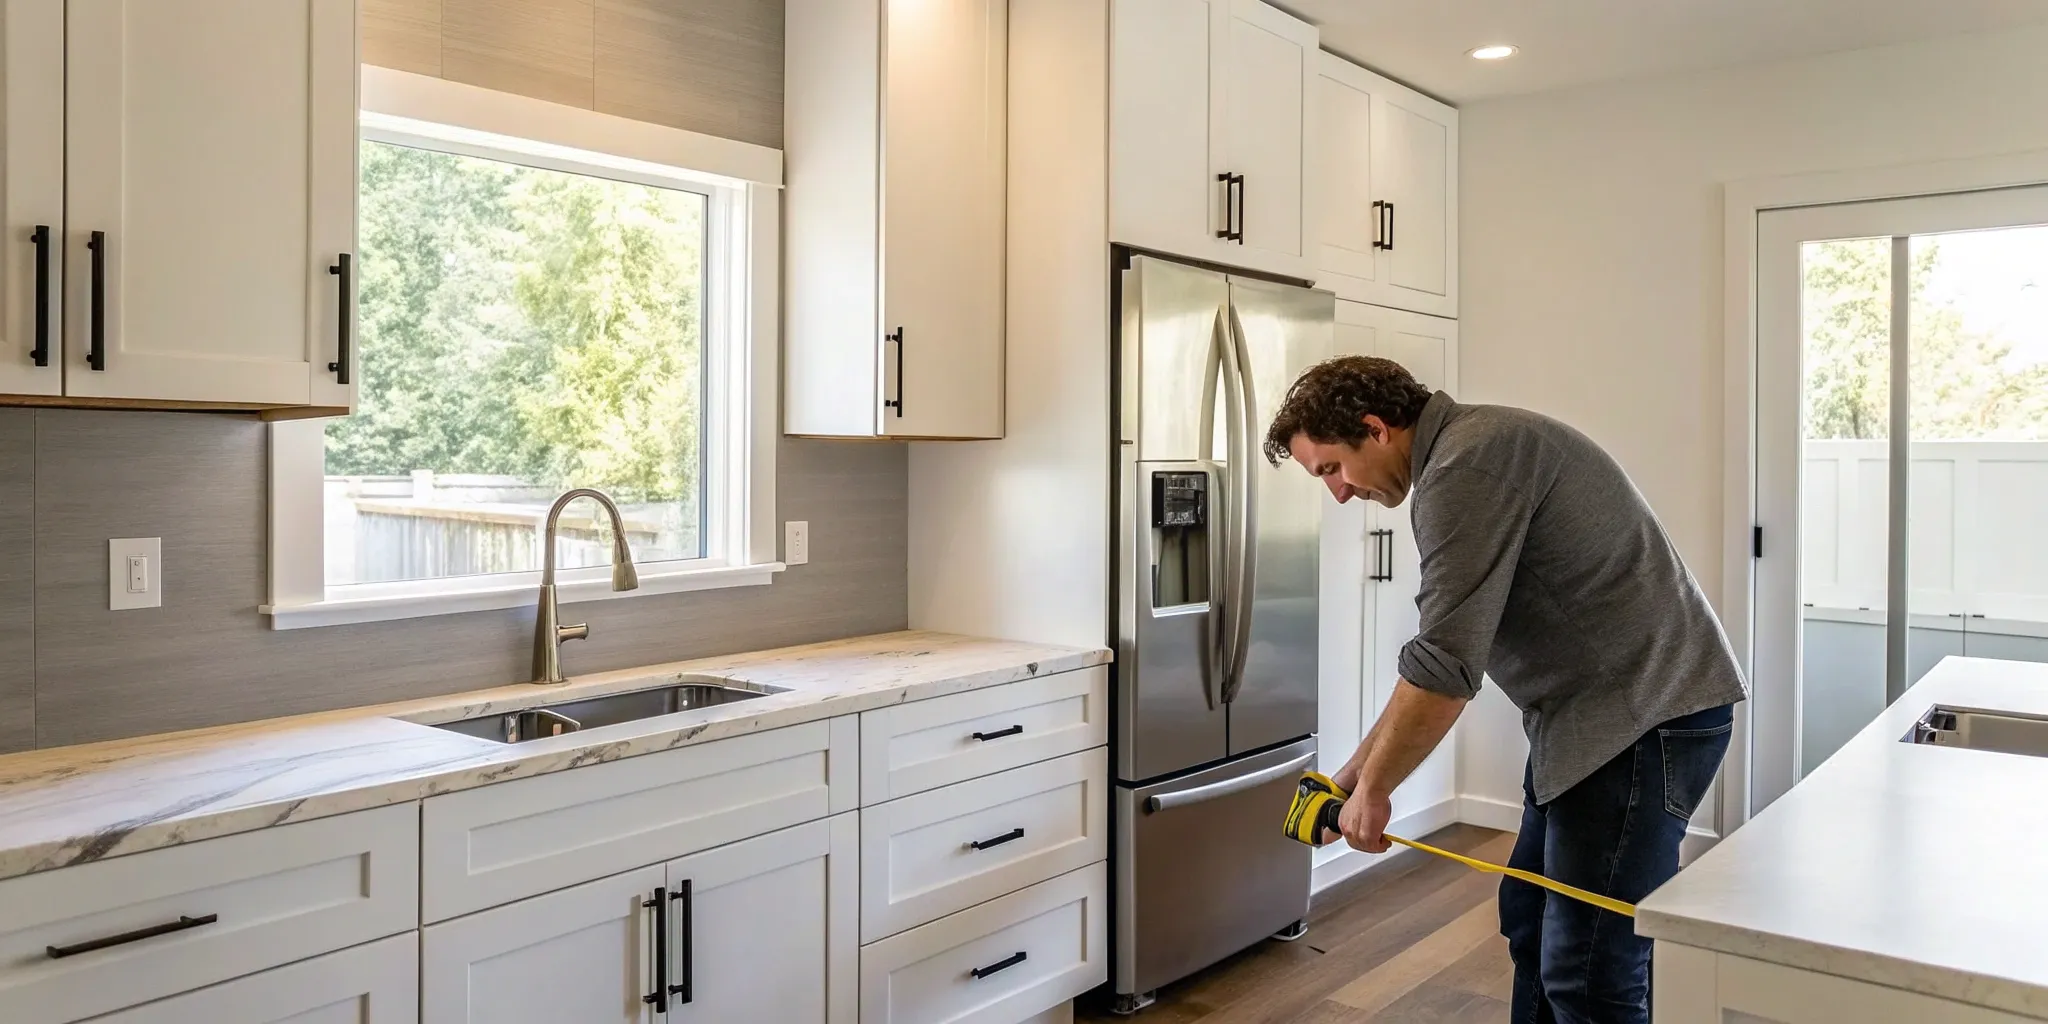
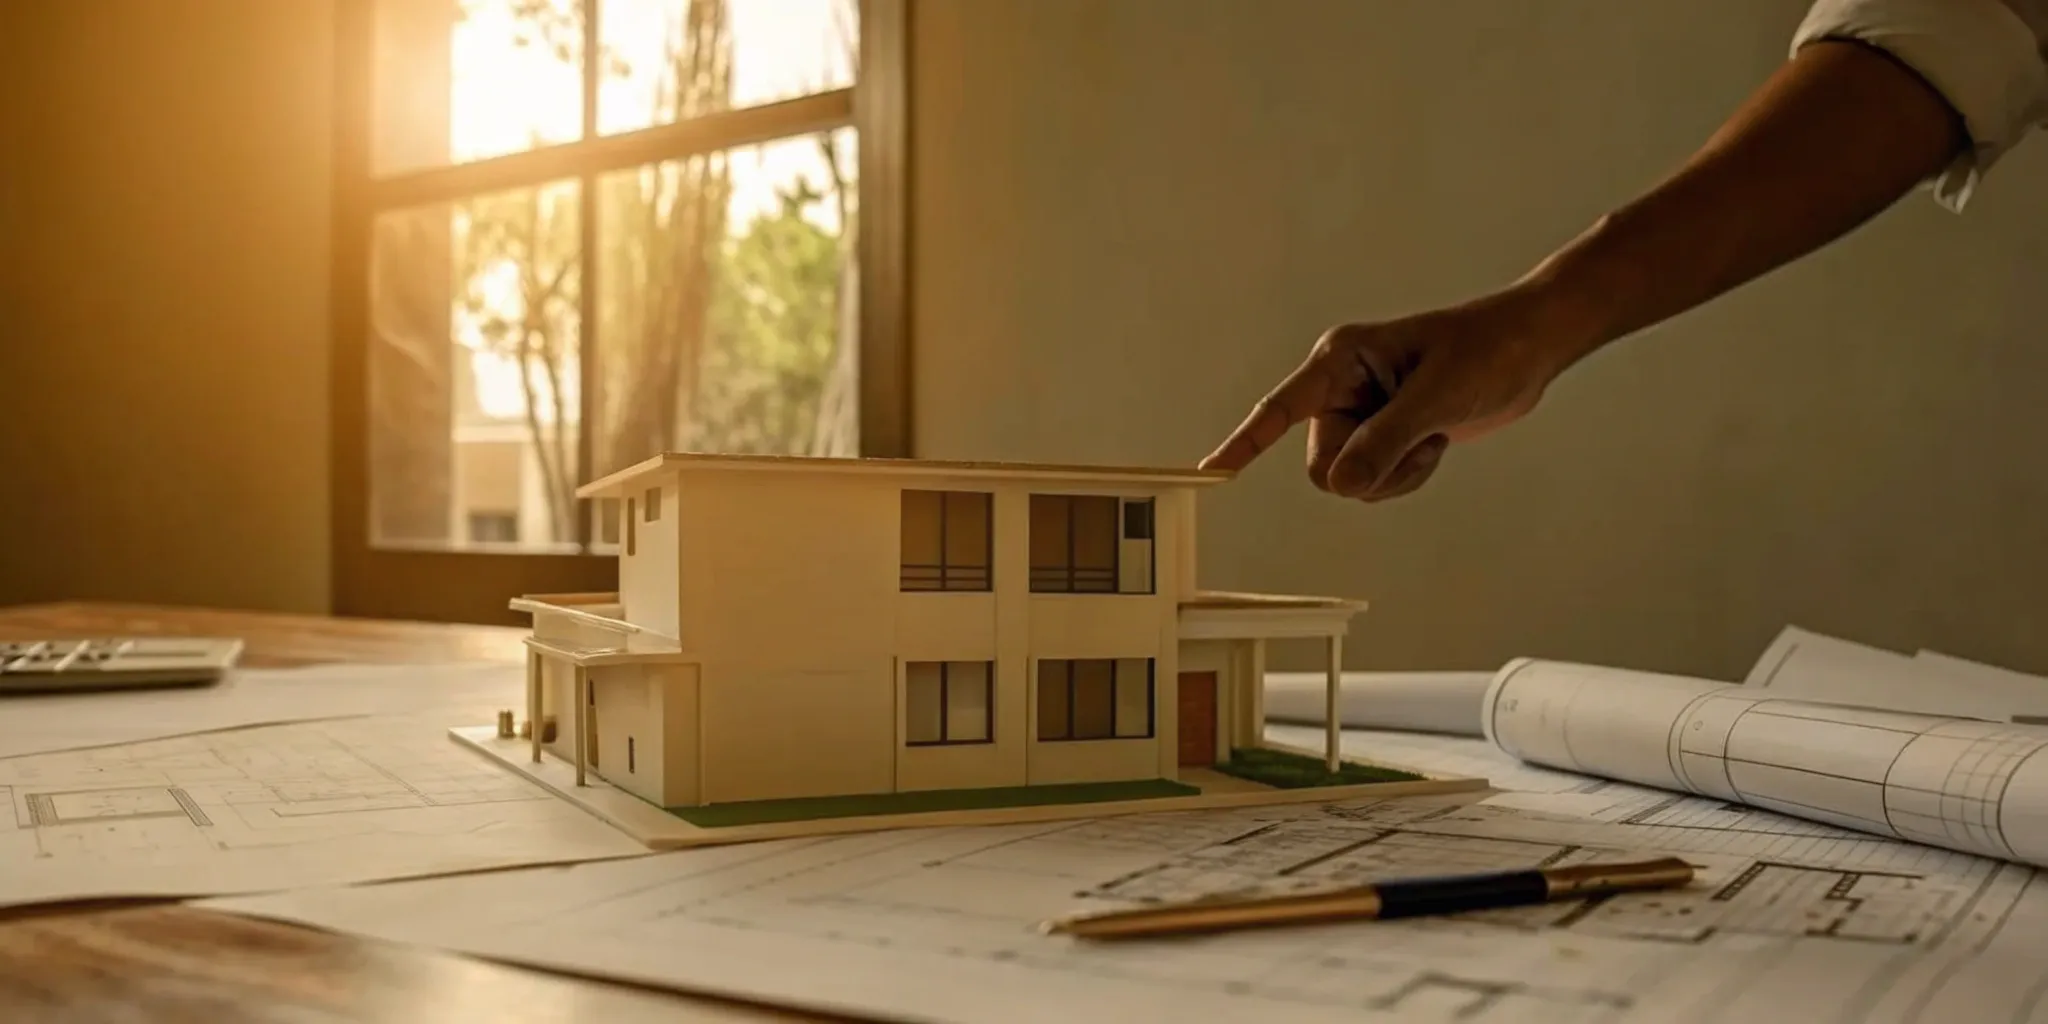
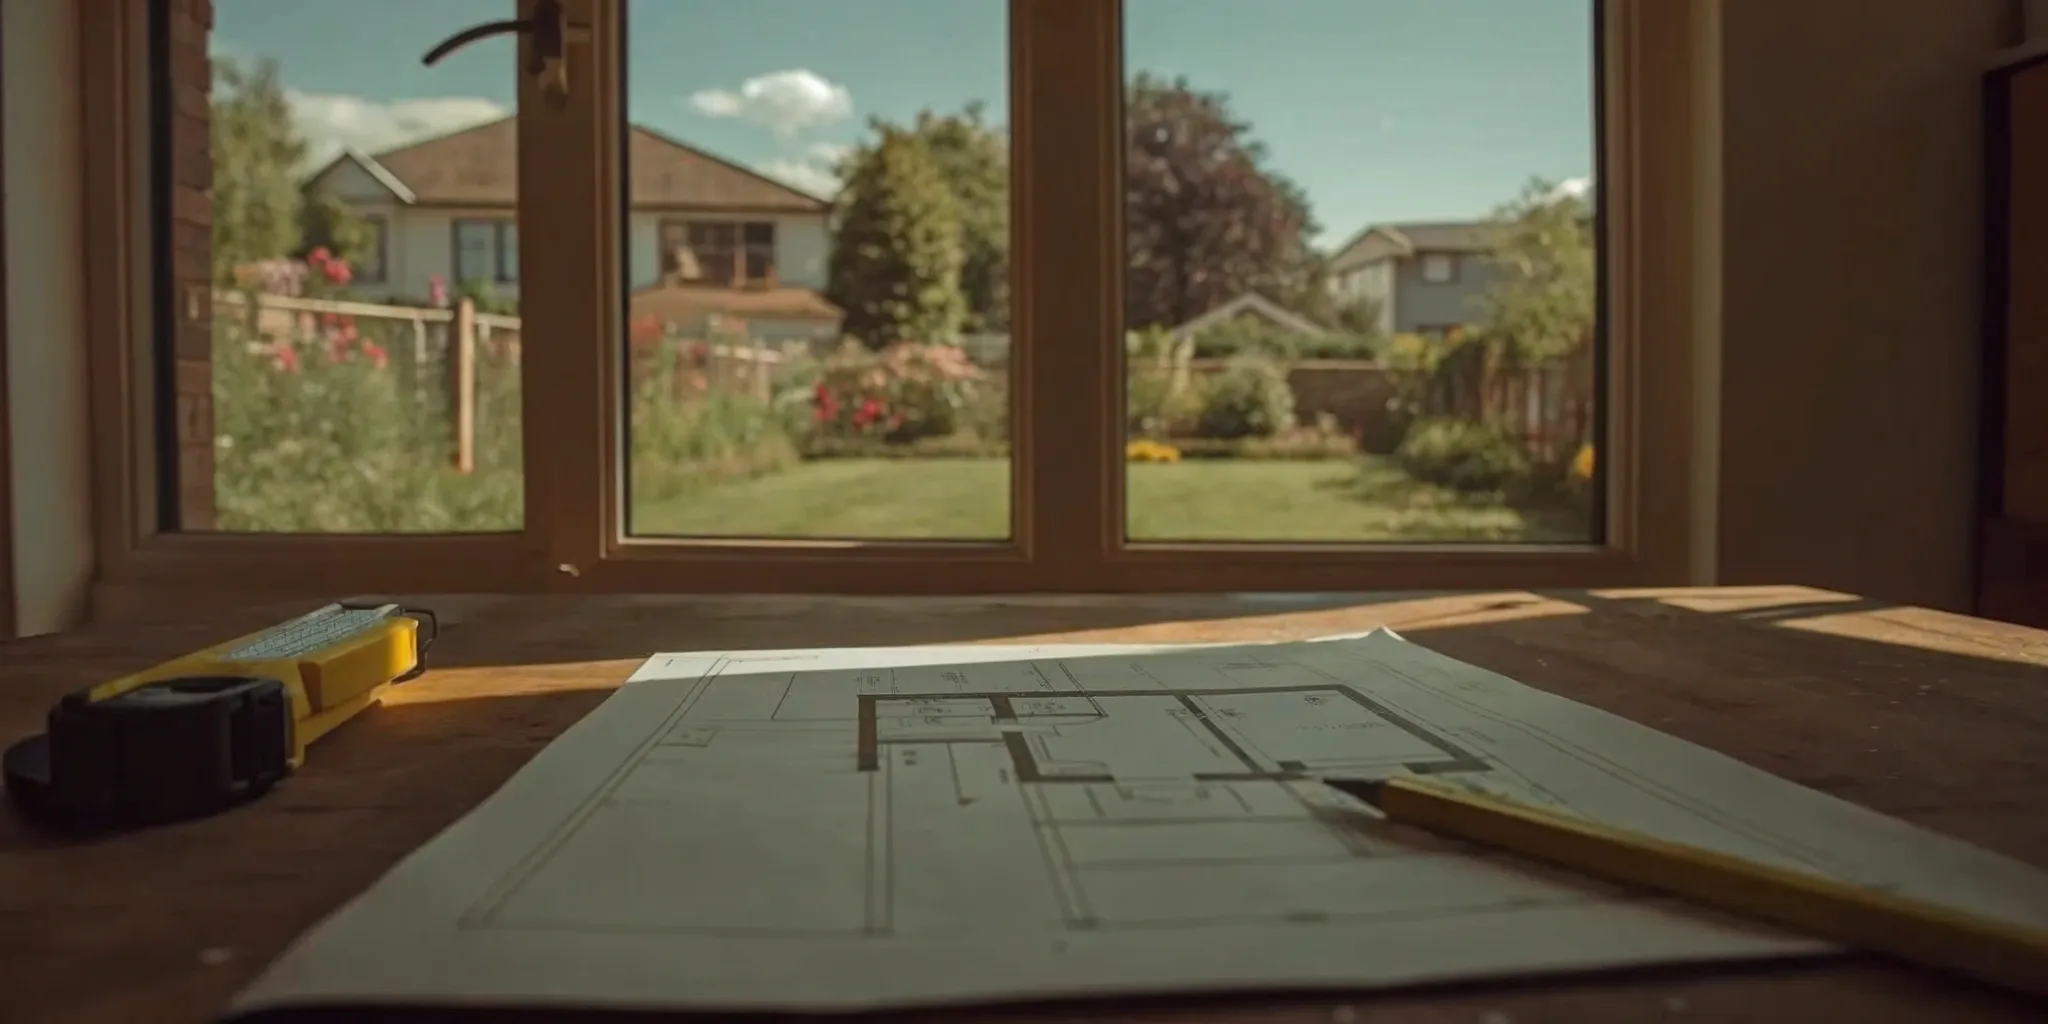
Assess Your Current Space
Before you start dreaming of furniture placement, take a good look at what you’re working with. Measure the exact dimensions of your garage, noting the locations of any support columns, utility hookups, or windows. Think about how the new space will connect to the rest of your home. Will you need a new doorway? How will foot traffic flow? It's also critical to investigate your local building codes and permit requirements, as these rules will influence what’s possible. A clear understanding of your starting point makes the entire design process smoother and helps you and your contractor stay on the same page.
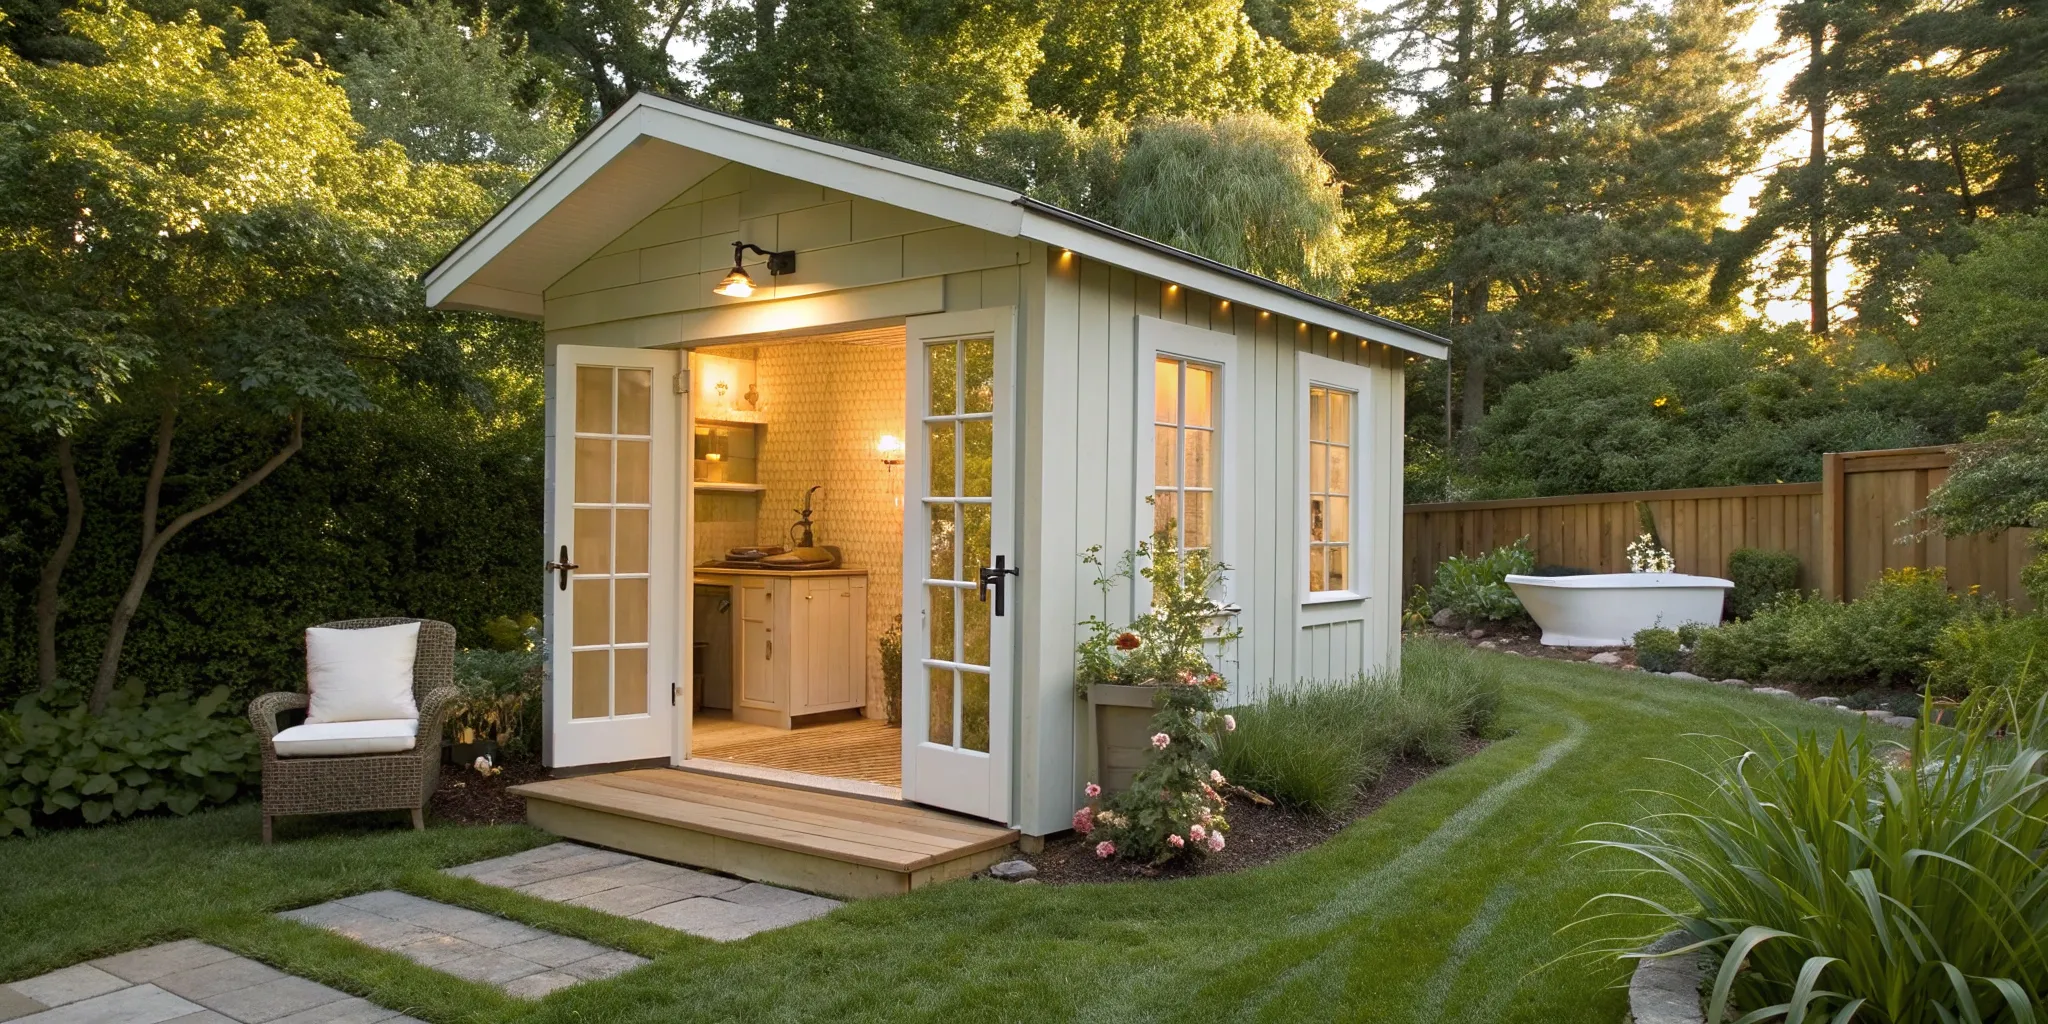
Explore Different Layout Options
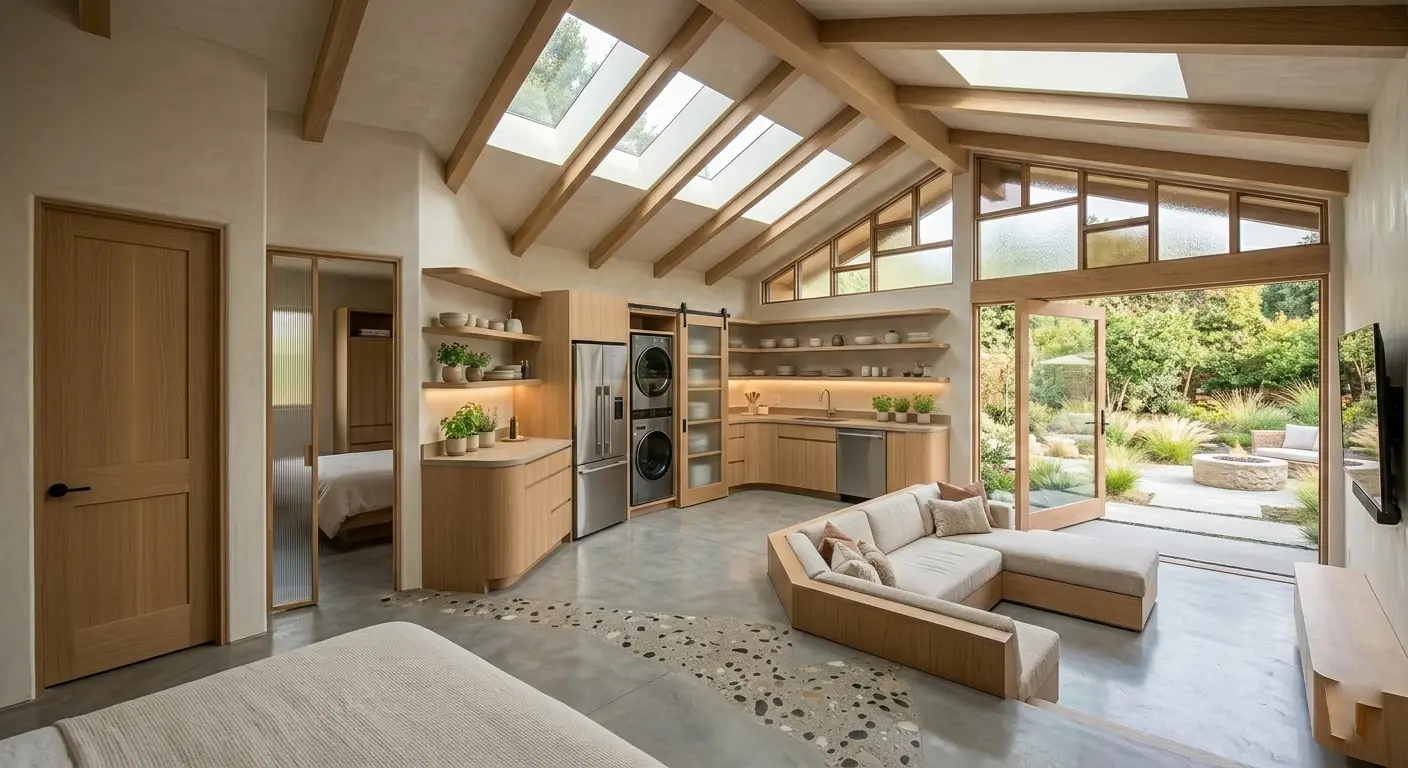
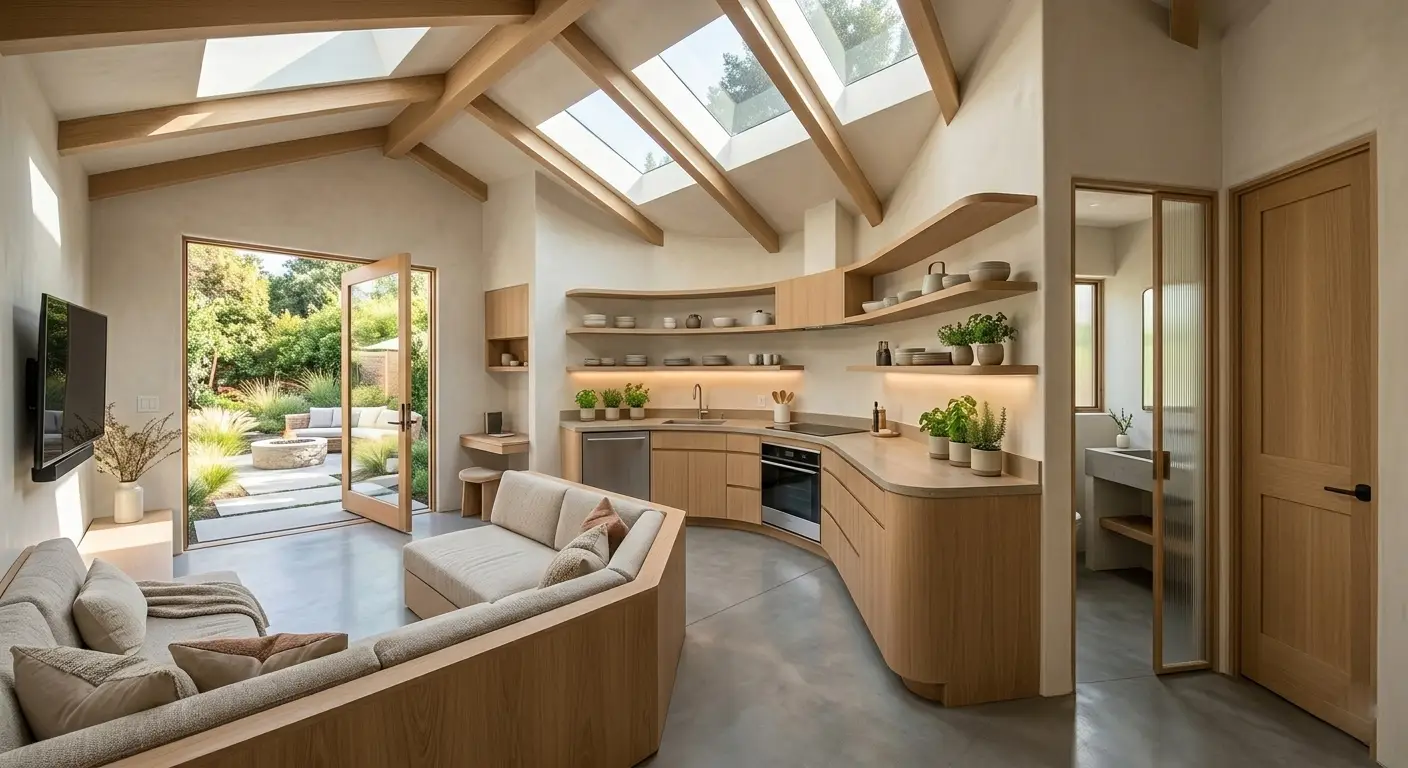
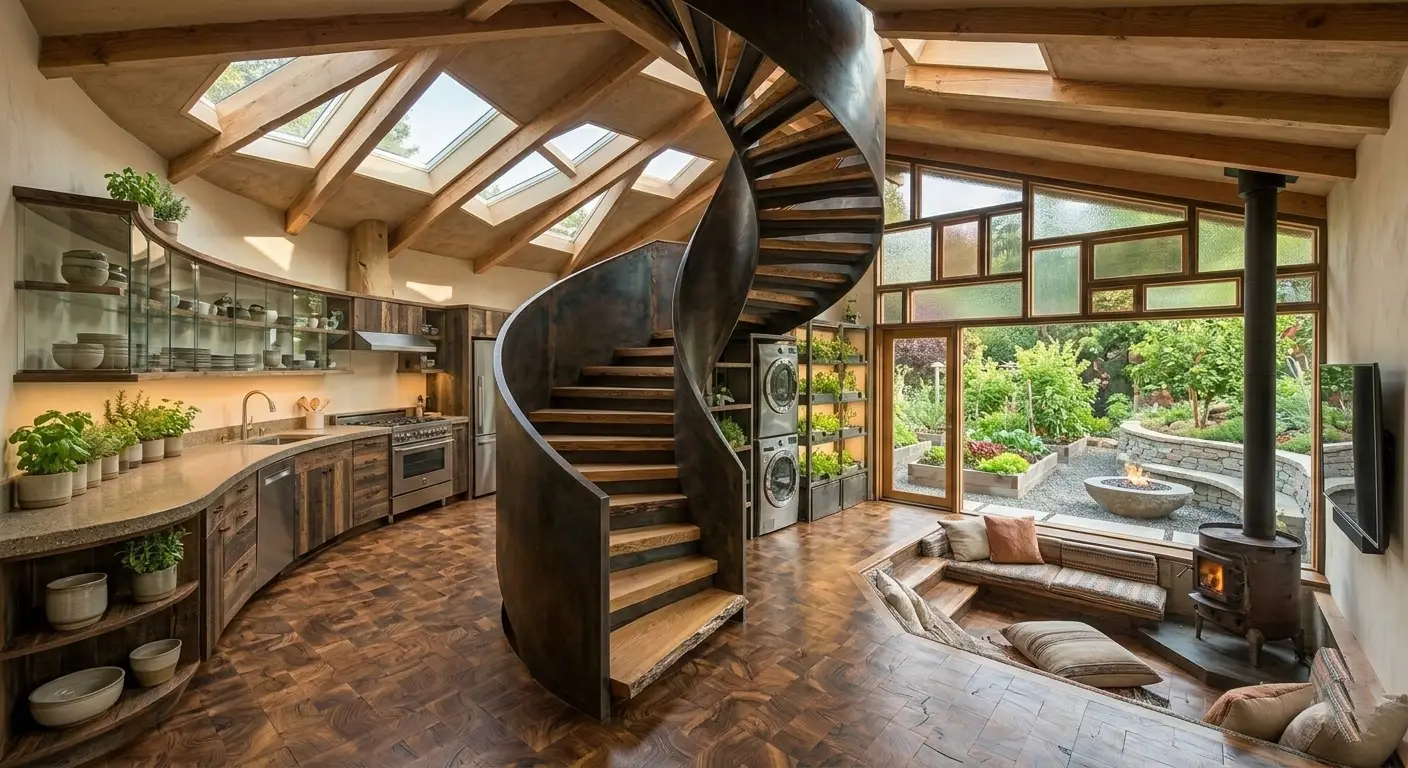
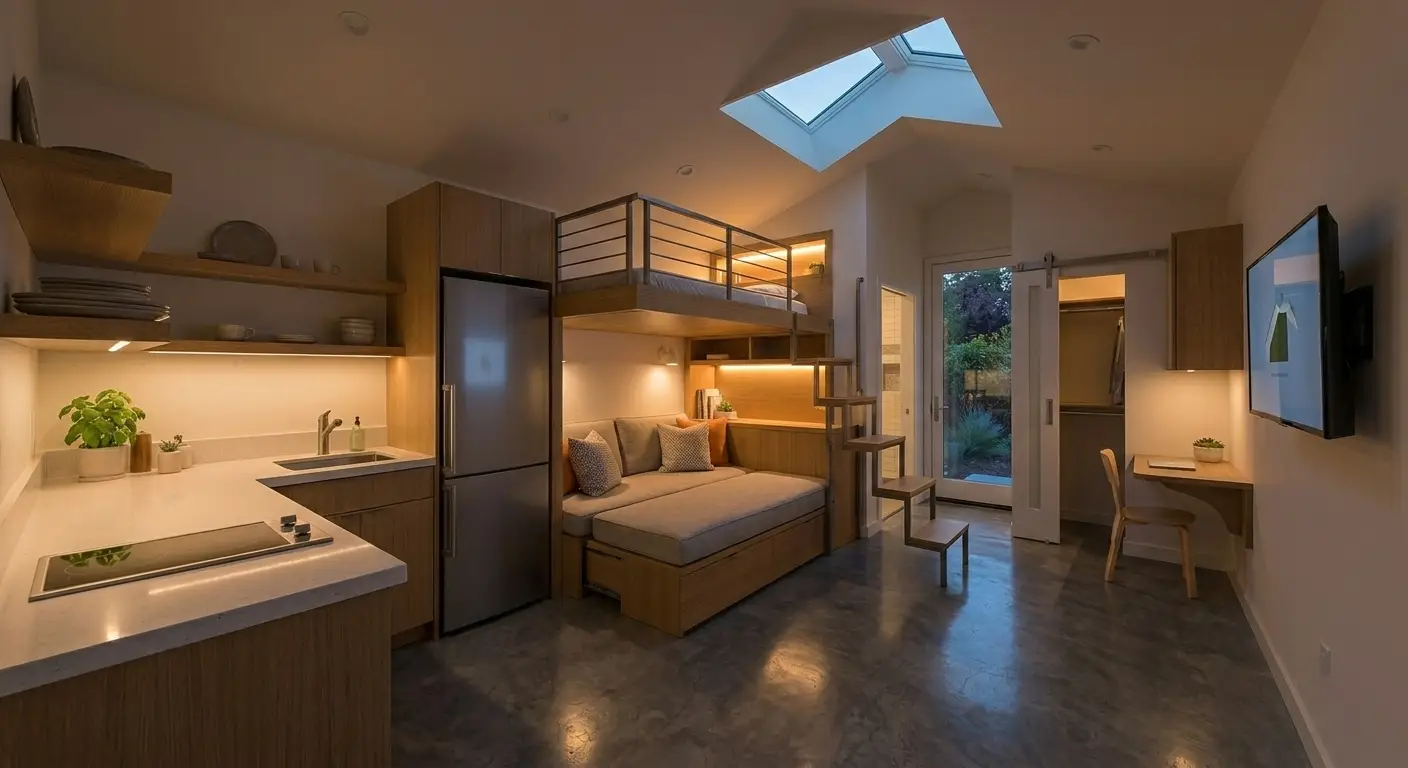
Now, let your imagination run wild. What does your family need most? Garages can become extra living rooms, guest rooms, or places to entertain. You could turn your garage into a new primary suite, a home office, or even a self-contained apartment for rental income or multi-generational living. Sketch out a few different floor plans to see how you can best use the square footage. Consider an open-concept design to make the space feel larger, or use partitions to create distinct zones. Looking at garage conversion ideas can give you plenty of inspiration for what’s possible.
Plan for Smart Storage
One of the biggest trade-offs in a garage conversion is losing storage space. Before you commit, think about where you’ll put everything that’s currently in your garage—from tools and holiday decorations to bikes and sports equipment. If you convert the space, make sure you have enough other storage, like a shed or a well-organized basement. You can also incorporate clever storage solutions into your new design. Think about built-in cabinets, window seats with hidden compartments, or even a small loft area to keep things organized and out of sight. This foresight will prevent clutter and maintain your home’s functionality.
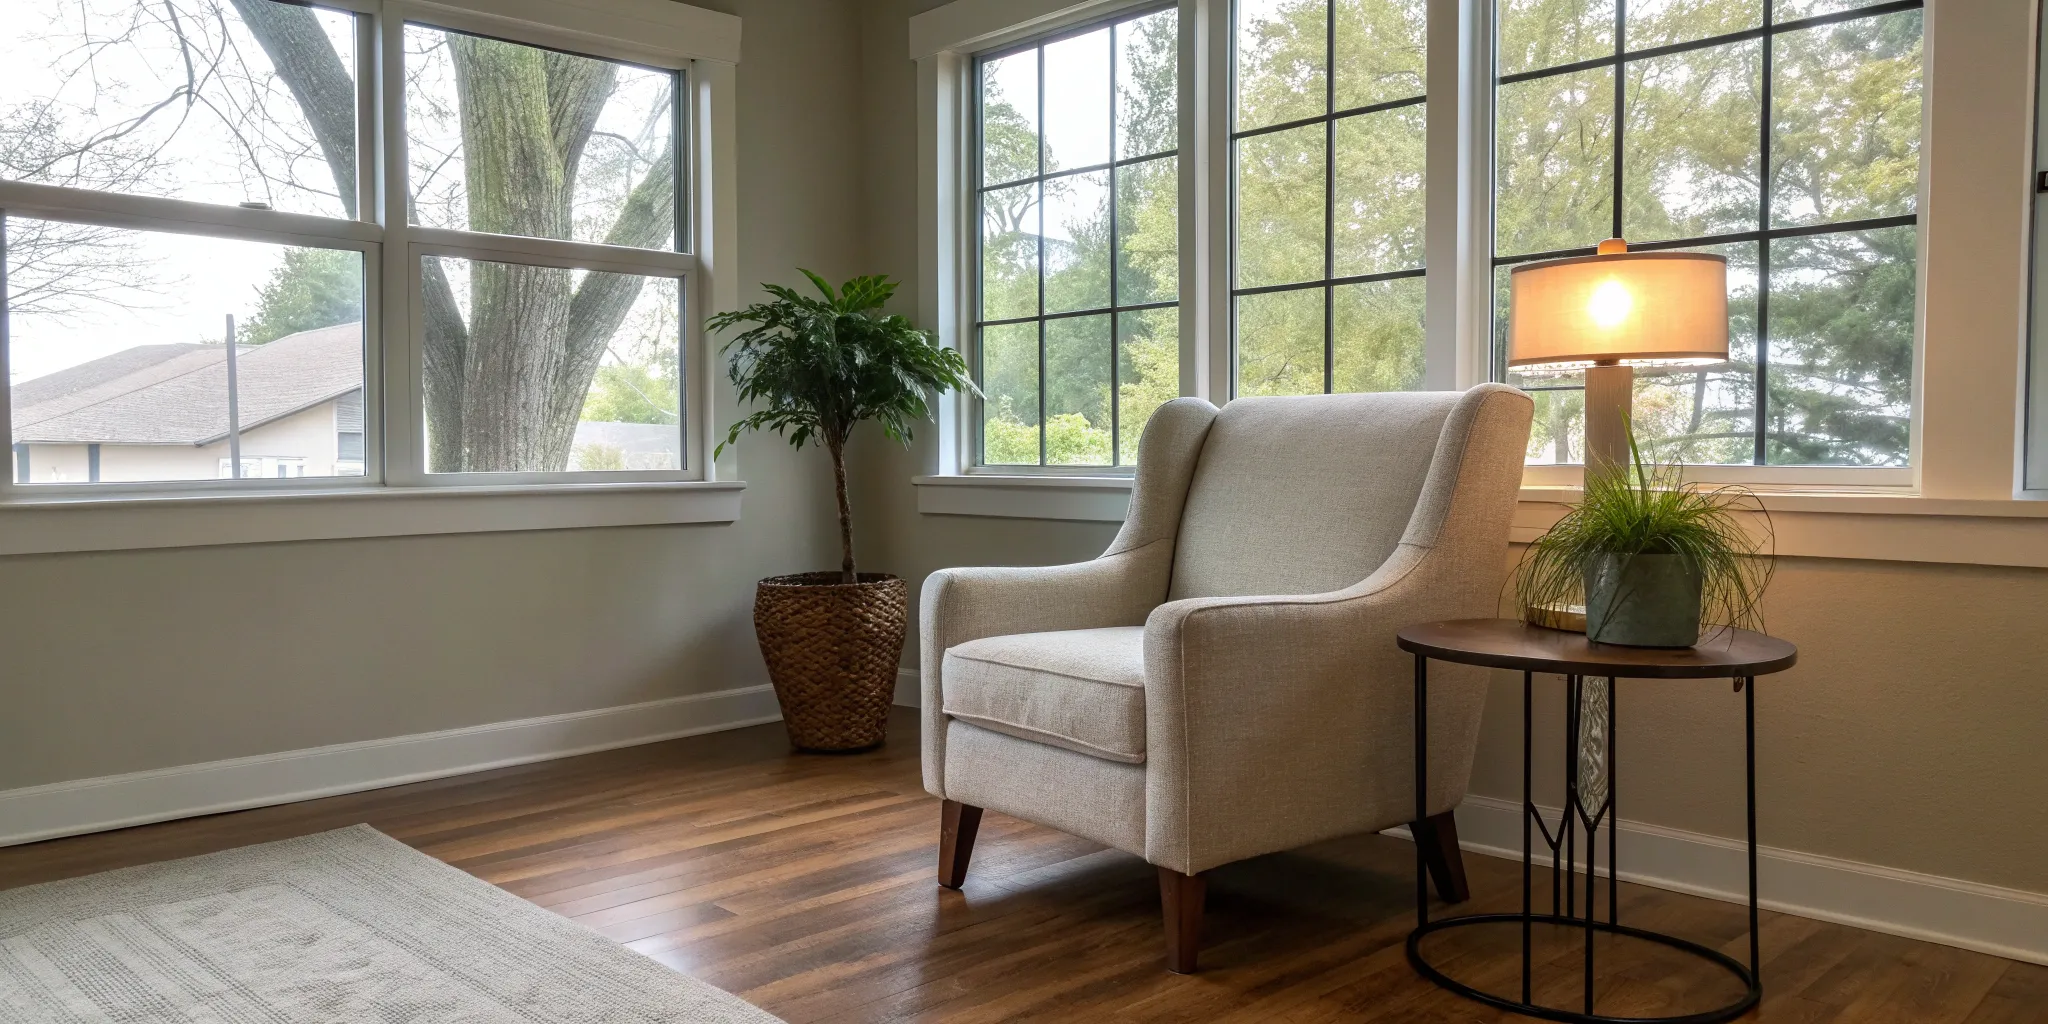
Maximize Natural Light
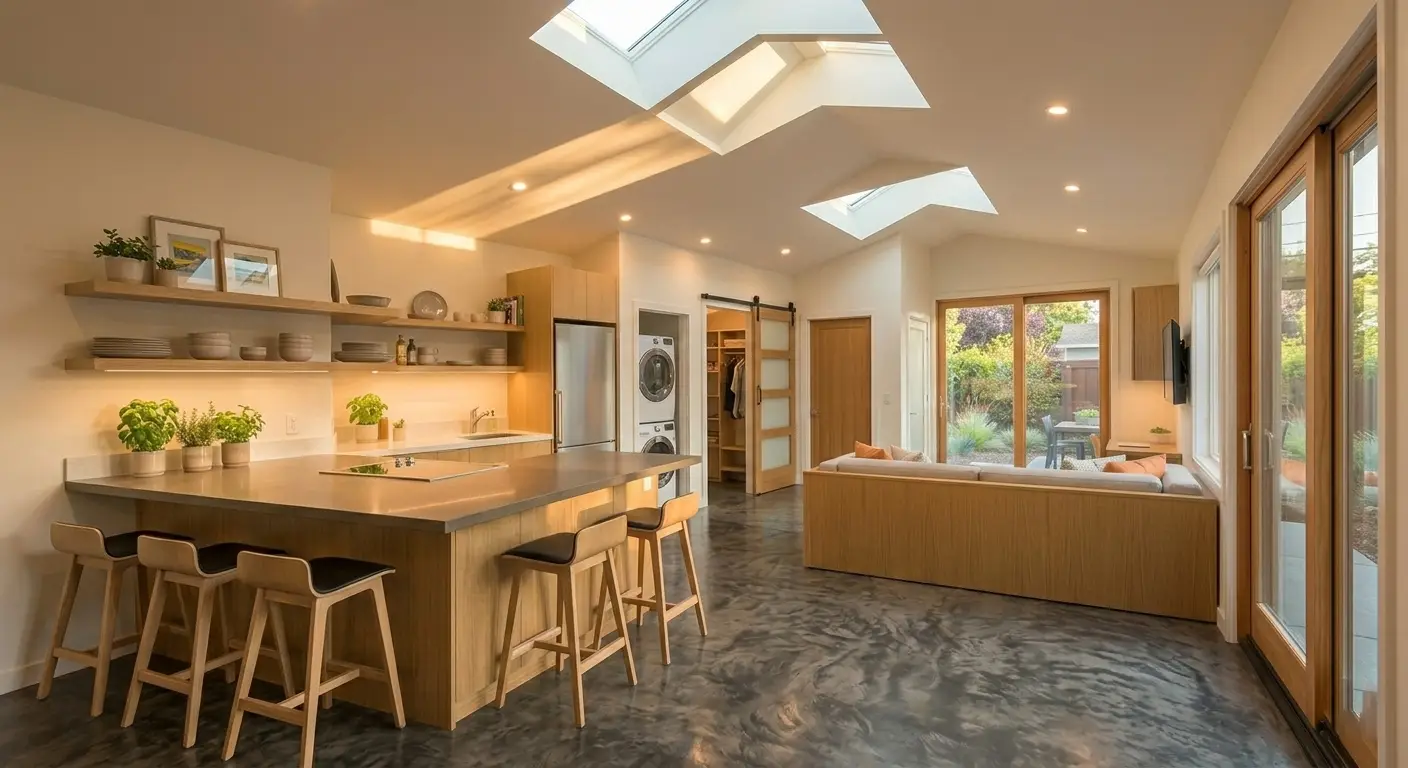
Garages are notoriously dark, so bringing in sunlight is essential for making the new room feel like a true living space. The best way to do this is to install new windows and exterior doors to bring in natural light and provide easy access to the outside. Consider adding a large picture window where the garage door used to be or installing French doors that open onto a patio. Skylights are another fantastic option for flooding the room with overhead light without sacrificing wall space. The more natural light you can incorporate, the more open and welcoming your converted garage will feel, which can even have a positive impact on your mood and well-being.
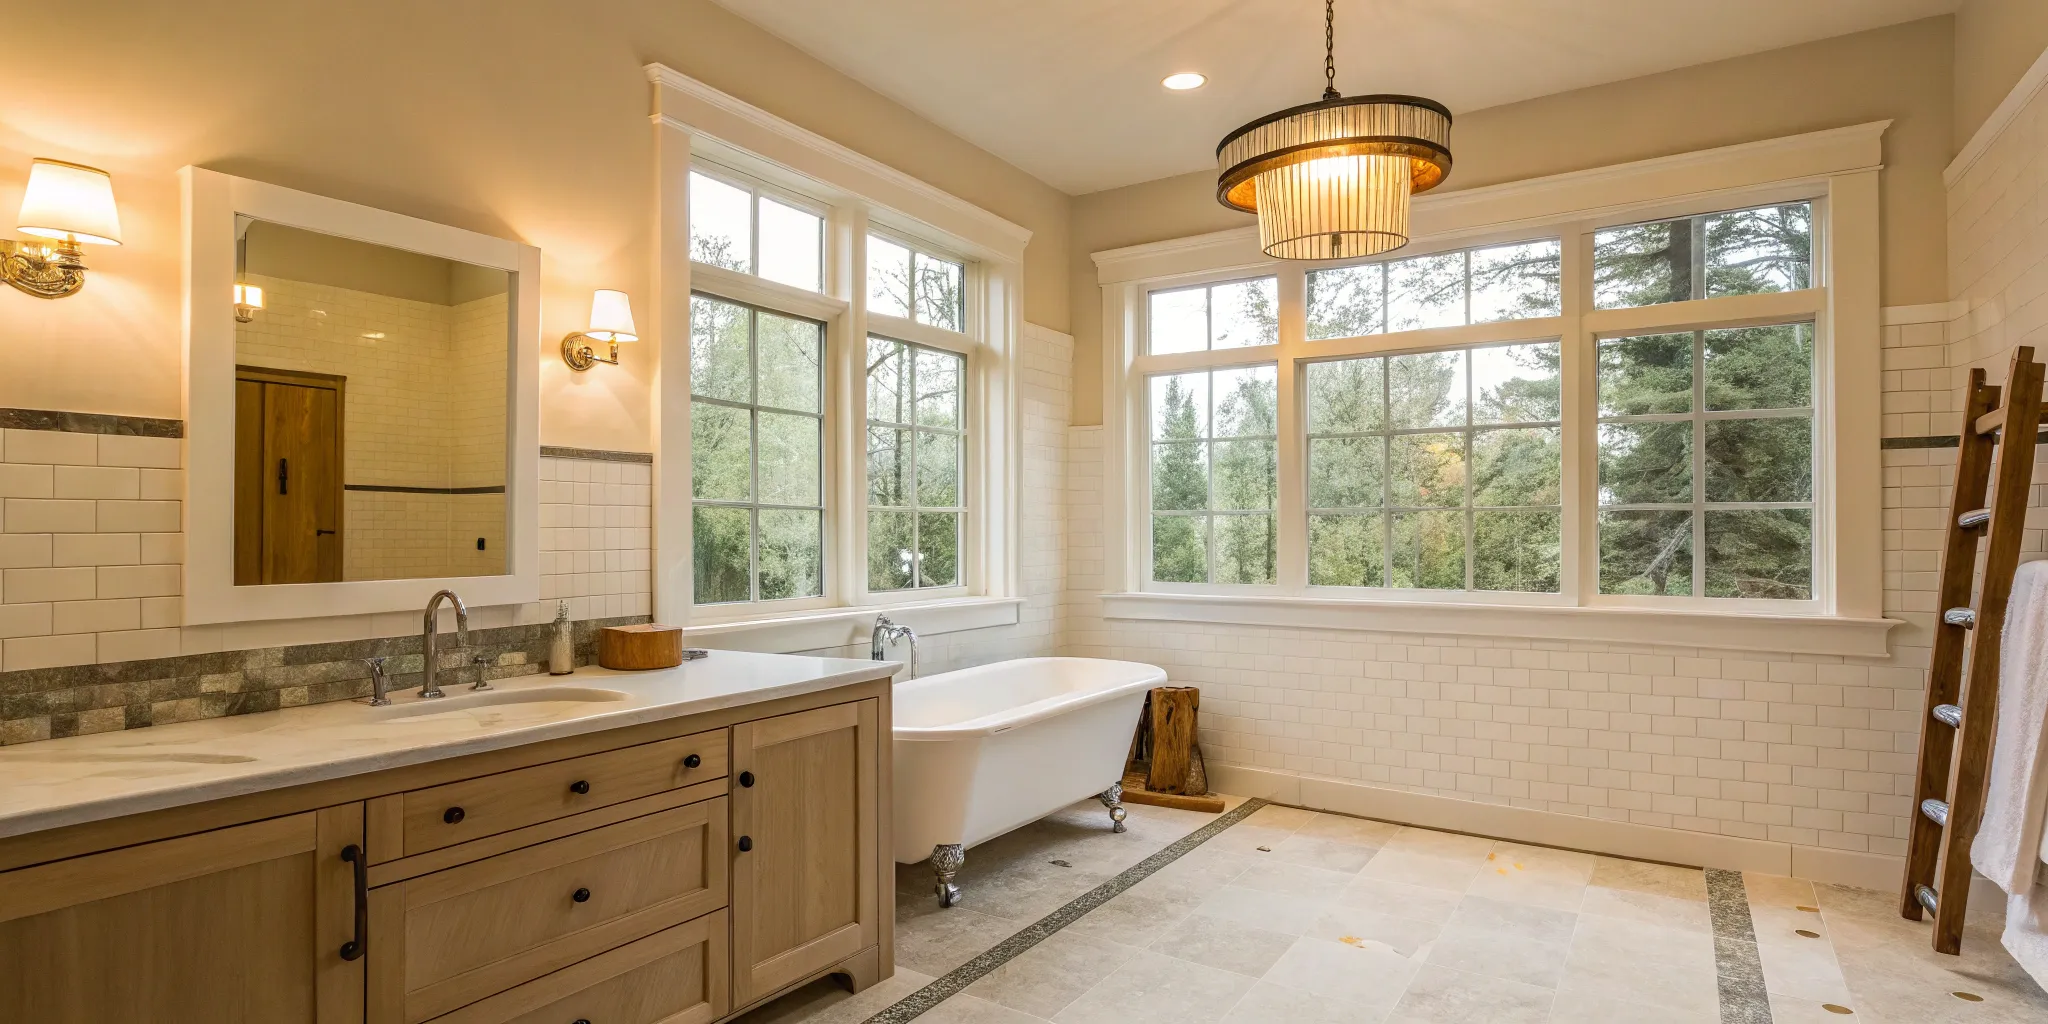
Add the Finishing Touches
With the major structural work and systems in place, you can now focus on the details that will transform your converted garage into a beautiful and functional room. This is where the space truly starts to feel like a part of your home. Choosing the right finishes—from the floor under your feet to the light fixtures overhead—is what brings your vision to life. These final steps are all about adding personality, comfort, and polish to your new living area, ensuring it’s a place you’ll love spending time in.
While the foundation, walls, and utilities are the skeleton of your project, the finishes are the heart and soul. They dictate the room's mood, influence how you use the space, and ultimately determine how much you enjoy it. Think about how a warm, soft flooring can make a playroom more inviting, or how a carefully designed lighting scheme can turn a simple office into a productive sanctuary. This is your chance to go beyond pure function and infuse the room with your personal style. A well-thought-out plan for these final details will make the difference between a room that simply exists and one that truly enhances your home and lifestyle. From selecting the perfect paint color to installing trim that matches the rest of your house, every choice contributes to a cohesive and intentional design.
Choose the Right Flooring
The original concrete garage floor provides a blank slate, but you’ll want to cover it to create a more comfortable and inviting atmosphere. There are many great options that work well for garage conversions. Durable and stylish choices like laminate, luxury vinyl plank, or tile are popular because they are easy to clean and can handle foot traffic. If you prefer a more industrial or budget-friendly look, you can simply have the concrete floor professionally painted and sealed. Your choice of flooring material will set the tone for the entire room, so consider both the style you want and how you plan to use the space.
Select Wall Finishes
Once the drywall is up, it’s time to bring color and character to your new walls. A fresh coat of primer and paint is the first step and can dramatically change the feel of the room. Don’t stop there, though. Installing trim around windows and doors, along with baseboards, gives the space a clean, finished look that seamlessly connects it to the rest of your house. This is also the perfect time to add any planned built-in storage, like bookshelves or cabinetry. These finishing touches are what make a room feel complete and thoughtfully designed, rather than like a simple add-on.
Design Your Lighting Scheme
Good lighting is essential for making your converted garage feel bright and welcoming. A single overhead fixture won’t be enough. It’s best to work with an electrician to plan a full electrical layout that includes new wiring, plenty of outlets, and a variety of light fixtures. A layered lighting plan often includes a mix of ambient lighting (like recessed cans), task lighting (for a desk or reading nook), and accent lighting to highlight features. Proper planning ensures your new room is well-lit for any activity, day or night, and meets all local building codes for safety.
Consider Soundproofing
Garages aren’t typically built with acoustics in mind. To create a more private and peaceful environment, it’s wise to add soundproofing. This is especially important if the new room will be a bedroom, home office, or media room. The most effective way to do this is by adding sound-dampening insulation inside the new interior walls before the drywall goes up. This insulation not only helps block noise from the outside or the rest of the house but also improves temperature control. Taking this step ensures your new space is a comfortable retreat where you can relax or focus without unwanted distractions.
Find the Right Professionals
Bringing in the right team is one of the most important steps in your garage conversion. While it’s tempting to focus on design and finishes, the people you hire will make or break your project. A great team ensures the work is high-quality, compliant with local codes, and finished on schedule. This is where having an expert in your corner can make all the difference. A dedicated advisor can help you find vetted professionals and manage the project, so you can focus on the exciting parts of creating your new space.
From architects and designers who can draw up the plans to the general contractor who will execute the vision, assembling your crew is a critical investment in the project's success. Taking the time to find experienced, reliable people will save you from costly headaches down the road.
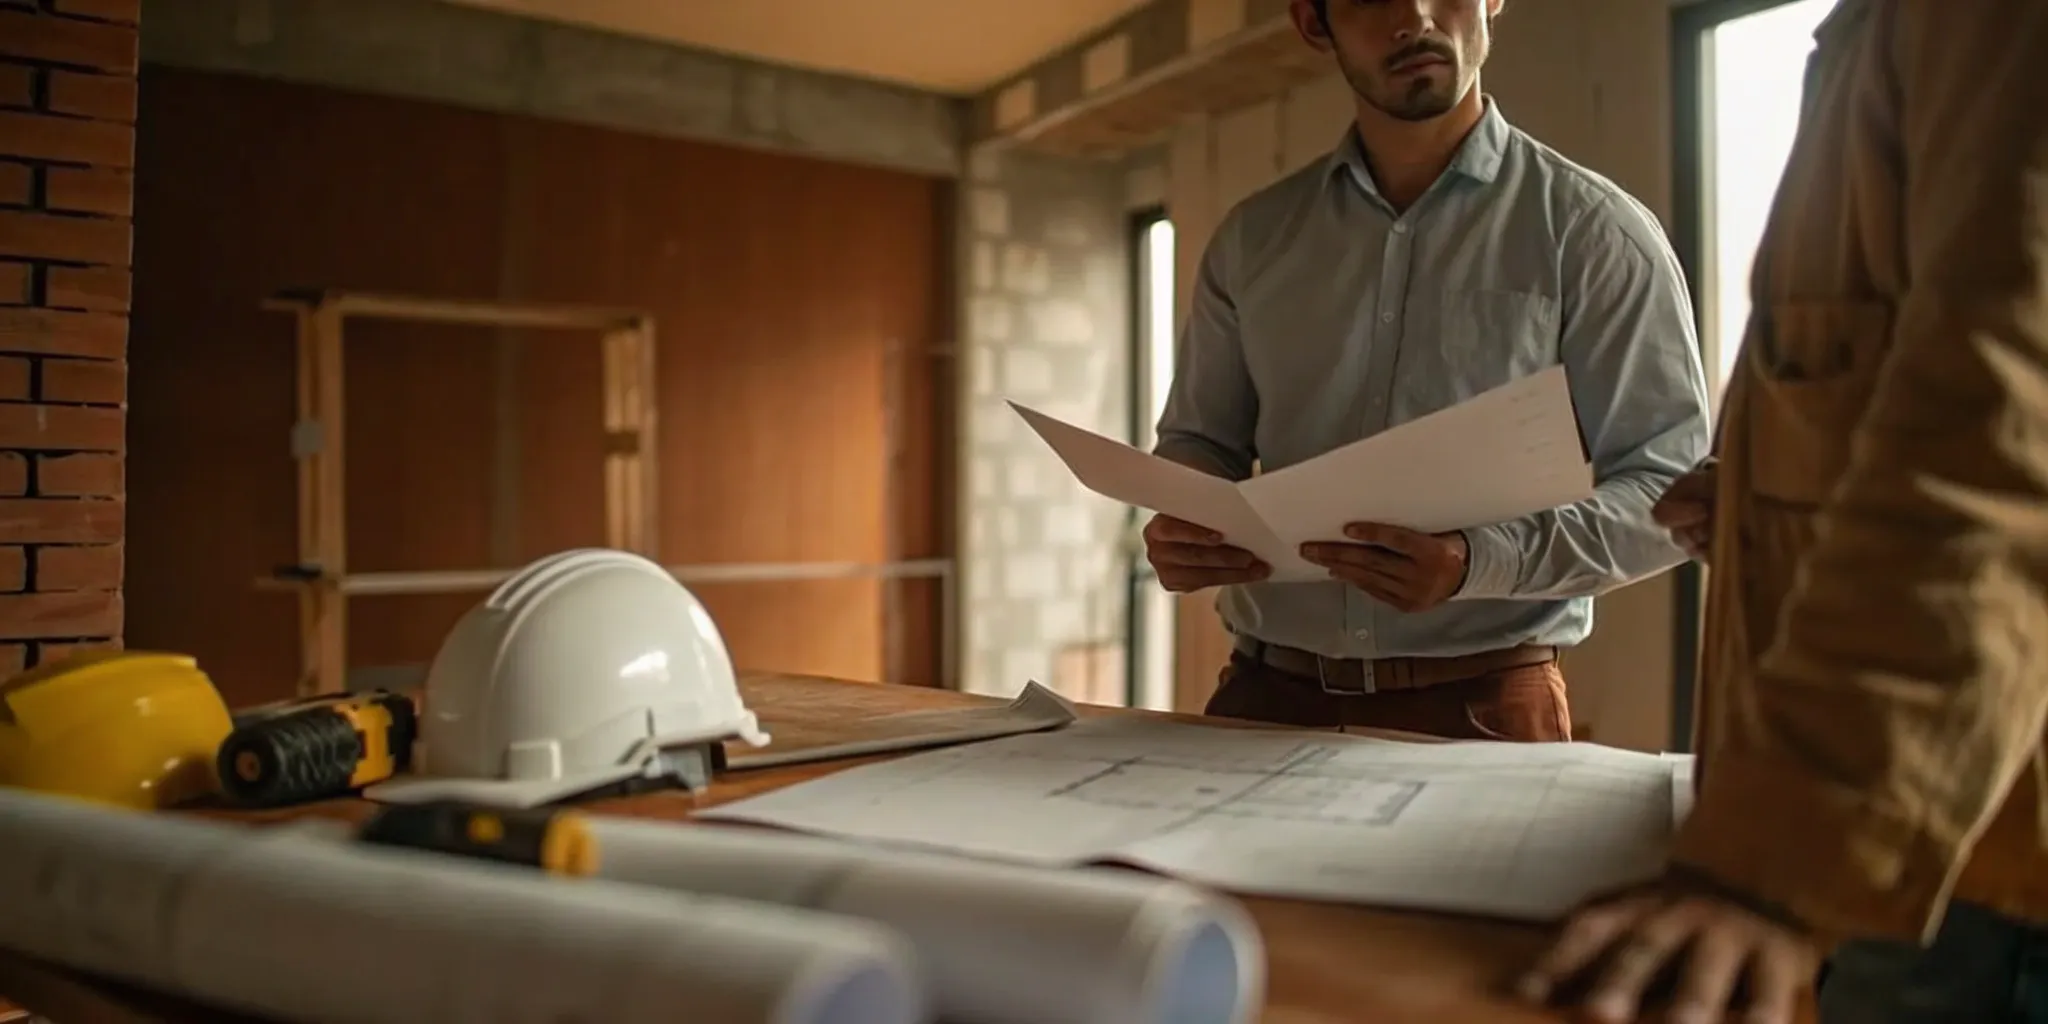
How to Choose Your Contractor
Think of a general contractor as the captain of your renovation ship. They hire and manage all the subcontractors (plumbers, electricians, etc.), source materials, and make sure the project follows the plan and stays on schedule. A good contractor is essential for a complex project like a garage conversion. When you’re ready to hire, look for someone with specific experience in garage conversions or ADUs, as they’ll be familiar with the unique challenges. Always check their license and insurance, ask for references from recent clients, and review their portfolio. Don’t just go with the lowest bid; choose the contractor who communicates clearly and gives you confidence in their ability to do the job right.
Set a Realistic Project Timeline
A professional garage conversion typically takes between three and six weeks, but this can vary. The final timeline depends on the scope of your project, how long it takes to get permits approved, and your contractor’s schedule. Before any work begins, your contractor should provide you with a detailed project timeline that outlines each phase of the conversion, from demolition to the final walkthrough. It’s always a good idea to build a little buffer into your schedule for unexpected delays, like waiting for a special-order window or a surprise inspection issue. Clear communication with your contractor will help keep things moving and ensure you know what to expect each week.
Ensure Quality Work
Quality work starts with hiring the right specialists. While your general contractor oversees the entire project, complex tasks like electrical, plumbing, foundation, and insulation work should always be handled by licensed professionals. This is non-negotiable for ensuring the safety and longevity of your new space. For the initial design, it’s wise to work with an ADU designer or an architect who knows the local permit process inside and out. Their expertise can prevent major delays and ensure your plans meet all building codes from the start. Investing in quality craftsmanship protects your home and ensures your new living area is comfortable, safe, and built to last.
Pass the Final Inspections
Getting through your final inspections is the last major hurdle before you can officially use your new space. Throughout the renovation, a city inspector will visit at key milestones to check that the work meets local building and safety codes. Your contractor is responsible for scheduling these inspections. Once all the work is complete and has passed the final inspection, you’ll be issued a Certificate of Occupancy. This document is incredibly important—it officially certifies your converted garage as a legal, habitable living space. This is crucial for your home’s insurance, its overall value, and any future plans to sell.
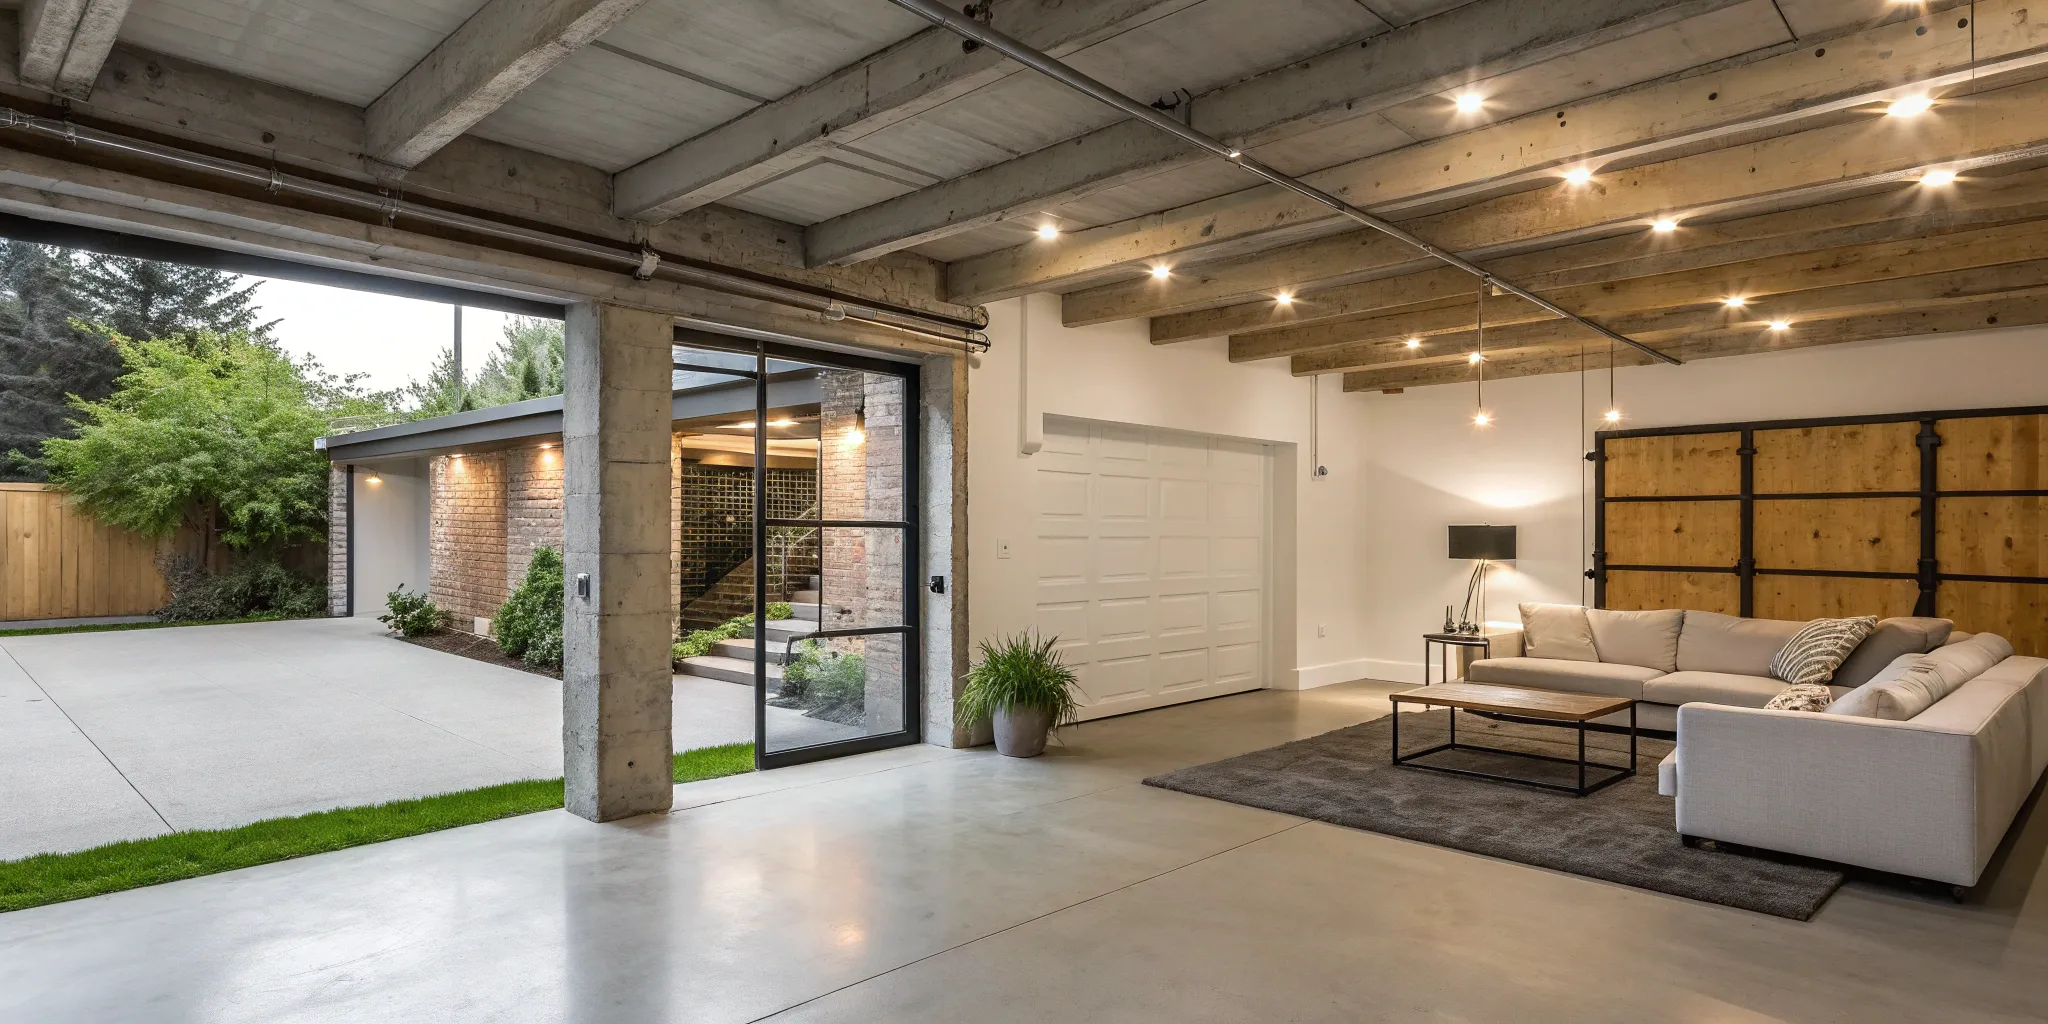
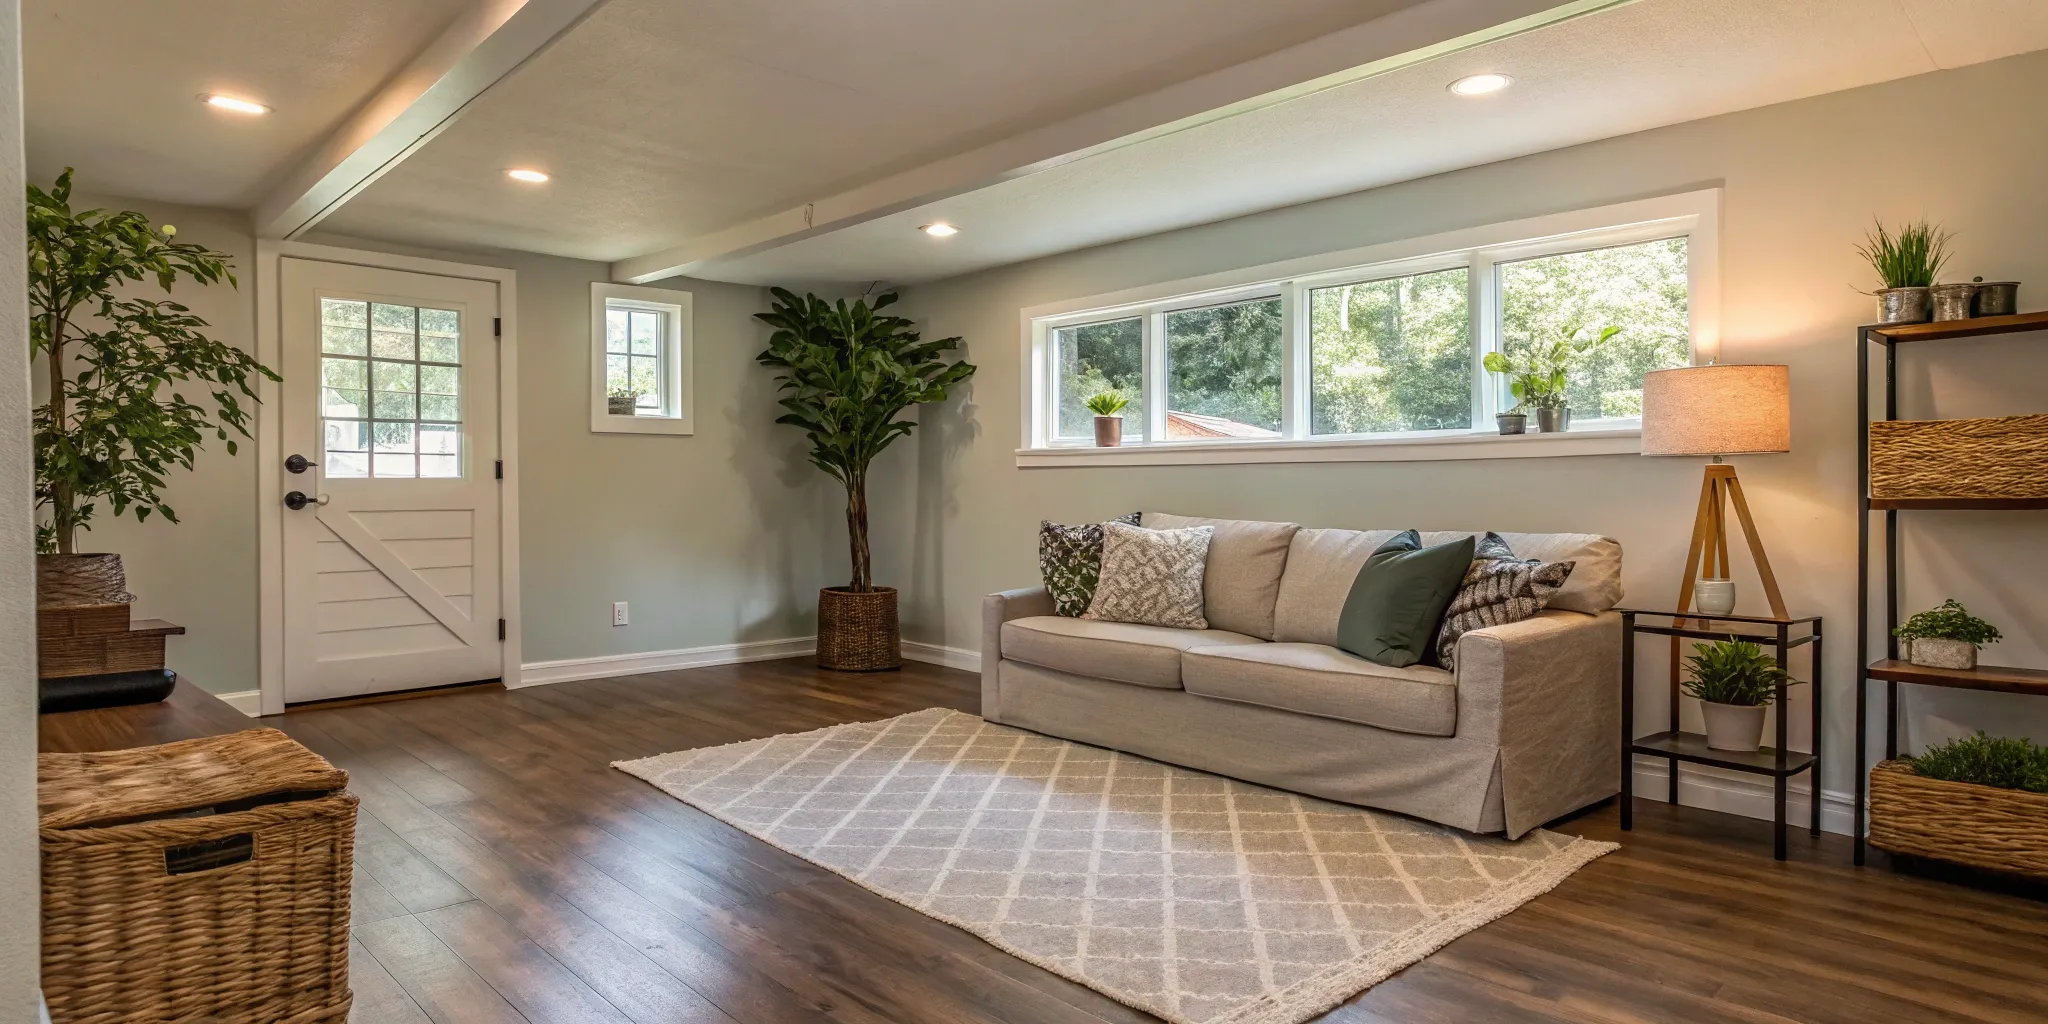
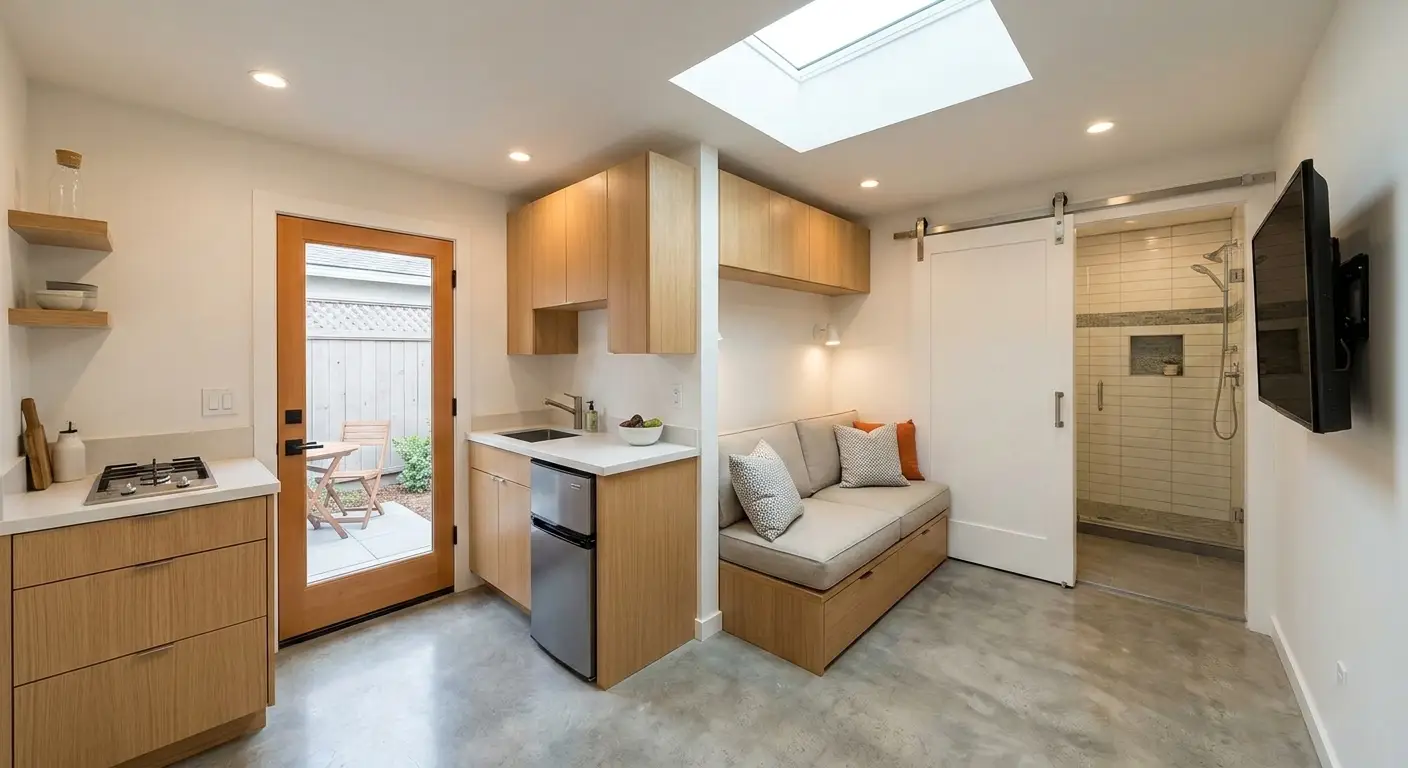
Create a Functional, Livable Space
With the major construction complete, you can now focus on the details that transform a converted garage into a truly comfortable and useful part of your home. This is where your vision really comes to life. It means thinking creatively about the layout, getting smart with storage, ensuring year-round comfort, and making sure the outside looks just as good as the inside. These final steps are what will make the new room feel seamlessly integrated with the rest of your house.
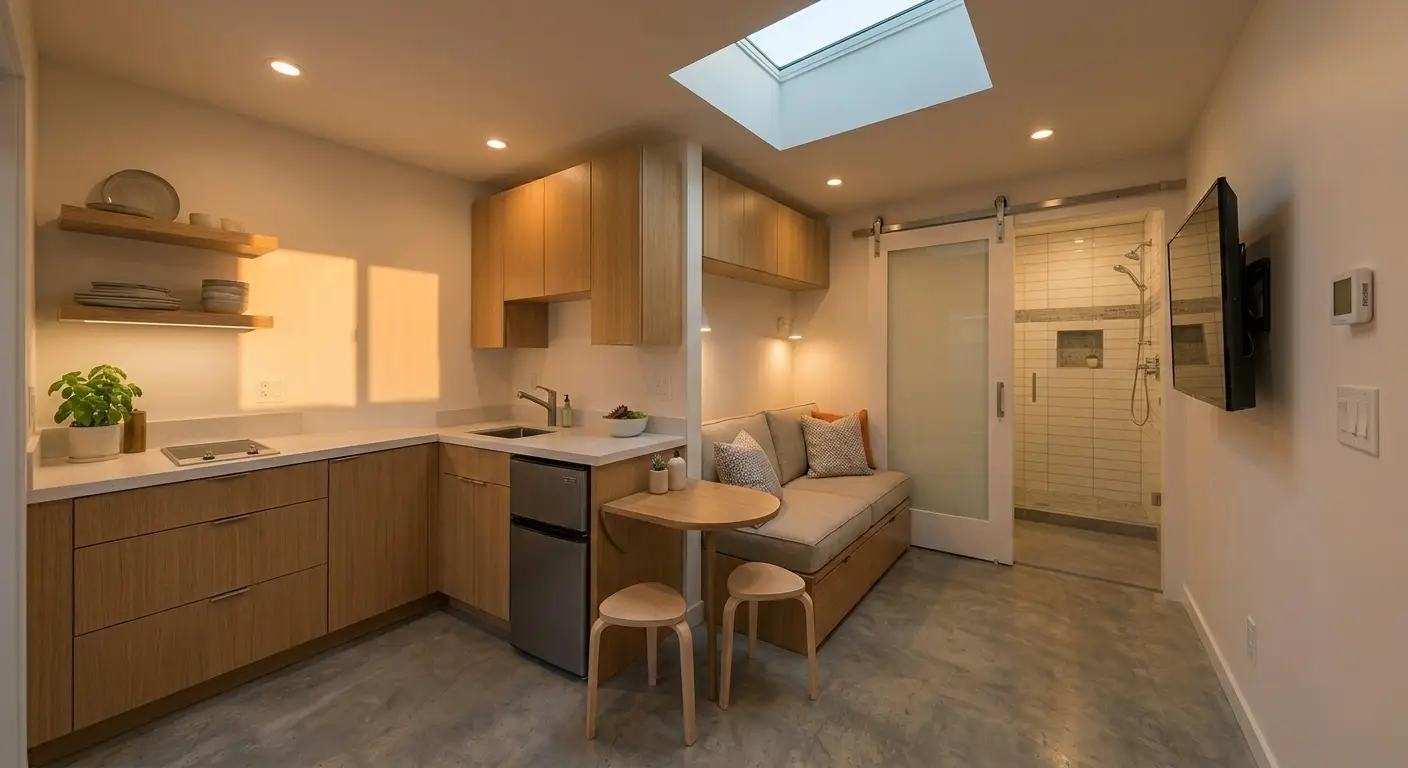
Ideas for Multi-Purpose Design
This is the fun part—deciding how you’ll use your new space. A garage conversion offers a blank slate. It could become a cozy guest suite, a quiet home office, a family entertainment room, or even a full apartment unit to generate rental income. Think about flexibility. A room with a stylish murphy bed can serve as a home gym by day and a guest room by night. By planning for a multi-purpose design, you ensure the space adapts to your family’s changing needs over time, making it a valuable addition for years to come.
Incorporate Smart Storage
In any new space, especially one with a compact footprint, smart storage is your best friend. You want to maximize every square inch without making the room feel cluttered. Think vertically with floor-to-ceiling shelving or built-in cabinets. Furniture that does double duty is also a brilliant choice—consider an ottoman with hidden storage, a pull-out couch, or a loft bed with a desk underneath. These clever storage solutions help keep the area open and livable, giving you the function you need without sacrificing style or space.
Prioritize Comfort
To make your converted garage feel like a true extension of your home, comfort is key. This starts with things you can't see, like proper insulation. Adding quality insulation to the walls and ceiling will keep the room warm in the winter and cool in the summer, and it will also help with energy bills. You’ll also need a dedicated heating and cooling system, whether that’s extending your home’s existing HVAC or installing a separate mini-split unit. These elements are fundamental to creating a space where you and your family will actually want to spend time year-round.
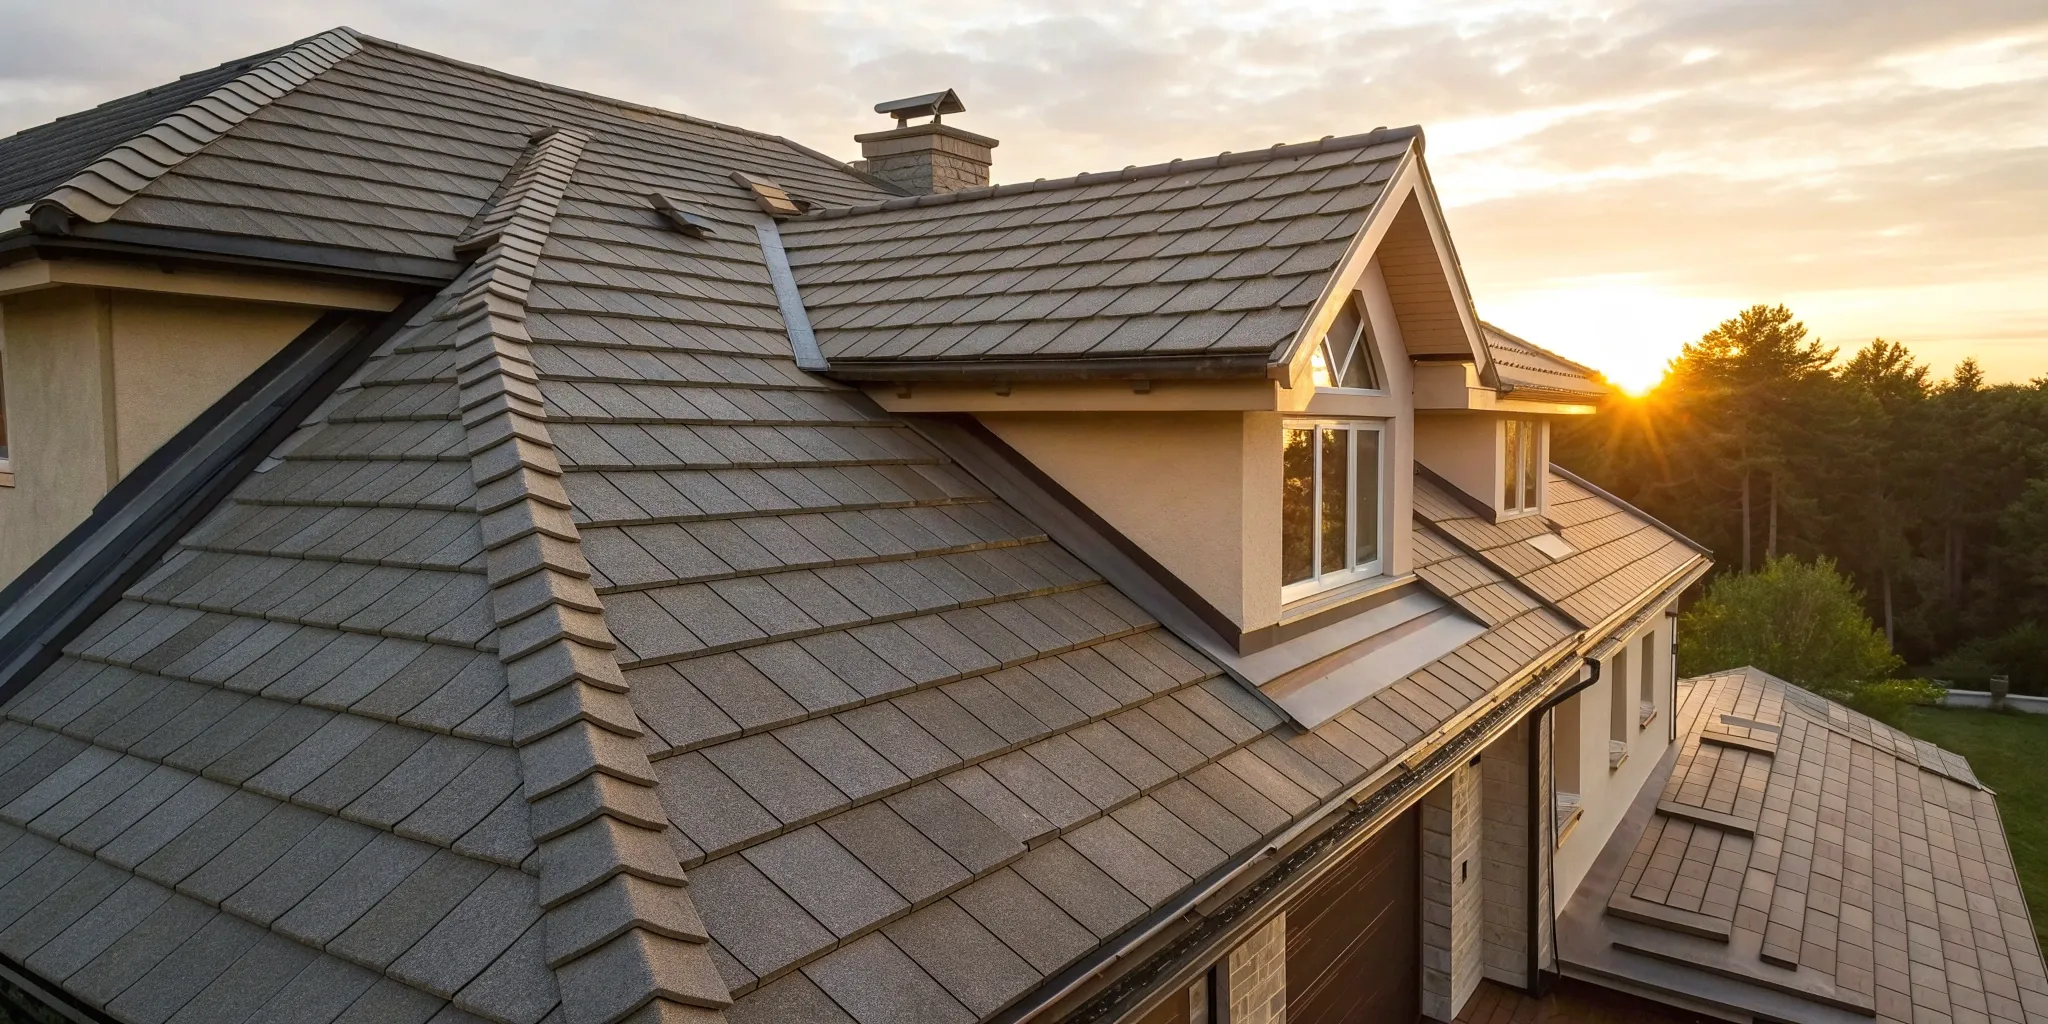
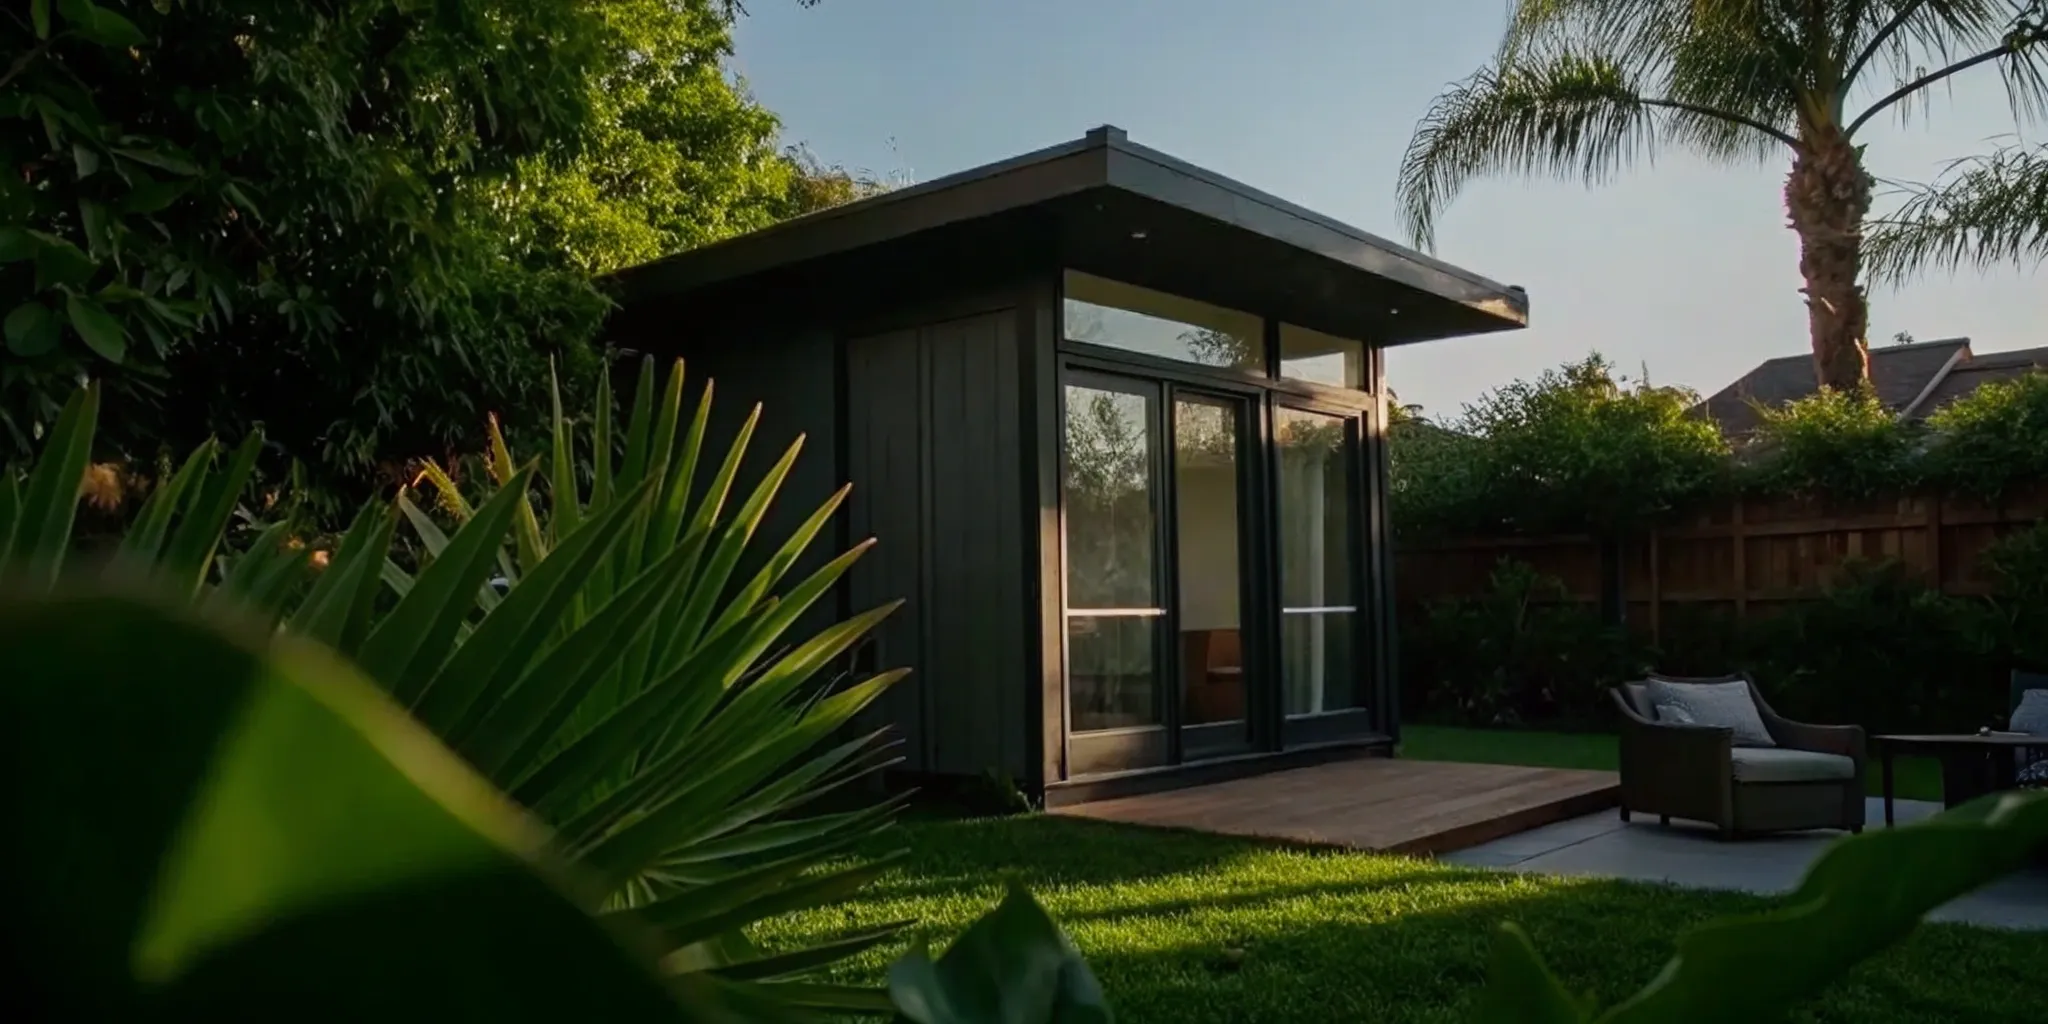
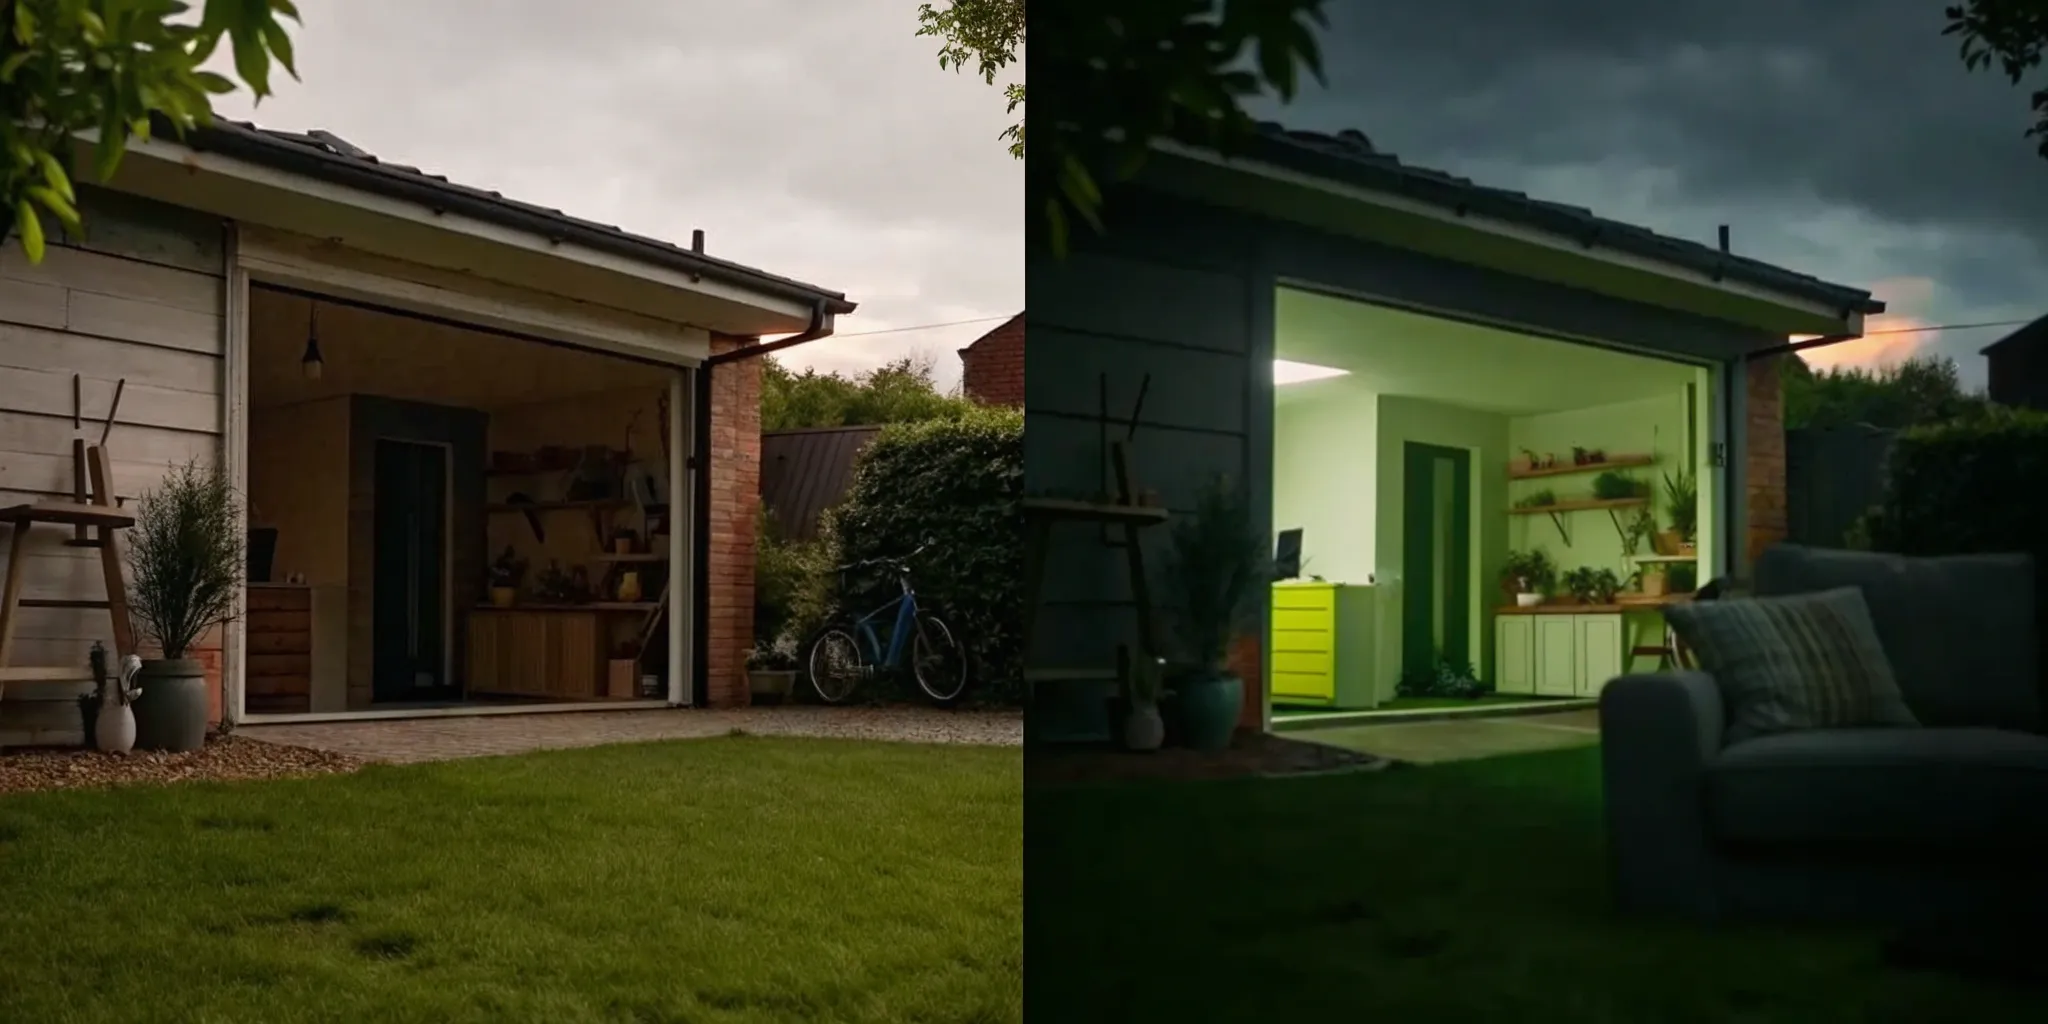
Blend the New Exterior
A successful garage conversion shouldn't look like a garage conversion from the outside. The goal is to make it seem like it was always part of the house. This means paying close attention to the exterior details. Replace the garage door with a wall, windows, or a proper entry door that matches the rest of your home’s style. Match the siding or stucco perfectly. You might also consider adding landscaping, a walkway, or an updated driveway to complete the transformation. A cohesive exterior not only boosts your home's curb appeal but also solidifies the value you’ve just added to your property.
Frequently Asked Questions
Do I really need to get a permit for my garage conversion? Yes, you absolutely do. It might seem like a bureaucratic hassle, but securing the right permits is crucial for your safety and your home’s value. The process ensures that all the electrical, plumbing, and structural work is done correctly and meets safety codes. Without a permit, you could face fines, be forced to tear out the work, and run into major problems with insurance or when you eventually sell your home.
What are the biggest factors that will drive up the cost of my project? The final price tag often comes down to a few key areas. Adding a bathroom or kitchenette is a major one, as running new plumbing lines can be complex and expensive. The existing condition of your garage also plays a big role; if the concrete foundation is cracked or needs significant leveling, that will add to your budget. Finally, your choice of finishes, like high-end flooring, custom windows, or premium appliances, will naturally increase the overall cost.
How do I deal with losing all my garage storage space? This is one of the most important things to plan for before you start. A garage conversion is a great opportunity to declutter and get organized. Many homeowners find they can build a smaller, well-designed shed in the backyard to hold tools and outdoor gear. You can also get creative by incorporating smart storage into your new design, like building floor-to-ceiling cabinets or choosing furniture with hidden compartments to maximize your new living area.
Can I live in my house while the garage is being converted? For the most part, yes. One of the benefits of a garage conversion is that the construction is largely contained to one area of your property, which minimizes the disruption to your daily life. While there will be some noise and workers on-site, a professional contractor will work to keep the mess and inconvenience to a minimum and will seal off the area from the rest of your home until it's ready to be connected.
What's the very first step I should take if I'm serious about this project? Before you call a single contractor, the best first step is to get a clear understanding of what's possible with your specific property. This means looking into your local zoning rules and any HOA guidelines. An initial consultation with a renovation advisor can be incredibly helpful here. They can help you define the scope of your project, create a realistic budget, and understand the permit process in your city, giving you a solid foundation to build upon.


.png)


.png)