Garage Conversion Permits: Your Complete Guide
Get clear answers on when you need a permit for garage conversion, what the process involves, and how to keep your project safe, legal, and stress-free.
|
September 22, 2025
In this article:
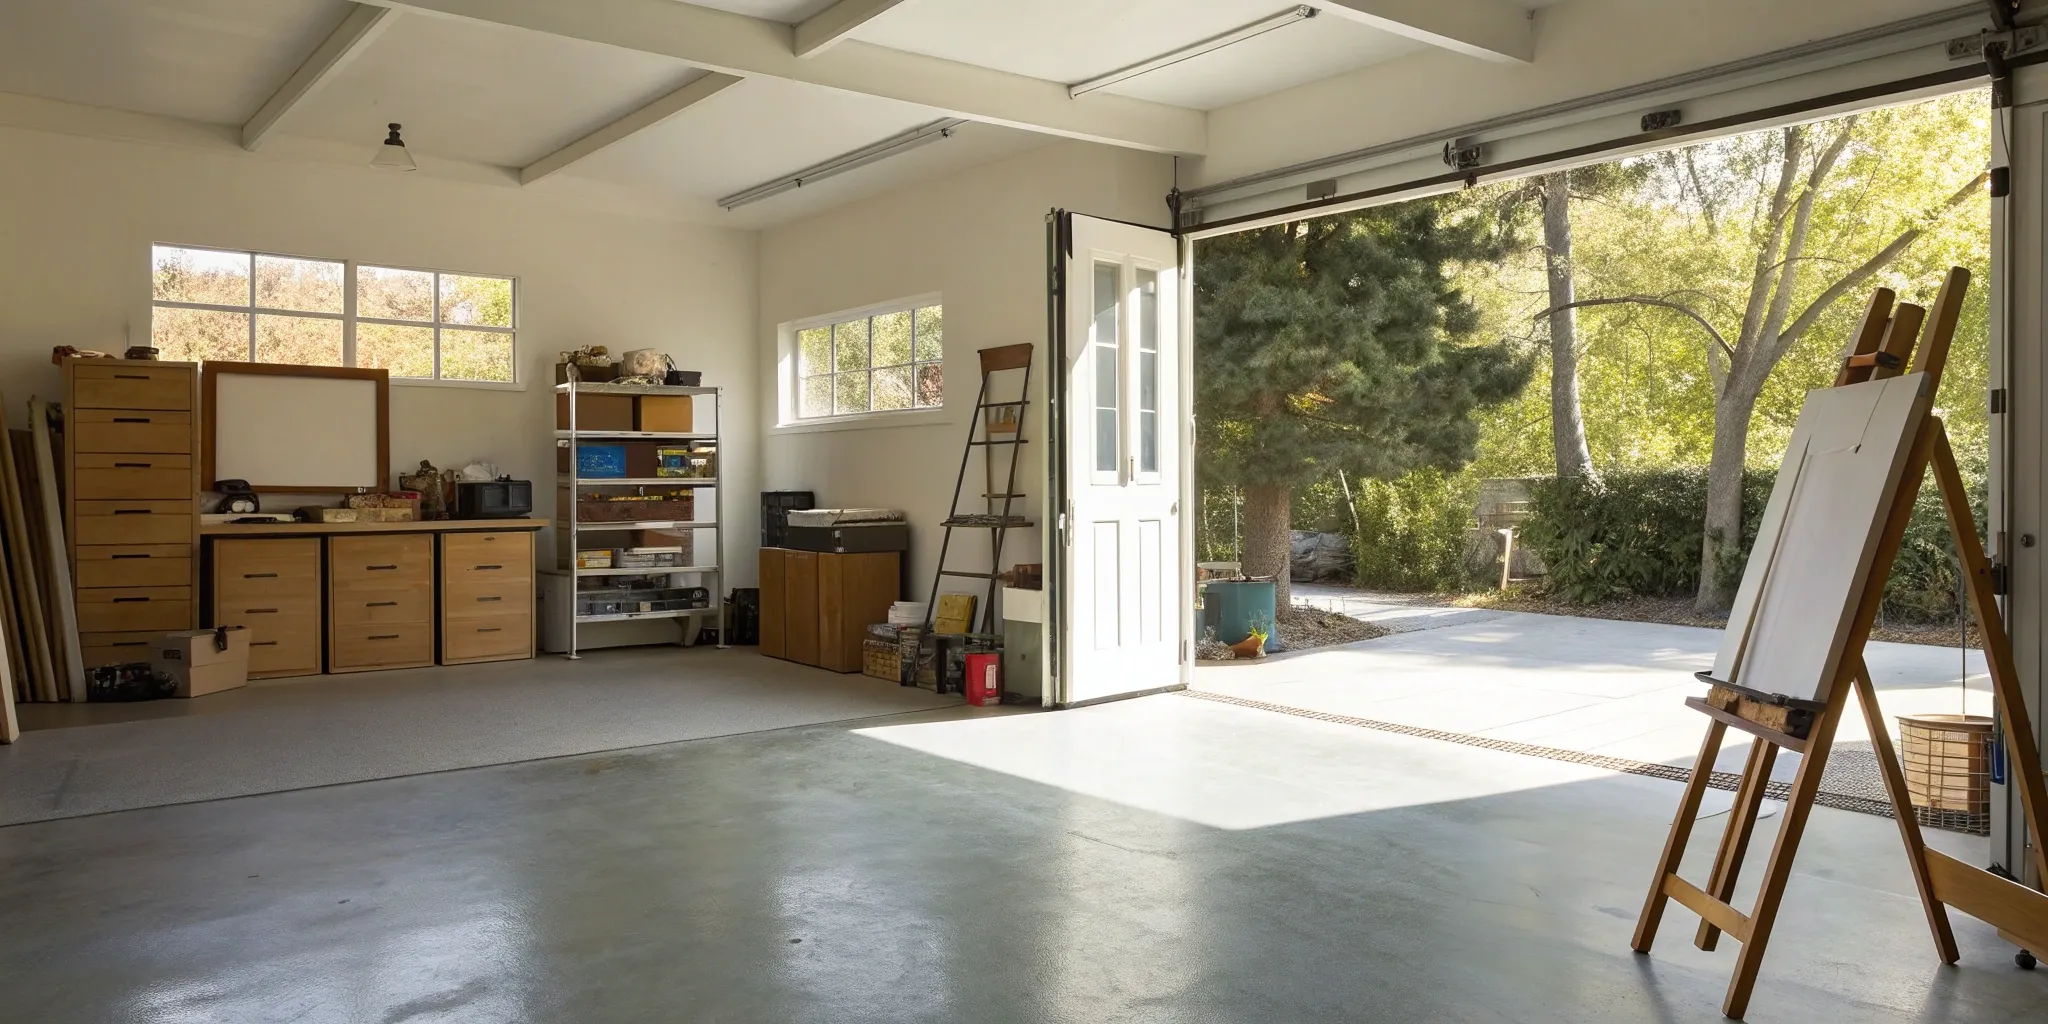
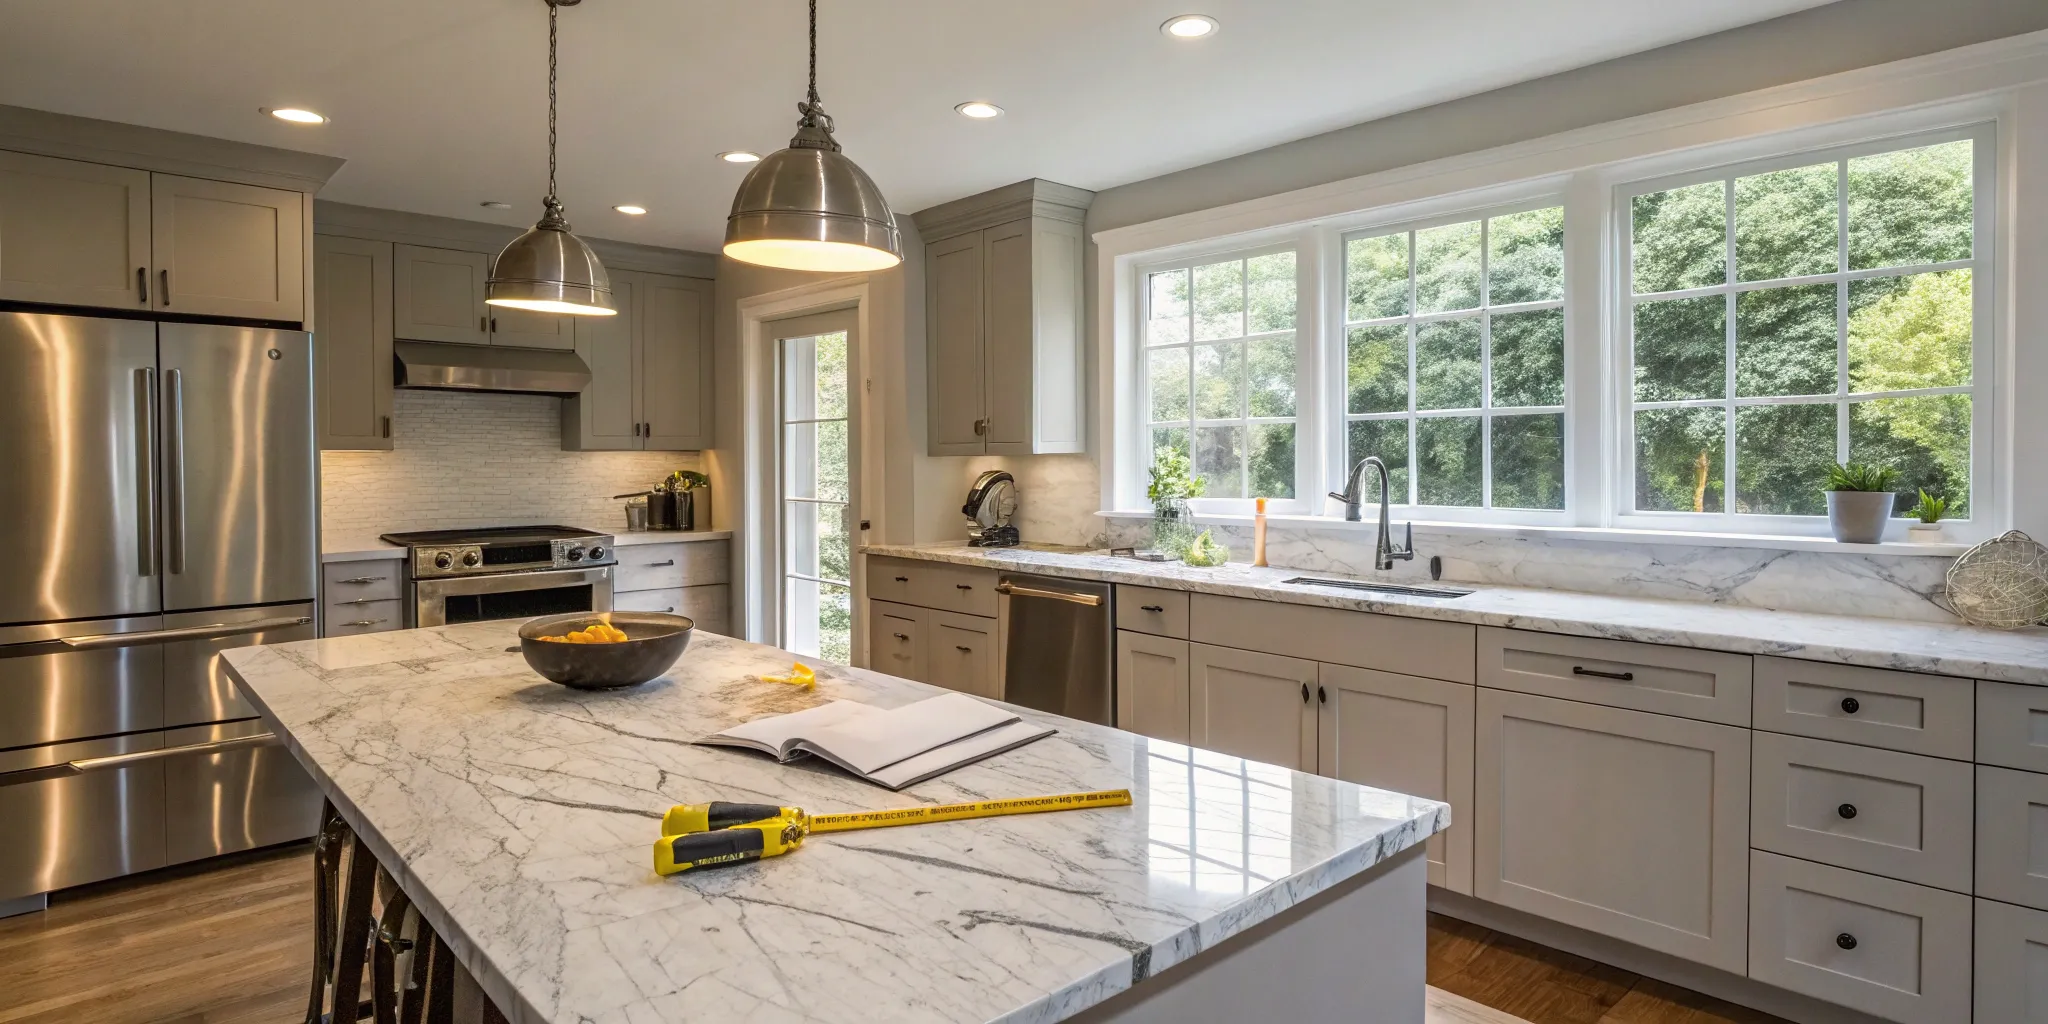
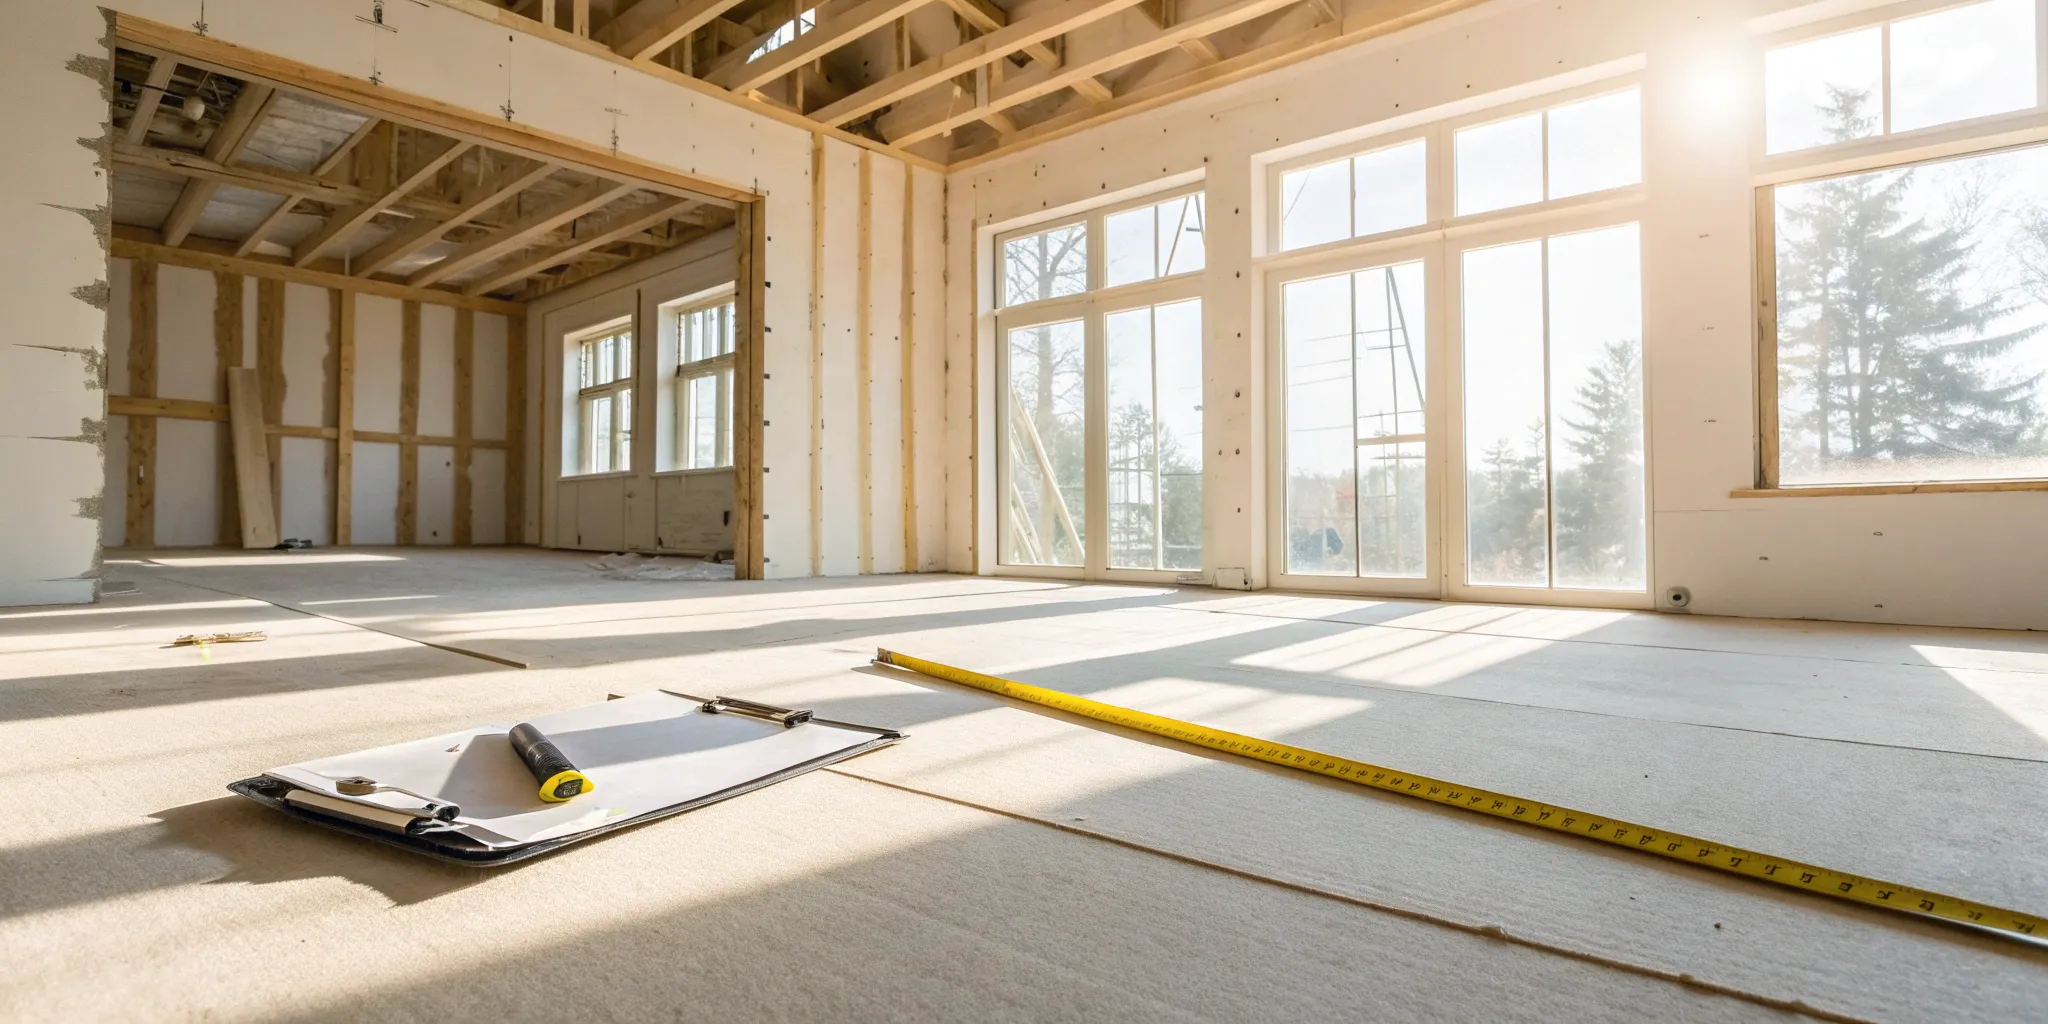
A garage conversion is one of the smartest ways to add square footage to your home without the cost of a full-blown addition. It’s an investment in your property’s value and your family’s comfort. To protect that investment, you need to make sure the project is done legally and safely from the very beginning. That’s where securing the right permit for garage conversion comes in. Skipping this step can lead to major headaches, from hefty fines to problems when you eventually sell your home. Think of the permit not as a cost, but as the official seal of approval that legitimizes your new space and safeguards its long-term value. Let’s break down the process so you can move forward with confidence.
Key Takeaways
- Treat Permits as a Non-Negotiable First Step: A permit isn't just red tape; it's the official process for ensuring your new living space is safe and legal. Skipping it risks fines, tear-downs, and major problems when you sell your home, making it a crucial investment in your property's value and your family's safety.
- An Organized Application is a Fast Application: The most common permit delays come from incomplete or incorrect paperwork. Avoid this by having professional plans drawn up, understanding your local zoning and parking rules ahead of time, and creating a checklist of all required documents before you submit anything.
- Final Approval is a Beginning, Not an End: Once your project is signed off, protect your investment by immediately updating your homeowner's insurance policy. Be prepared for an adjustment in your property taxes and keep all permit-related documents organized for your records and any future sale of your home.
Do You Need a Permit for Your Garage Conversion?
So, you’re thinking about turning your garage into a cozy guest suite, a home office, or maybe even a full-blown ADU. It’s a fantastic way to add valuable living space to your home. But before you start picking out paint colors, let’s talk about the not-so-glamorous but super important first step: permits. The short answer is yes, you almost certainly need a permit for a garage conversion.
Think of it this way: you're changing the fundamental use of a part of your house. What was once designed for cars and storage is now becoming a space for people to live, work, or sleep. That's a big deal in the eyes of your local building department, and they want to ensure it’s done safely and correctly. A permit isn’t just red tape; it’s a process designed to protect your safety, your investment, and your home’s future value. It ensures that your new space has proper ventilation, safe electrical wiring, and emergency exits. Getting this right from the start saves you from massive headaches later on. This process might seem intimidating, but understanding the why behind it makes it much more manageable. It's the official green light that says your project meets all the local safety and construction standards, which is something you definitely want for a space where you or your family will be spending time.
Know Your Local Requirements
The first rule of permits is that all rules are local. The requirements in the SF Bay Area can be quite different from those in San Diego or Seattle. While you generally don't need a permit for simple cosmetic updates inside your garage, converting it into a habitable space is a different story. The work might be happening inside the existing walls, but changing the use of the space is what triggers the need for official approval. Your best first step is to talk to your local planning authority. They can give you the definitive word on what your project requires before you spend a dime. This is exactly the kind of groundwork a dedicated Realm advisor can help you manage, ensuring you start your project on the right foot.
Common Permit Myths vs. Reality
There's a lot of chatter out there about permits, and it's easy to get tripped up by myths. A common one is, "If I'm not expanding my home's footprint, I don't need a permit." The reality is that converting a garage means the space must meet the building codes for living areas, which are much stricter than for a garage. This includes rules for things like ceiling height, window size for emergency egress, insulation, and ventilation. Another myth is that the permit process is designed to be impossible. While it can be complex, most rejections happen because of incomplete paperwork or plans that don't meet safety standards. A clear, professional plan is your best tool for a smooth approval process.
What Happens If You Skip the Permit?
Tempted to just skip the permit process? I get it, but the potential consequences can turn your dream project into a major headache. For starters, if the city discovers the unpermitted work, they can hit you with significant fines and issue a stop-work order, halting your project immediately. In a worst-case scenario, you could even be required to tear out all the work you just paid for. Beyond the immediate risks, skipping a permit can create serious problems down the road. It can make it incredibly difficult to sell your home later, as unpermitted conversions are a huge red flag for buyers and lenders. Plus, your homeowner's insurance may refuse to cover any claims related to the unpermitted space, leaving you financially vulnerable.
What Permits Will You Need?
When you convert a garage, you’re changing a space designed for cars into one designed for people. This transformation involves several types of permits to ensure the new room is safe, functional, and legally recognized as living space. Think of permits not as a hassle, but as a roadmap to a successful project. They provide a set of standards that protect your family’s safety and your home’s value.
Navigating the permitting process can feel like a job in itself, which is why many homeowners choose to work with an expert who can manage the paperwork and inspections for them. Generally, your project will require a combination of building, electrical, plumbing, and zoning permits. Each one addresses a different aspect of the conversion, from the sturdiness of the walls to the location of your light switches. Your contractor will bundle these into a single application, but it’s helpful to understand what each one covers so you know what to expect.
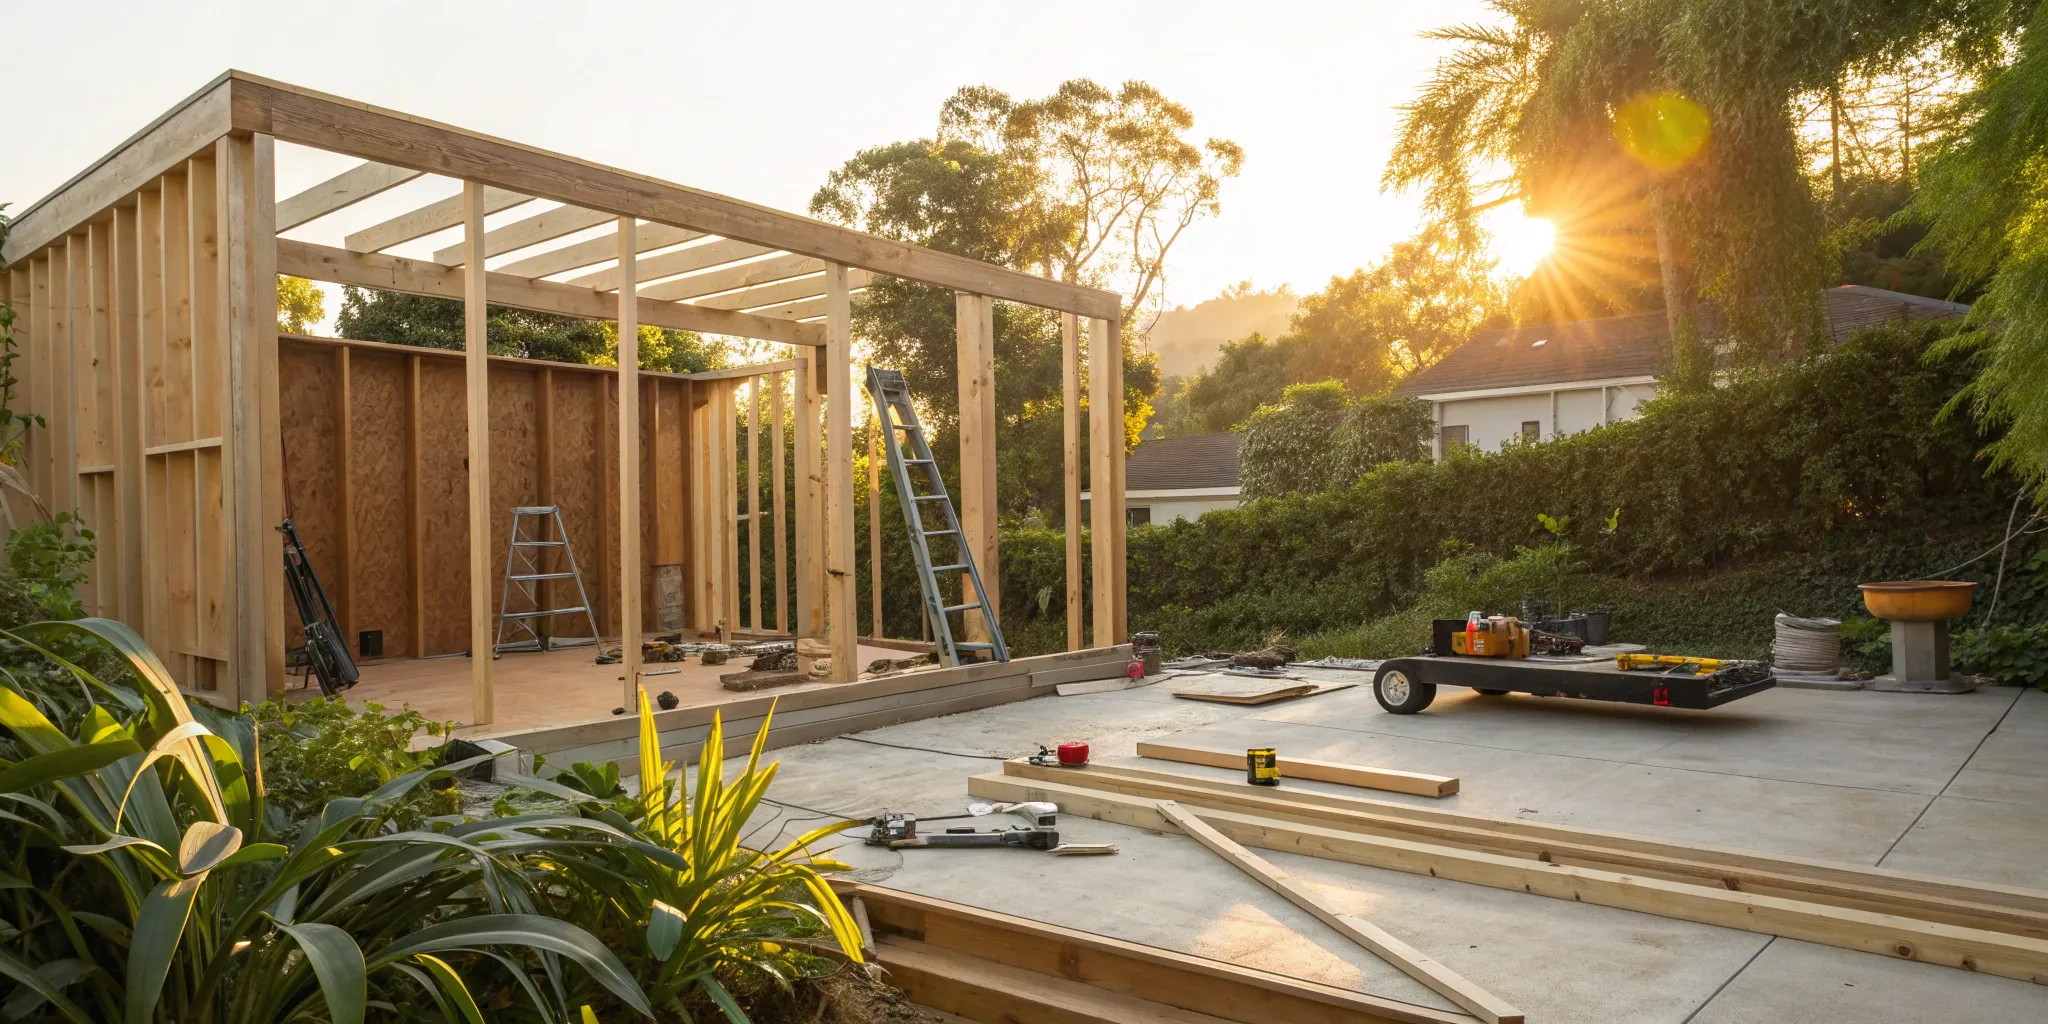
Building Permits
A building permit is the main permit for your project. You’ll almost always need one for a garage conversion because you are adding to your home's conditioned living area. This permit covers all the structural changes you plan to make, such as framing new walls, adding windows and doors, pouring a new concrete floor, and installing insulation. Getting this permit ensures your plans meet local construction standards for a safe and habitable room. Your local building department will review your architectural plans to confirm everything is designed correctly before any work begins.
Electrical and Plumbing Permits
If your new space will have lights, outlets, a ceiling fan, or any other electrical components, you'll need an electrical permit. Similarly, adding a bathroom, a wet bar, or even a utility sink requires a plumbing permit. These are often handled by the licensed electrician and plumber working on your project. The permits trigger mandatory inspections at different stages of the renovation—for example, after the new wires are run but before the drywall goes up. This process confirms that all the work is done safely and correctly, preventing potential fire hazards or water damage in the future.
Zoning Permits
Before you can get a building permit, you need to make sure your project complies with local zoning laws. Zoning regulations control how land in your area can be used. A zoning permit confirms that converting your garage into living space is allowed on your property. For example, some areas have rules about how many off-street parking spaces a home must have, and converting your garage might violate that rule. It’s always a good idea to check your local zoning ordinances early on, as a zoning issue can stop a project before it even starts.
Meeting Building Code Standards
Your permits are your ticket to proving your project meets all the requirements of the local building code. These codes set the minimum standards for construction to ensure a space is safe. For a garage conversion, inspectors will check for specific details that make a room legally "habitable." This includes things like a minimum ceiling height (usually 7 feet 6 inches), adequate heating and ventilation, proper insulation, and at least one window that meets egress requirements for a safe fire exit. Following these standards is non-negotiable for a legal conversion.
Key Safety Requirements
Because a garage is attached to your home and was originally built to store vehicles, there are a few key safety requirements that are unique to this type of project. The wall and door connecting the new living space to the garage area (if you’re doing a partial conversion) must be fire-rated to slow the spread of a potential fire. Your plans must also show how you’ll properly seal the foundation and walls to prevent dangerous carbon monoxide fumes from your car from seeping into the living area. These permit requirements are crucial for your family’s well-being.
Key Local Rules for Your Project
Beyond the basic building permits, your city has a few other key rules you’ll need to follow for a successful garage conversion. Every location is a little different, so think of these as the big categories to investigate as you plan your project. Getting clear on these regulations early on will save you from headaches and unexpected costs down the road. It’s all about doing your homework upfront so you can move forward with confidence. A little research now ensures your project stays on track and meets all the necessary legal standards for your area.
Zoning Laws and Property Setbacks
First up are zoning laws. These are the local rules that dictate how land in your area can be used. For a garage conversion, you’ll want to check if your work changes the property’s use in a way that requires special permission. If you’re just finishing the interior and not changing the building’s footprint, you often don’t need a separate zoning permit. However, if you’re turning the garage into a separate living unit, like an Accessory Dwelling Unit (ADU), you’ll almost certainly need planning permission. Also, be mindful of property setbacks—the required distance between your home and your property line—to ensure your project is compliant.
Parking Rules to Follow
Losing a garage often means losing a dedicated parking spot, and many cities have rules about that. Before you get too far, you’ll need to understand your local parking requirements. The good news is that these rules are often flexible. For instance, if your home is close to public transportation, you might be exempt from replacing the parking space. In other cases, simply having a driveway is enough to satisfy the requirement. Check your local planning department’s website or give them a call to find out exactly what’s needed for your property. This simple step can prevent a major roadblock in your conversion plans.
Checking with Your HOA
If you live in a community with a Homeowners Association (HOA), consider them a key partner in your project. Your HOA has its own set of rules, known as Covenants, Conditions, and Restrictions (CC&Rs), that exist alongside city regulations. You’ll need to review these documents and likely submit your plans for approval before any work begins. It’s always best to approach your HOA early in the process to understand their requirements and timeline. Getting their written approval isn’t just a formality—it protects you from potential fines or being forced to undo your hard work later on.
How Will This Affect Your Property Taxes?
Converting your garage from a storage space into a true living area adds significant value to your home. While that’s great for your long-term equity, it’s important to remember that it will also likely impact your property taxes. When the project is complete, your local tax assessor will re-evaluate your home’s value to include the new, finished square footage. This will probably lead to a higher tax bill. Think of it as part of the overall investment in your home. Understanding how home improvements affect property taxes helps you budget accurately for the long-term costs of your new space.
What Does a Garage Conversion Permit Cost?
Let’s talk about the numbers. The cost of a garage conversion permit isn’t a single, fixed price—it varies quite a bit depending on where you live and the scale of your project. While it’s tempting to see it as just another line item in your budget, think of the permit as an investment in your home’s safety, legality, and long-term value. Getting it right from the start saves you from major headaches and expenses down the road.
The total cost is made up of several different fees, from the initial application to the final inspections. On average, homeowners can expect to pay around $477 for a building permit, but the full range is typically between $150 and $1,500. This price depends heavily on your local building department’s fee structure and the complexity of your conversion. A simple conversion into a home office will likely cost less in permits than a full accessory dwelling unit (ADU) with a kitchen and bathroom. Understanding what goes into the total cost will help you create a more accurate budget and avoid any surprises.
A Breakdown of Permit Fees
The main permit fee is what most people think of, and it’s usually calculated based on the total value or square footage of your construction project. This is why providing an accurate project estimate is so important when you apply. For a garage conversion, this fee covers the administrative work your local building department does to review and approve your plans. Because every city and county has its own fee schedule, the cost in San Diego could be different from Sacramento. That’s why it’s always best to check your local government’s website or call the building department for the most current information.
Factoring in Inspection Costs
Your permit fee doesn’t just get you a piece of paper; it also covers the necessary inspections to ensure your project is built to code. After your project is finished, a city inspector will need to visit your home to sign off on the work. Depending on your project’s scope, you may need separate inspections for framing, electrical, plumbing, and insulation before the final approval. Some municipalities include the cost of these inspections in the initial permit fee, while others charge for them separately. These checks are crucial for confirming your new space is safe and sound for your family.
Understanding Plan Review Fees
Before a permit is even issued, your plans need to be reviewed by the city. This step ensures your architectural drawings and structural plans meet all local building codes and zoning regulations. The plan review fee covers the time and expertise of the city’s engineers and planners who examine your documents. This fee can range from a flat rate of around $90 to over $1,000, or it might be calculated as a percentage of the main permit fee—often between 25% and 80%. It’s an essential upfront cost that confirms your project is viable before you start building.
Hidden Costs to Watch For
The most significant "hidden cost" is the penalty for skipping a permit altogether. If you’re caught doing unpermitted work, you could be forced to pay fines that are 2 to 16 times more than the original permit fee. You might even be required to tear out the finished work. Beyond that, be prepared for smaller, miscellaneous fees that can add up. These might include technology fees (often around 3% of the permit fee), state surcharges (1-5%), or fees for planning and zoning reviews. Working with a dedicated advisor can help you anticipate these costs so your budget stays on track.
How to Apply for Your Permit
Once you have your plans finalized, it’s time to submit your permit application. This step can feel intimidating, but it’s really just about showing the city that your project is well-planned, safe, and up to code. Being organized here will make the entire process smoother and help you avoid unnecessary delays. Think of it as getting the official green light to start building the space you’ve been dreaming of. With the right documents and a clear understanding of the timeline, you’ll be ready to move forward with confidence.
Gather Your Documents
Before you can submit your application, you’ll need a complete set of plans. This isn’t just a simple sketch; your local building department will want to see detailed architectural drawings. These plans should include floor plans, elevations, and specifics on structural changes, electrical wiring, and plumbing systems. Your application can be rejected if the designs don't meet safety standards for things like fire safety or load-bearing walls. Having a professional create these documents is the best way to ensure everything is accurate and compliant from the start. This is the most critical step to getting your project started on the right foot.
What to Expect for a Timeline
The permitting process isn't instant, so it’s smart to build this time into your project schedule. The exact timeline can vary a lot depending on how busy your local building department is. While a very small project might get approved quickly, a garage conversion is a significant remodel and usually takes several weeks for review. It’s best to apply for your permit well before your contractor is scheduled to begin construction. Starting early helps you avoid frustrating delays and keeps your project from getting stalled before it even begins. Plan for at least a few weeks of waiting, and you won’t be caught off guard.
Working with a Professional
You don’t have to go through the permit process alone. In fact, working with a professional can save you a ton of time and stress. An experienced architect, designer, or a dedicated project advisor can prepare and submit all the necessary paperwork on your behalf. They understand the specific requirements of local building codes and know how to communicate effectively with city officials. A professional ensures your plans are complete and correct the first time, reducing the chances of rejection. This kind of expert guidance is why so many homeowners choose to work with a team that can manage these details for them.
Scheduling Pre-Conversion Inspections
Getting your permit is just the first step; you’ll also need to schedule inspections throughout the project. An inspector from the city will visit your home at key milestones—like after framing is up or electrical work is done—to make sure the construction matches the approved plans. These inspections are designed to protect you by confirming that all work is safe and meets legal standards for things like ceiling height, window sizes, and electrical outlets. Your permit will outline exactly when these inspections are required. Your contractor should manage the scheduling to ensure everything stays on track and fully compliant.
Talking with Your Local Building Department
Think of your local building department not as a roadblock, but as a partner in making sure your project is safe, sound, and up to code. A little preparation and the right attitude can make your interactions smooth and productive. The key is to be organized, polite, and clear about what you need. While it might feel like one more hurdle, establishing a good relationship with the officials reviewing your plans can make the entire permit process much easier. When you have a team of experts on your side, they can handle these conversations for you, ensuring everything is communicated correctly from the start.
Tips for Clear Communication
The best thing you can do is start the conversation early. Reach out to your local building department before your plans are even finalized to ask questions and understand their specific requirements. This shows initiative and helps you avoid surprises later on. When you do communicate, whether by phone, email, or in person, be prepared. Have your property address and a clear summary of your project ready. Building a friendly rapport with the staff can go a long way. Remember, they review plans all day, every day. A little kindness and patience can make your project stand out for all the right reasons and help you get the guidance you need to move forward.
Keeping Your Paperwork in Order
An organized application is a fast-moving application. The most common reason for permit delays is incomplete or incorrect paperwork. Before you submit anything, create a checklist of every required document, from architectural drawings to engineering reports. Double-check that every form is filled out completely and accurately. Keeping all your documents in a dedicated folder—either physical or digital—will save you from last-minute scrambles. A complete application makes the plan checker’s job easier, which in turn helps them approve your project faster. For an idea of what you'll need, check out your city's building department website, like the Los Angeles Department of Building and Safety.
How and When to Follow Up
There’s a fine line between proactive and pesky. After submitting your application, it’s fine to follow up to confirm it was received and is complete. From there, ask about their estimated review timeline and respect it. If that date passes, a polite email or phone call to check on the status is perfectly acceptable. Once your permit is issued, your communication doesn’t stop. You’ll need to stay in touch to schedule mandatory inspections at different stages of construction. Your contractor will typically handle this, but it’s good to know the process so you can ensure your project stays on track and compliant with all permit conditions.
Responding to Feedback and Revisions
It’s very common to receive feedback or a request for revisions on your initial plans. Don’t be discouraged—this is a normal part of the process. View it as a collaborative effort to get your project right. Read the comments carefully and work with your architect or contractor to address each point directly. If you don’t understand a piece of feedback, don’t be afraid to ask for clarification. A prompt, thorough response shows the department you’re serious about meeting the code and safety standards. This open communication is key to getting your plans stamped for approval and your project underway.
Common Permit Problems (and How to Solve Them)
Even the most carefully planned renovation can hit a snag during the permitting stage. It’s a process with a lot of moving parts, and it’s completely normal to feel a little intimidated. The good news is that most permit problems are avoidable with a bit of foresight and preparation. Knowing the common pitfalls is the best way to steer clear of them, keeping your project on schedule and on budget.
Think of it this way: your local building department isn’t trying to make your life difficult. Their goal is to ensure your project is safe, sound, and up to code. By understanding what they’re looking for, you can make their job easier and, in turn, get your approval faster. From simple paperwork errors to unexpected delays, we’ll walk through the most frequent issues homeowners face and give you clear, actionable steps to solve them. With the right approach, you can handle the permitting process like a pro. A dedicated project advisor can also manage these communications for you, ensuring nothing falls through the cracks.
Application Mistakes to Avoid
The single most common reason a permit application gets rejected is that it’s incomplete. This could mean missing information on a form or crucial details left out of your architectural plans. Before you submit anything, double-check that every single field is filled out and all required documents are included. It’s helpful to create a checklist based on your local department’s requirements and tick off each item. Rushing this step will almost always lead to delays. Another major mistake is trying to skip the permit process altogether. The short-term convenience is never worth the long-term risk of fines, tear-downs, and major issues when you eventually sell your home.
How to Handle Delays
Patience is key when it comes to permits, as delays can and do happen. The best way to manage this is to start the process as early as possible. Don’t wait until a week before you want your contractor to start demolition. As soon as your project plans are finalized, get your application in. This builds a buffer into your timeline for any back-and-forth with the city. Proactive communication also helps. A quick, polite call to the building department to introduce yourself and your project can go a long way. It shows you’re organized and serious about following the rules, which can make the entire process smoother.
Keeping Your Neighbors Happy
A garage conversion will involve construction noise, extra vehicles on the street, and new faces in the neighborhood. To keep the peace, it’s always a good idea to talk to your neighbors before the work begins. You don’t need to ask for their permission, but giving them a friendly heads-up is a simple courtesy that can prevent a lot of friction. Let them know what you’re planning, give them a rough timeline, and share your contact information in case any issues come up. This small gesture shows respect and can make them feel included rather than inconvenienced, ensuring a more peaceful renovation for everyone.
Keeping Your Permit Costs on Budget
Permit fees are typically calculated as a percentage of your total construction cost, so an inaccurate project budget will lead to an inaccurate permit budget. Many homeowners underestimate the true cost of their renovation, leading to surprise fees down the road. To avoid this, work with your contractor to create a detailed, all-inclusive estimate before you even file for your permit. This ensures the number you submit to the city is realistic, giving you a clear picture of what the fees will be. Factoring this in from the start helps you manage your finances and prevents budget overruns before the first hammer even swings.
Getting Your Project Approved
With your permit application submitted, you’re ready to move into the construction phase. This is where your plans on paper start to become a reality. Getting your project approved involves more than just the initial green light from the city; it’s a process that includes hiring the right team, passing a series of inspections, and getting a final sign-off that certifies your new space is safe and compliant. Each step is crucial for ensuring your garage conversion is built to last and legally recognized as a habitable part of your home.
Navigating this final stretch can feel complicated, but it’s all about having a clear plan and the right partners. A great contractor will manage the inspection schedule, and knowing what to expect will help you stay on track. Think of this phase as a series of checkpoints. Once you clear them all, you’ll have a beautiful, functional new room and the official paperwork to prove it was done correctly. At Realm, we connect you with a dedicated advisor and a network of vetted professionals to make sure this process goes smoothly from start to finish.
Finding the Right Contractor
Choosing the right contractor is one of the most important decisions you’ll make. This is the person who will turn your vision into a physical space, so you want someone who is skilled, reliable, and communicative. Start by getting at least three detailed price quotes from different companies. Don’t just rely on online searches; ask friends and neighbors for recommendations. Once you have a shortlist, do your homework. Check online reviews, look at their past work, and confirm they are licensed, insured, and have been in business for several years. A reputable contractor will make the entire project, including the permit process, feel much more manageable.
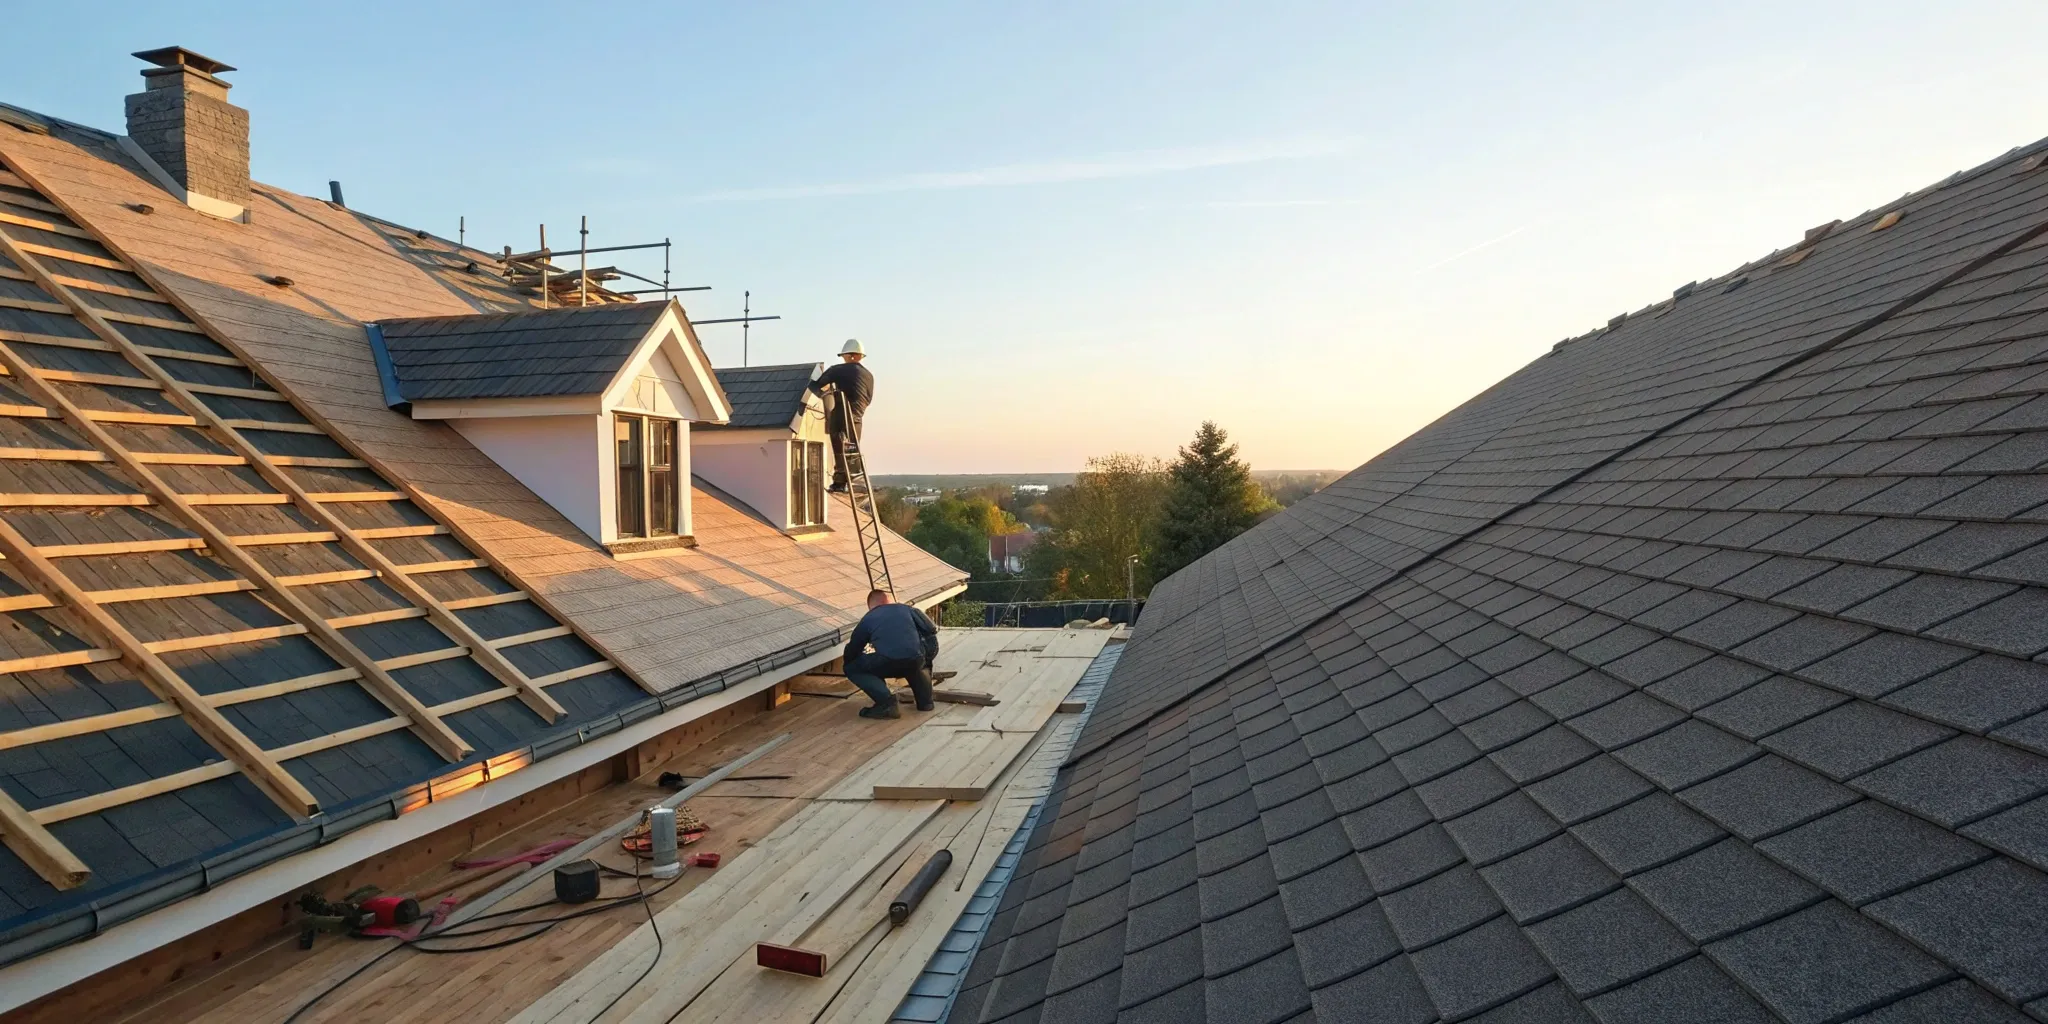
Passing Your Inspections
Inspections can sound intimidating, but they are simply a way to ensure your project is safe and meets local building codes. An inspector will visit your property at different stages of construction—like after framing or electrical work is done—to check that everything is up to standard. They’ll look at things like window sizes for emergency exits, ceiling heights, and the placement of electrical outlets. Your contractor will typically schedule these inspections and walk the inspector through the site. Passing each one is a milestone that moves you closer to completing your project with confidence, knowing it’s built correctly.
Getting the Final Sign-Off
Once all the work is finished and every inspection has been passed, you’ll receive the final approval from your local building department. This is the official sign-off that closes out your permit and certifies that your garage conversion is complete and fully compliant with all regulations. This final certificate is a critical document. It’s your proof that the new living space was constructed legally and safely. It’s the last step in the formal process and the moment you can finally and officially enjoy your new room, whether it’s a home office, a guest suite, or a family den.
Why You Should Keep Every Document
After you receive your final approval, gather all your permit-related paperwork and keep it in a safe place. This includes the approved plans, the permit itself, inspection reports, and the final certificate of occupancy. These documents are incredibly valuable. If you ever decide to sell your home, potential buyers and their lenders will want proof that the conversion was done legally. Not having a permit can create major hurdles during a sale. Plus, trying to get a permit after the work is already done can be a costly and complicated headache, so keeping your records organized from the start is a simple step that can save you a lot of trouble later on.
After the Permit: What's Next?
You’ve made it through the paperwork and your permit is in hand—congratulations! Before you get lost in the excitement of the final build, there are a few important administrative tasks to handle. Taking care of these details now ensures your new space is protected and properly valued for years to come.
Updating Your Homeowner's Insurance
Once your project is complete, your first call should be to your insurance agent. A garage conversion adds significant value and living space to your home, and your policy needs to reflect that. If you don’t update your coverage, you could be underinsured in the event of a fire or other damage. Informing your provider ensures your new living space is fully protected. It also solidifies the legitimacy of your project, as many insurers are hesitant to cover unpermitted work.
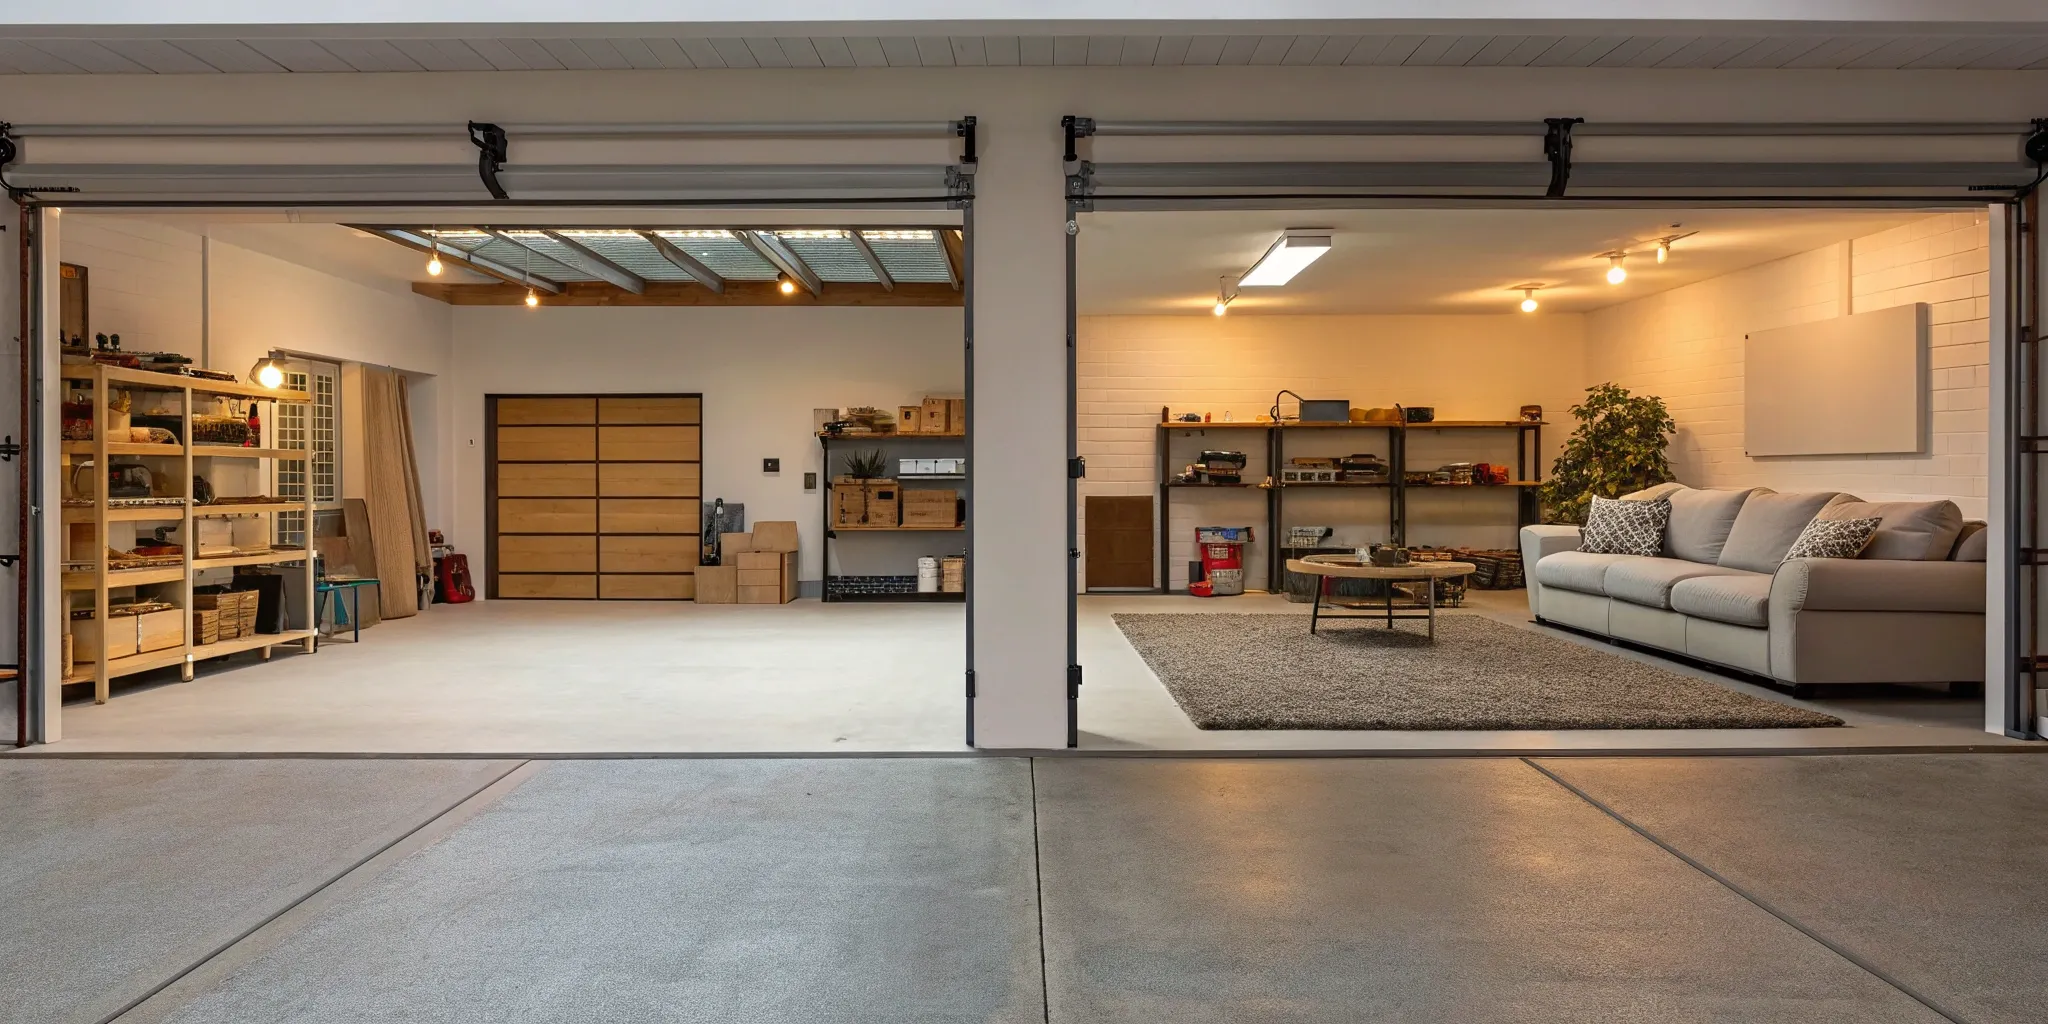
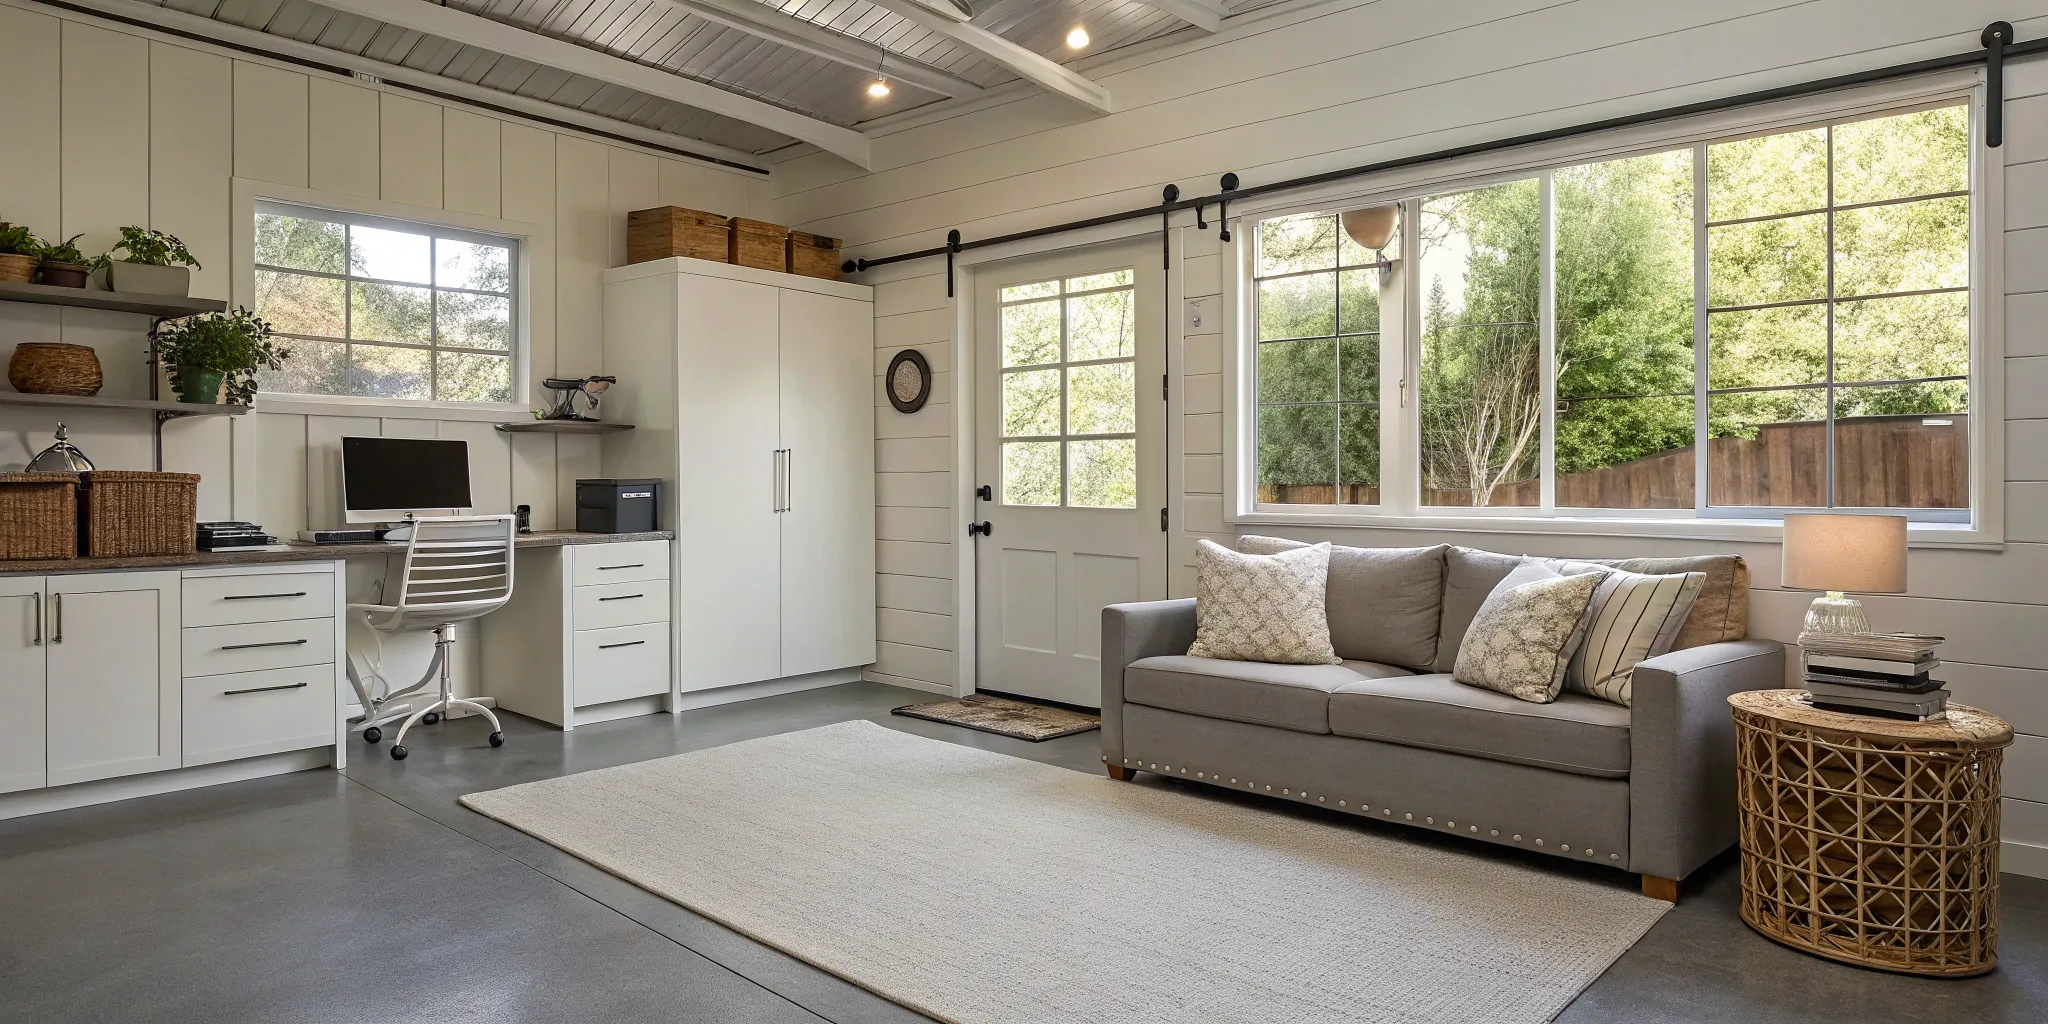
How a Permitted Conversion Affects Home Value
This is where your hard work really pays off. A legal garage conversion is one of the best ways to increase your property value. You’ve officially added livable square footage to your home, which is a major factor in any appraisal. If you’ve created an Accessory Dwelling Unit (ADU), you also have a potential source of rental income. This isn't just a home improvement project; it's a serious financial investment that adds tangible equity to your property.
Preparing for a Future Sale
Even if you have no plans to move, it’s smart to think about resale value. When you eventually sell your home, potential buyers and their inspectors will verify that all major work was done with the proper permits. An unpermitted conversion can derail a sale, lead to fines, or even force you to undo the work. By getting everything signed off on now, you’re giving yourself a major selling point down the road and ensuring a much smoother transaction.
What Your Lender Needs to Know
If you have a mortgage, it’s a good idea to let your lender know about your completed conversion. Your home is the collateral for your loan, and they have a vested interest in its value. A permitted project that increases the home’s worth is good news for them, too. A quick update maintains a transparent relationship and ensures their records accurately reflect the property's current state. This can be especially important if you plan to refinance or take out a home equity loan in the future.
Frequently Asked Questions
What's the absolute first step I should take if I'm considering a garage conversion? Before you even start looking at flooring samples, your first move should be a quick visit to your local building department's website. Look for information on residential remodels or garage conversions. This initial research will give you a clear picture of your city's specific rules, fee schedules, and required documents. It’s the best way to understand the road ahead before you invest time and money into formal plans.
Is the permit process different if I'm just creating a home office versus a full apartment with a kitchen? Yes, absolutely. The scope of your project directly impacts the complexity of the permit process. A simple conversion into a home office or gym primarily involves building and electrical permits. However, turning the space into an Accessory Dwelling Unit (ADU) with a kitchen and bathroom adds plumbing permits and often triggers more stringent zoning and safety requirements. The more systems you add, the more detailed your plans and inspections will need to be.
Can I apply for the permit myself, or do I have to hire a professional? While it is technically possible for a homeowner to apply for a permit, it can be a challenging process. Permit applications require detailed architectural plans that meet specific code standards, which usually requires an architect or designer. Working with an experienced professional ensures your application is complete and accurate from the start, which helps you avoid common mistakes that lead to rejections and long delays.
What happens if my permit application is rejected? Don't panic—a rejection is rarely a final "no." It's usually a request for more information or revisions. The building department will provide specific feedback on what needs to be corrected, whether it's a detail in the structural plans or a missing document. You can then work with your designer or contractor to address their comments and resubmit the application. Think of it as a collaborative step to ensure your project is safe and compliant.
I bought a house with a garage conversion that I suspect is unpermitted. What should I do? This is a tricky but common situation. The best approach is to contact your local building department to discuss how to legalize the space retroactively. The process often involves having an architect draw up "as-built" plans and opening up walls for inspections to ensure the electrical, plumbing, and structural work meets current safety codes. It can be a complex undertaking, but it's the only way to ensure your home is safe and to avoid major problems when you eventually decide to sell.


.png)


.avif)